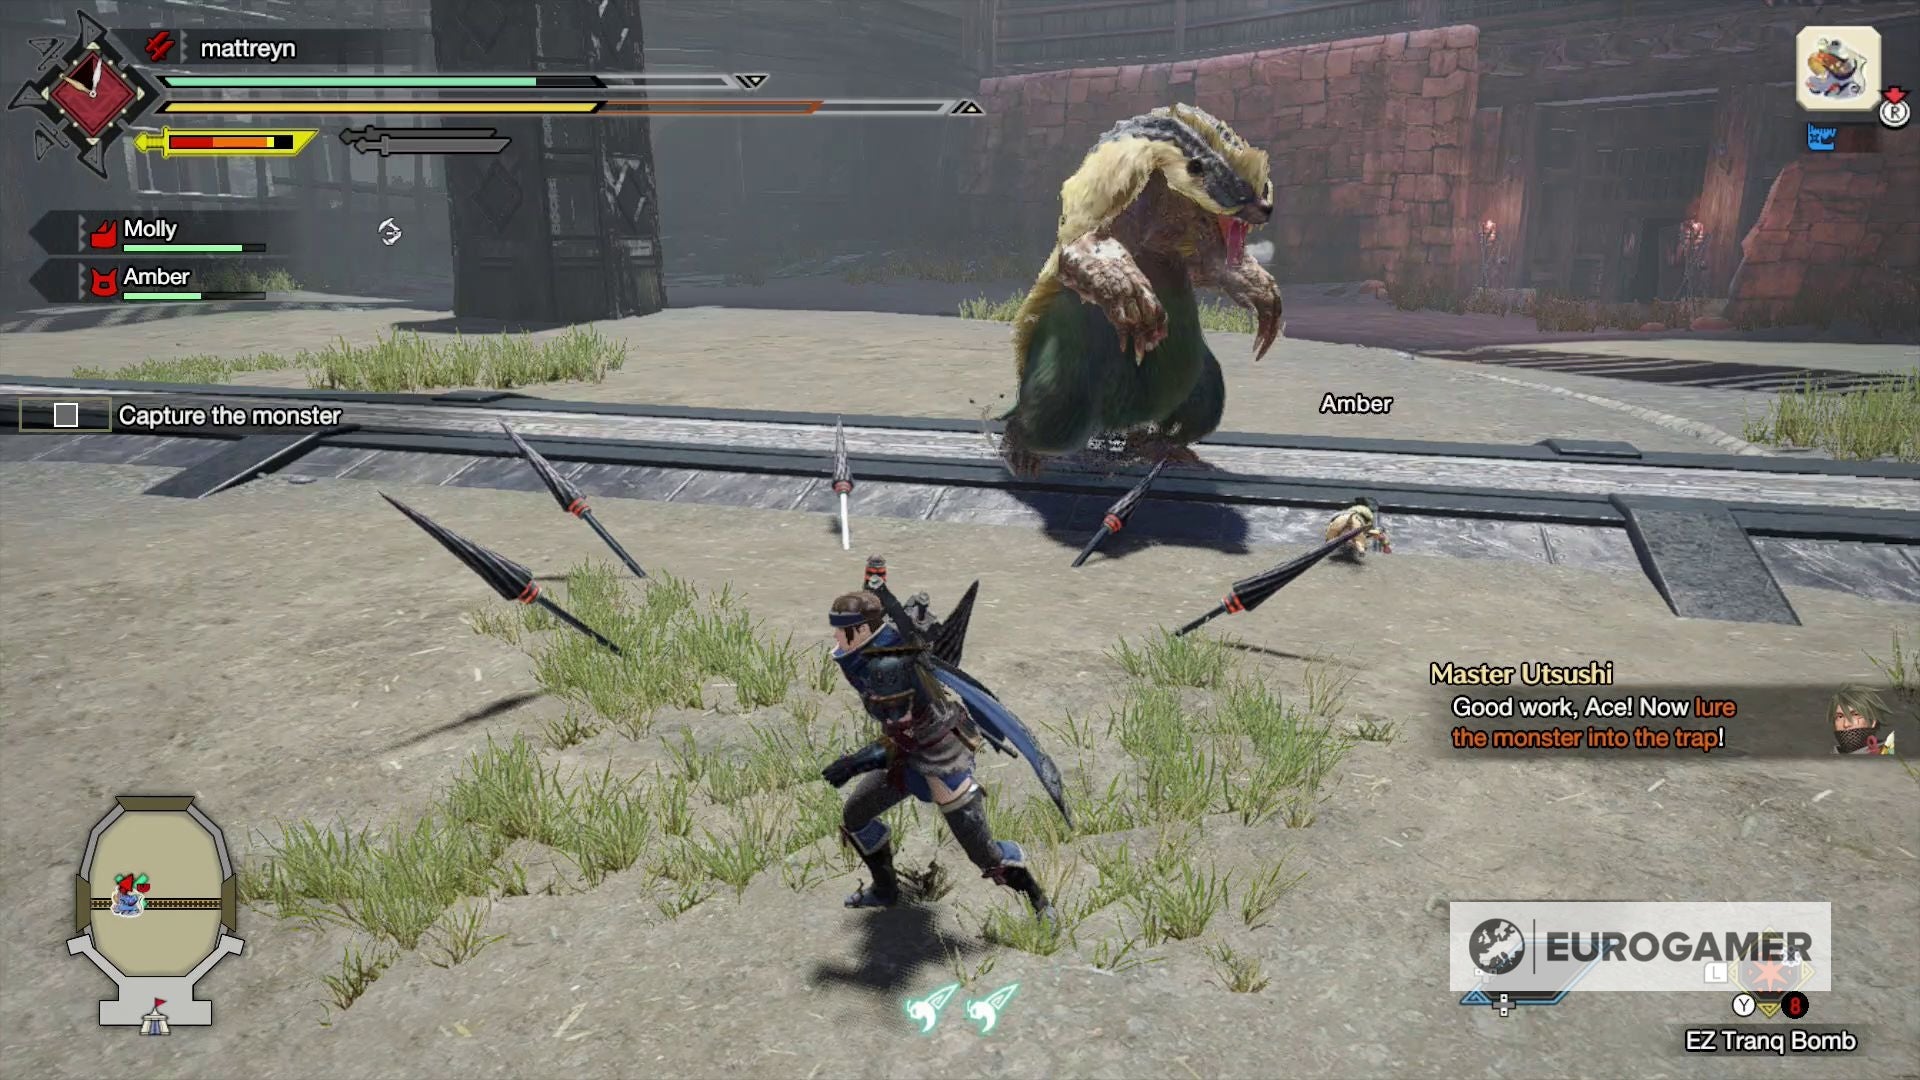
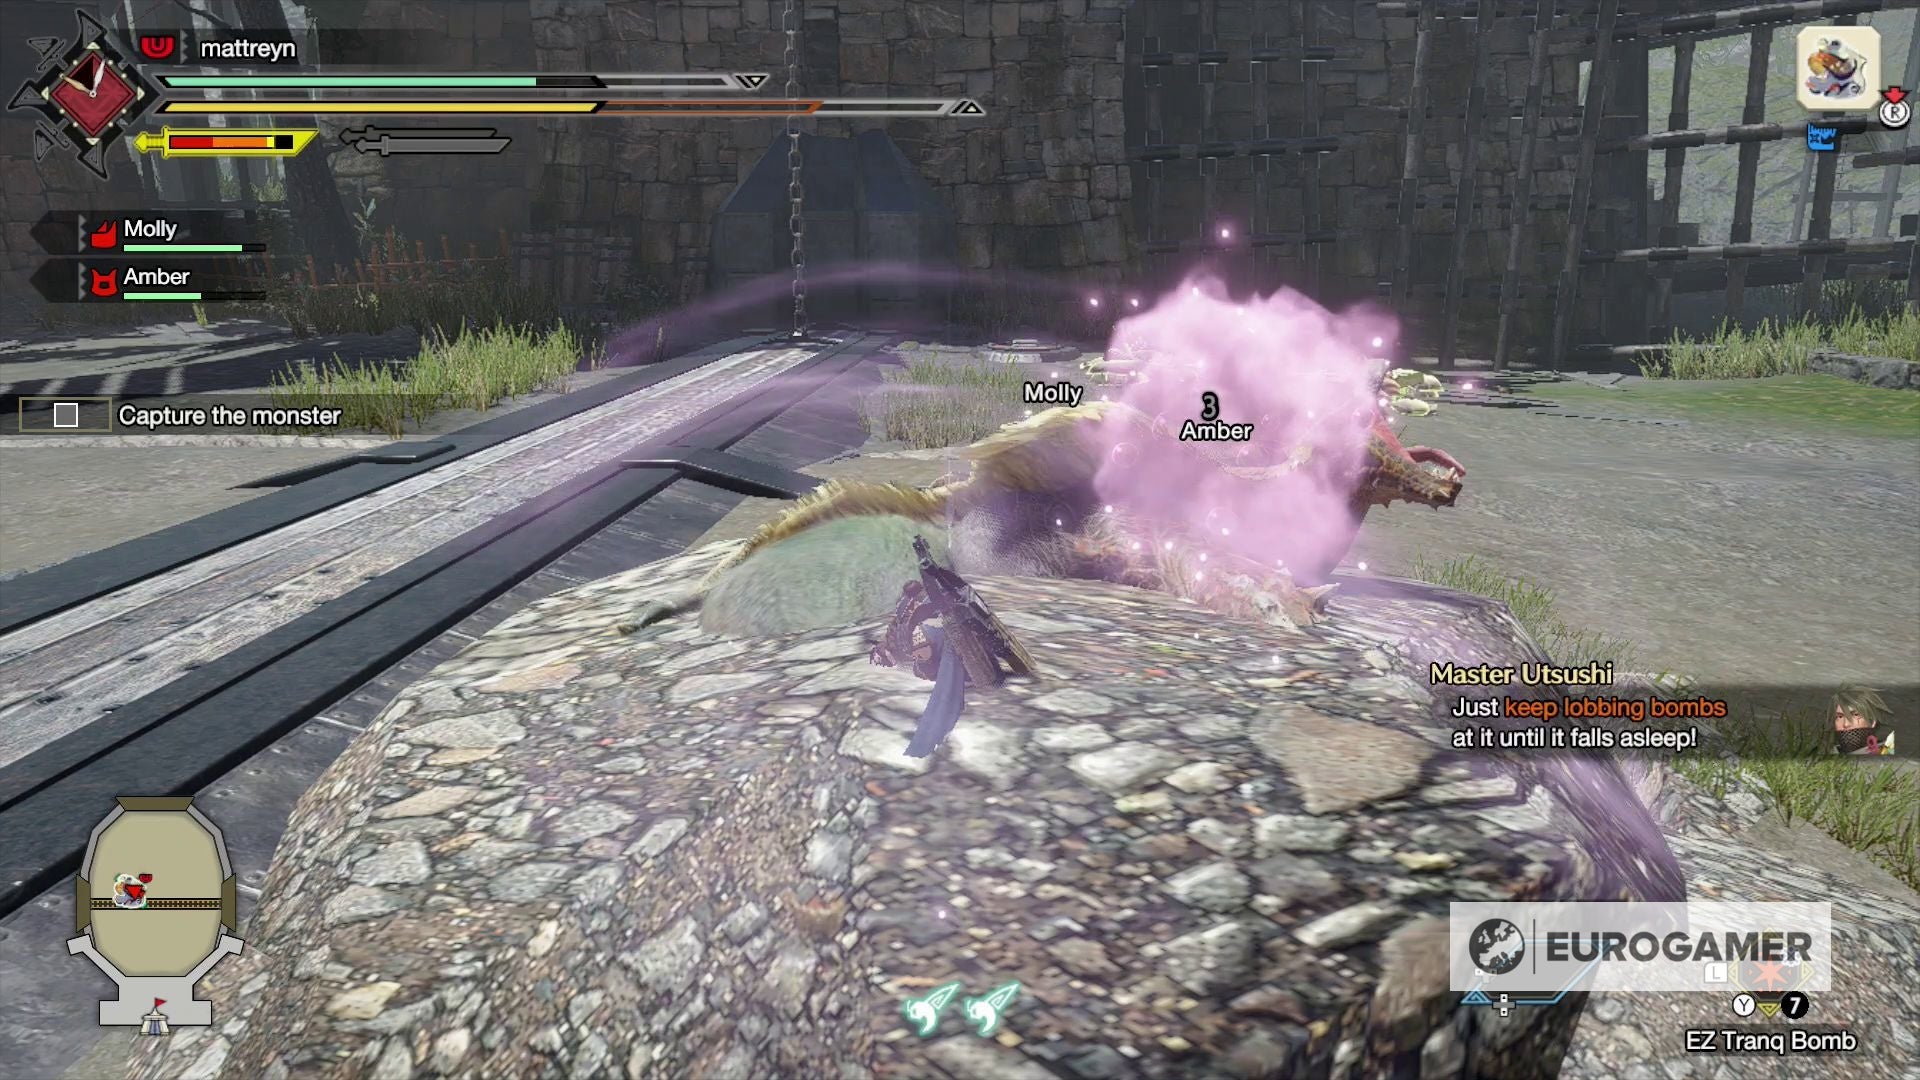
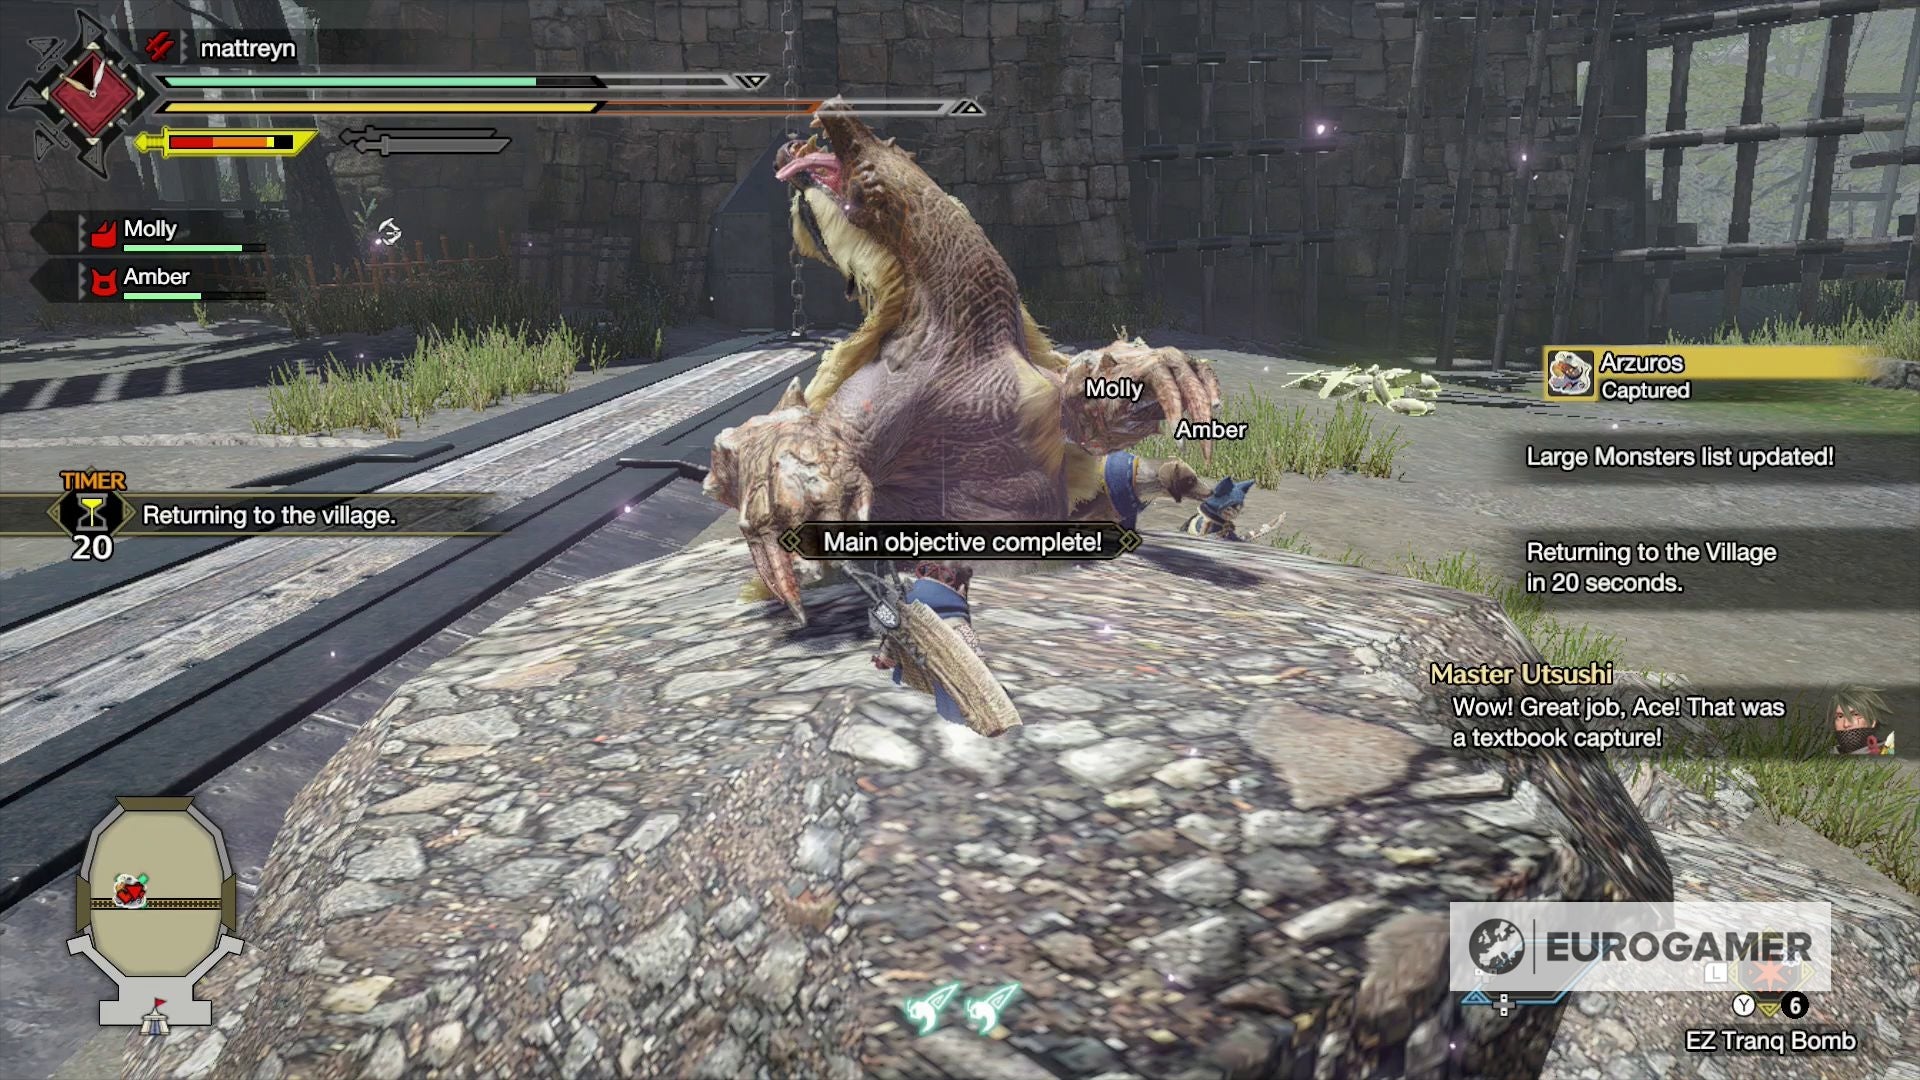
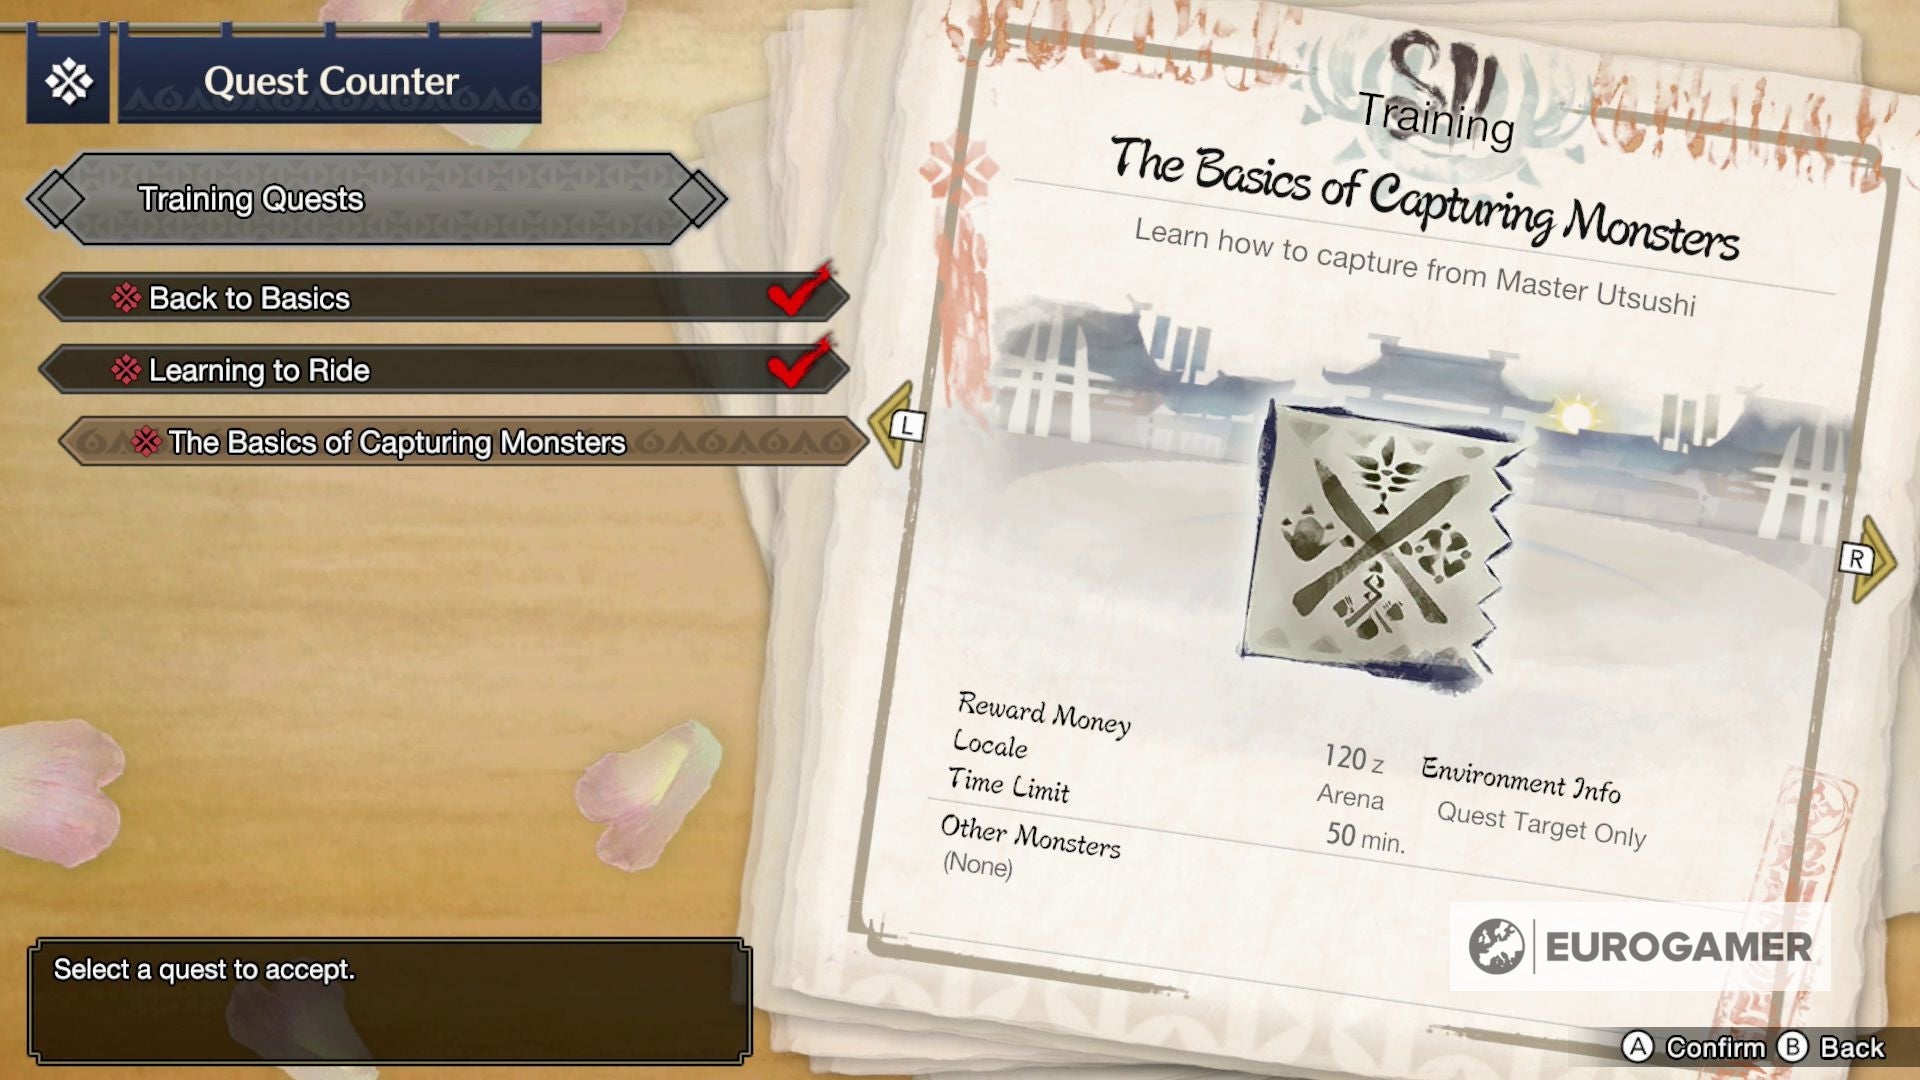
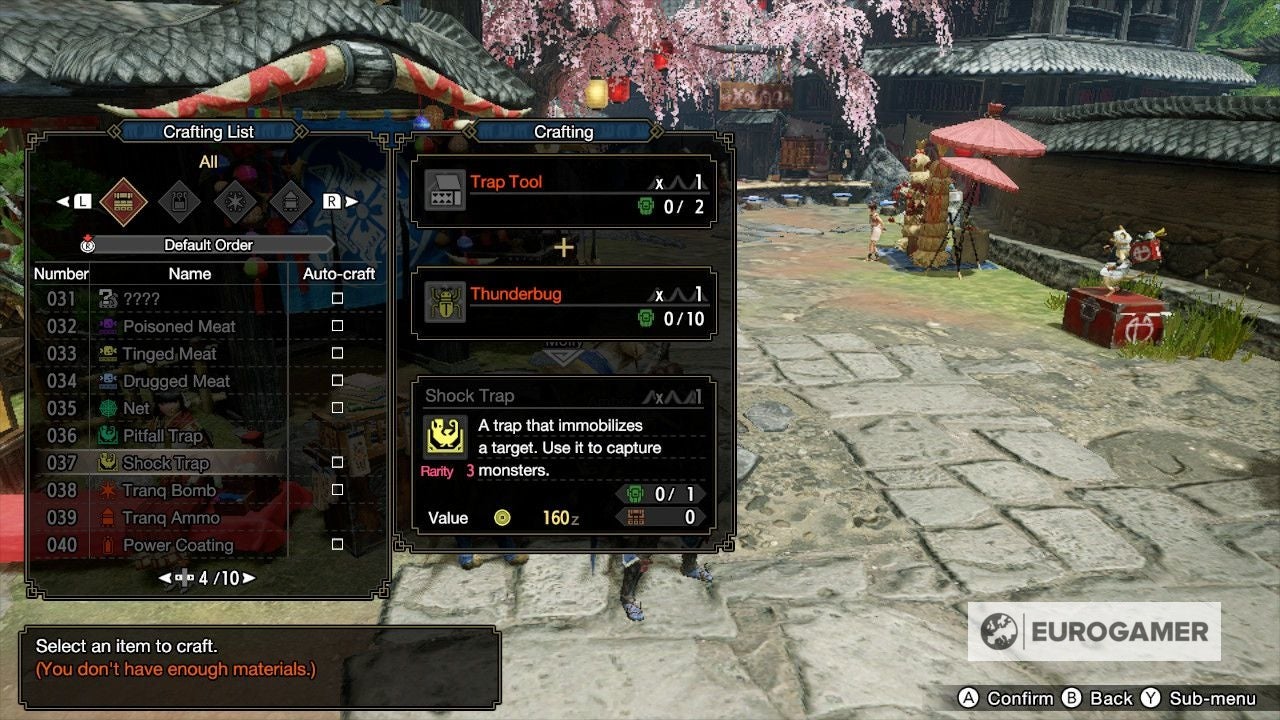
With the right timing and use of items, you can choose to take monsters alive to earn additional materials and resources you wouldn’t get from just taking them down the old fashioned way. Capturing can also be a requirement of certain sub-quests, so learning how to do will become key if you want to tick every quest type. On this page: For more help on Monster Hunter Rise, check out our weapon types list, in-depth Insect Glaive page, wirebug guide and Jewel lilies locations. We’ll explain in the next section how to source these items, but for now, let’s assume you have them in your inventory. Once you have got what you need and found your monster, track and fight like normal until it is wounded. You can visibly see this by the way it limps when it moves, usually back to its nest and goes to sleep. At this point its vulnerable enough to capture. Follow and set a trap on the ground by going through your inventory with L and Y or A to rotate the menu on the bottom right, then pressing Y once it’s equipped. You’ll want to set it as close to the monster as possible. If you’re struggling, then you can follow it until the monster is actually asleep, and lay trap right next to it. If you are setting while they are asleep, the trap will take a couple of moments to be set up, and should spring soon after. If not, attack the monster to wake them, and lure them into the trap by positioning yourself next to it. Now it’s trapped, it’s time to use Tranq Bombs. Select these in the same way you did before from your inventory, and use it when next to the beast. After a couple of these, the creature will sleep and be captured, and the hunt will end. Good work! Remember you cannot carve the monster, but it will grant a higher chance of certain materials than you would via killing. If you are after certain materials from particular body parts (legs, head, tail) then these can still drop off mid-battle as usual before you capture them, so feel free to target select parts as usual. Note you can practice capturing as part of a tutorial back in the Hub when you select the Village quests. That said, we found it easier to perform this in the wild - so if you don’t quite grasp it there, try it during a quest and it should hopefully click. Learn how to start Sunbreak - the first expansion - and from there, how to unlock Master Rank, use Switch Skill swap, and progress onward with our Monster Hunter Sunbreak walkthrough. There’s also a monsters list, as well as individual pages on beating Garangolm, Lunagaron and Shogun Ceanataur. For the base game, we have a number of Monster Hunter Rise tips and lists of ore locations, bone locations, weapon types, how to use Insect Glaives and Kinsects, details of how to join friends in multiplayer, how to capture monsters and learn about wirebugs and great wirebugs. Here’s how to procure these items: How to get a Shock Trap or Pitfall Trap For both of these, you need to get a Trap Tool - you can buy these from the merchant in the hub easily enough. They need to be then combined with another component in the Crafting List area of the menu (press pause, then Items and Equipment on the far left side) to make the relevant trap:
Pitfall Trap = Trap Tool + Net Shock Trap = Trap Tool + Thunderbug
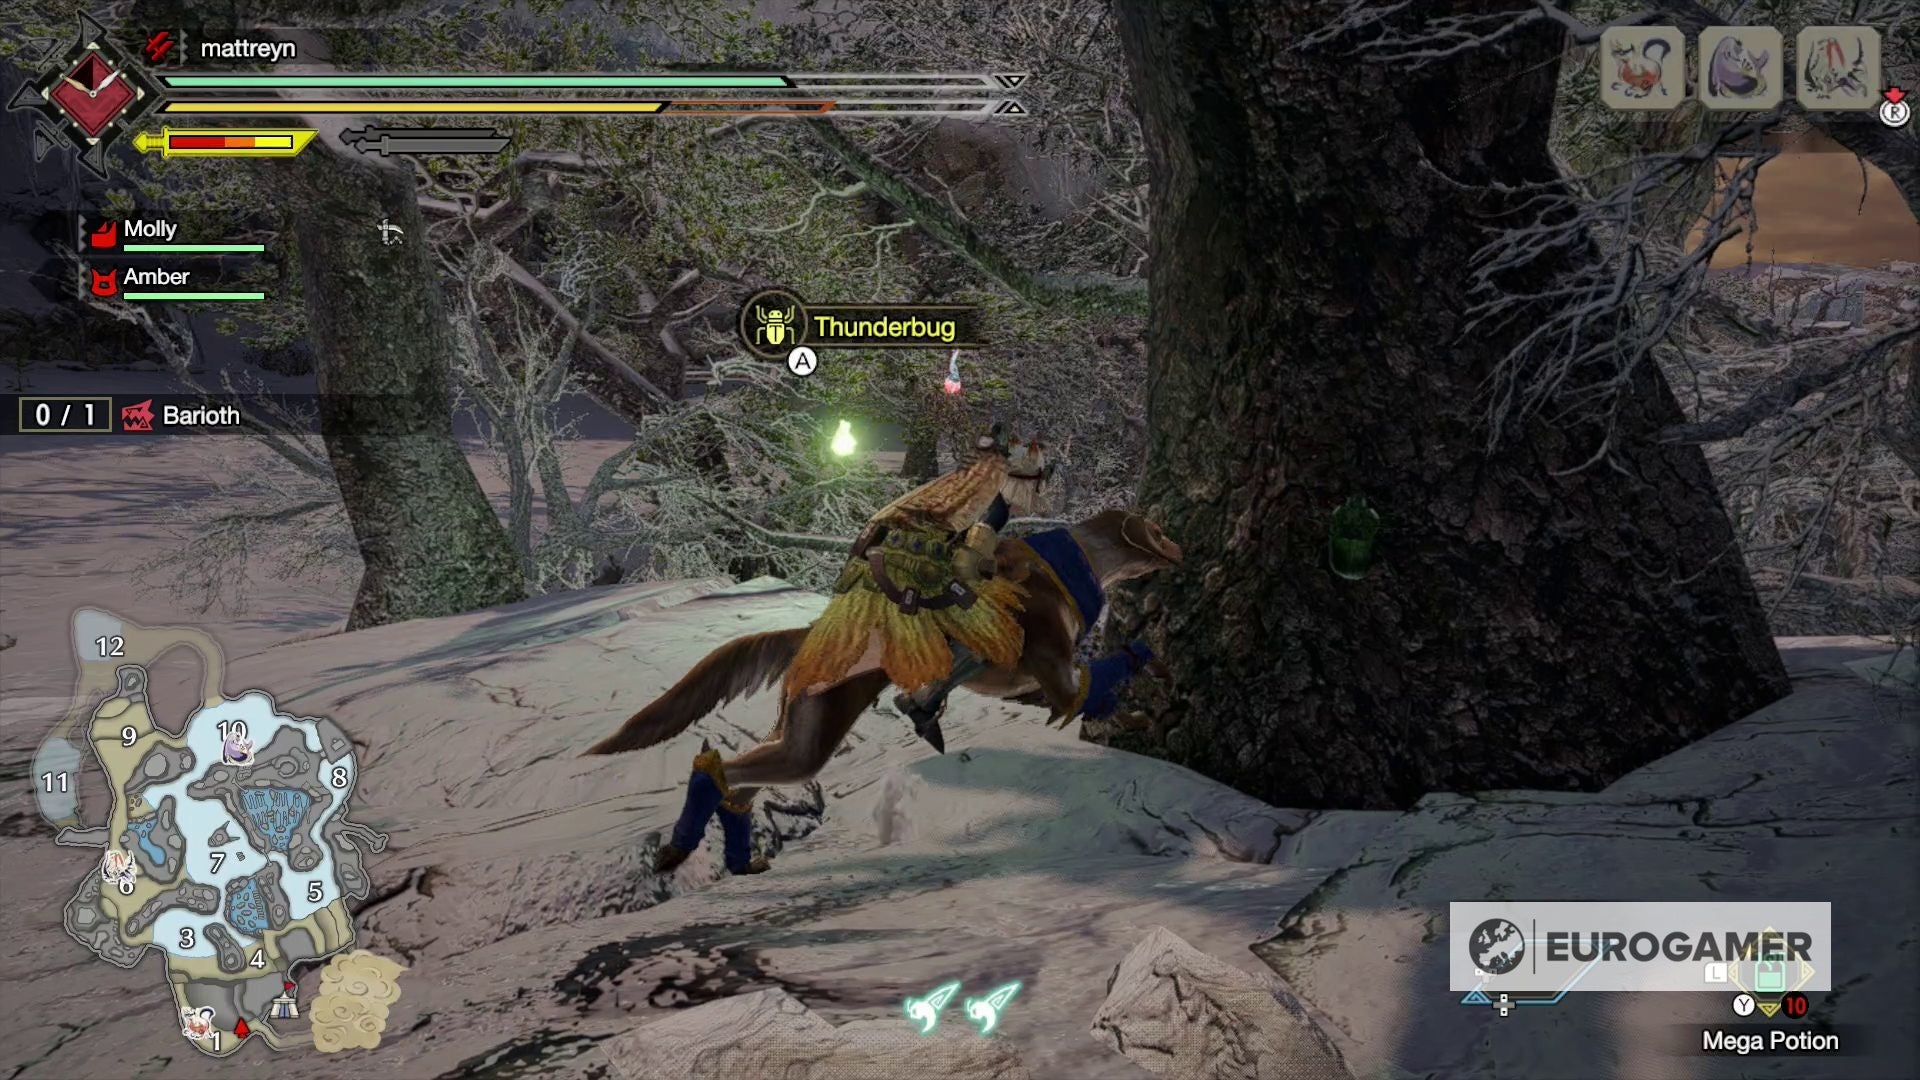
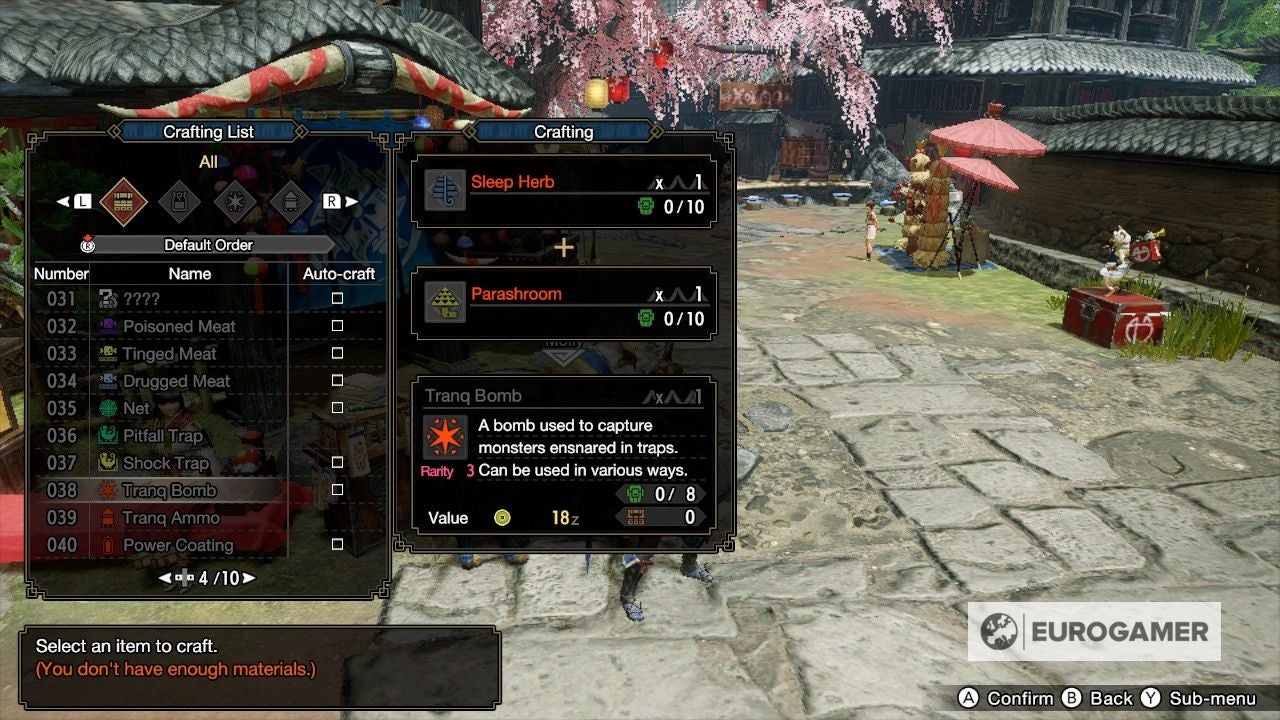
To get a Net, you must craft Ivy + Spider Web. These are very common items you can find in biomes - grab everything you see and you’ll come across these soon enough. As for the Thunderbug, these are found on trees in certain areas. For example, we regularly found one on a tree leaving the camp and taking the path through area 1 in the Frost Island biome. How to get a Tranq Bomb Tranq Bombs can be crafted or purchased. We only noticed that we could purchase one from the Guild Store (the merchant next to the Hub quest giver) from around 4* onwards, but it’s possible it appeared before then. If it doesn’t appear there for you, then you can craft it with the following resources:
Tranq Bomb = Sleep Herb + Parashroom
Both Sleep Herbs and Parashroom are both common resources in most biomes - grab every plant and mushroom you come across while exploring and chances are they will be one of them. For example, we found Parashrooms in both the Wasteland and Flooded Forest. To craft, you can perform this in the Crafting List area of the menu (press pause, then Items and Equipment on the far left side). Remember you need these items on your hunter, and not in the item box, so make sure you move them over first (if you’re like us, chances are you picked up a bunch without realising, and are waiting for you to shift across first before they can be crafted). For more help on Monster Hunter Rise, check out our weapon types list, in-depth Insect Glaive page, wirebug guide and Jewel lilies locations.
