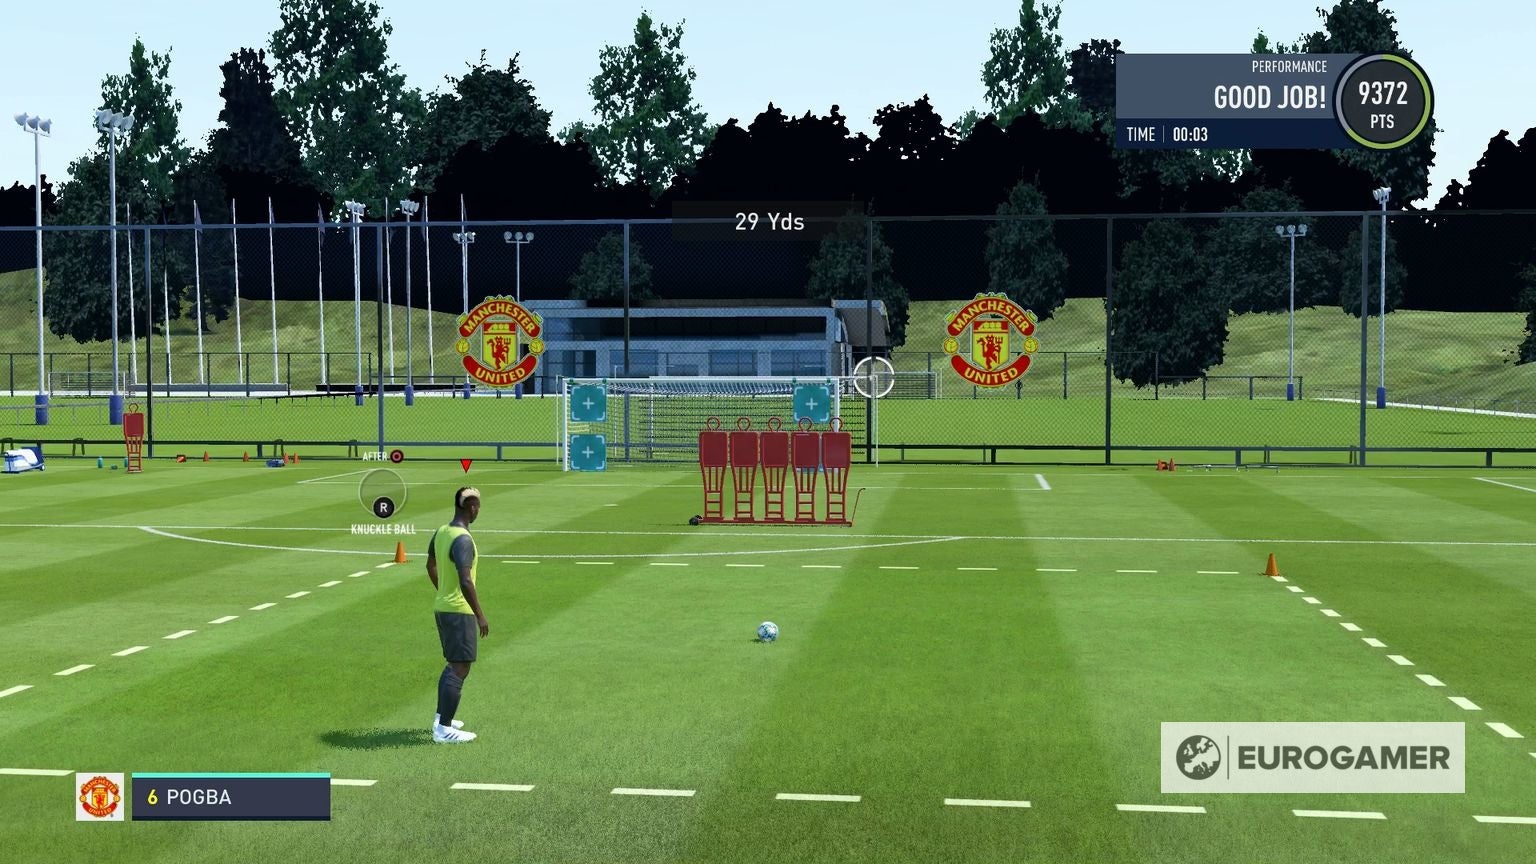
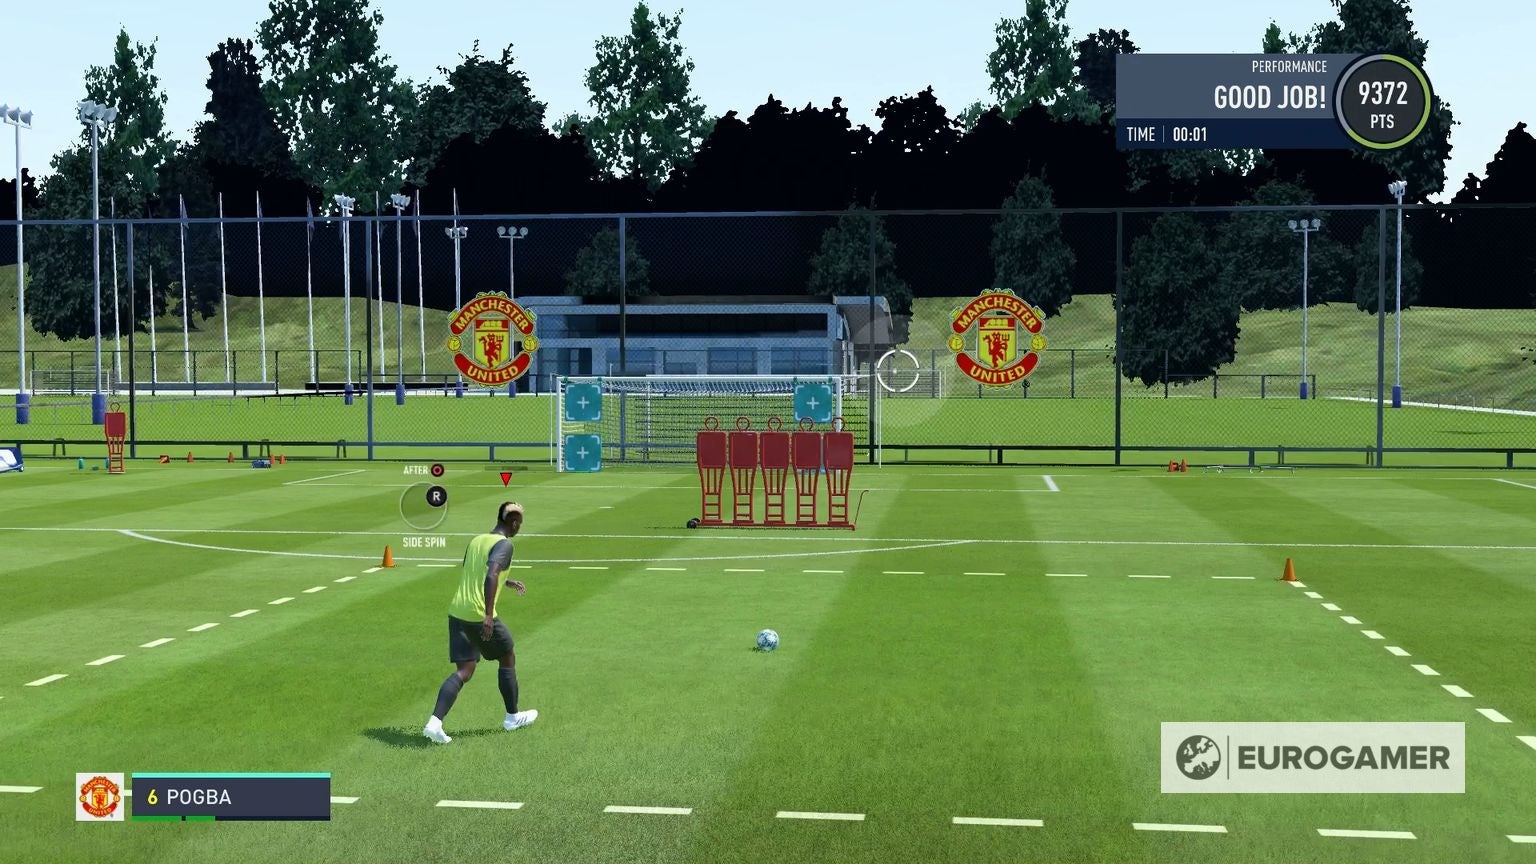
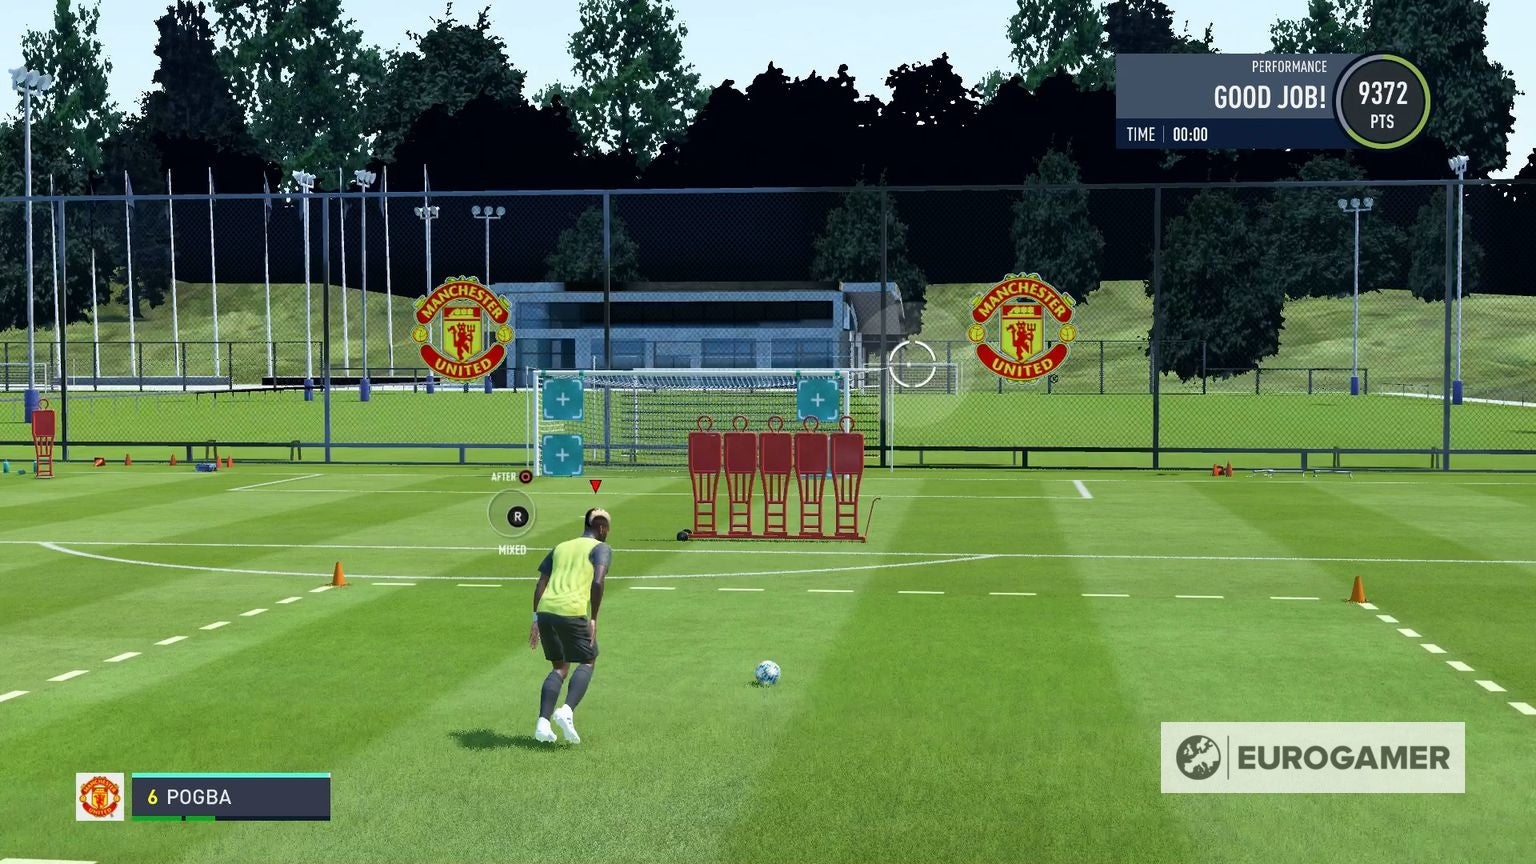
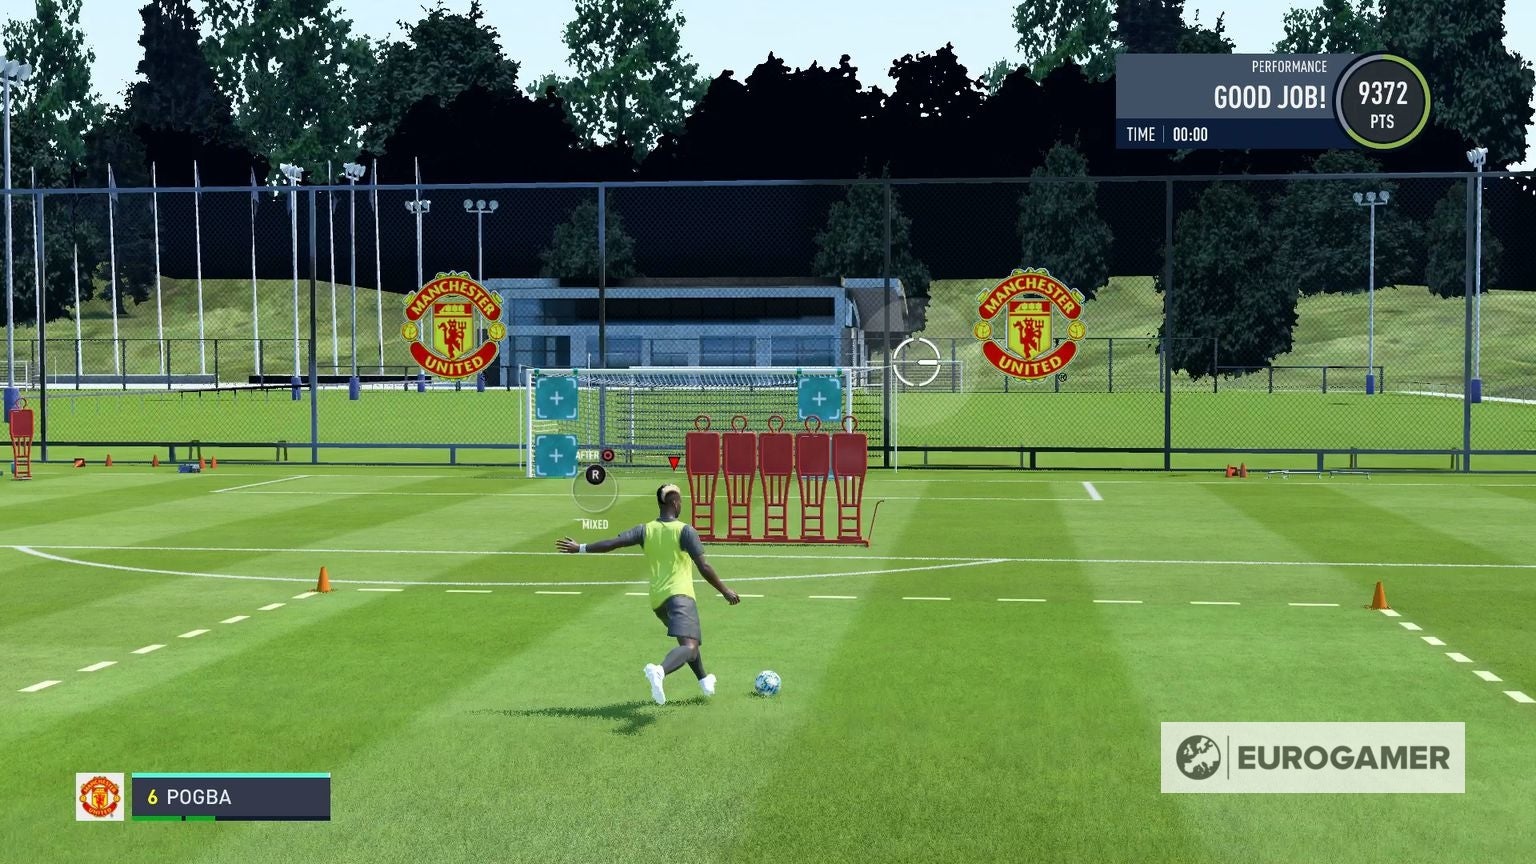
Read on for our detailed explainers on how to take free kicks effectively, how to score penalties, and details on other set pieces like throw-ins and corners, too, to make you certifiably deadly from any dead ball. On this page: Whereas in previous years free kicks were a bit more natural-feeling, based on generally eyeing up the line you’re going for and using the left stick to apply spin just like you do from an open-play shot, there are now three stages to taking free kicks in FIFA 20, as well as an optional fourth. First, you need to nail the aiming, second the power, third the spin on the ball, and optionally fourth is the timed finish mechanic. Here’s a breakdown explaining each step. How to take free kicks in FIFA 20 step 1: aiming First, line up the little aiming reticule - the white circle - according to type of free kick you’re going for. If you want top spin the aim the reticule a bit higher than where you want the ball to go, if you’re doing side spin aim a bit wider, and so on. More on that below, but be aware that moving this circle is purposefully very difficult - you’ll find that just as it gets close to where you want it, it pings off further away. Take your time and move the left right stick gently to line it up. How to take free kicks in FIFA 20 step 2: shot power Now, apply the amount of power that is appropriate for that free kick by holding down the shoot button as you normally would. Pressing this is what locks the aiming reticule in place, too, confirming where your player will aim the shot. Usually, you’ll want between two and three bars of power, depending on the distance, but again more on that below. How to take free kicks in FIFA 20 step 3: ball spin Now for the spin on the ball. This is done by moving the right analog stick in various ways. For up-and-down dipping shots, move the stick straight down, and then straight up, for instance. This needs to be done while your player is running up, before they strike the ball. The speed at which you move the stick dictates the amount of spin, too. More on what spin to apply when in the section below. How to take free kicks in FIFA 20 step 4: timed finishing Finally, you can optionally use timed finishing - the mechanic where you press the shoot button for a second time just as your player strikes the ball - to get an even sweeter hit, increasing your chances of scoring. You don’t have to do this though, and timed finishing can be turned off in the menus altogether (which is what we prefer to do) too. If you do want to do it, tap the shoot button just as your player’s shooting foot starts to come down towards the ball. Too early or too late, though, and they’ll shank it high and wide. Here’s a breakdown of every free kick type, when to use them, and how to pull them off. How to take penalties in FIFA 19:
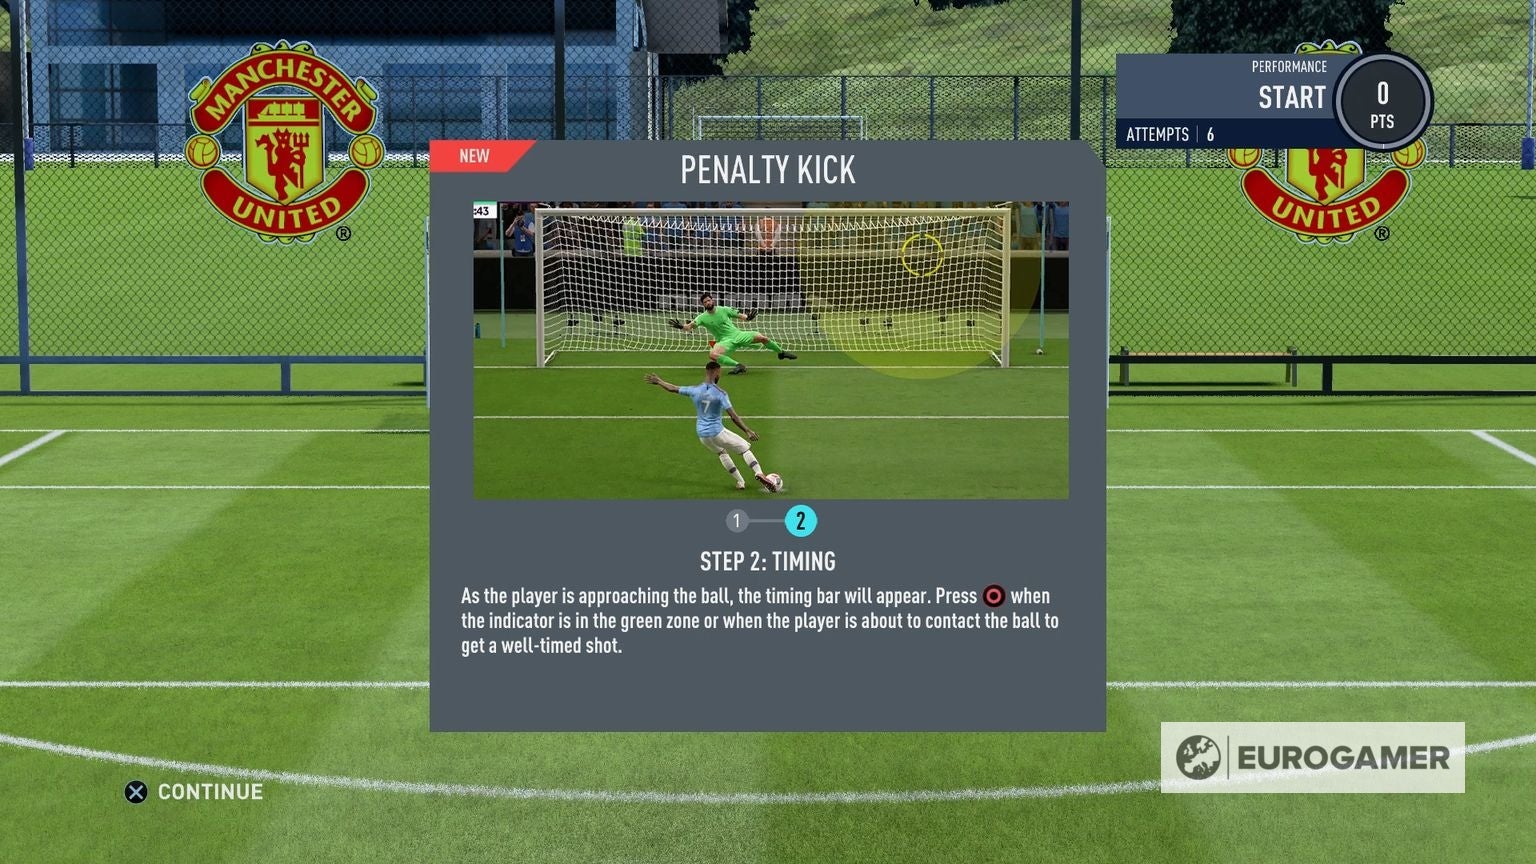
Aim the reticule and try your best to hold it as still as possible in one place. Hold down the shoot button to get the right amount of shot power - we recommend no more than about 2.5 bars. Keep holding the reticule in place - if you move it, the shaded circle around the reticule will get larger, meaning your shot go do in a larger range of directions around it, becoming less accurate and increasing your chances of missing. When you first take penalties, the direction indicator will be visible - note that if you’re playing locally that means your pal can see where you’re aiming, too. Turn it off by pressing ‘Up’ on the D-pad (we recommend practicing with it on, until you get the muscle memory, then turning it off to hone it).
How to take corners in FIFA 20
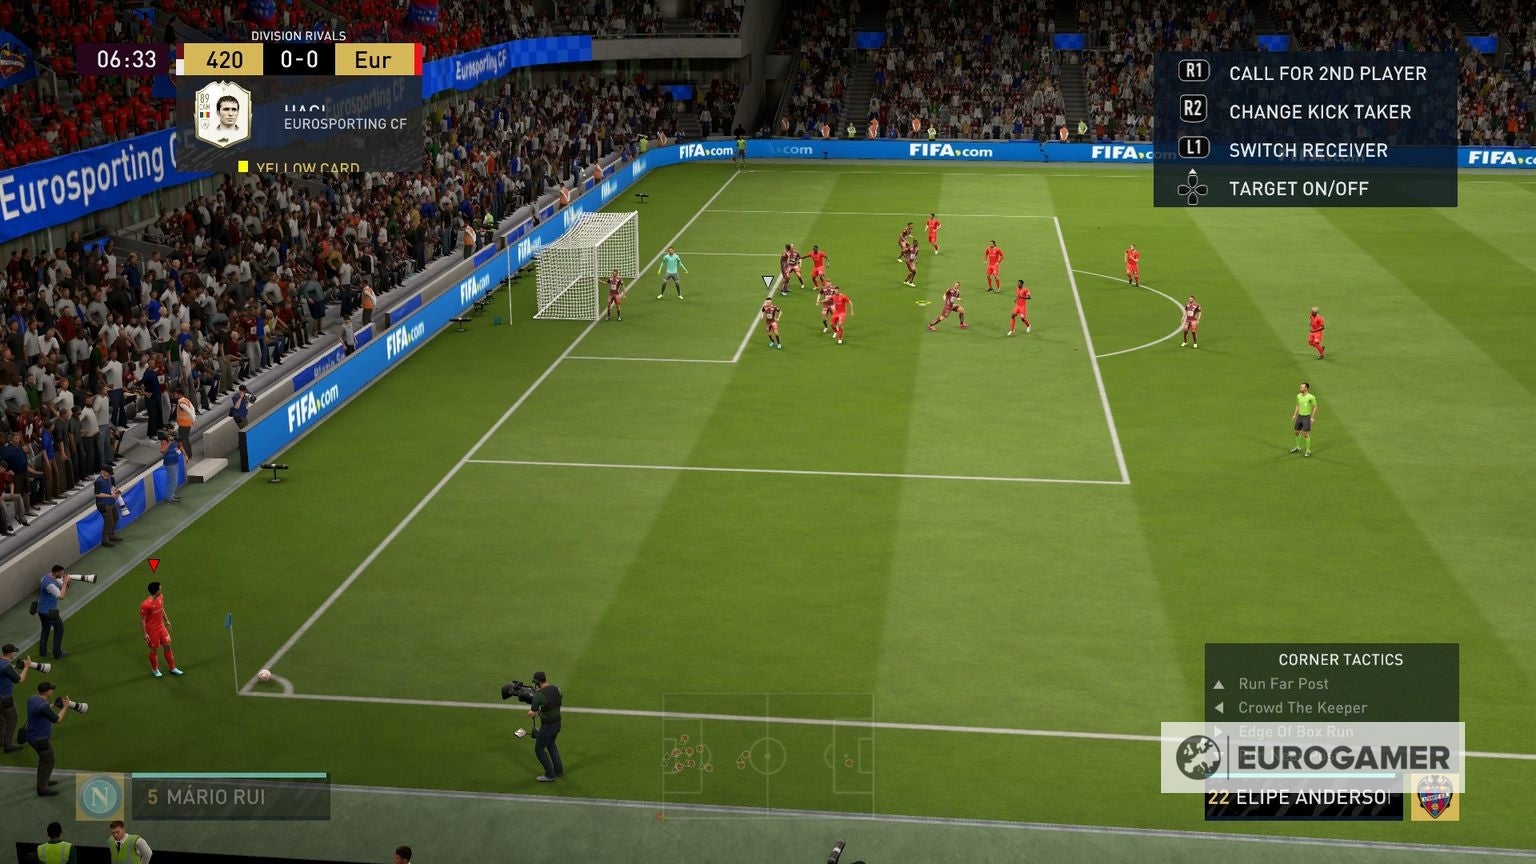
Select a player - choose the player you’d like to get the ball to (disgregarding their position for now) by pressing L1/LB until you reach the player of choice. Place the corner - now, with that player selected, move the yellow cursor on the ground with LS to where you’d like the delivery to go. To place the corner, load up the delivery with your desired amount of power by pressing Square/X (less is floaty, more is driven) and the cursor will then be locked in place. Get your player in position - next, move your previously-selected player into position, ideally giving yourself a couple of yards of clear run-up space behind the cursor on the floor. Take the corner - finally, take the corner by pressing the Square/X button again.
The best corners, from our experience so far, still tend to be front-post or back-post, where there’s generally more space for a run up, and more of an opportunity to get an angle on your headers, although they’re much harder to score than the corners of FIFA 19, we’ve found How to take throw-ins and do fake dummy throws in FIFA 20: Once again, no change here from FIFA 19, with dummy throws still possible, still very useful, and still perfomed in the same way. Here’s how to perform the fake or dummy throw-in:
Decide which player you’d like to throw to, and which to fake to - our advice is to bear in mind players’ standard positions - defenders taking throws will look to move back towards the back four, strikers and wingers will burst forward, whilst midfielders will move forward or back, towards their central starting position. Think about that as you decide how you’re going to pull the opponent out of position and make yourself some space. Now simply perform the dummy throw- The controls for this are exactly the same as the fake shot: Square or Circle then X on PlayStation, or X or B then A on Xbox. When you press the second button (X / A) be sure to point LS towards your desired target to throw it to them.
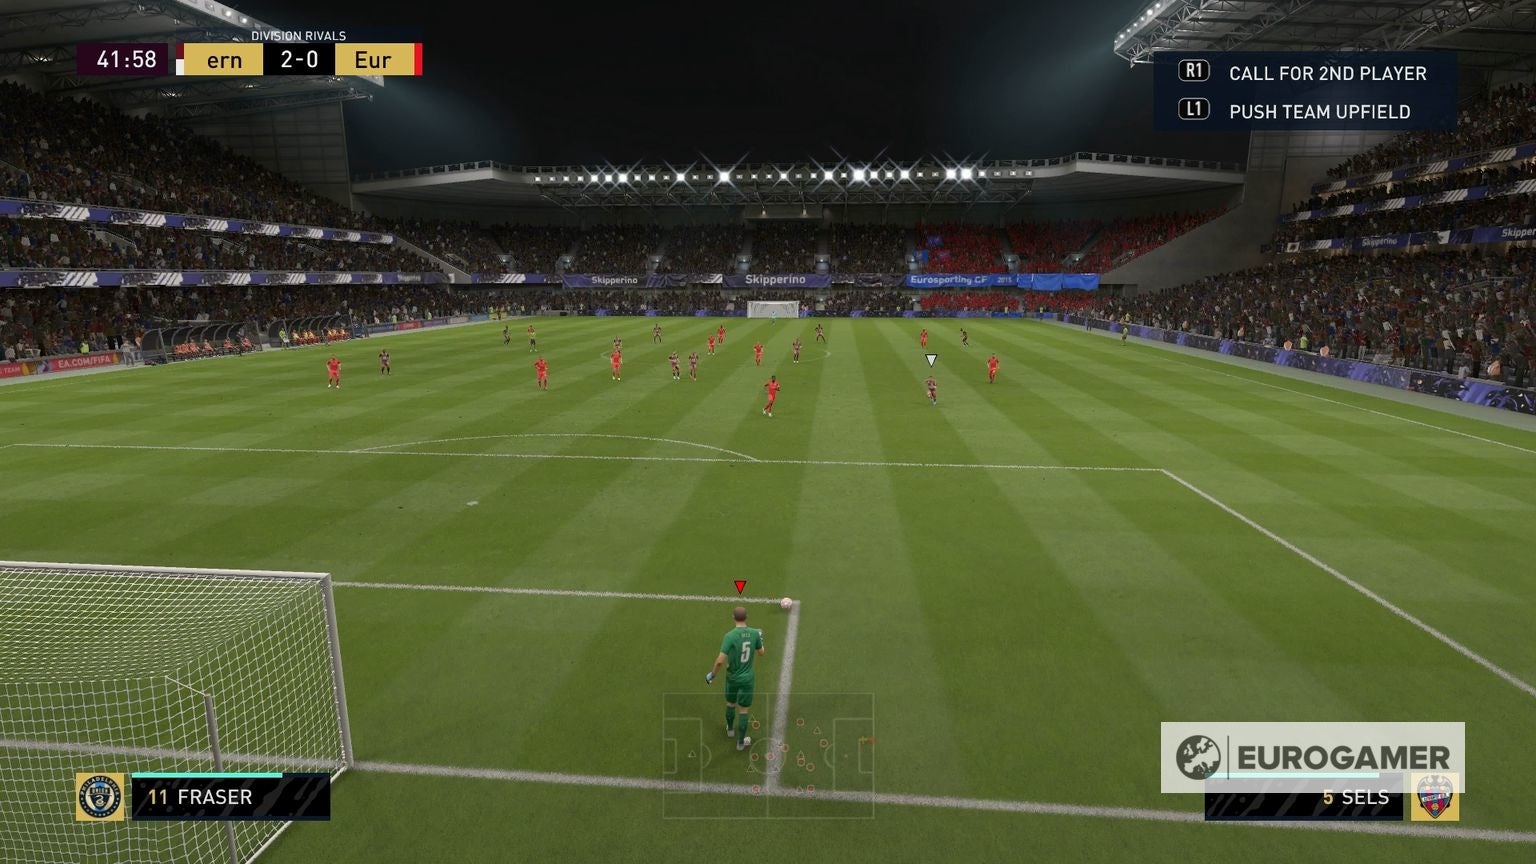
Finally, there’s goal kicks, which remain the same as last year again. As with 19, you can’t move the camera, and you can do a driven goal kick by holding down R1 as you charge it up, like with other driven passes. That’s it!
