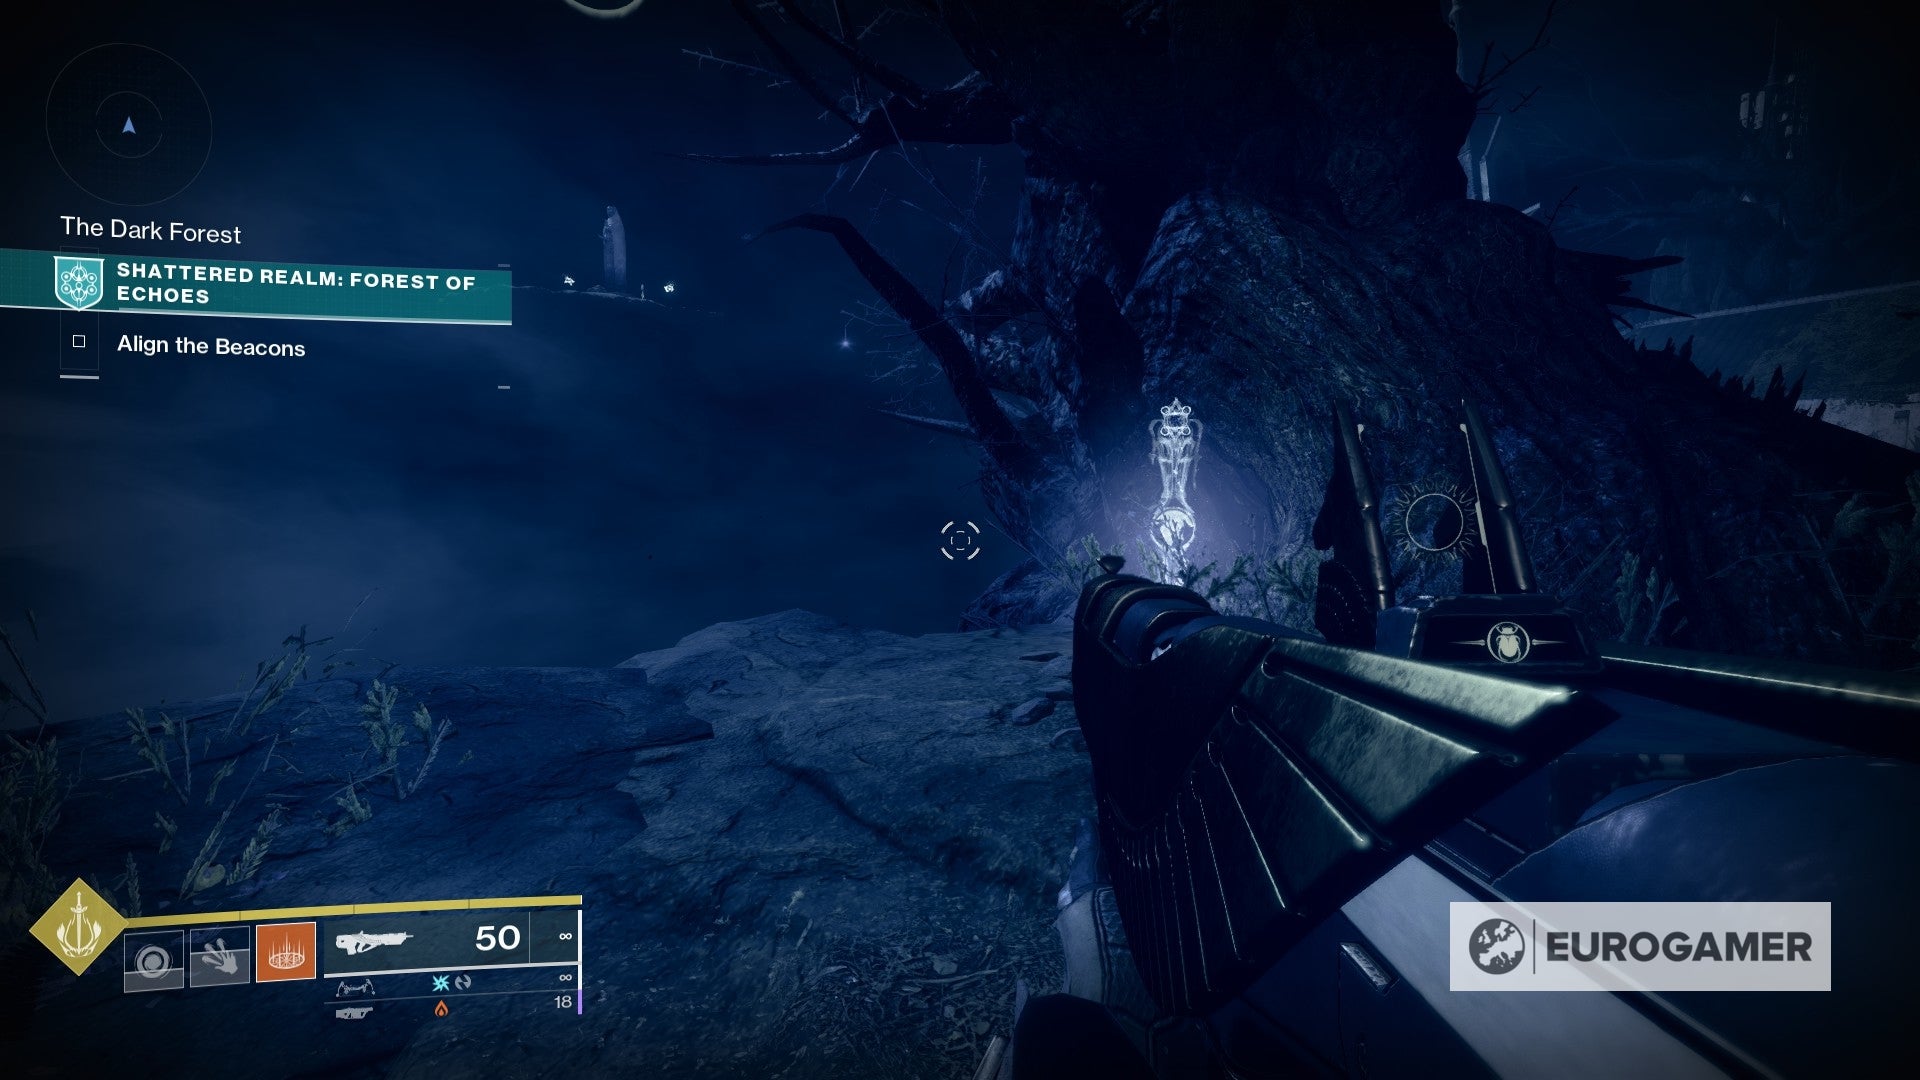
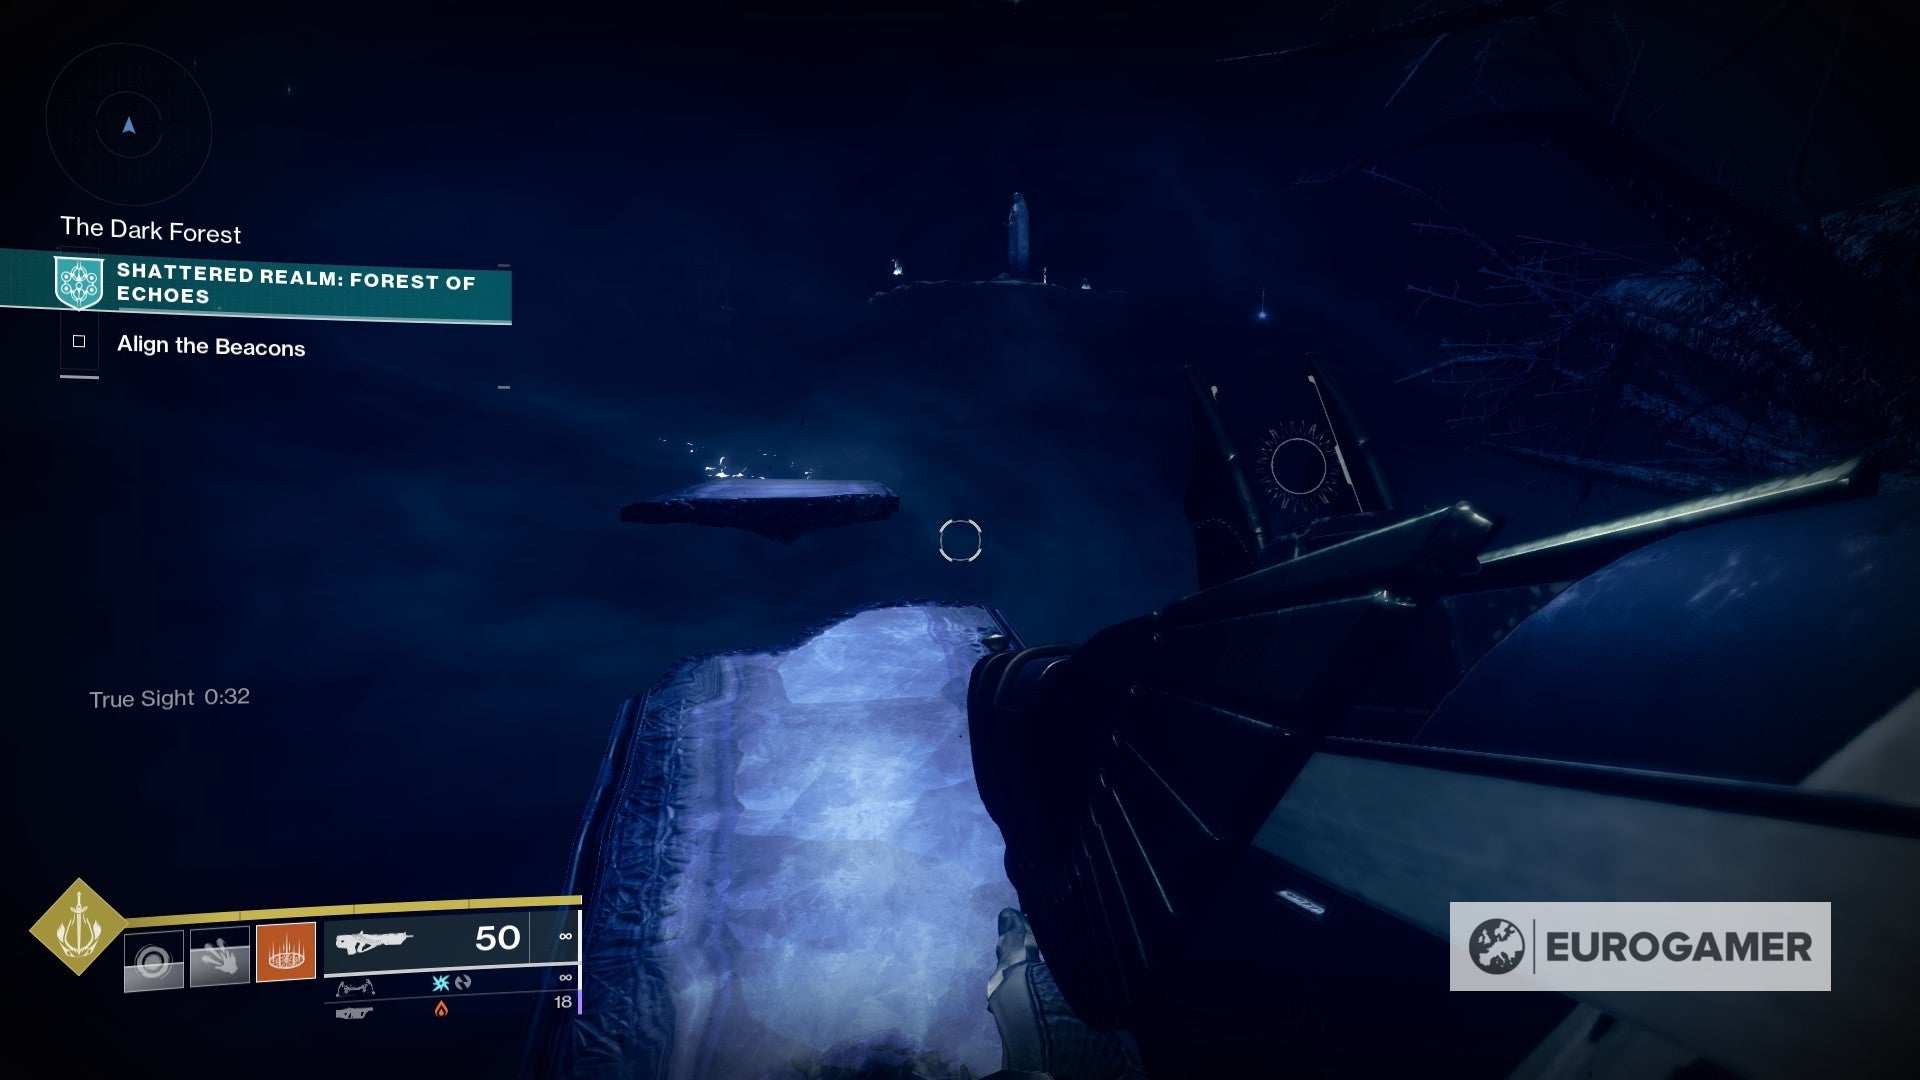
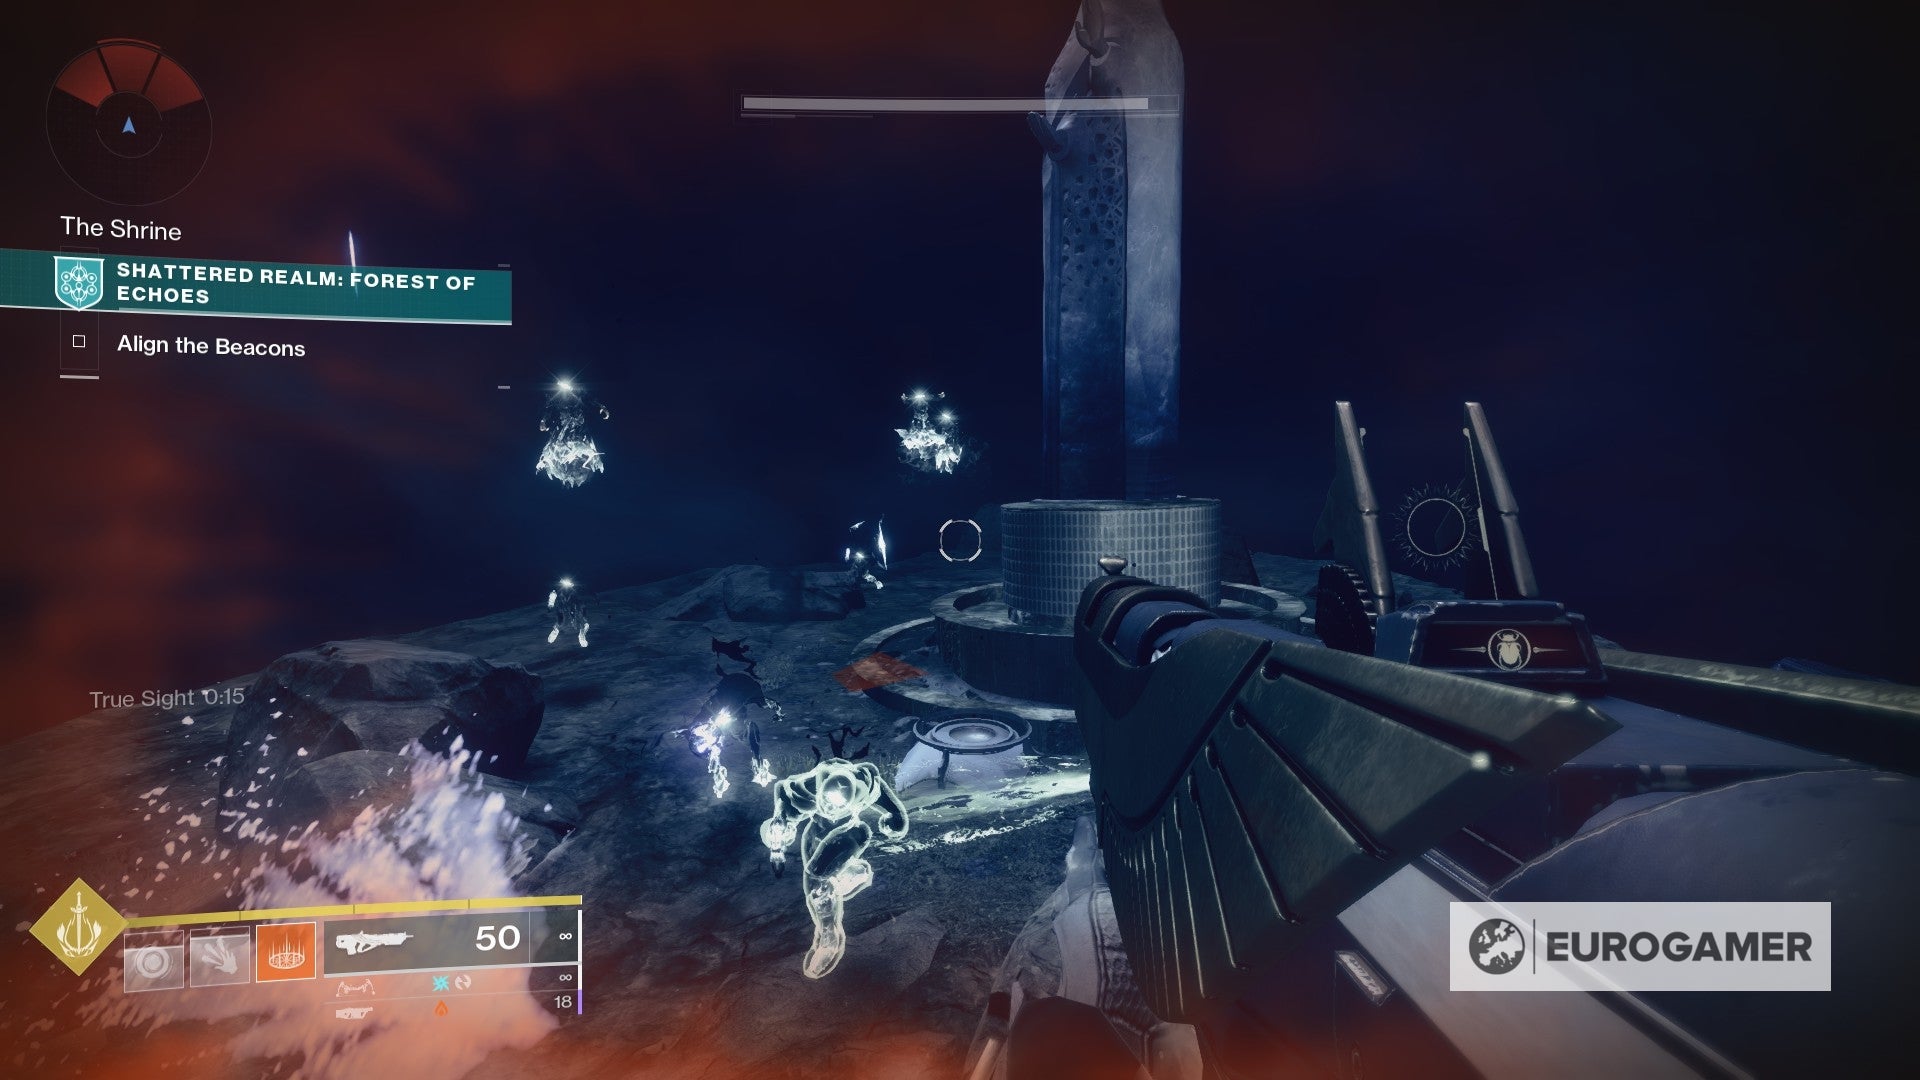
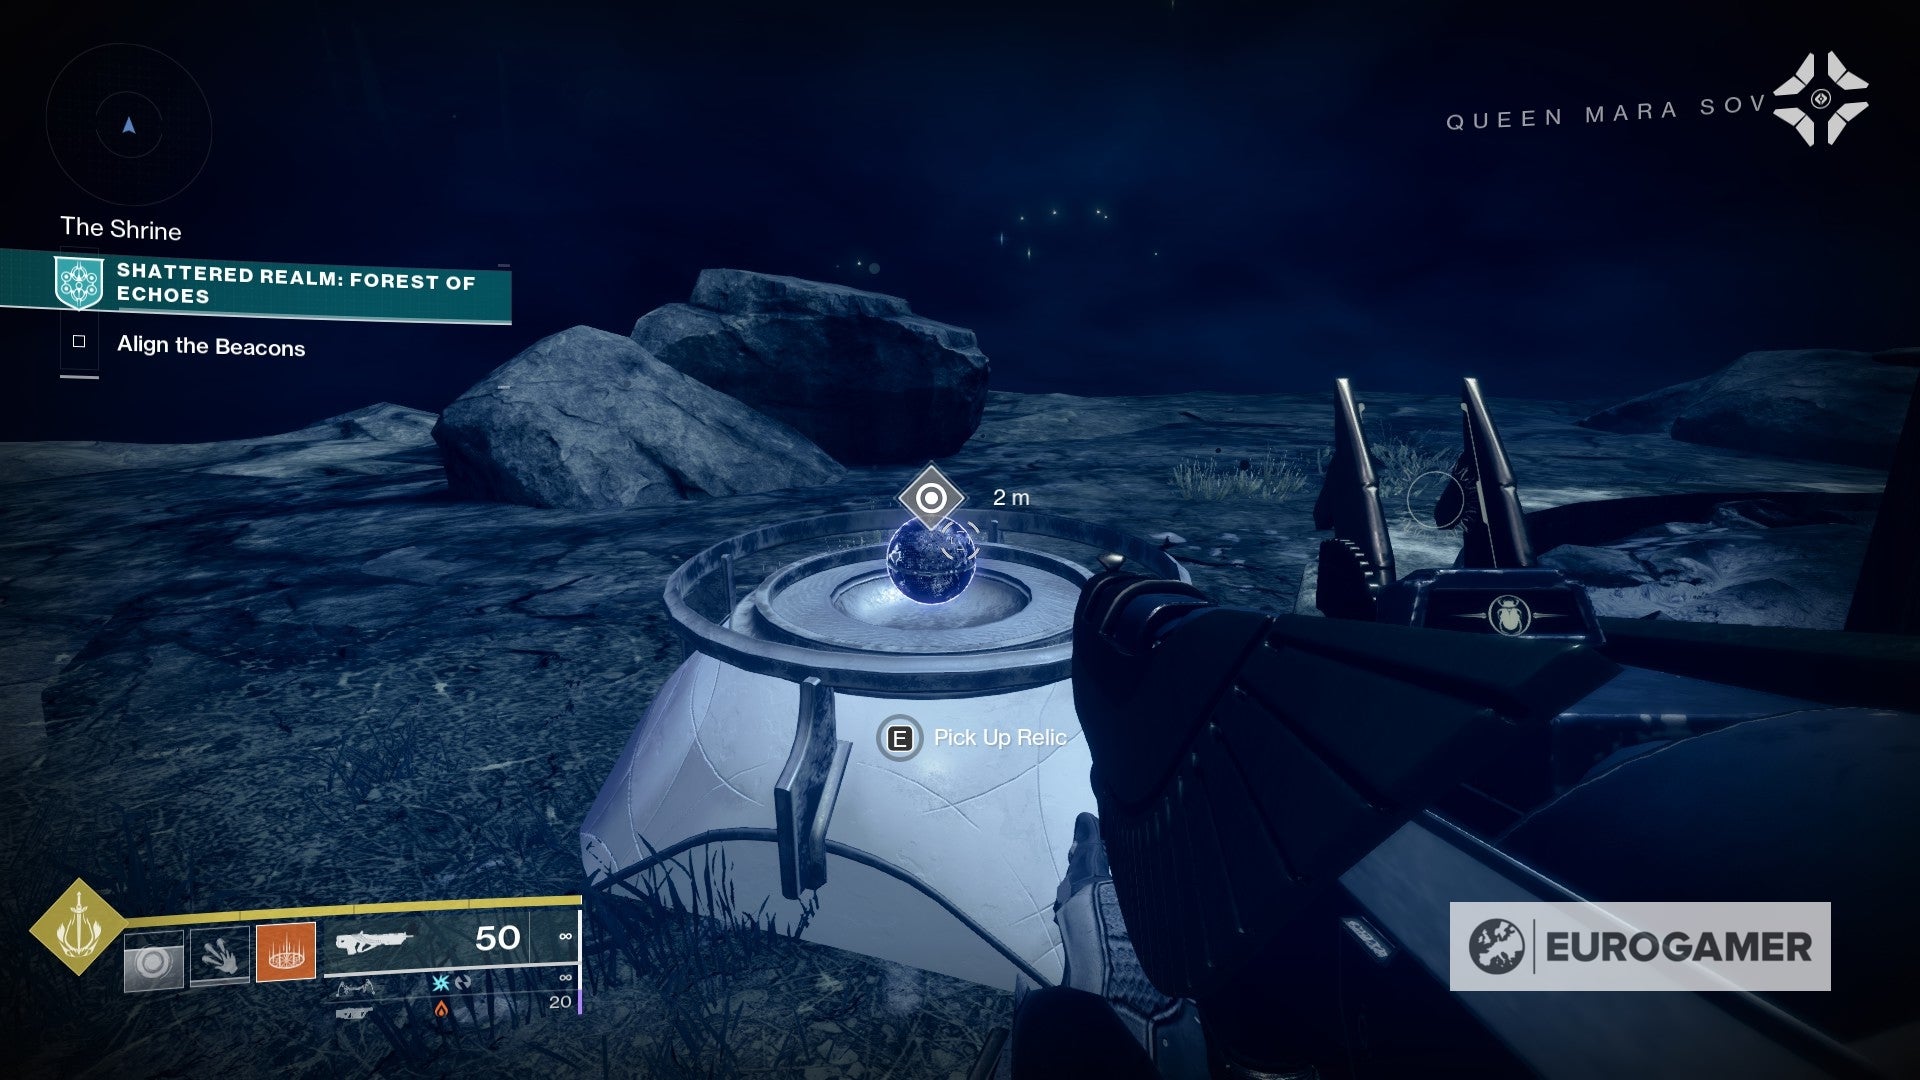
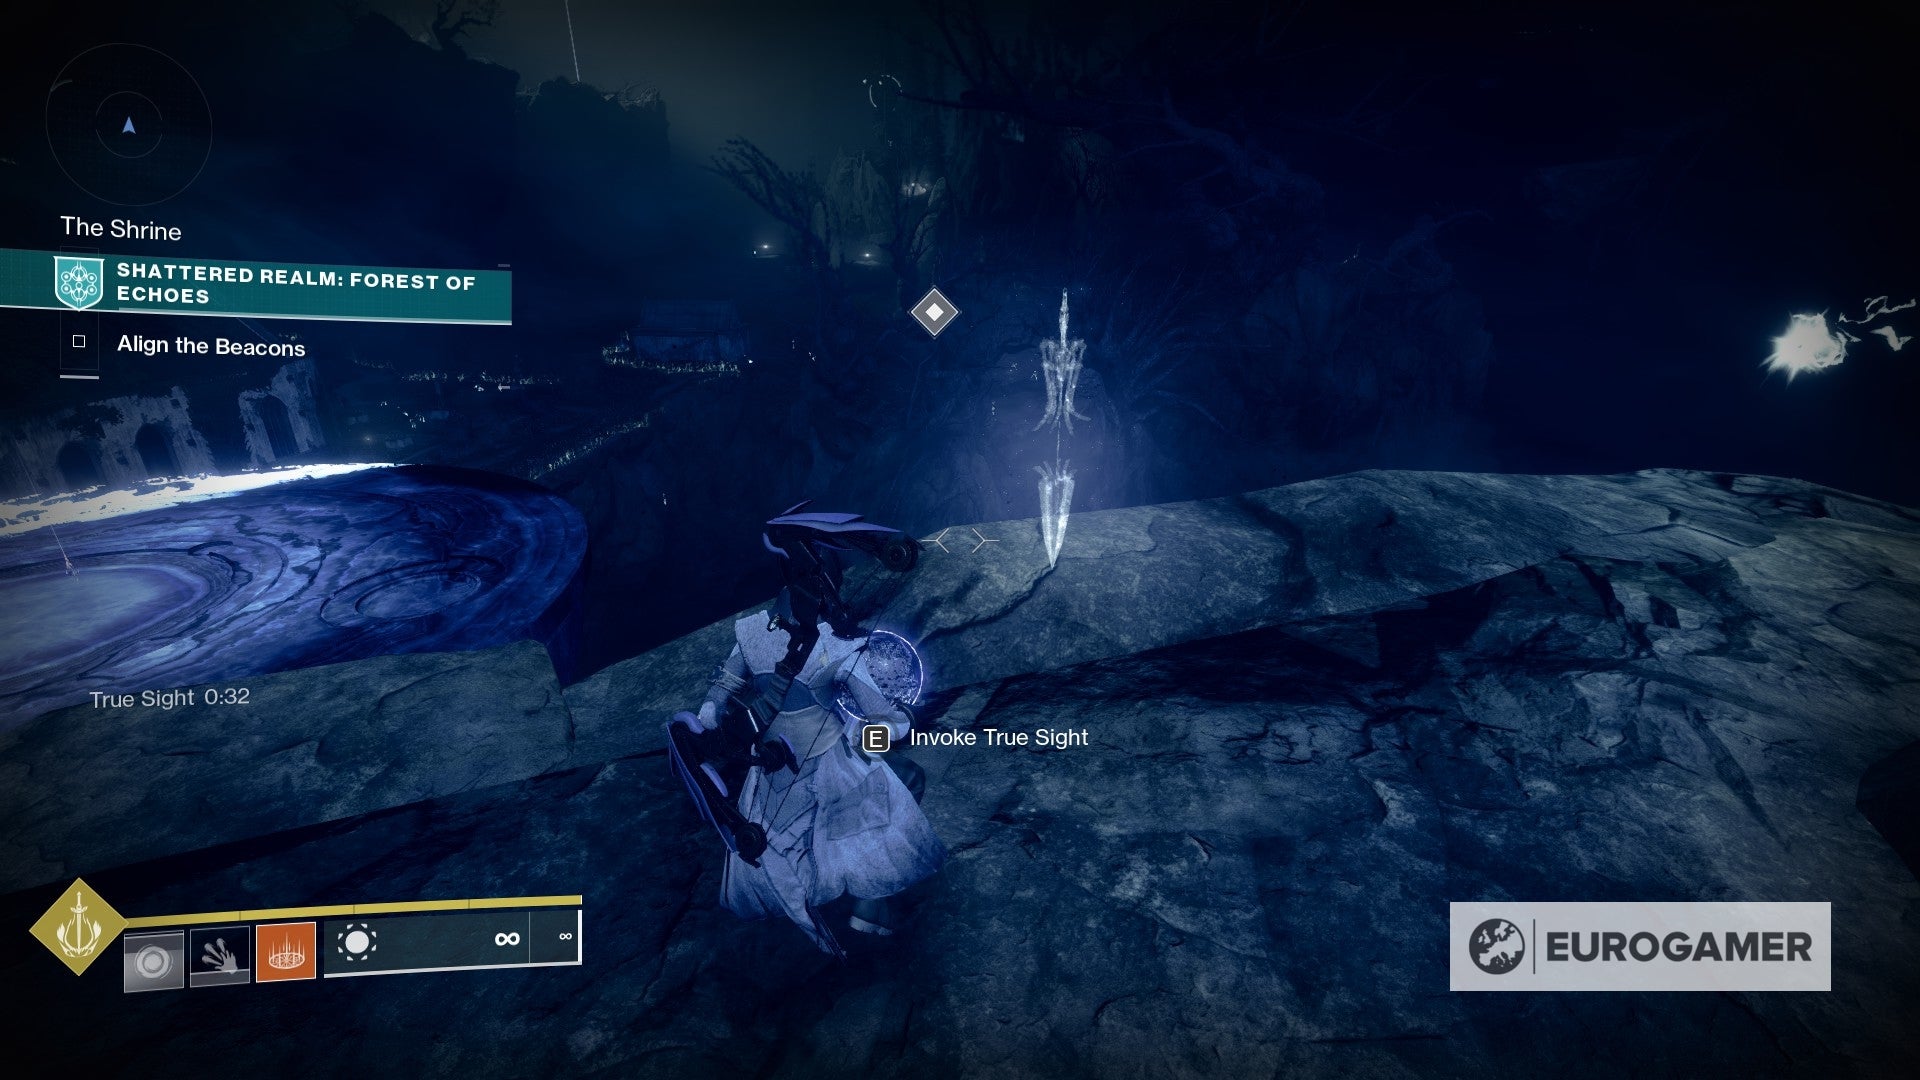
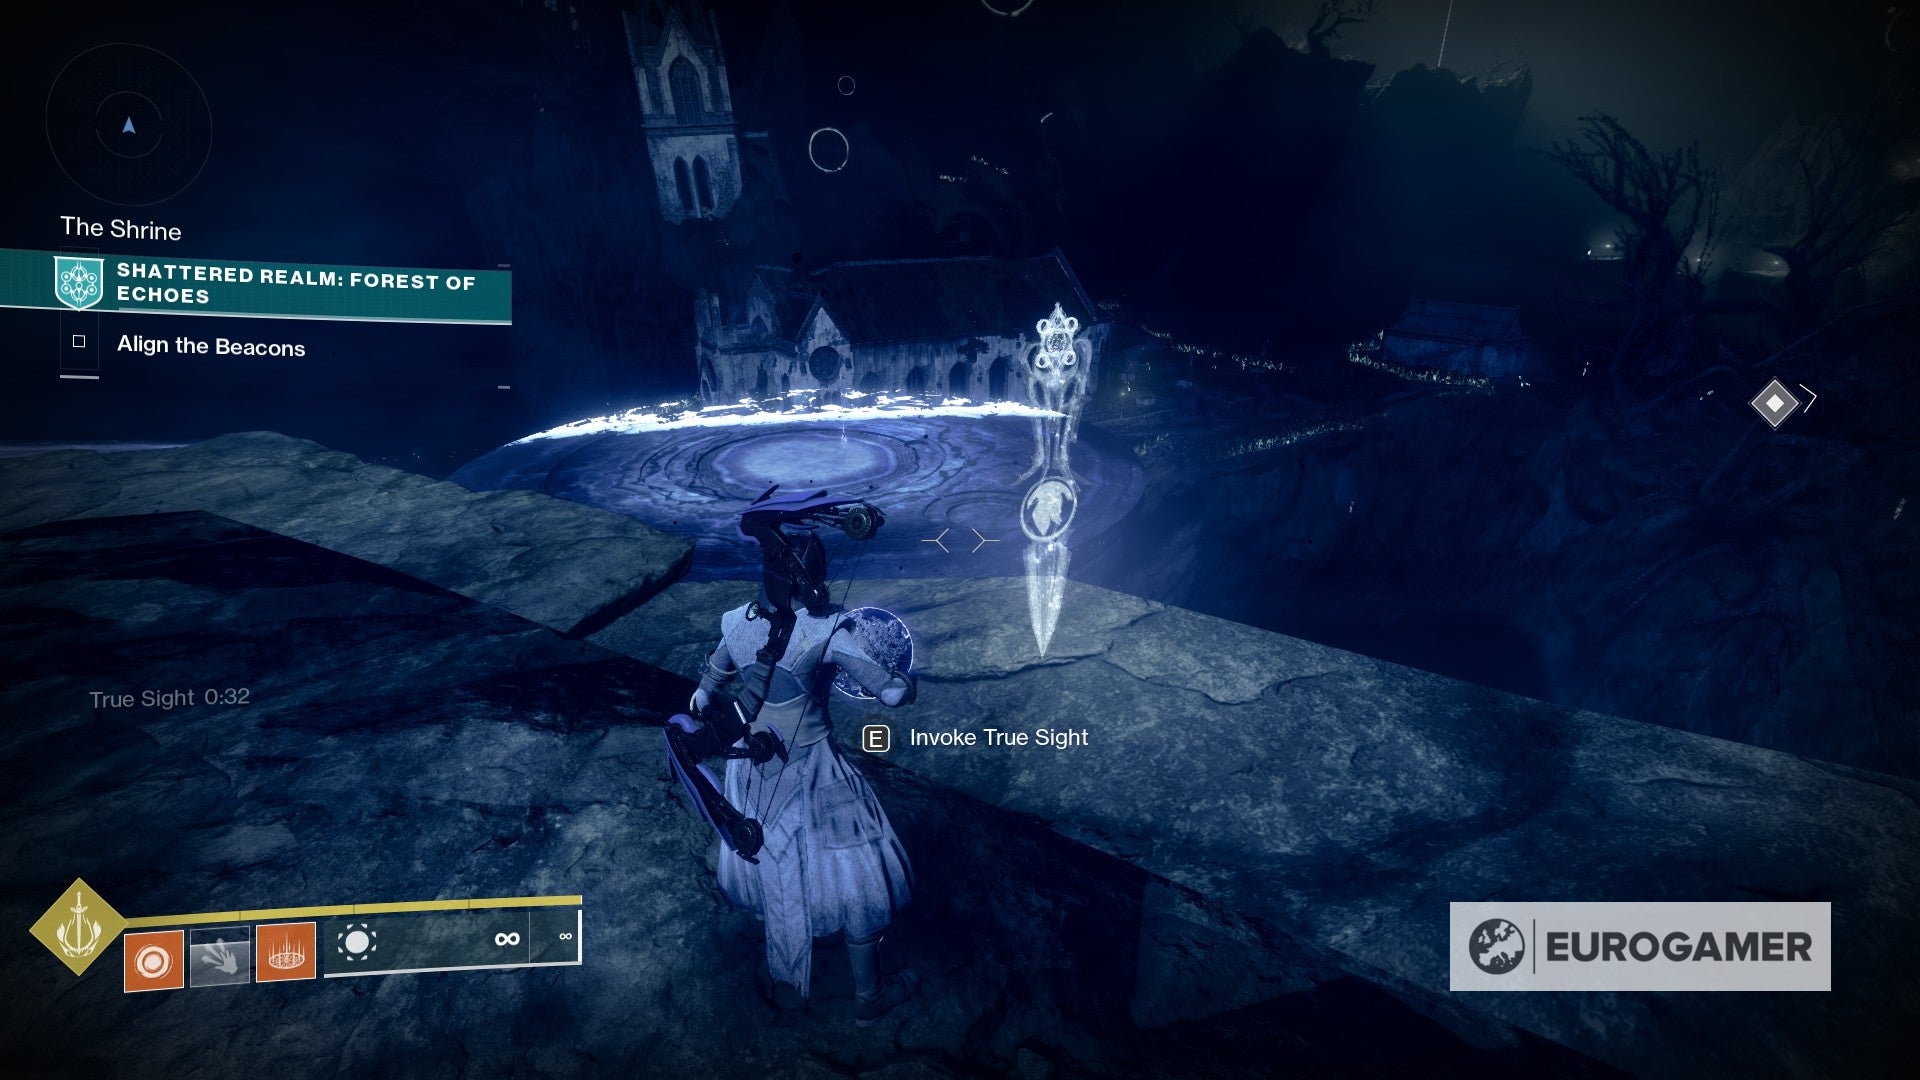
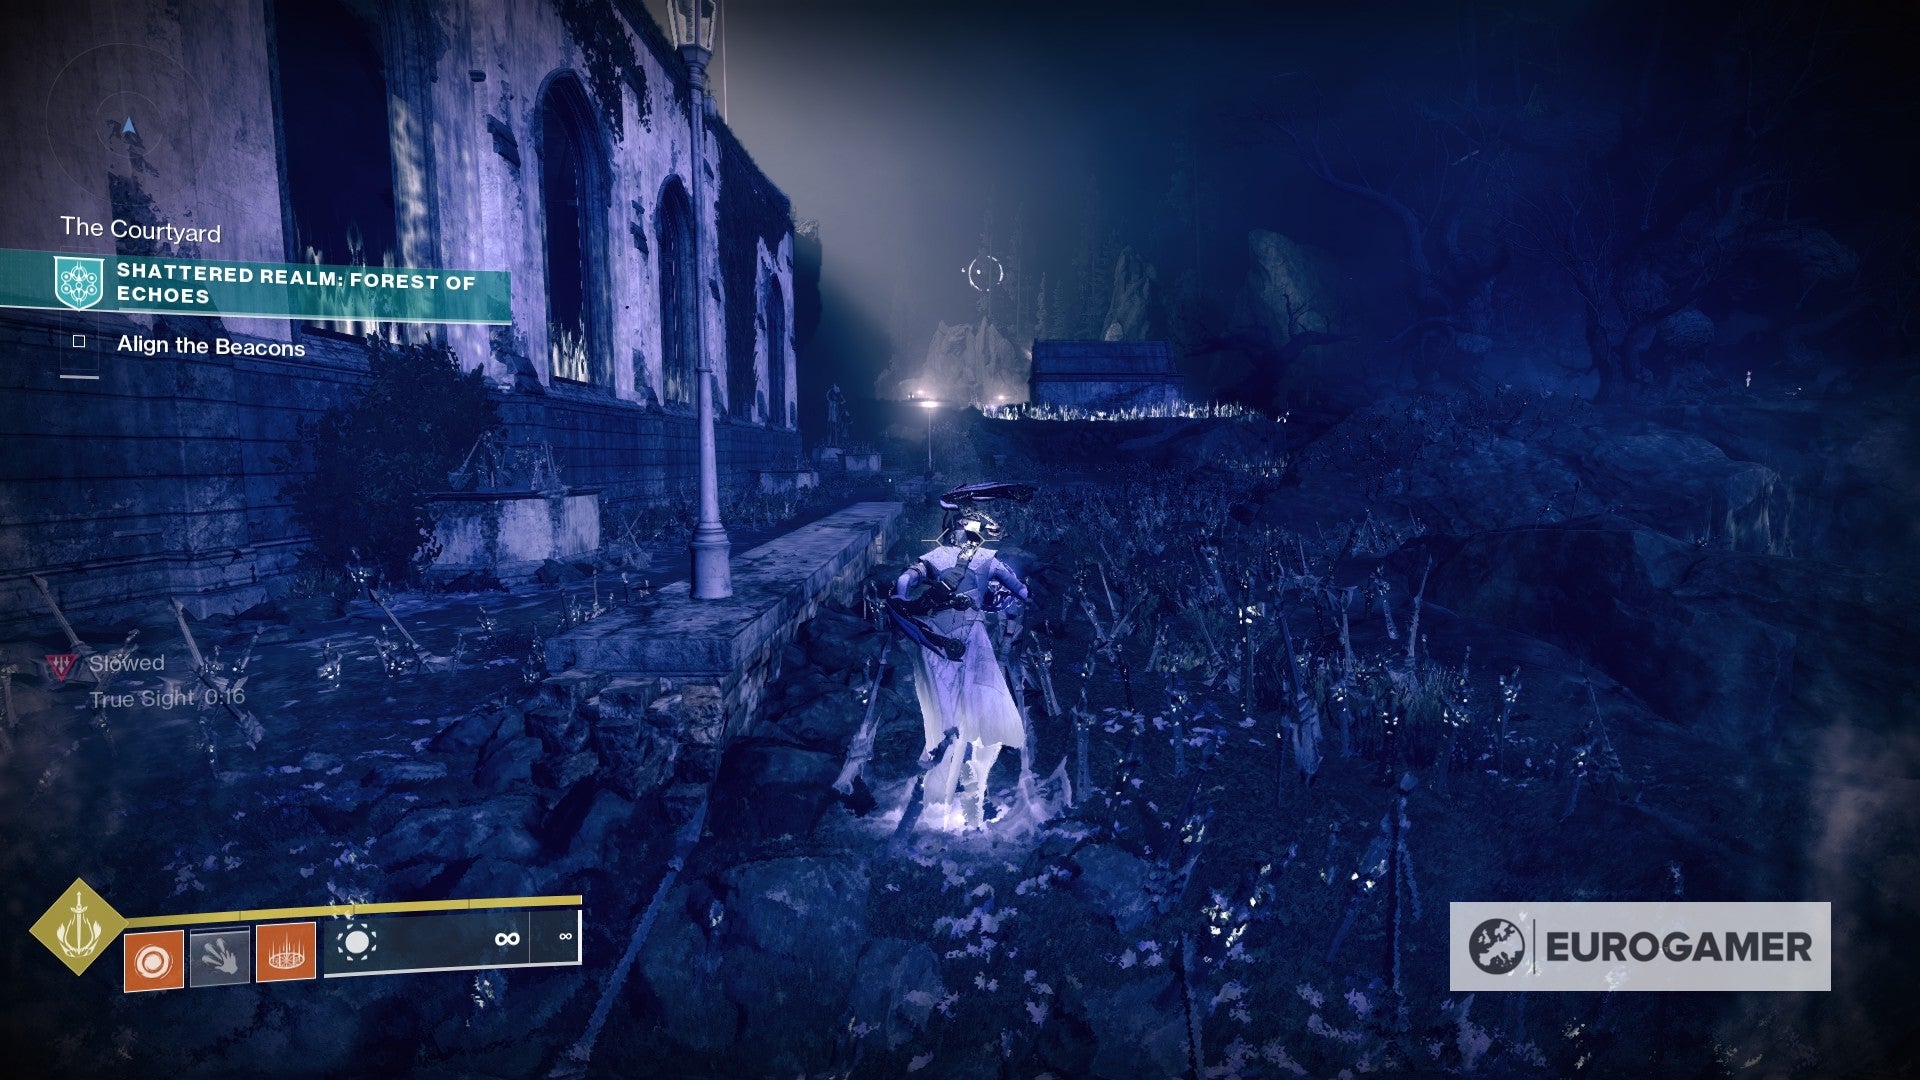
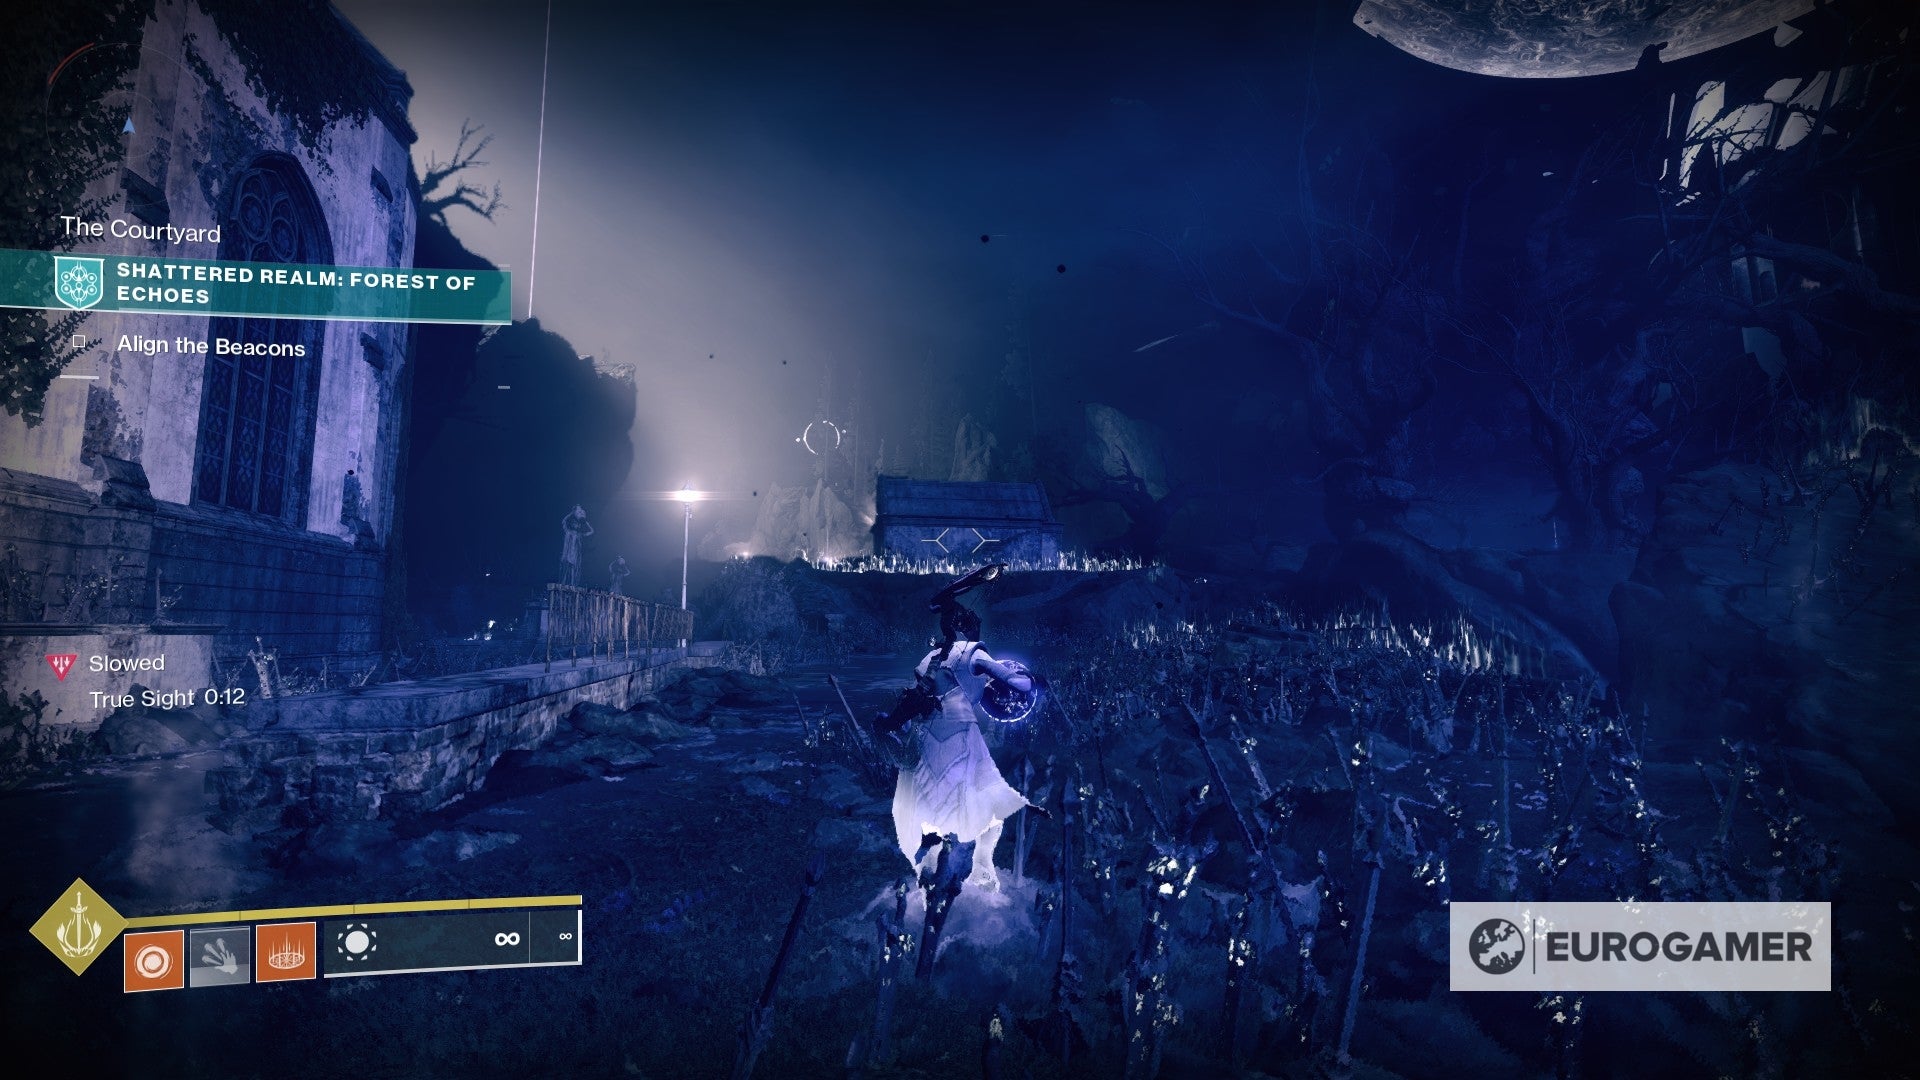
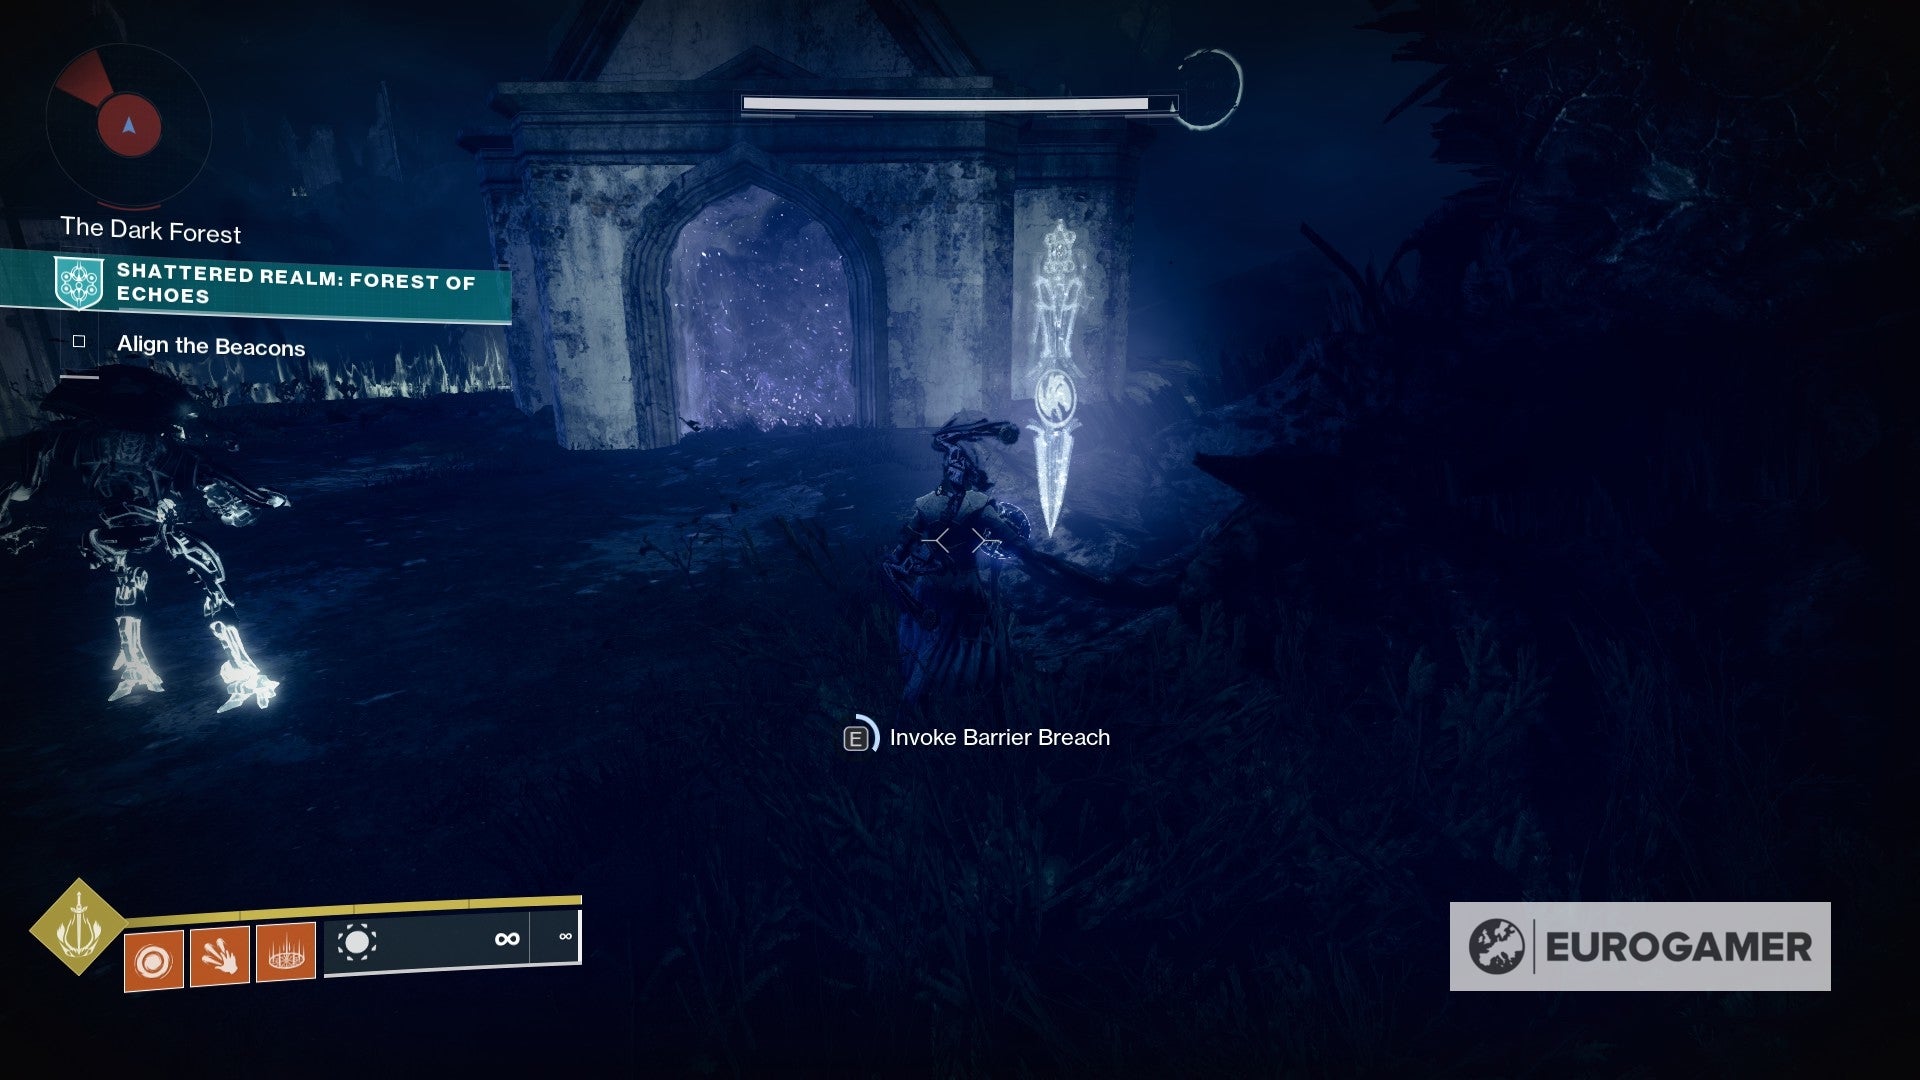
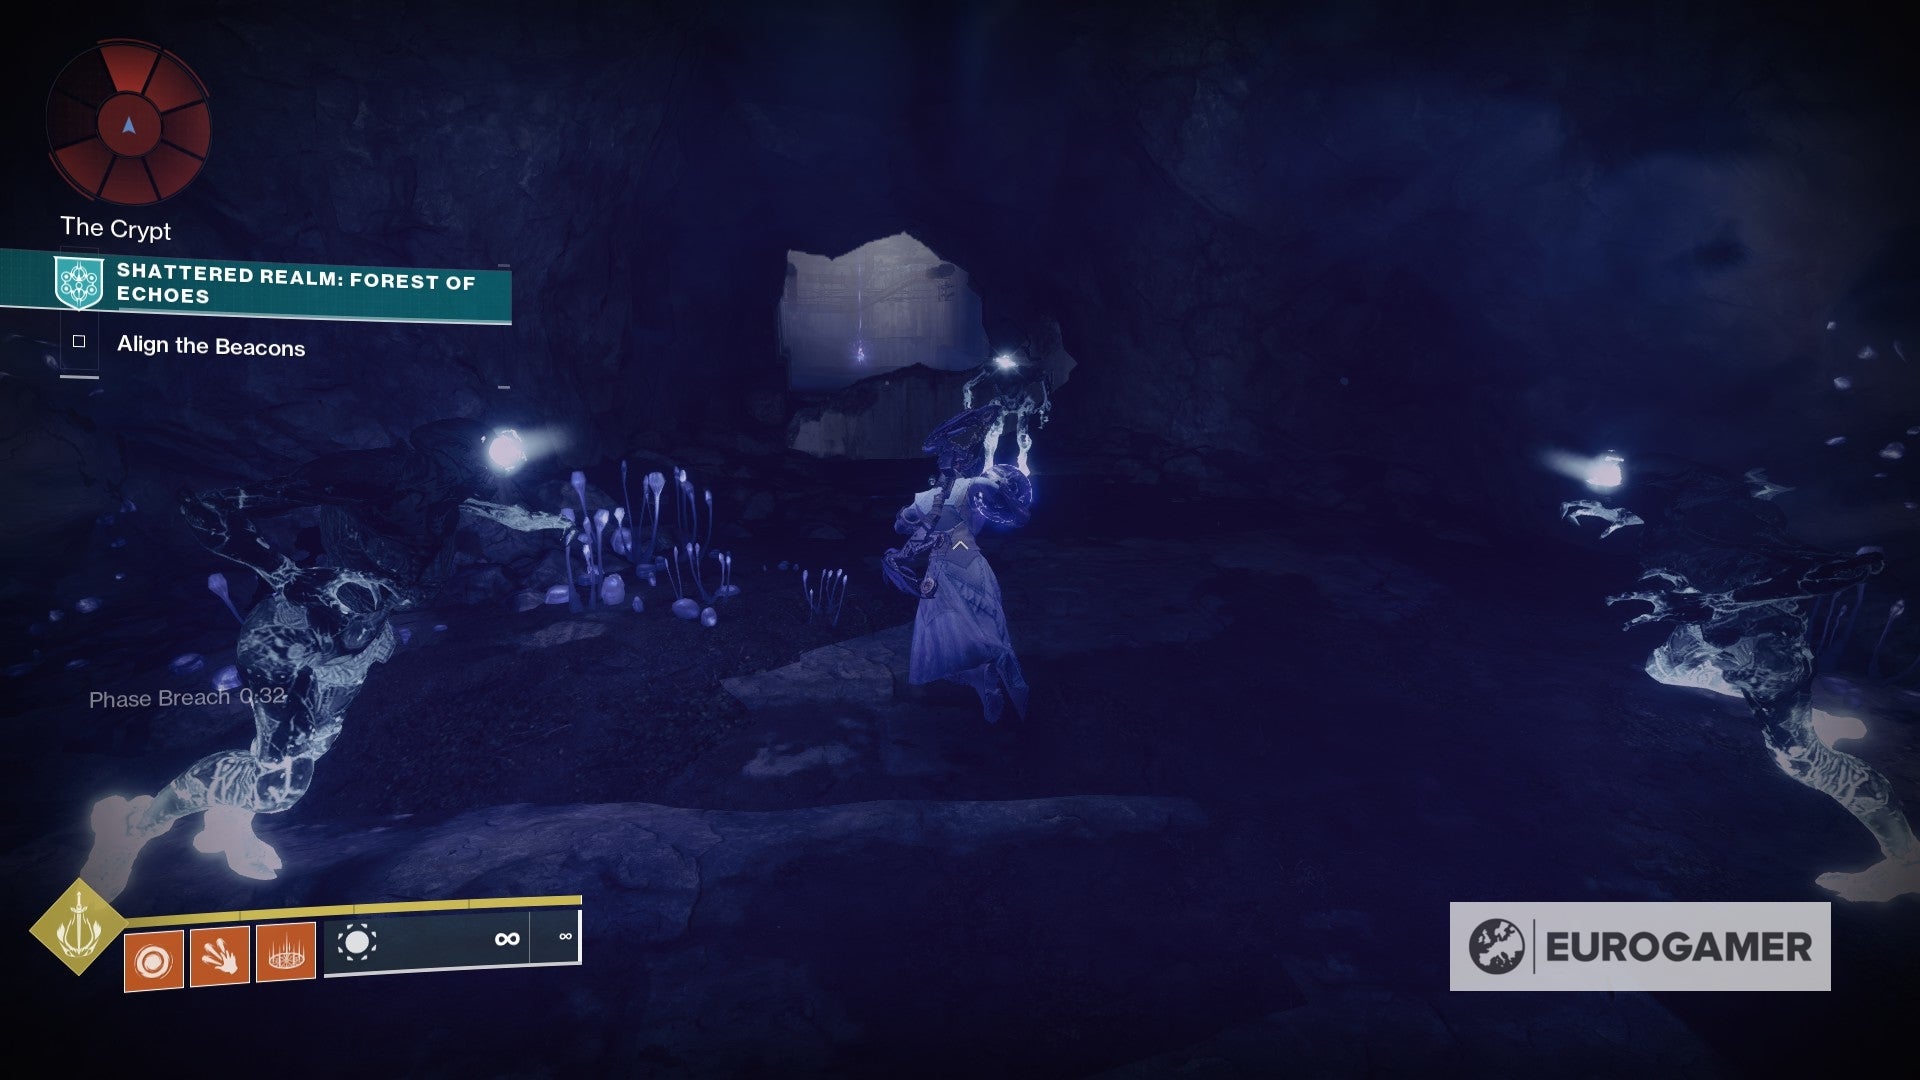
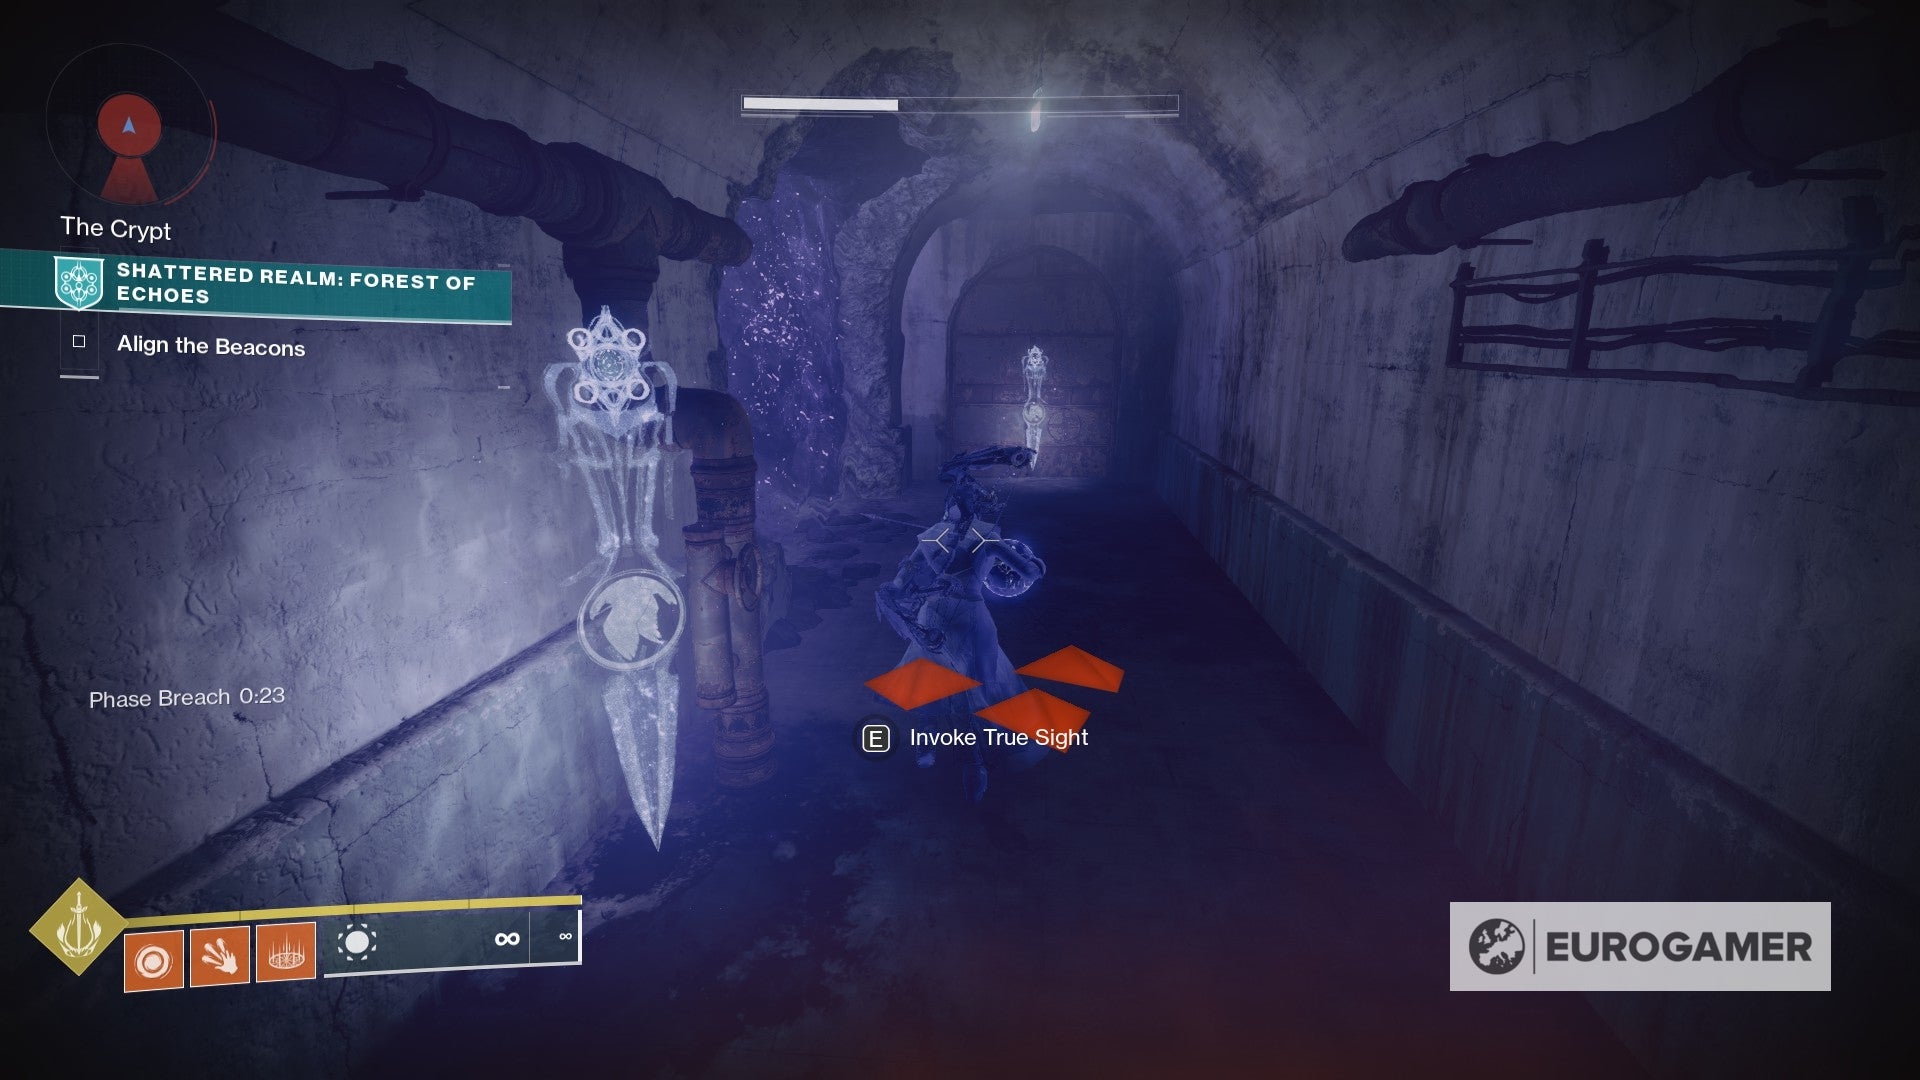
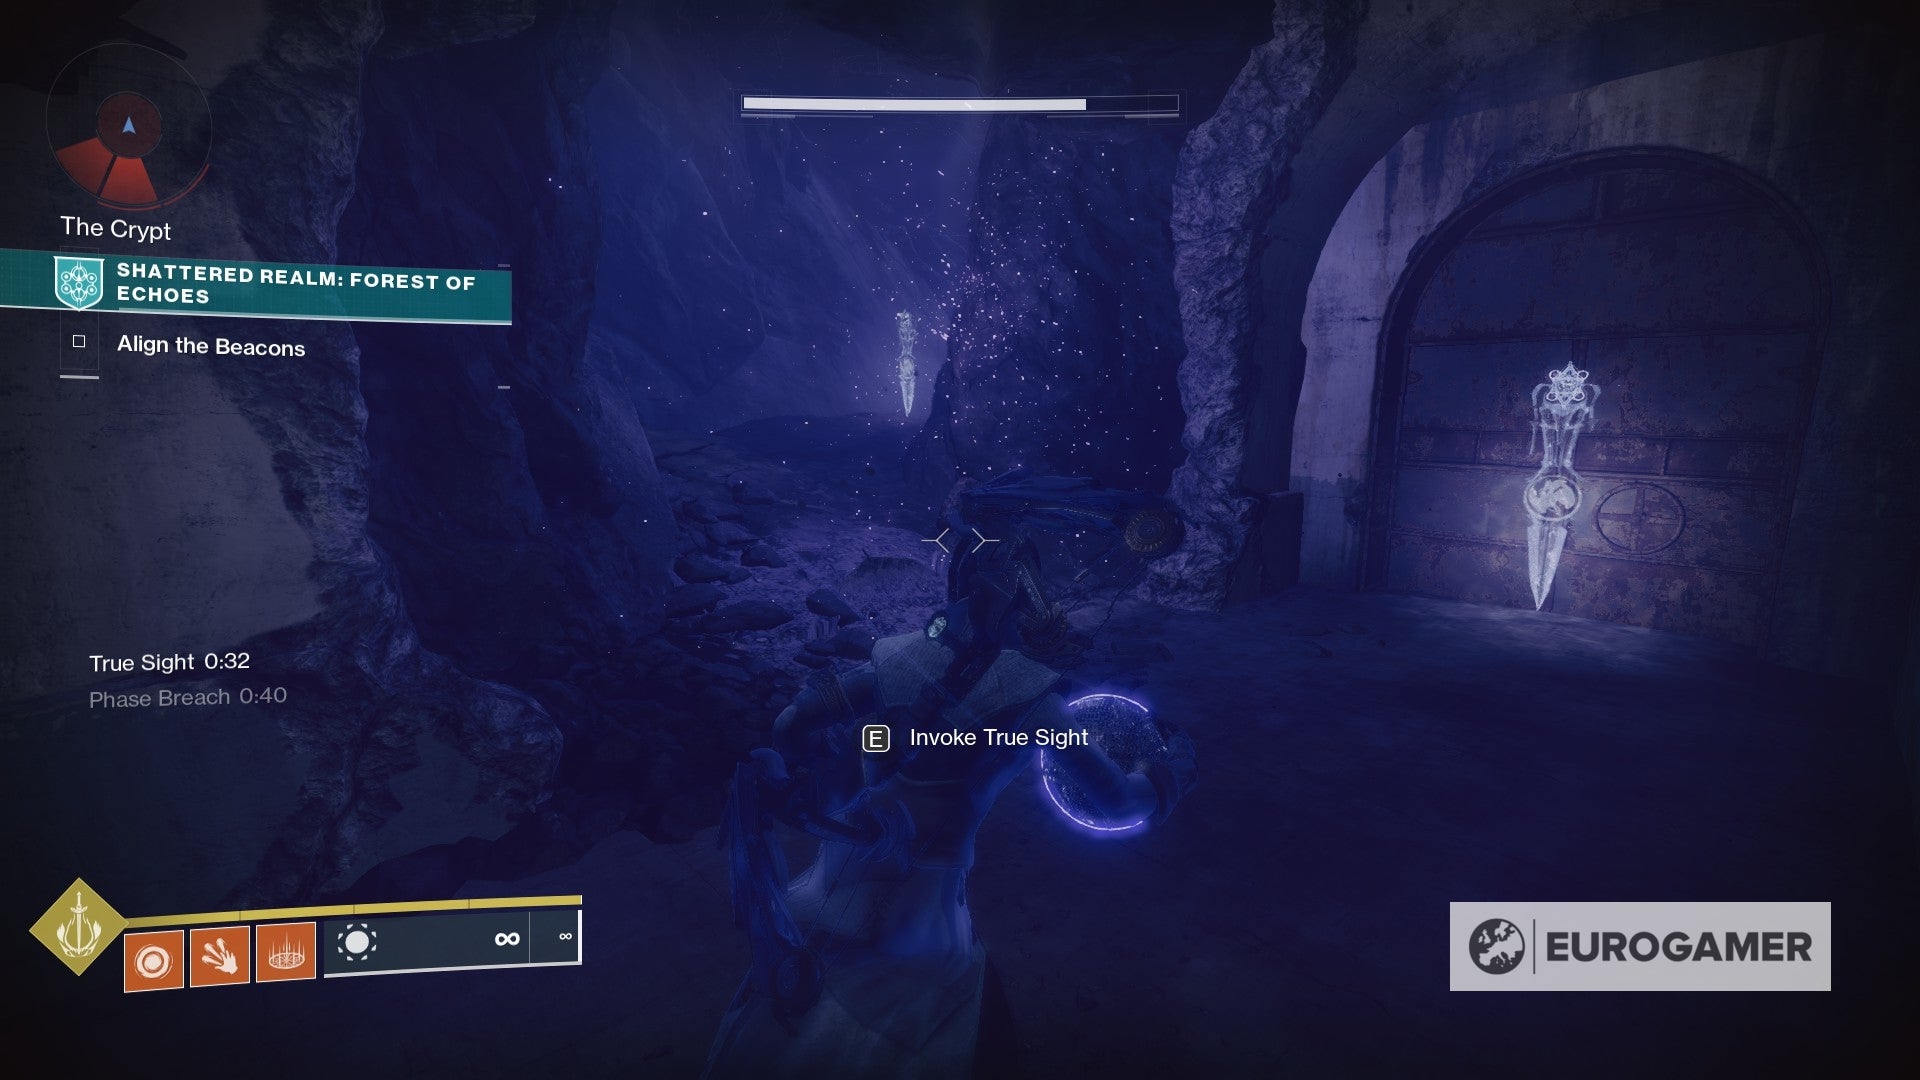
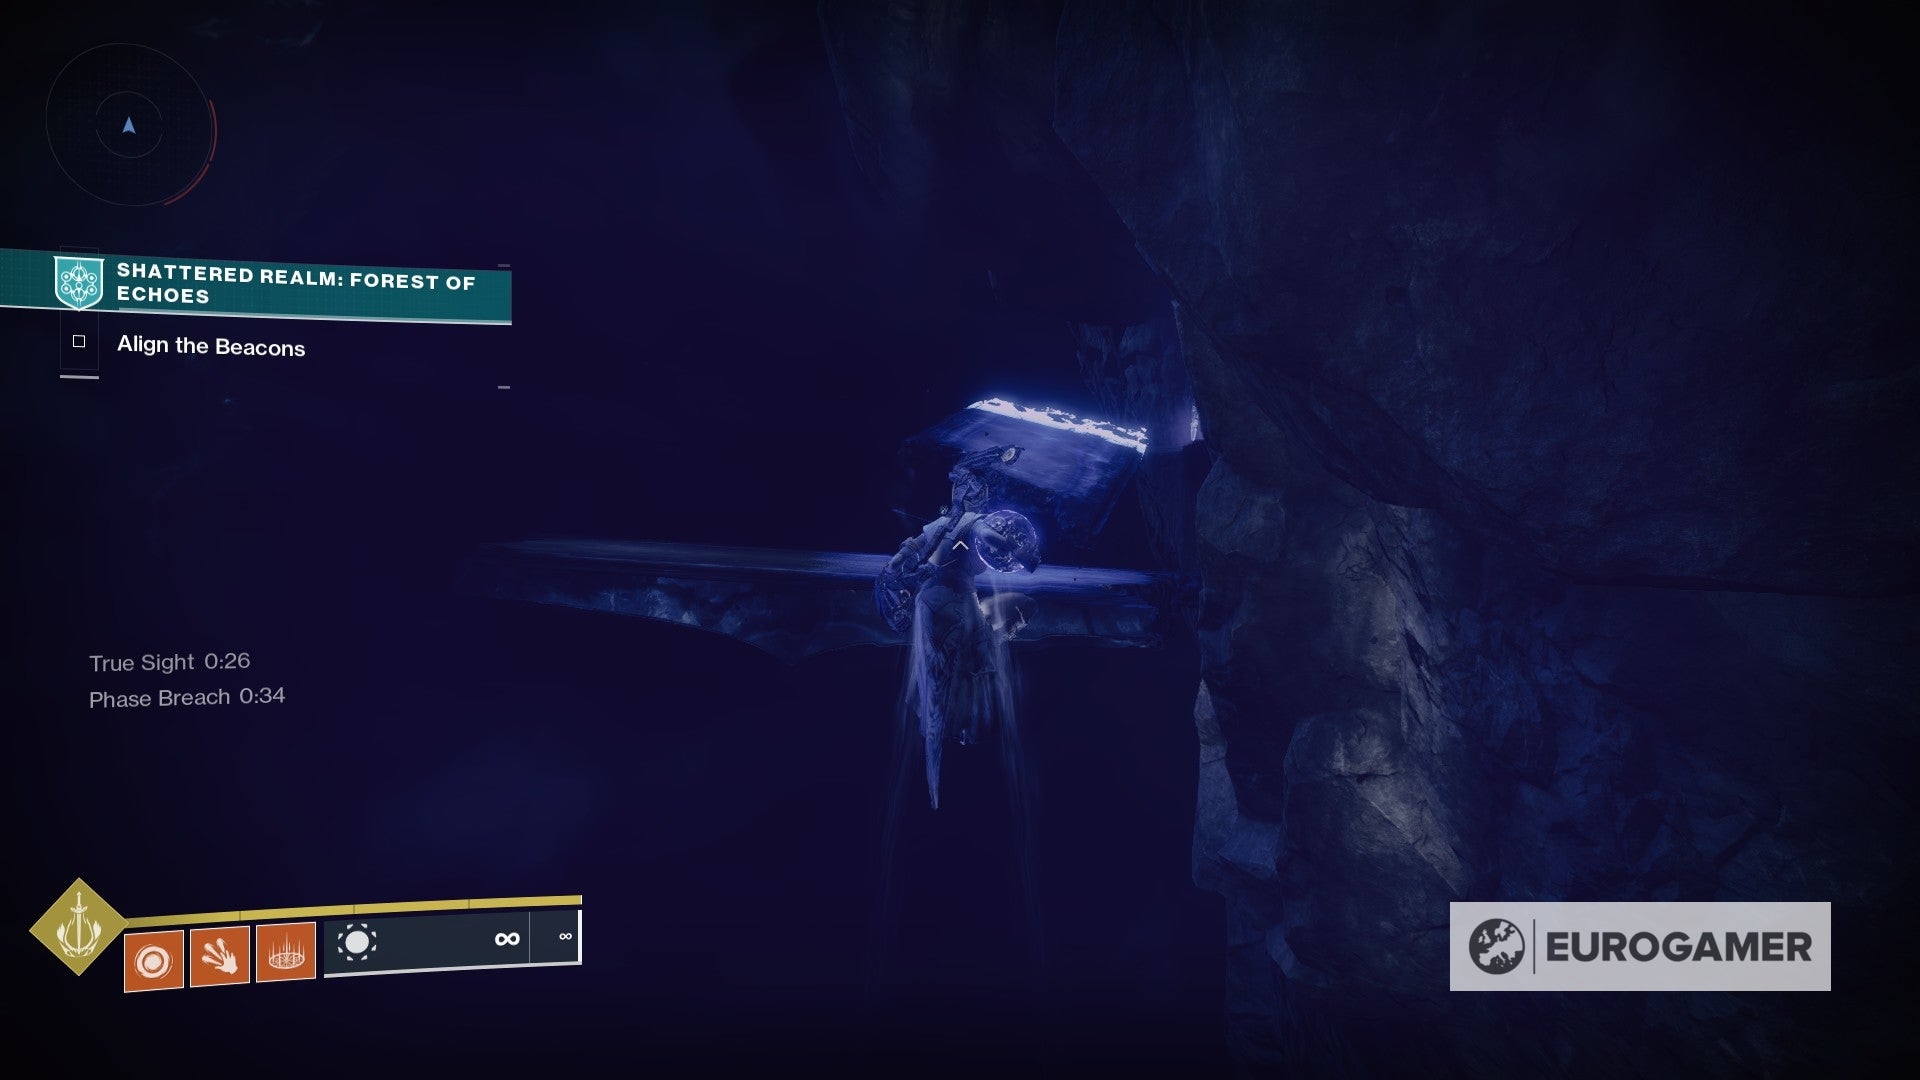
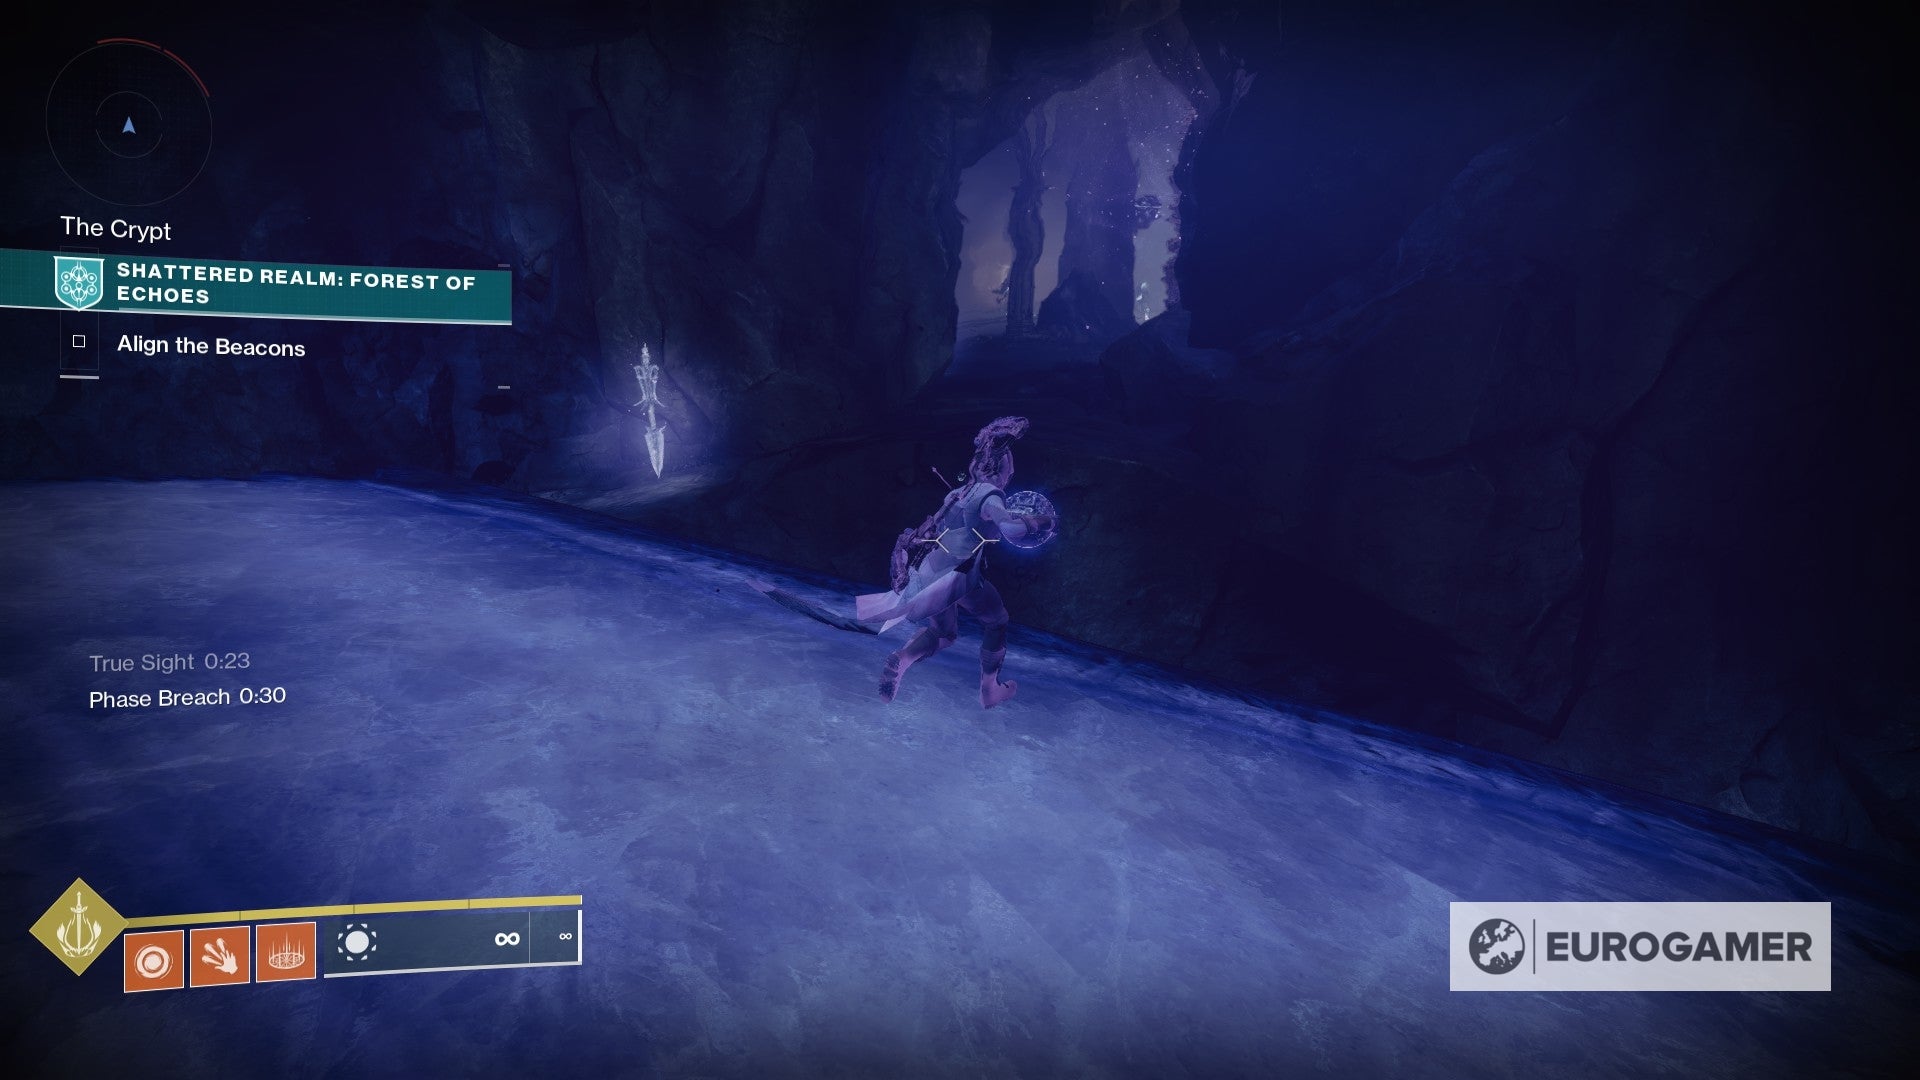
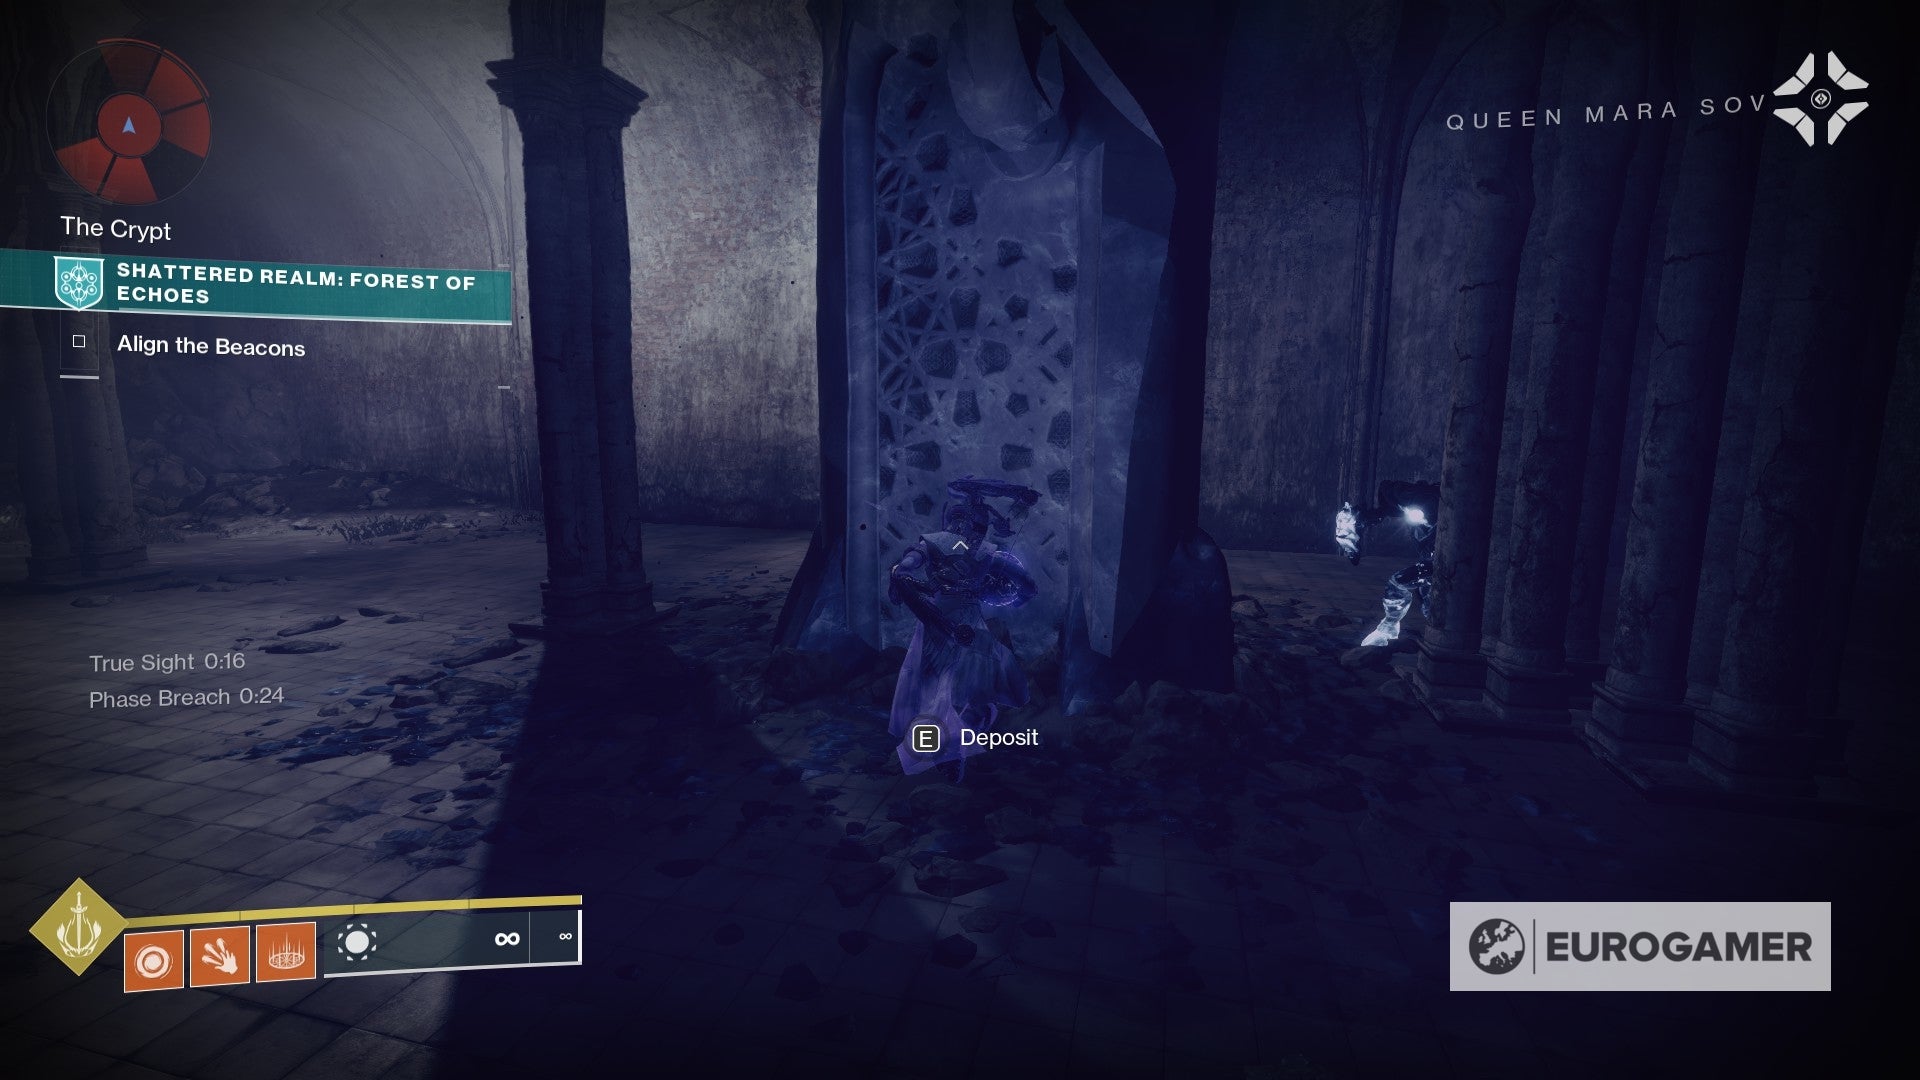
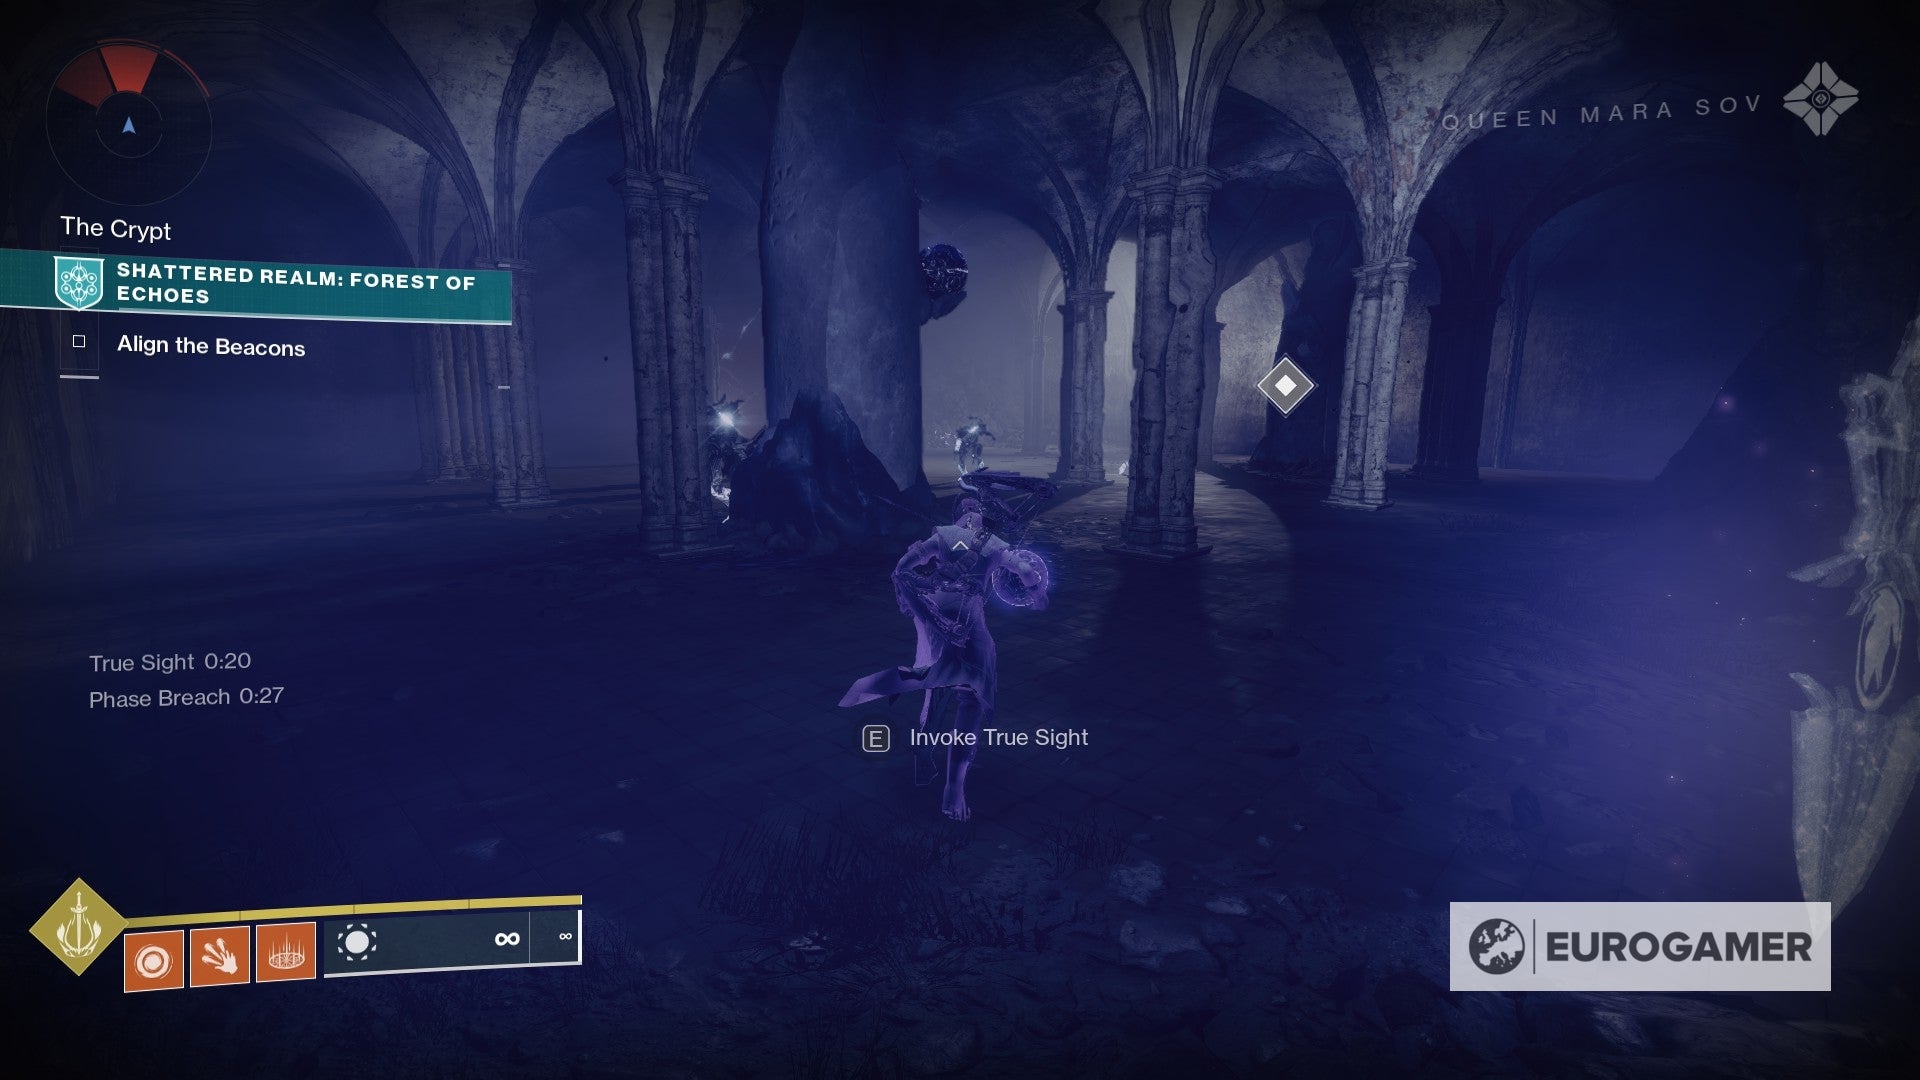
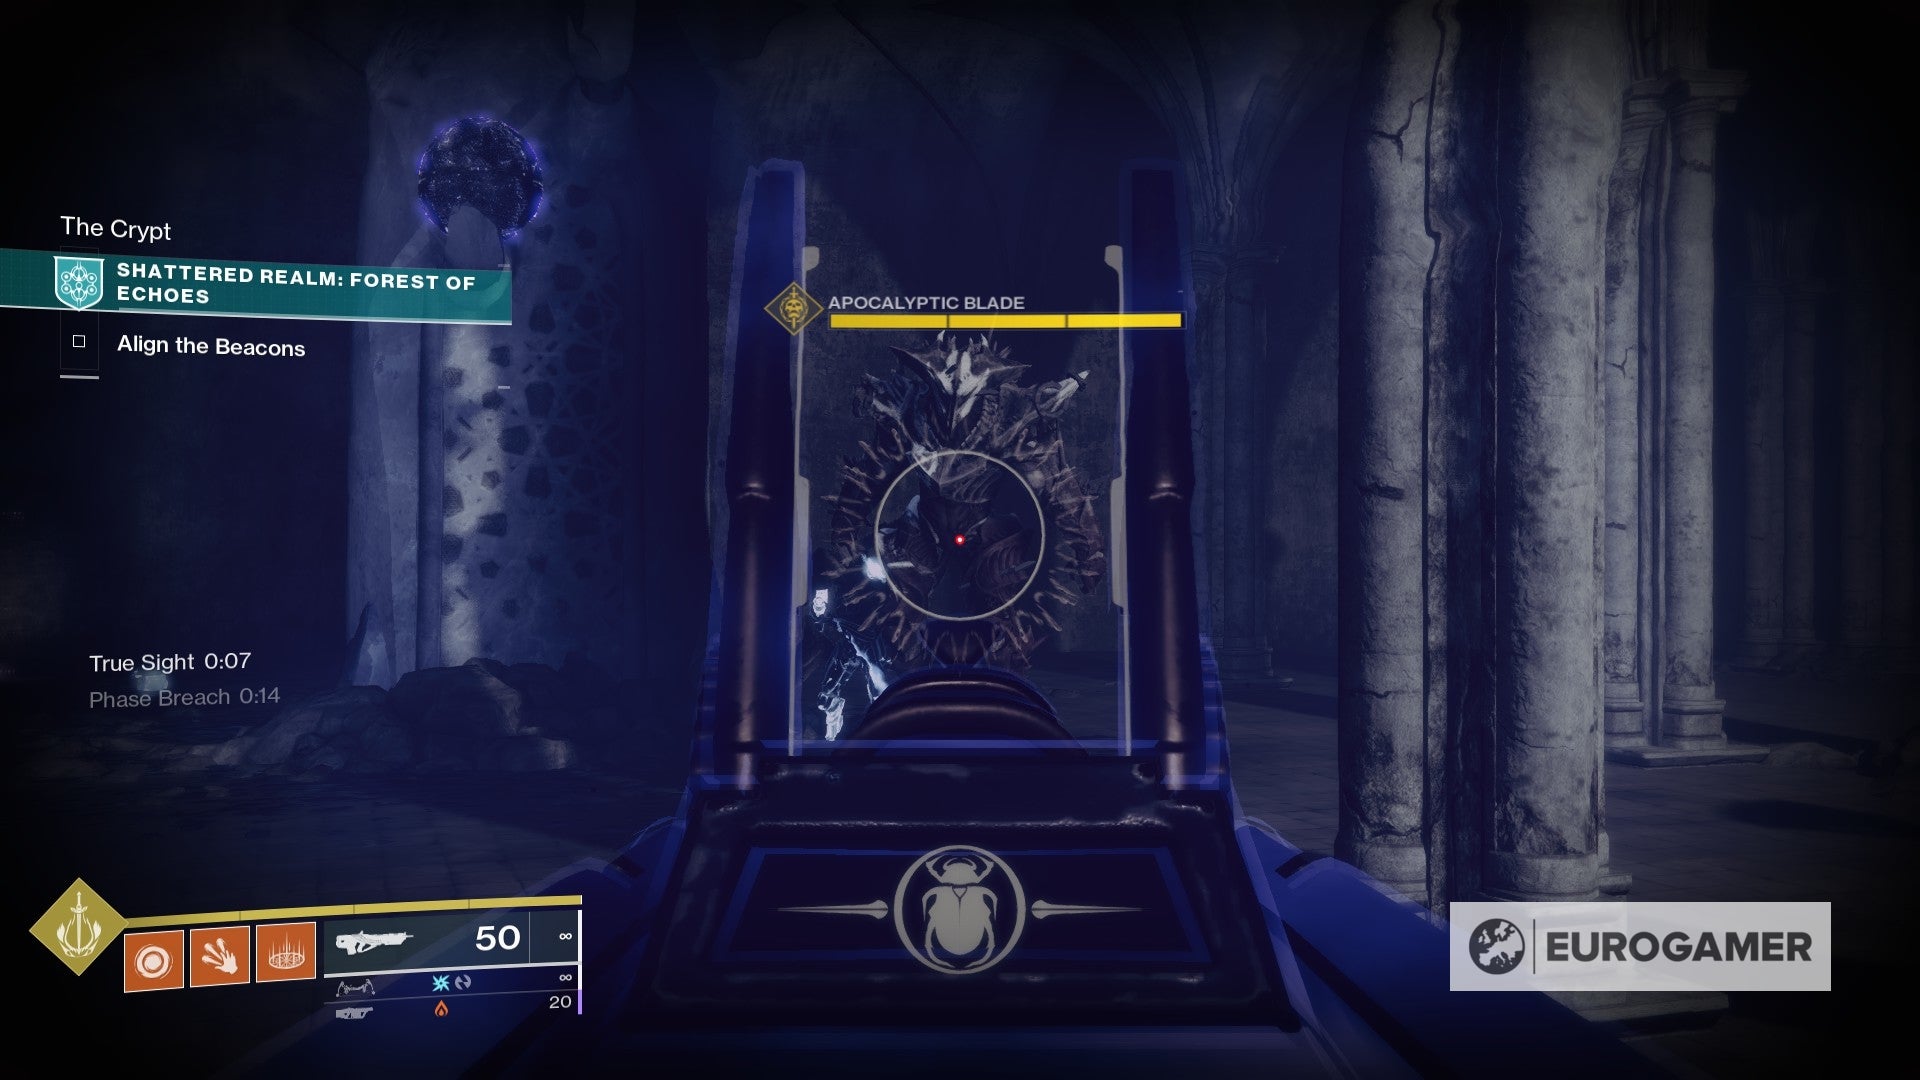
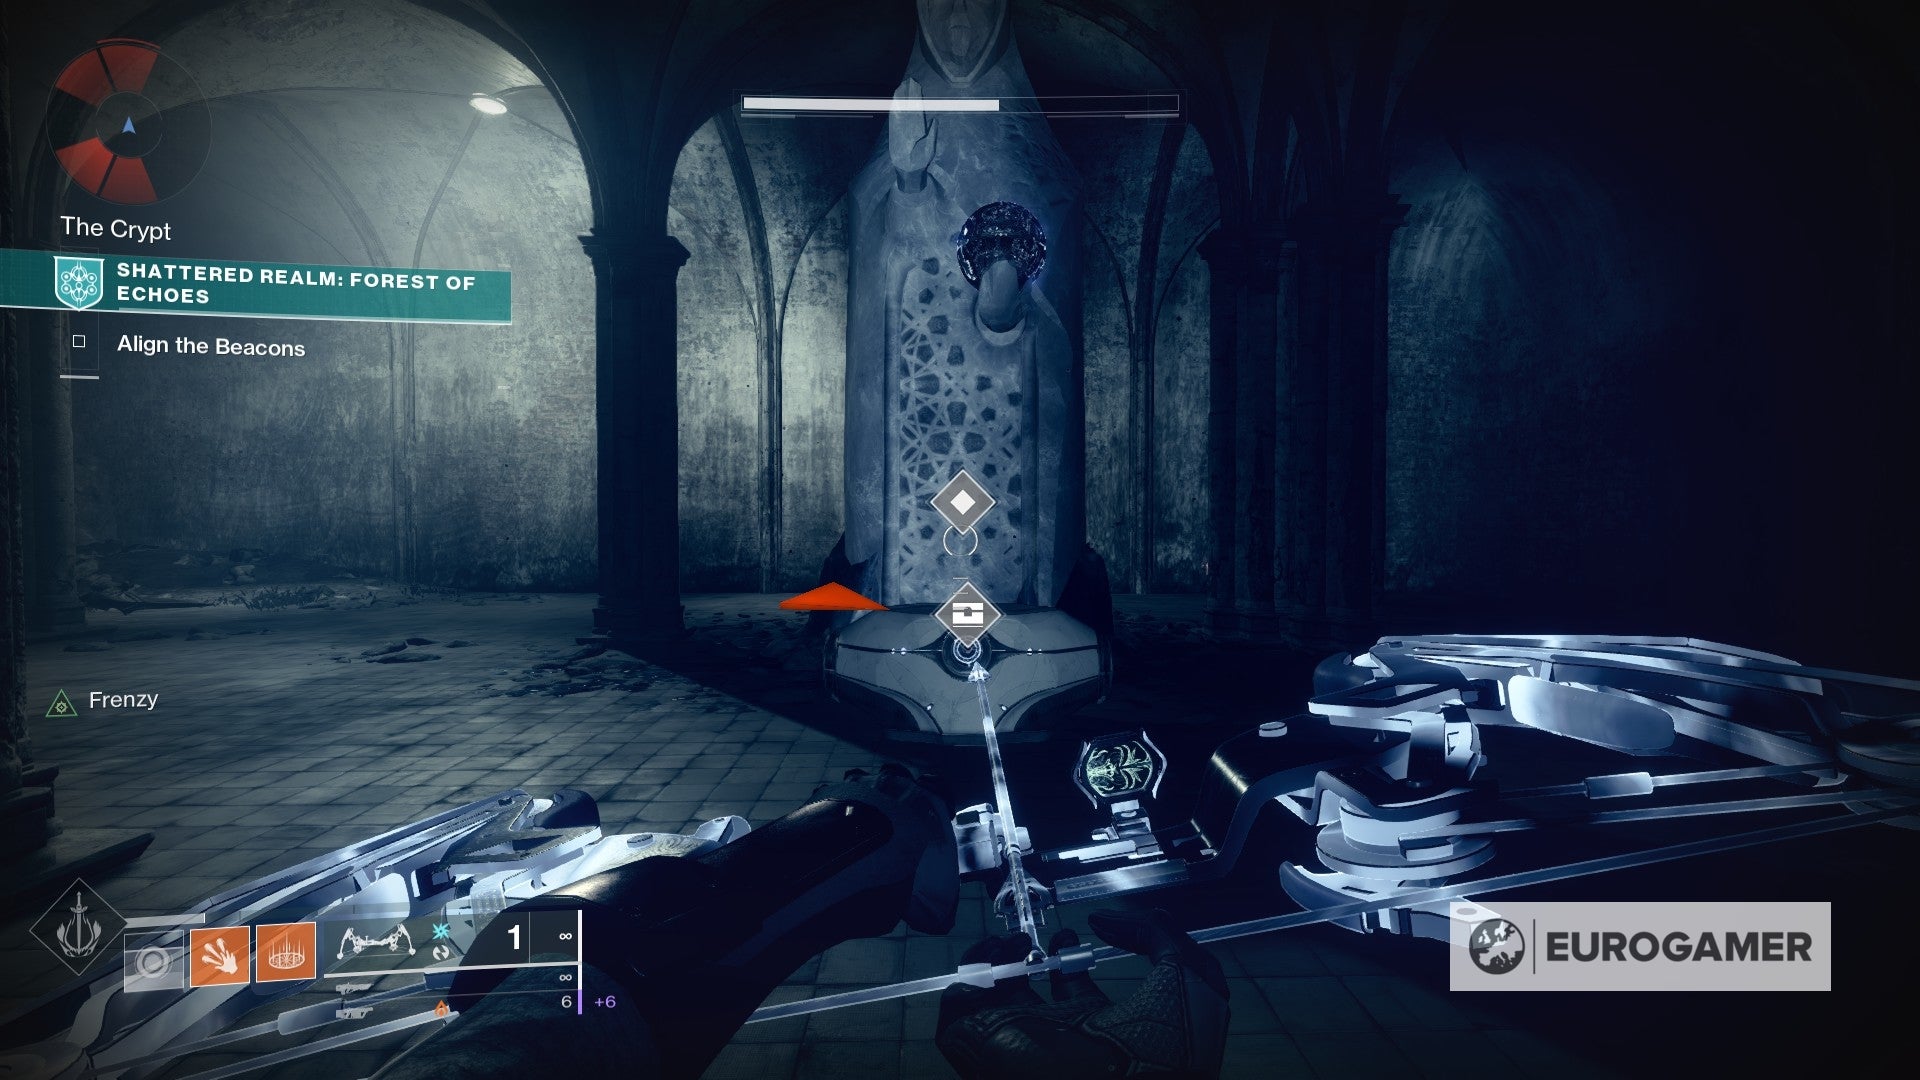
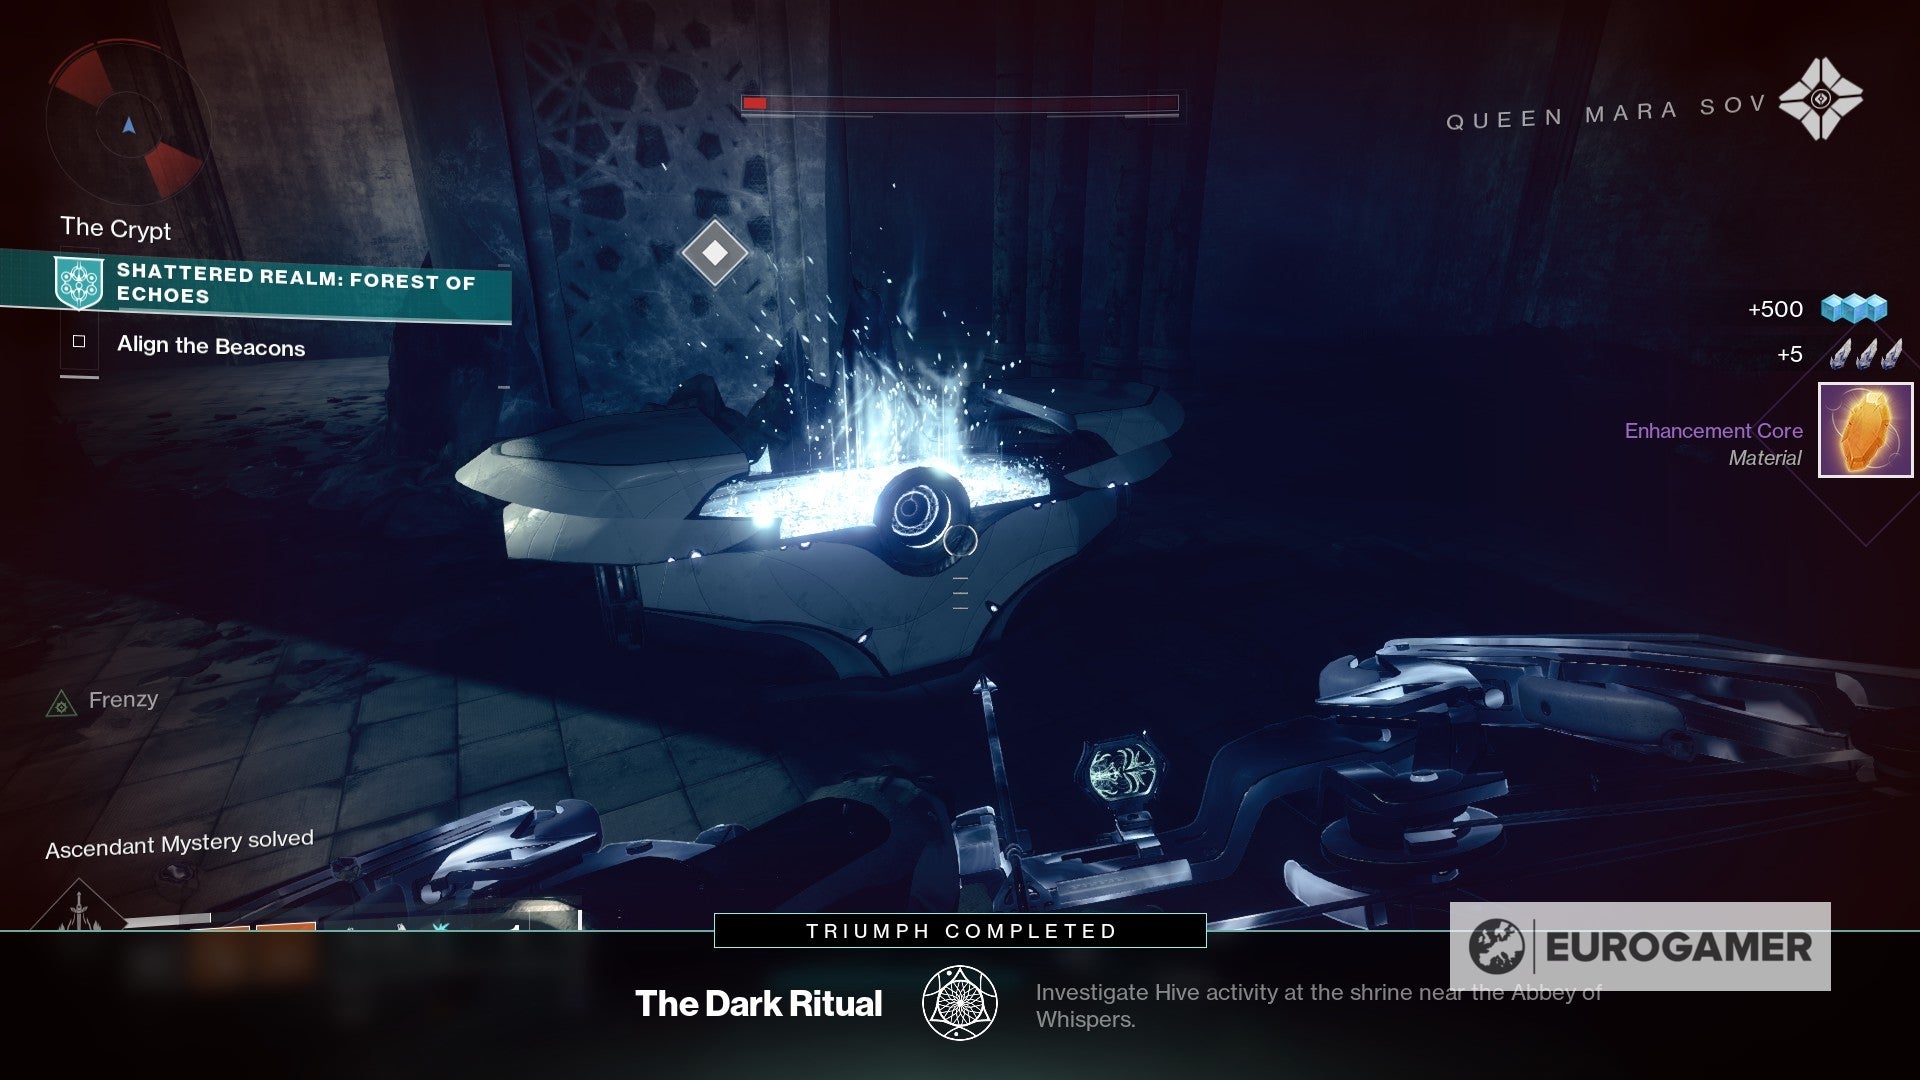
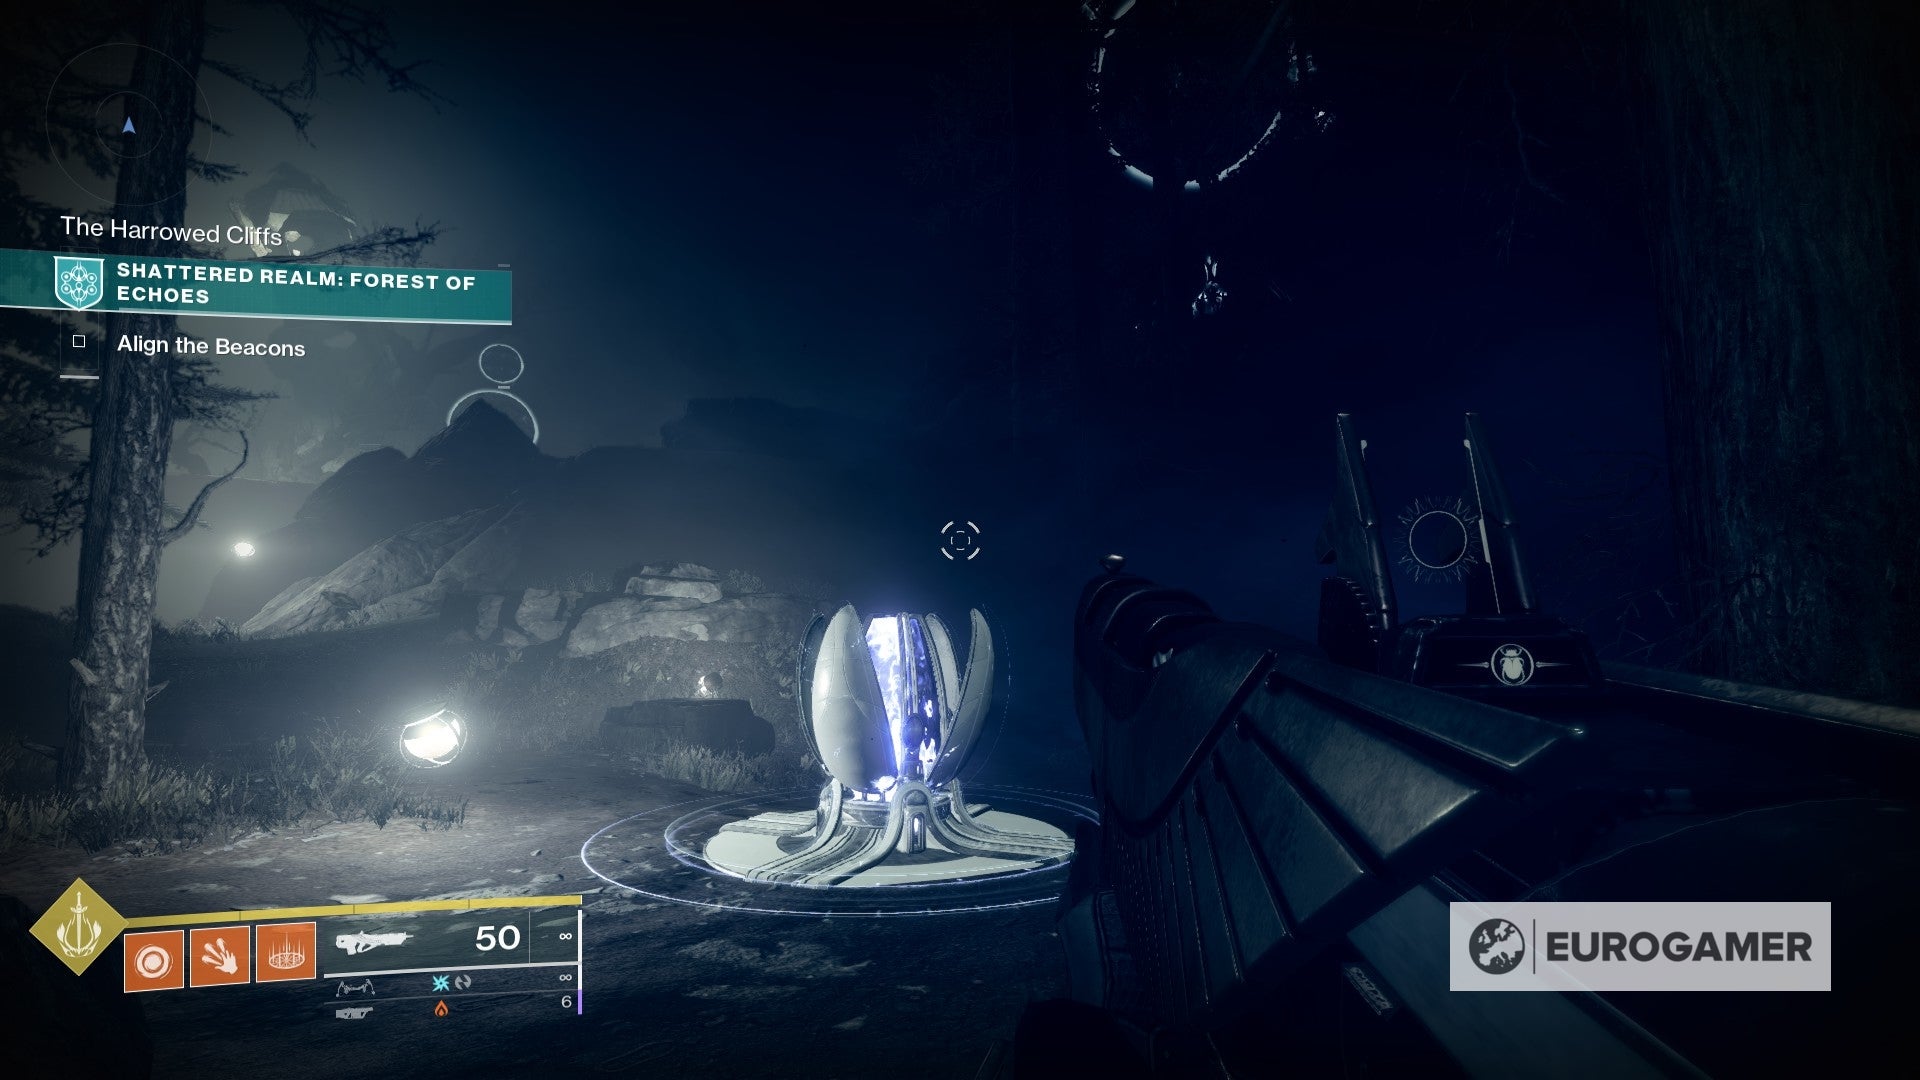
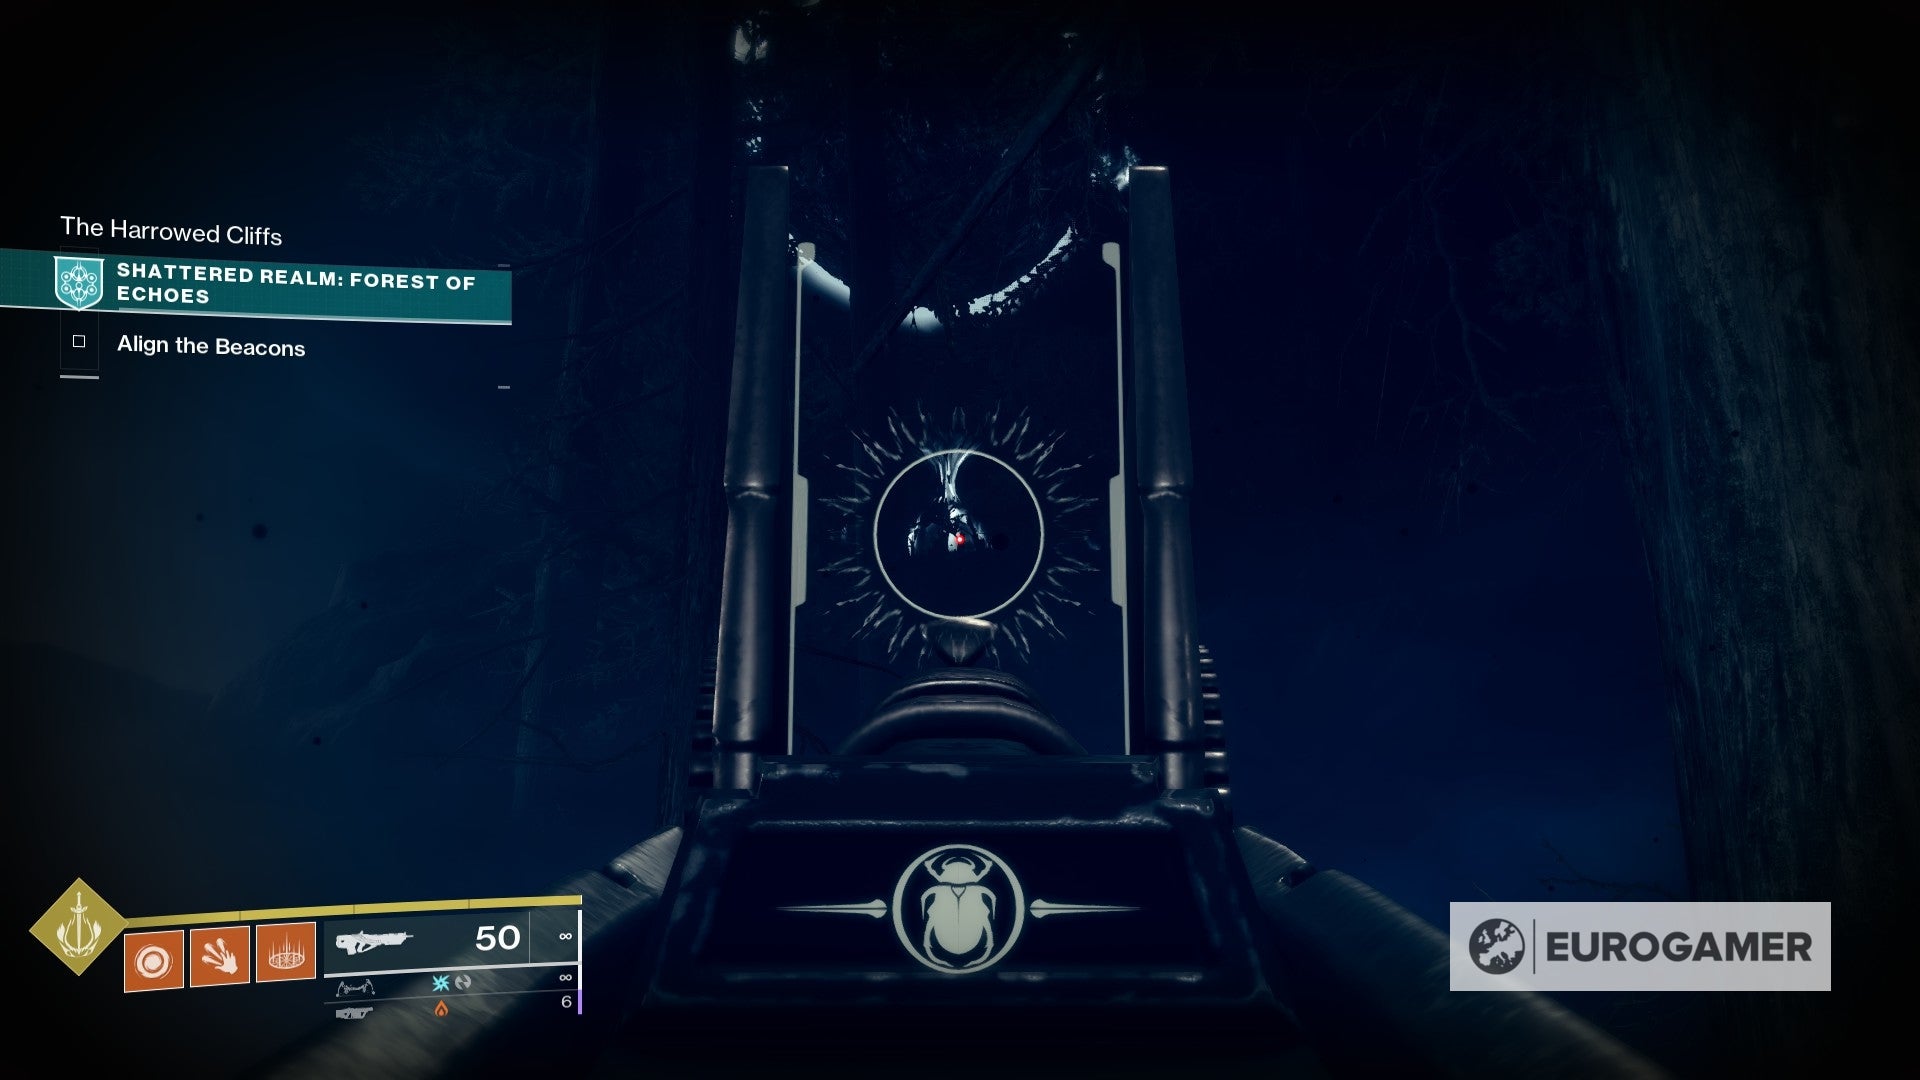
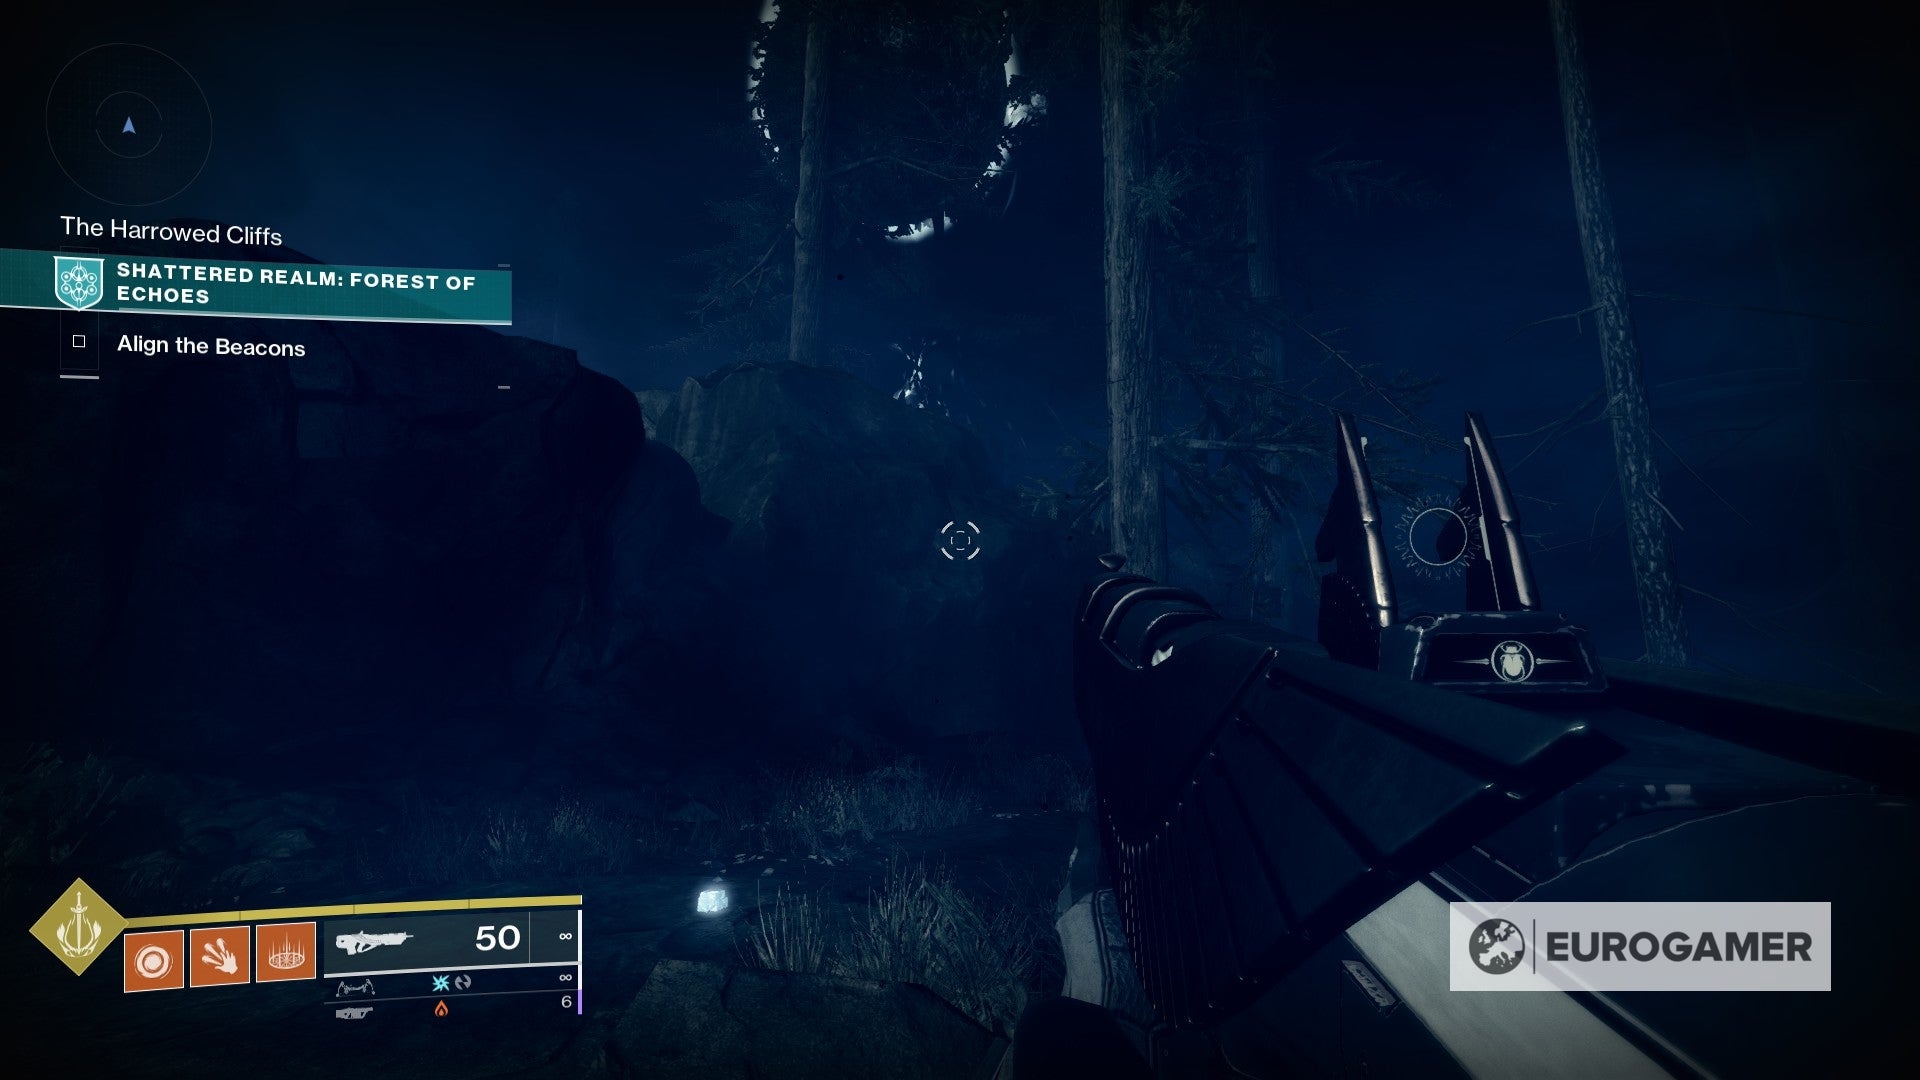
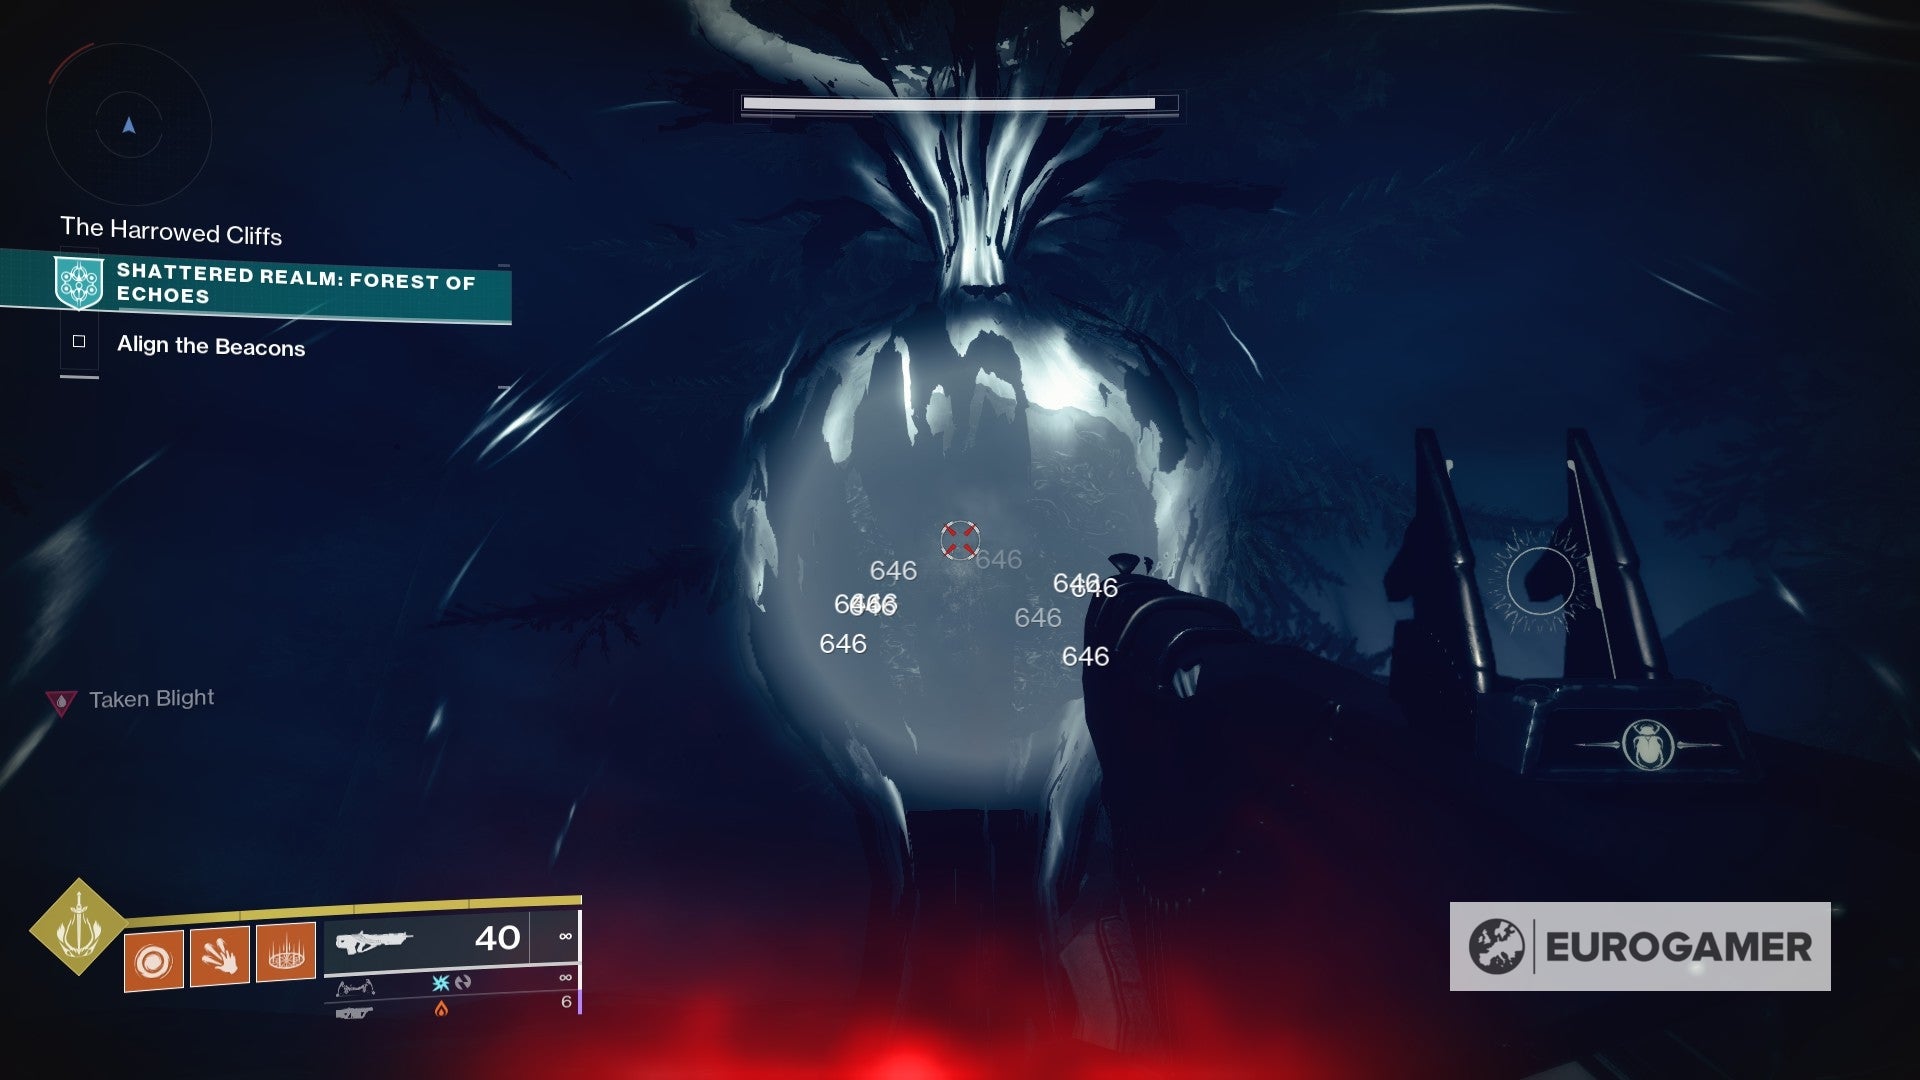
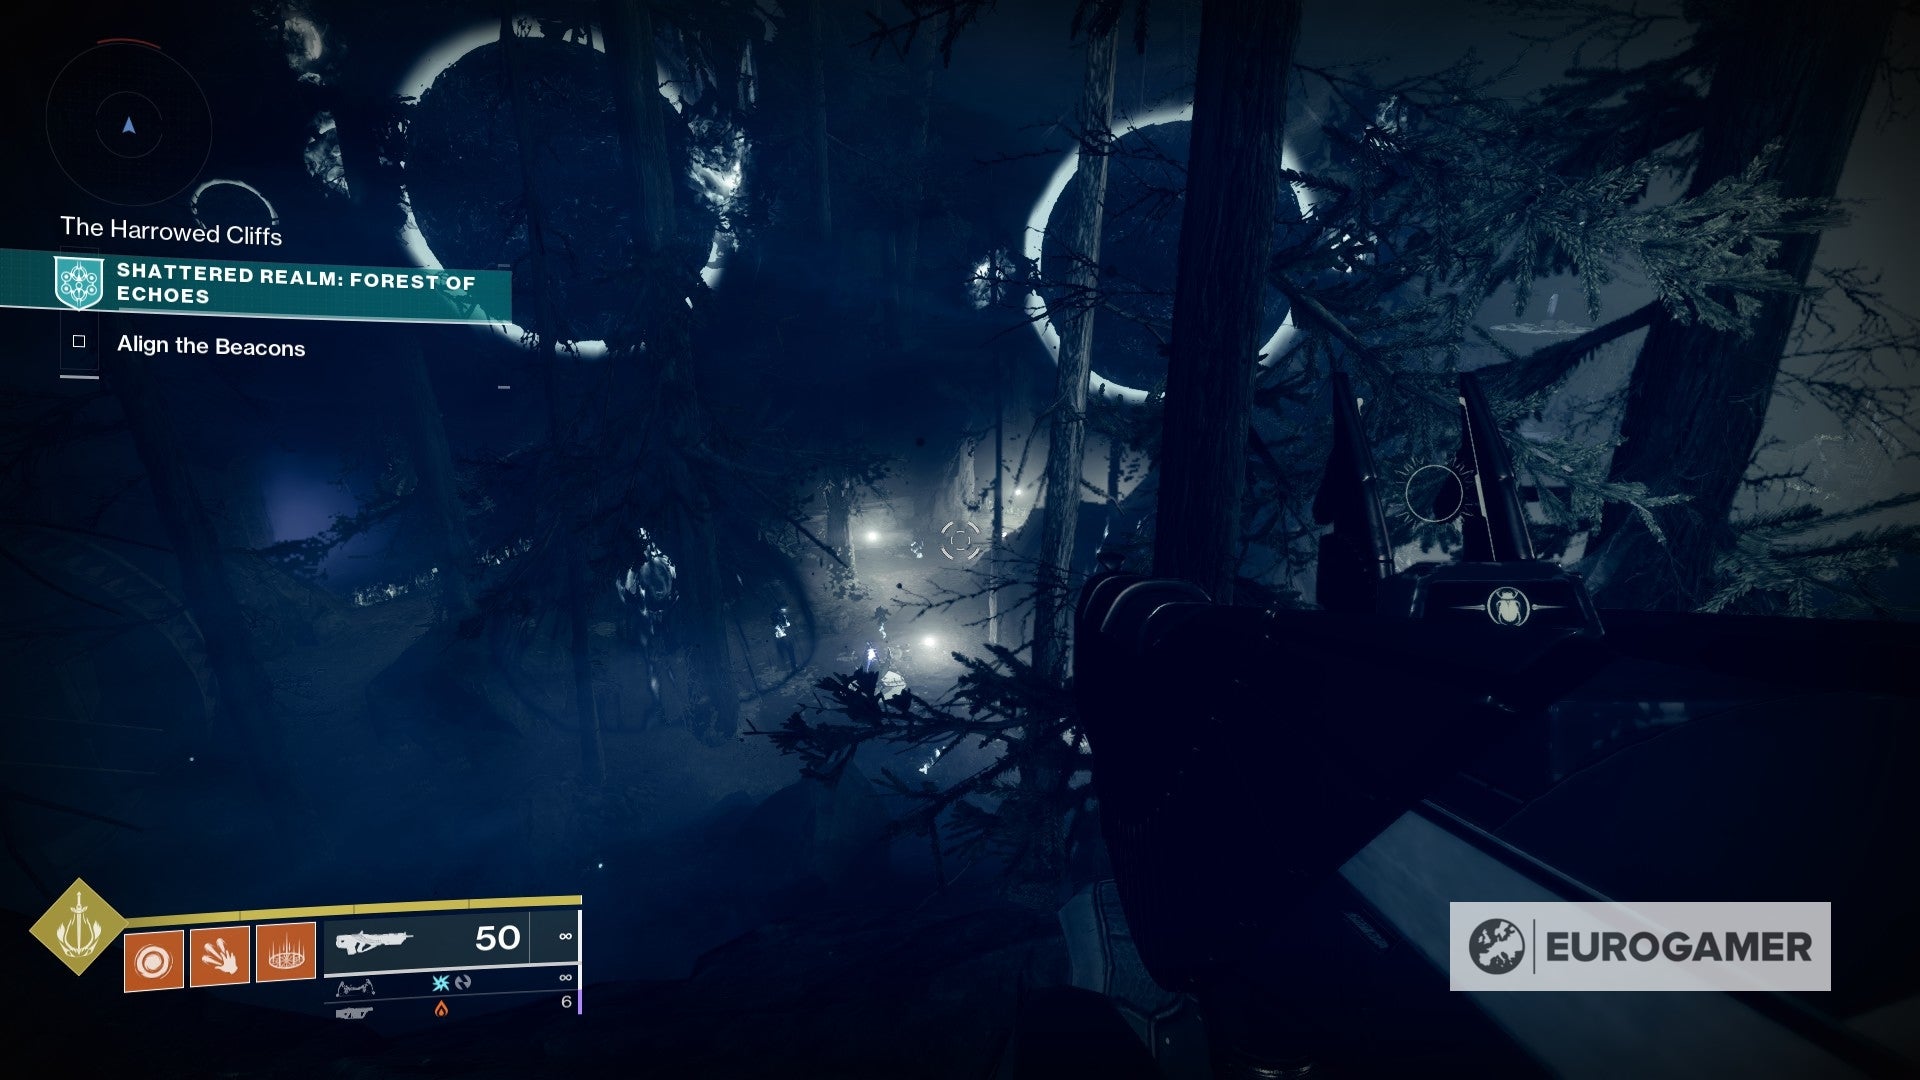
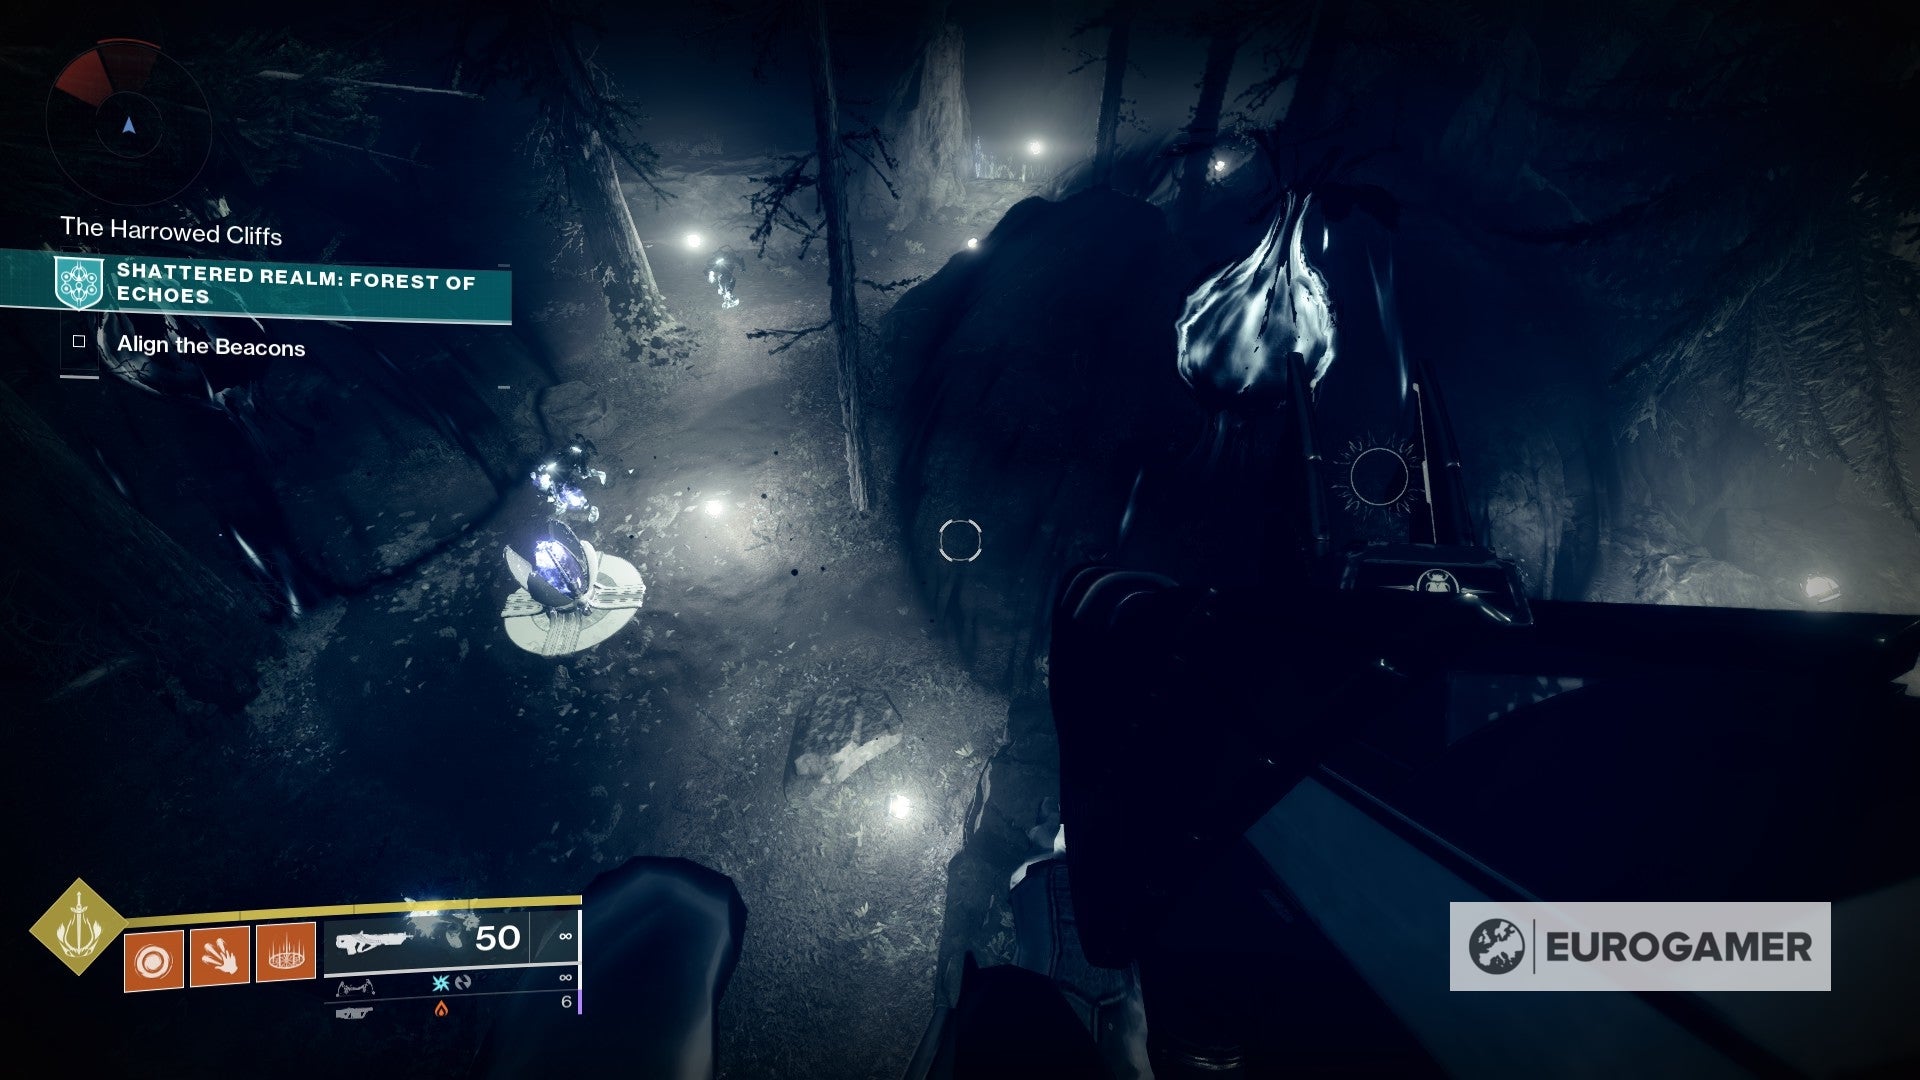
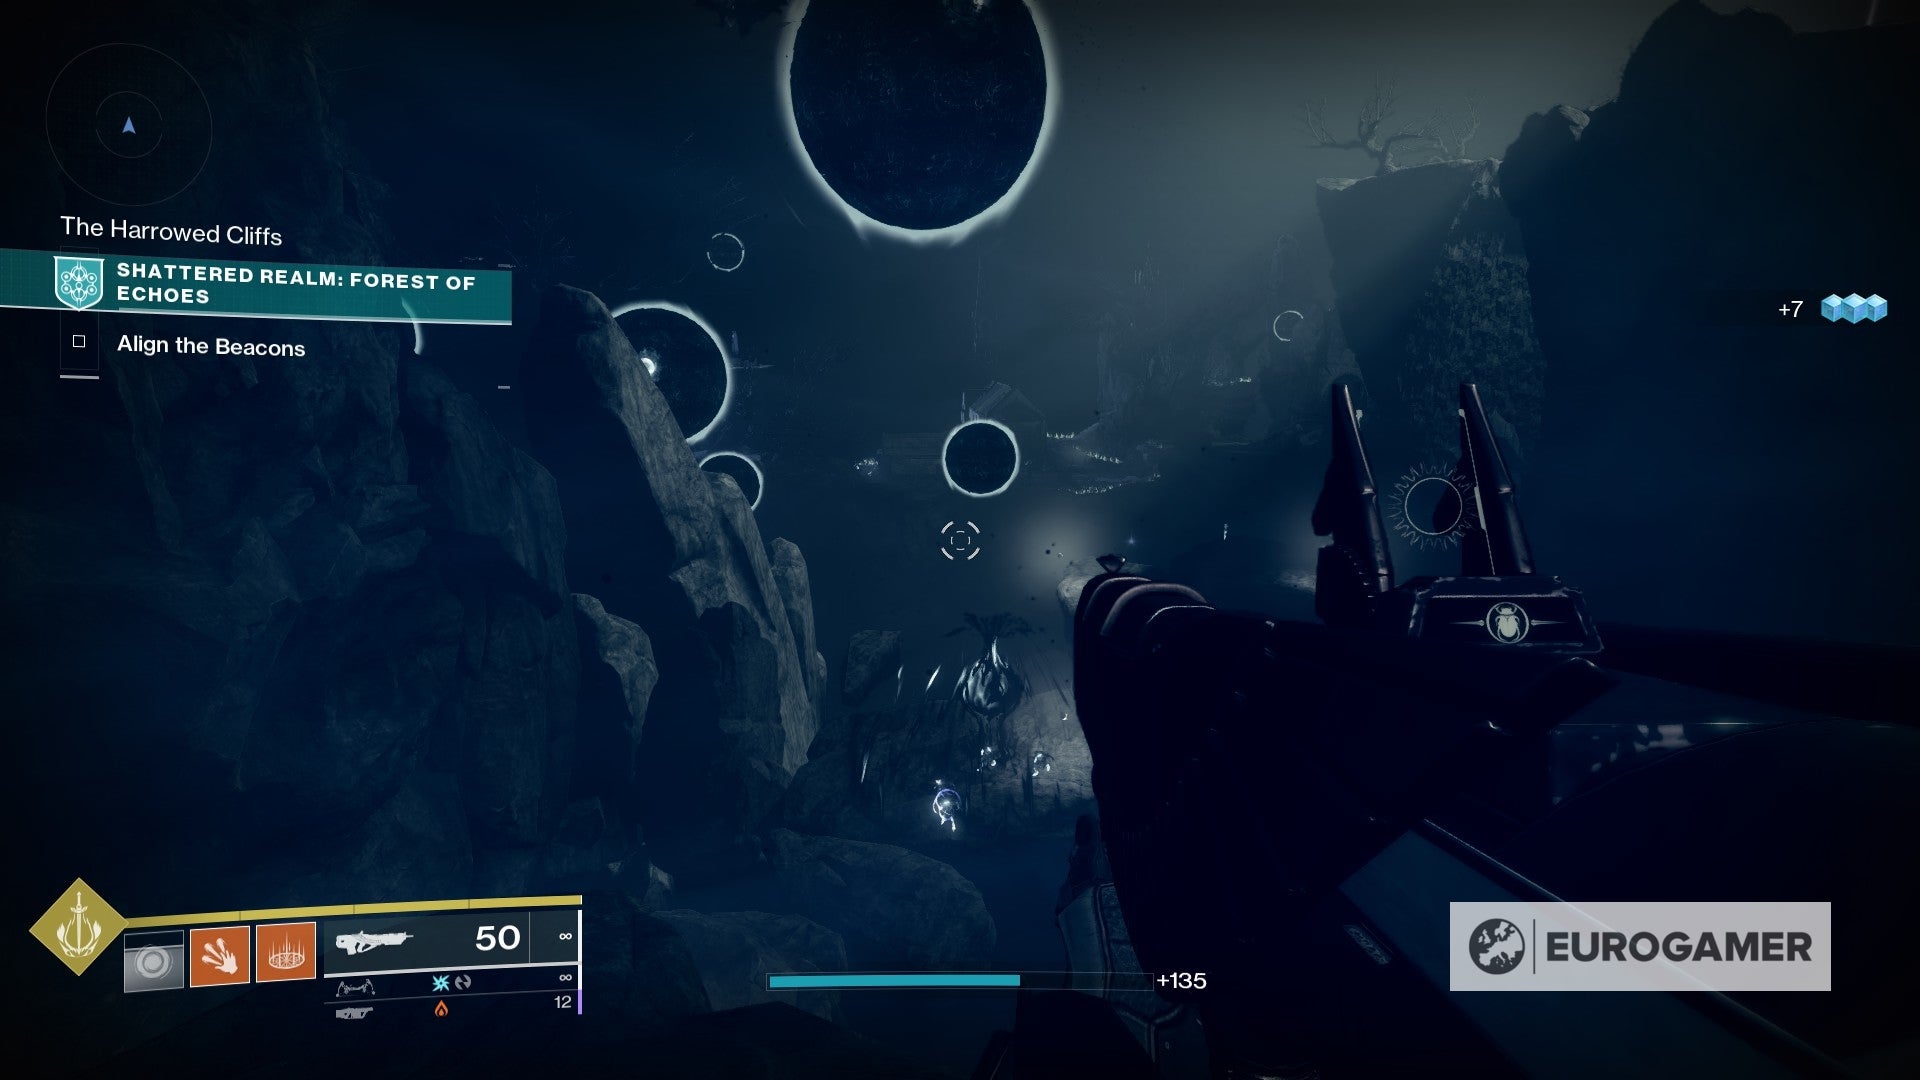
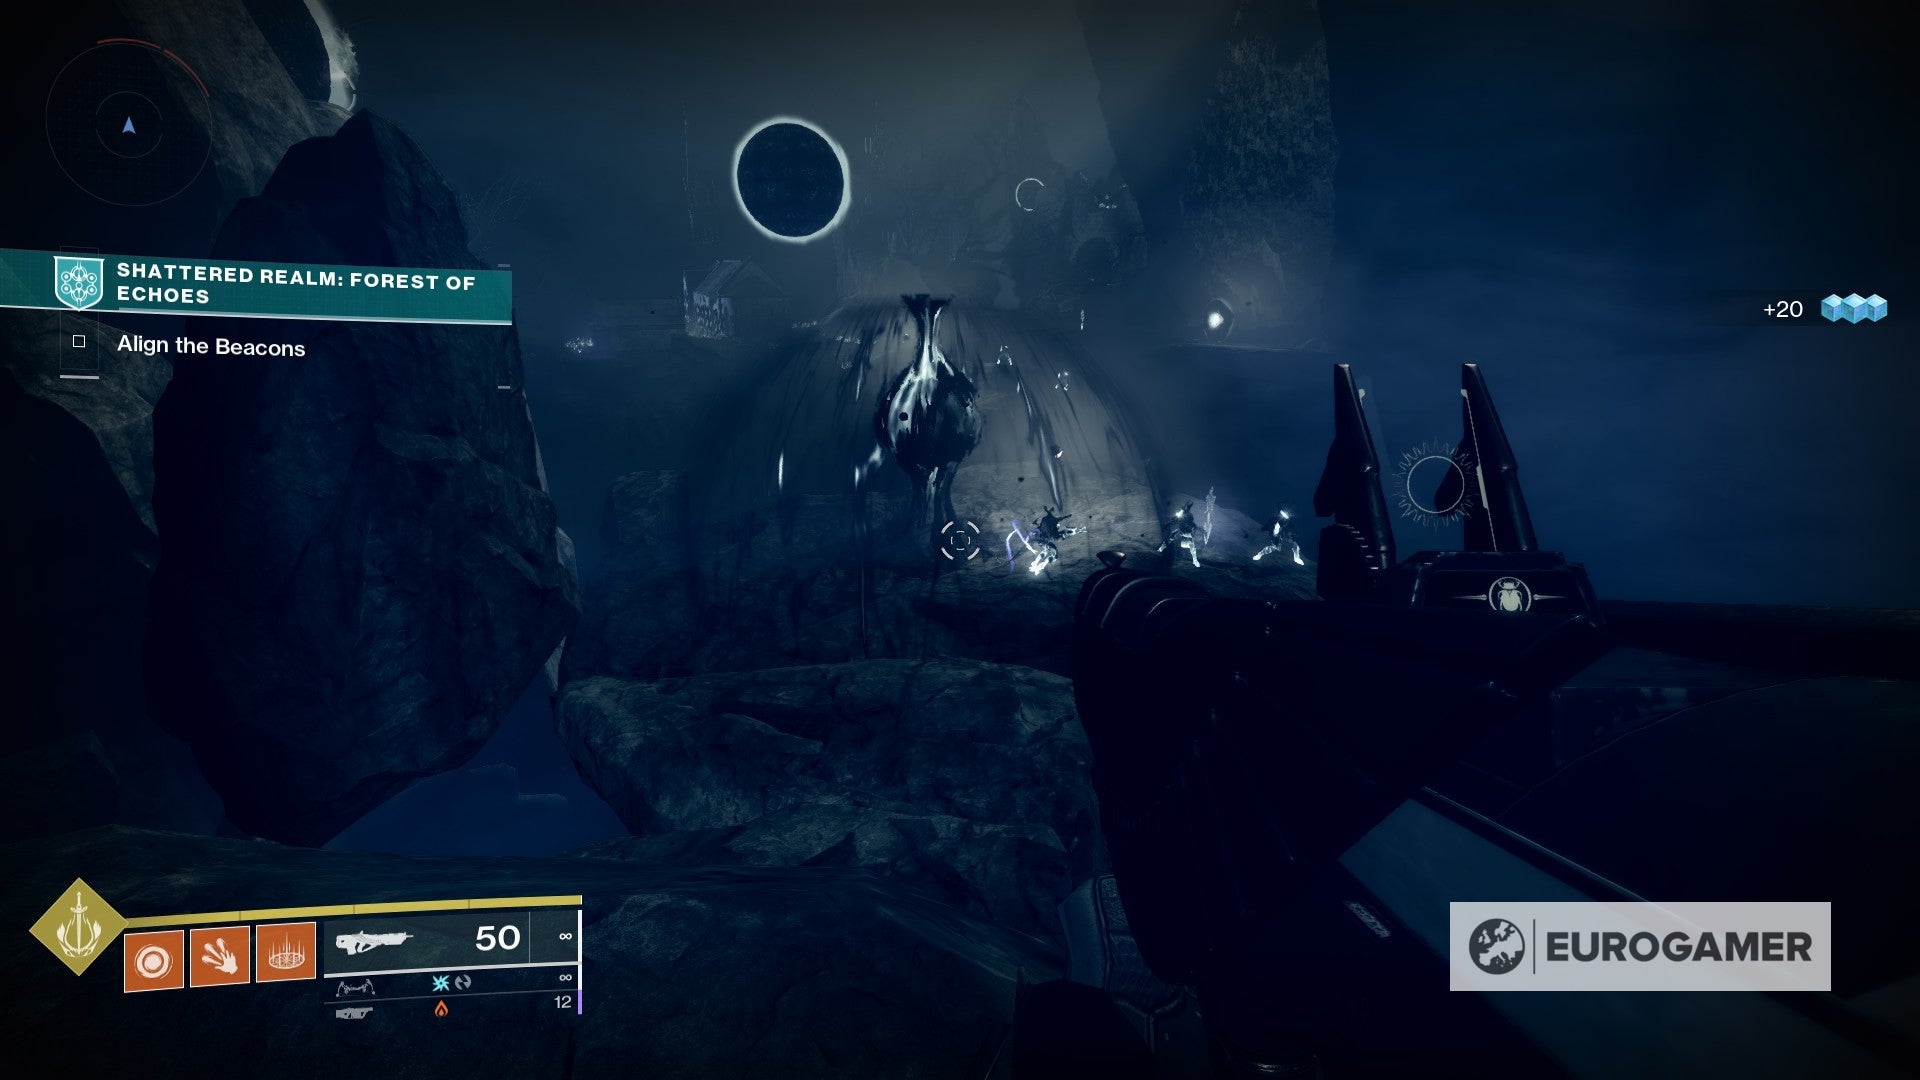
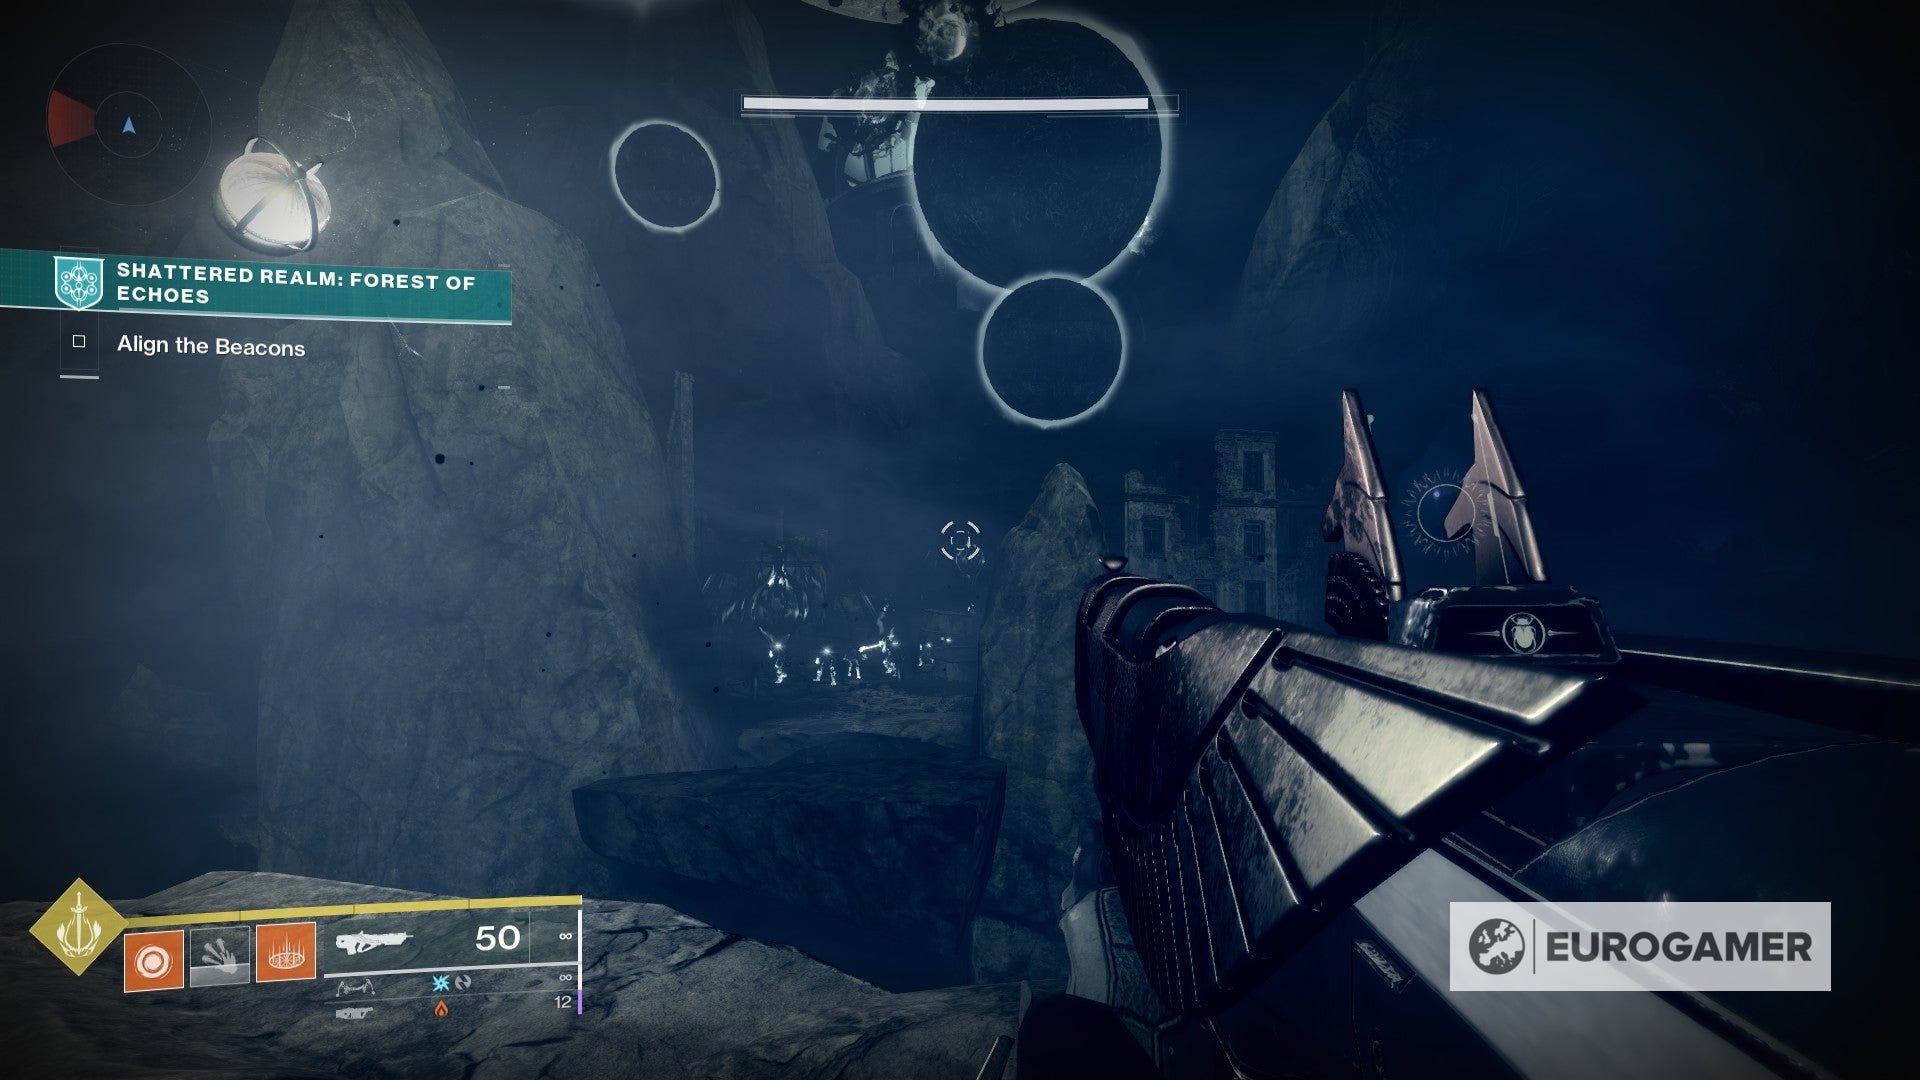
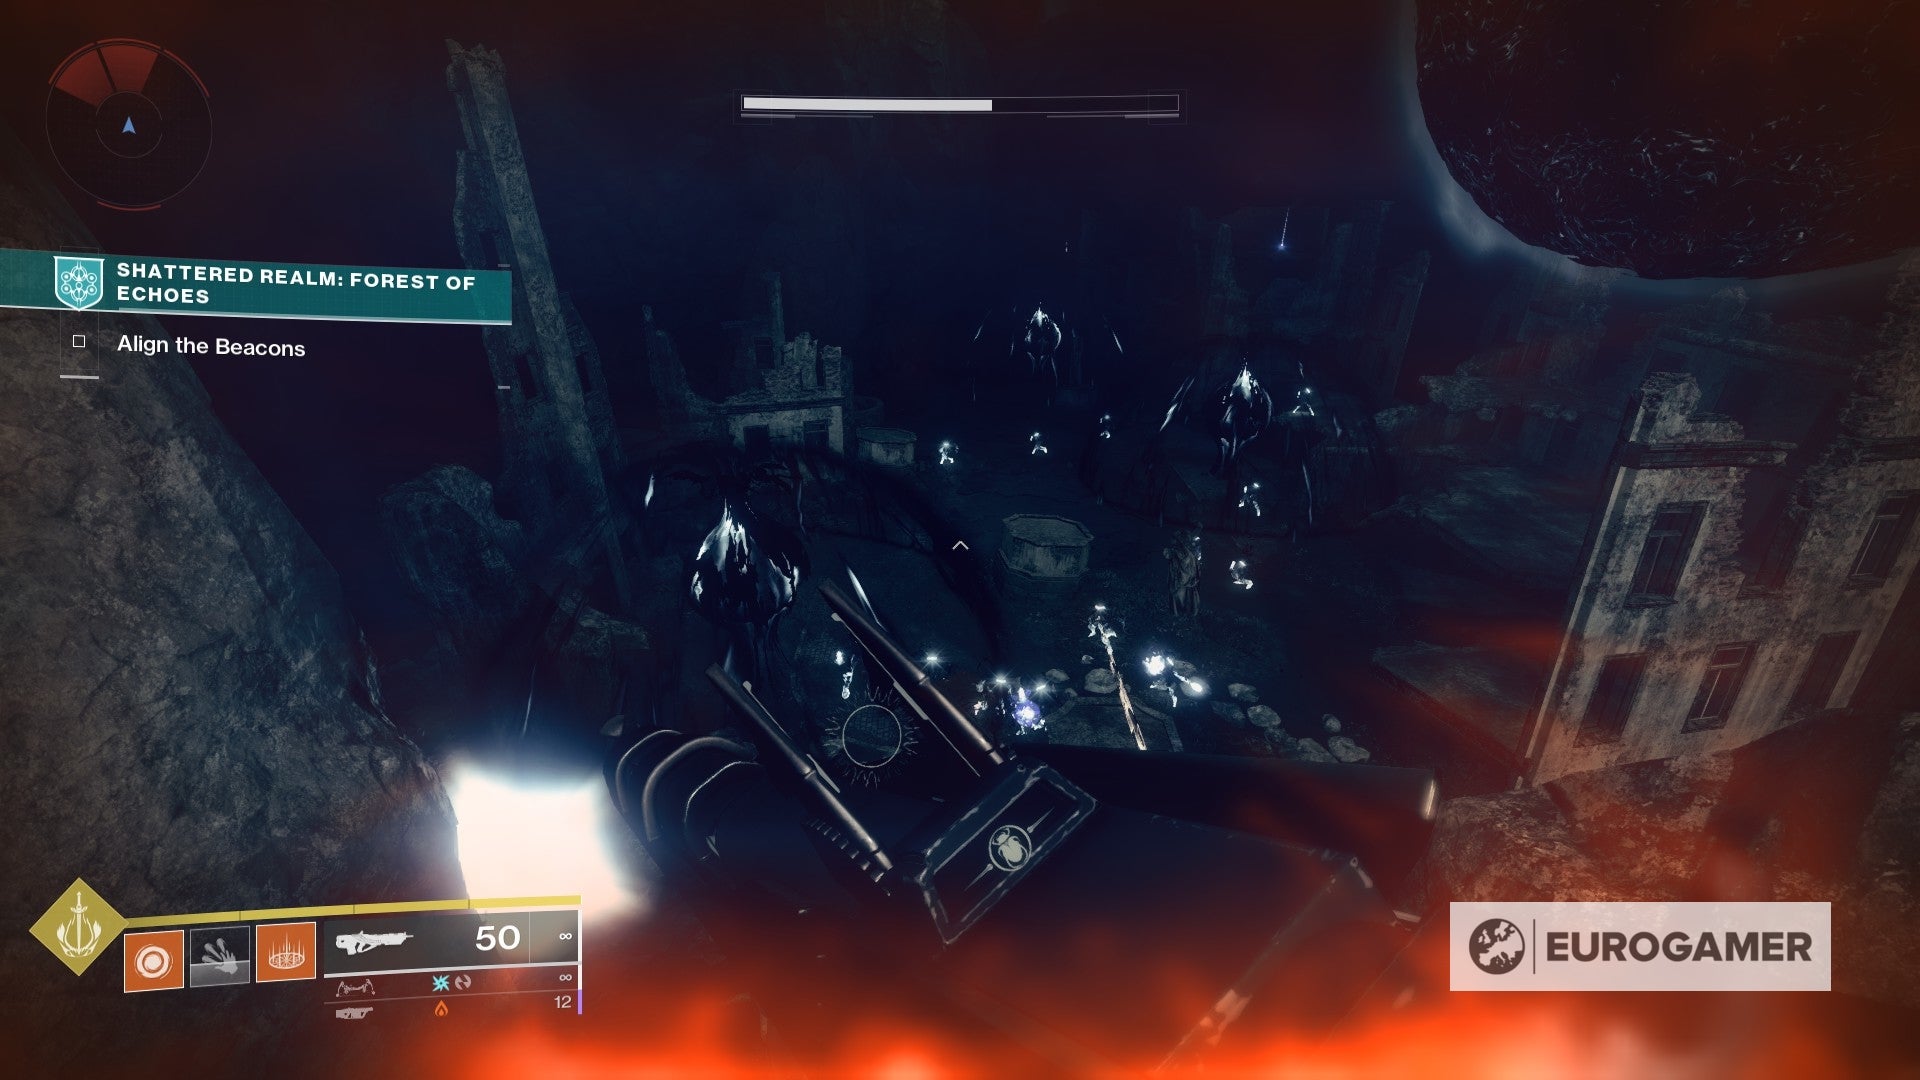
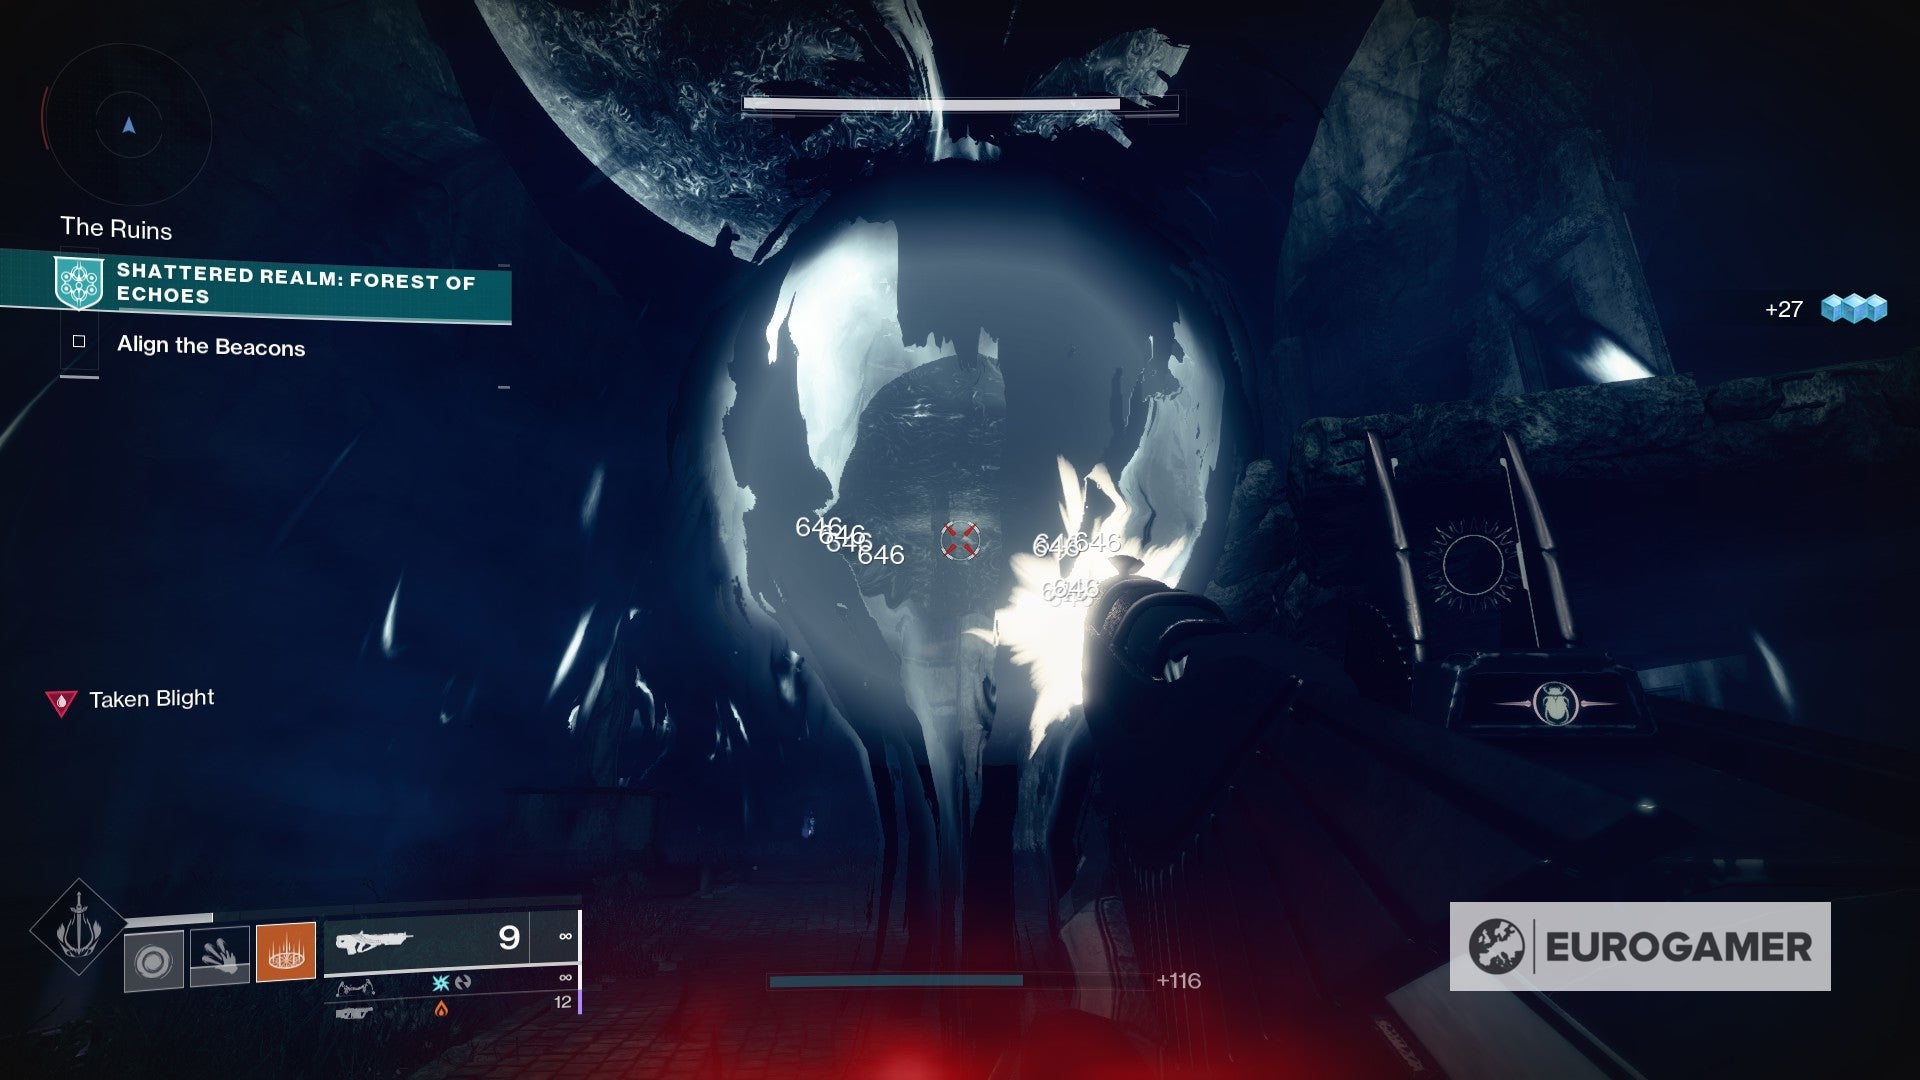
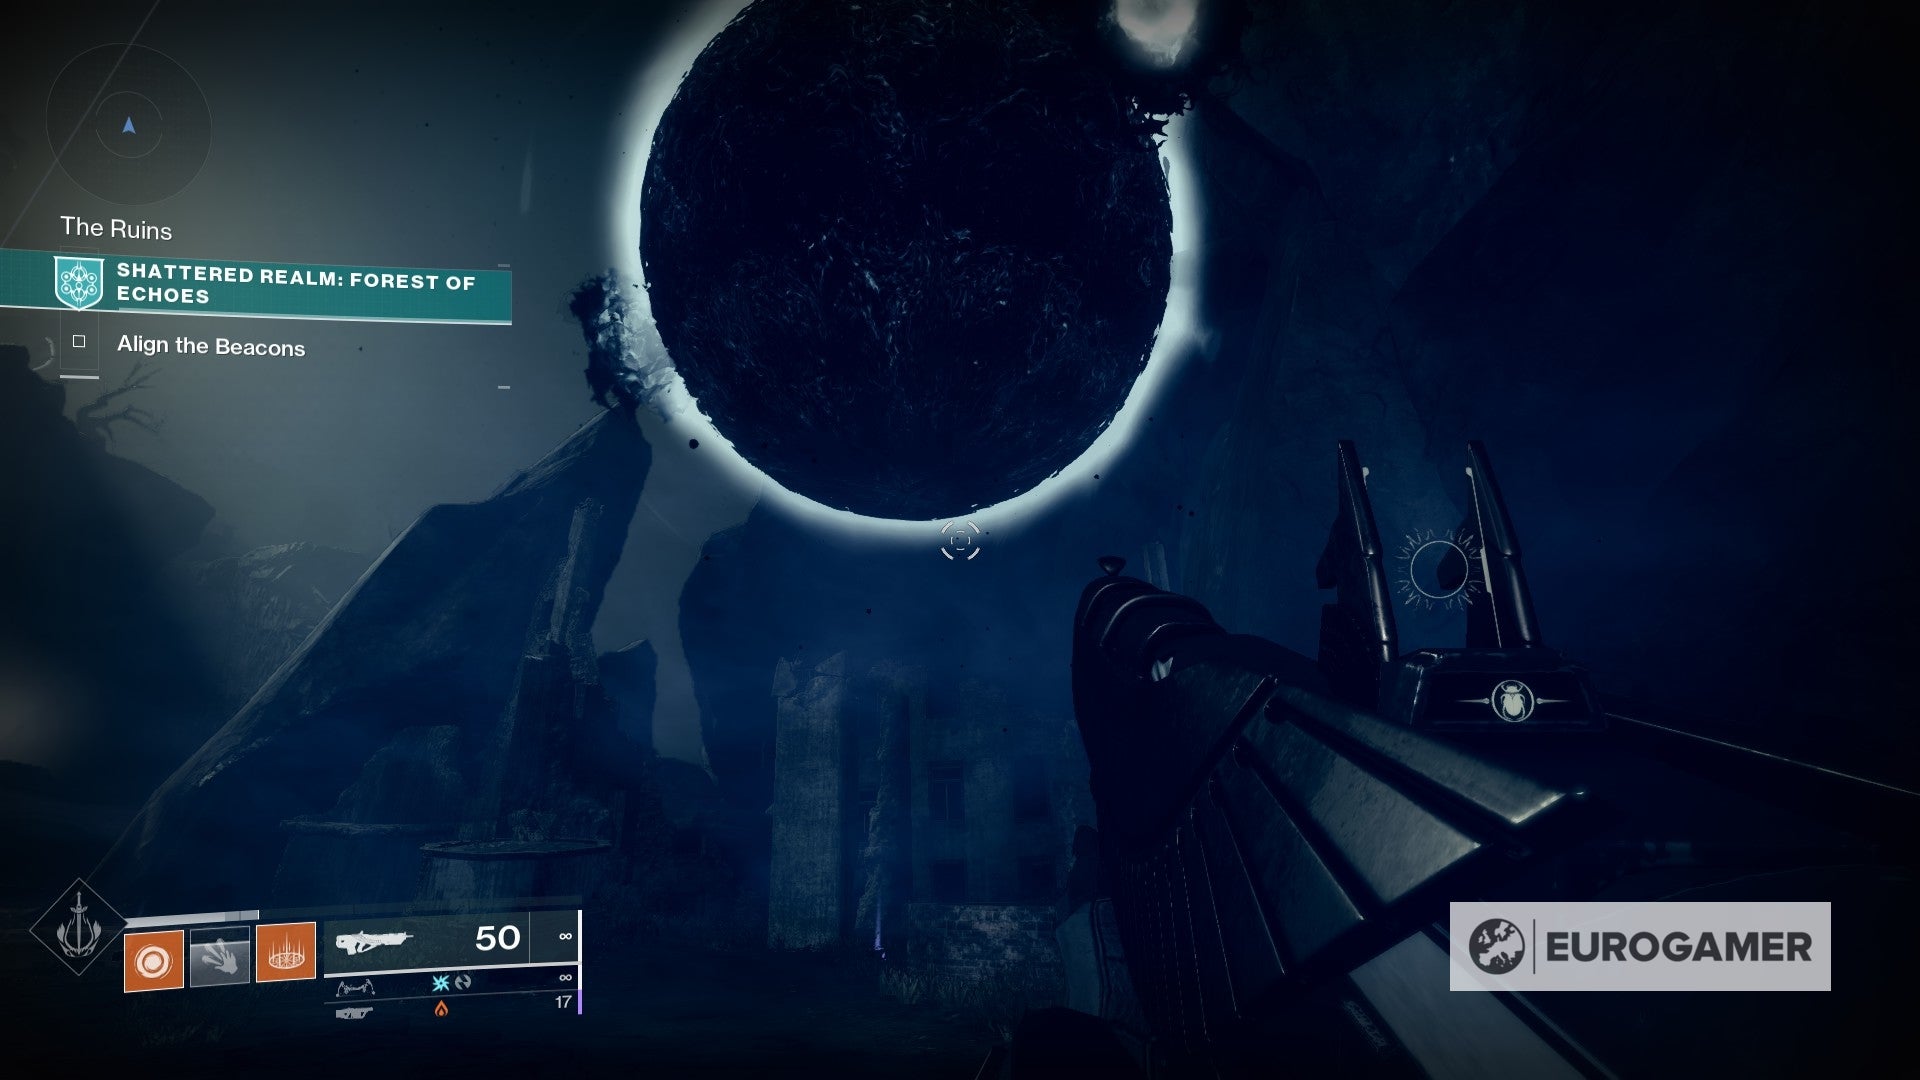
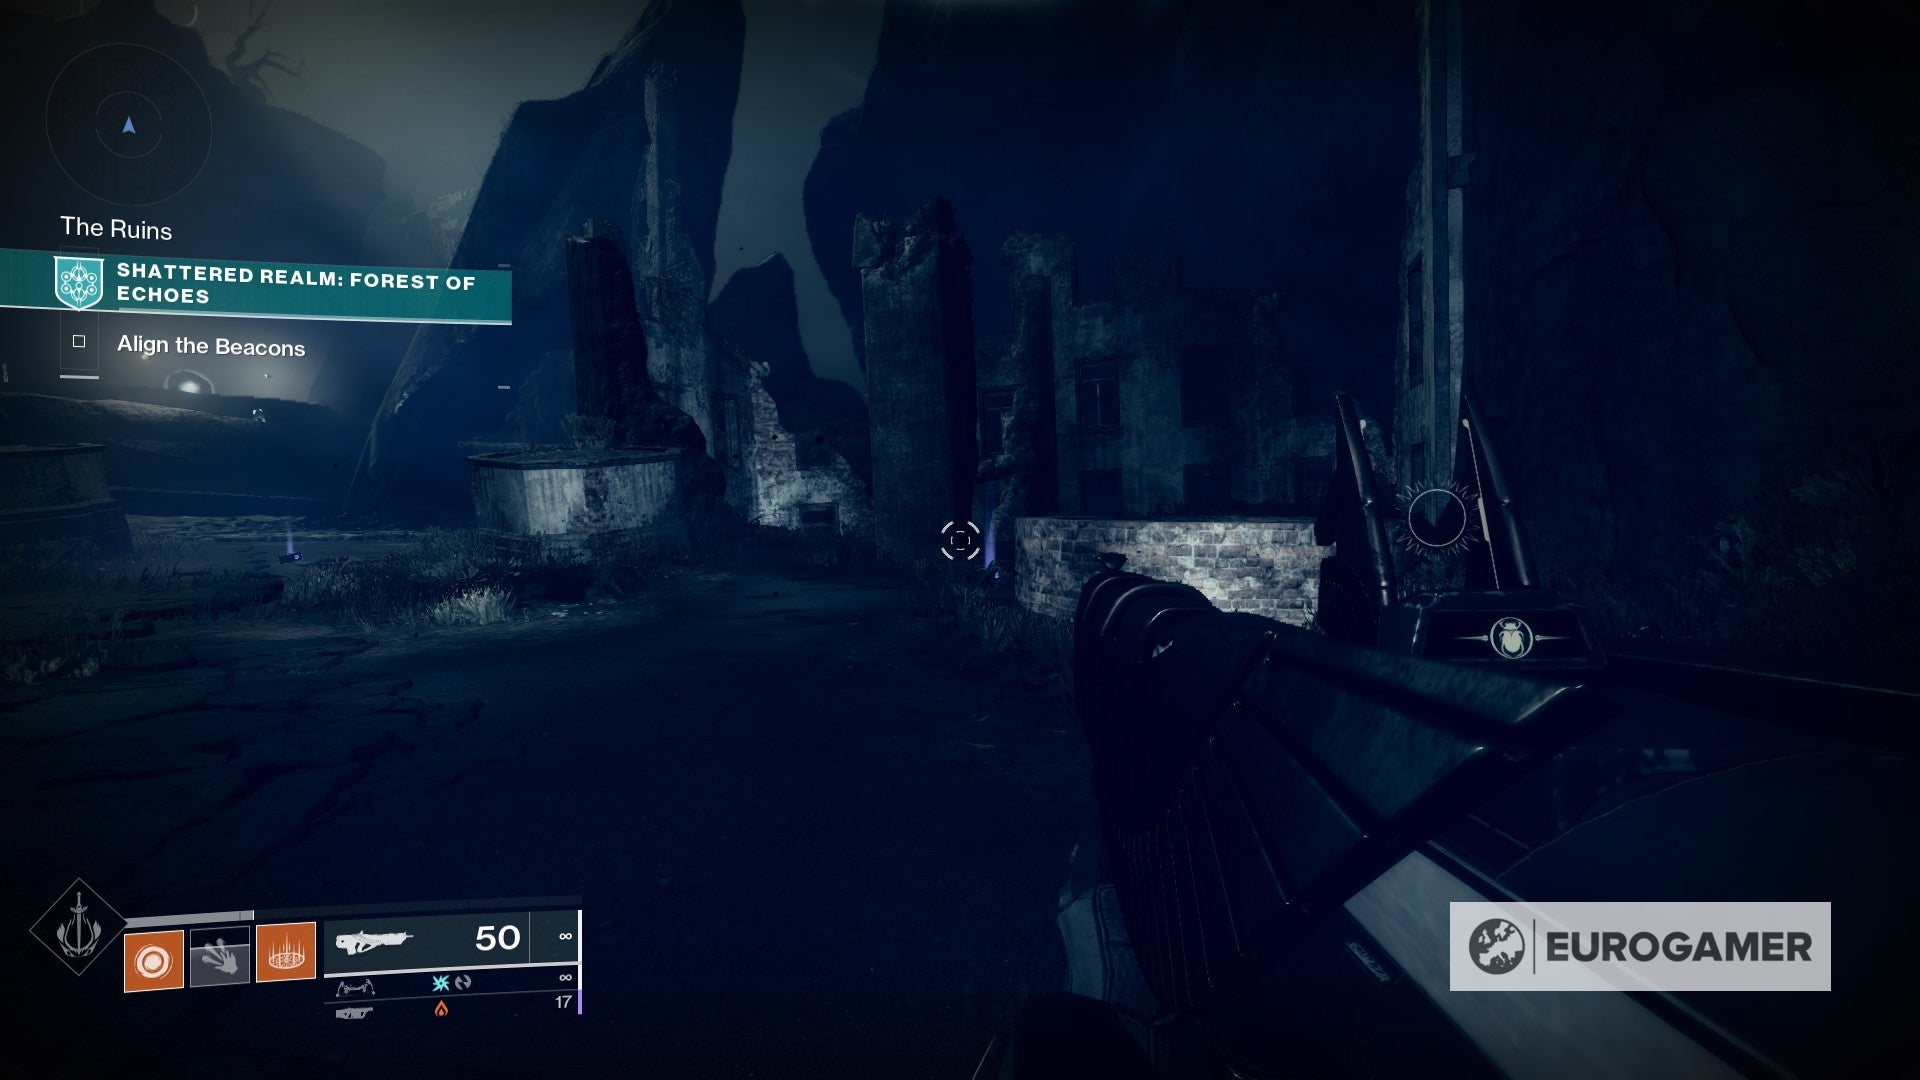
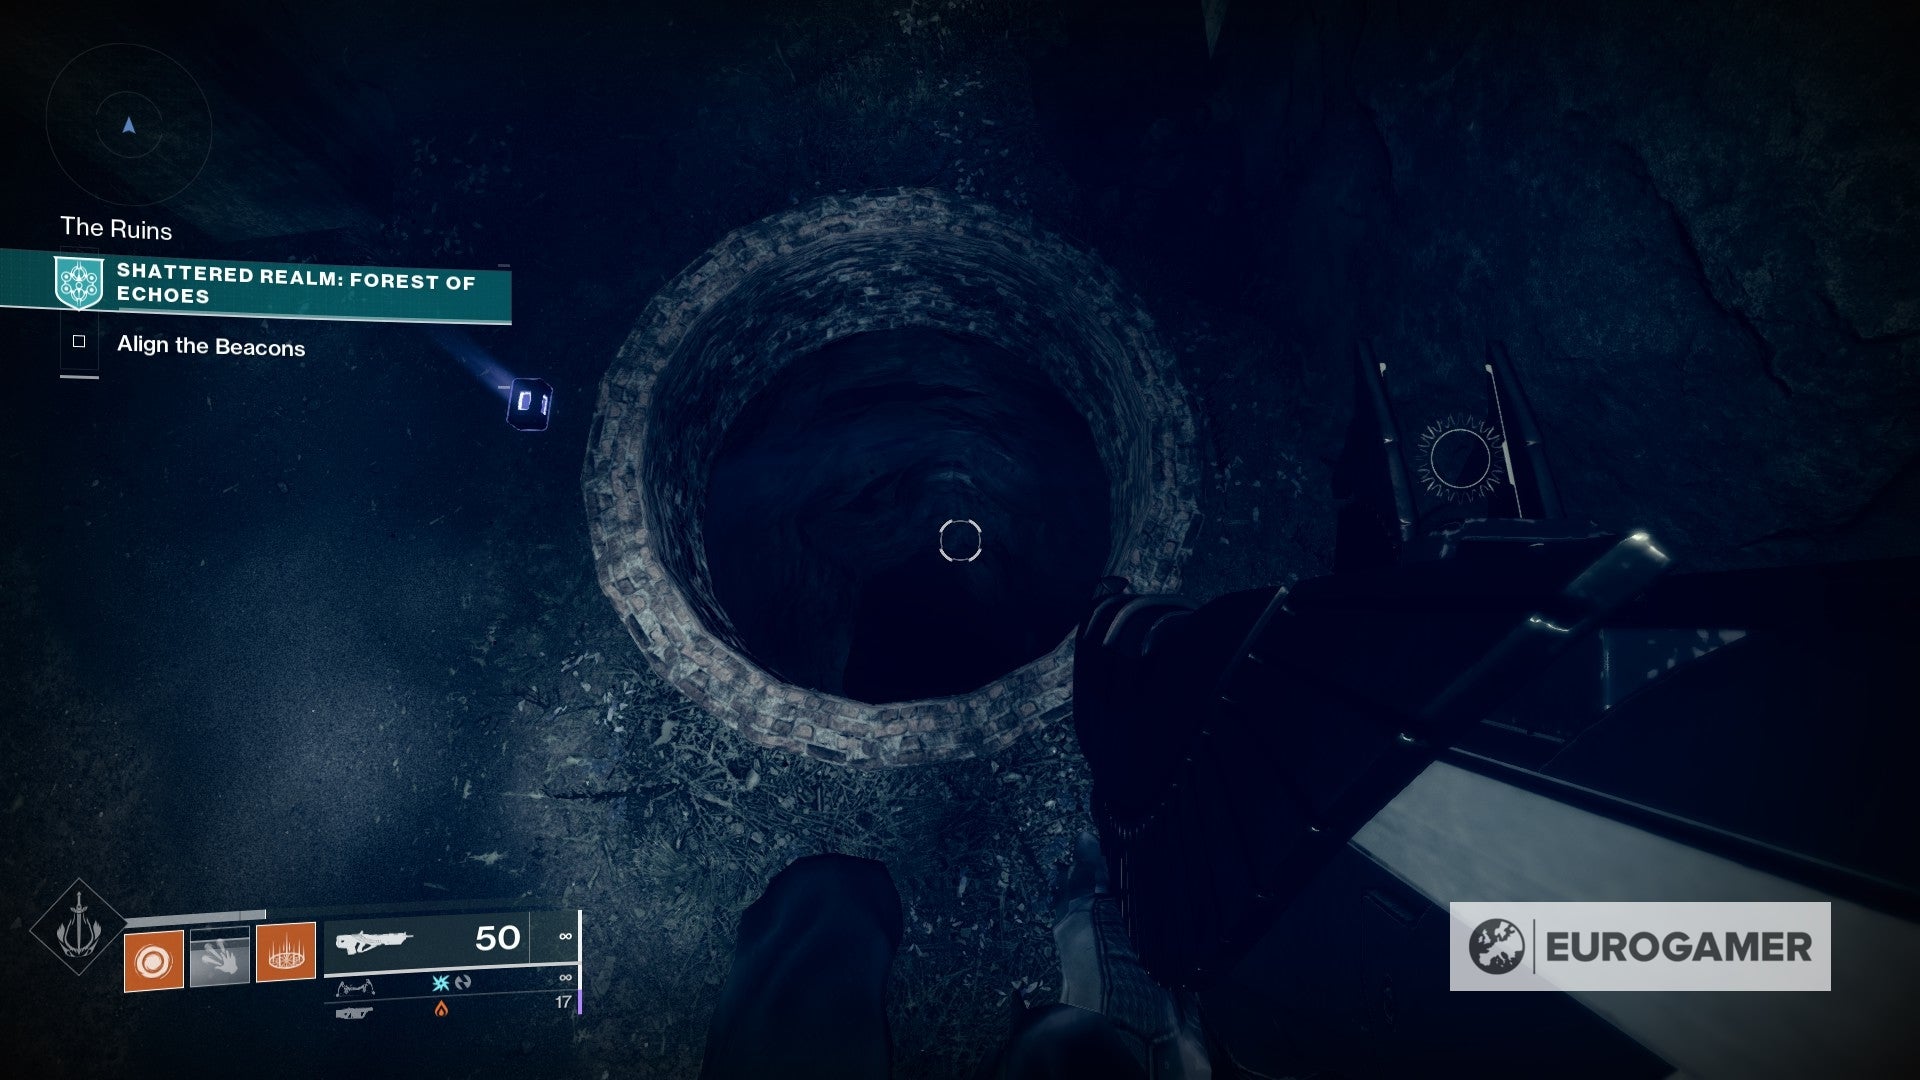
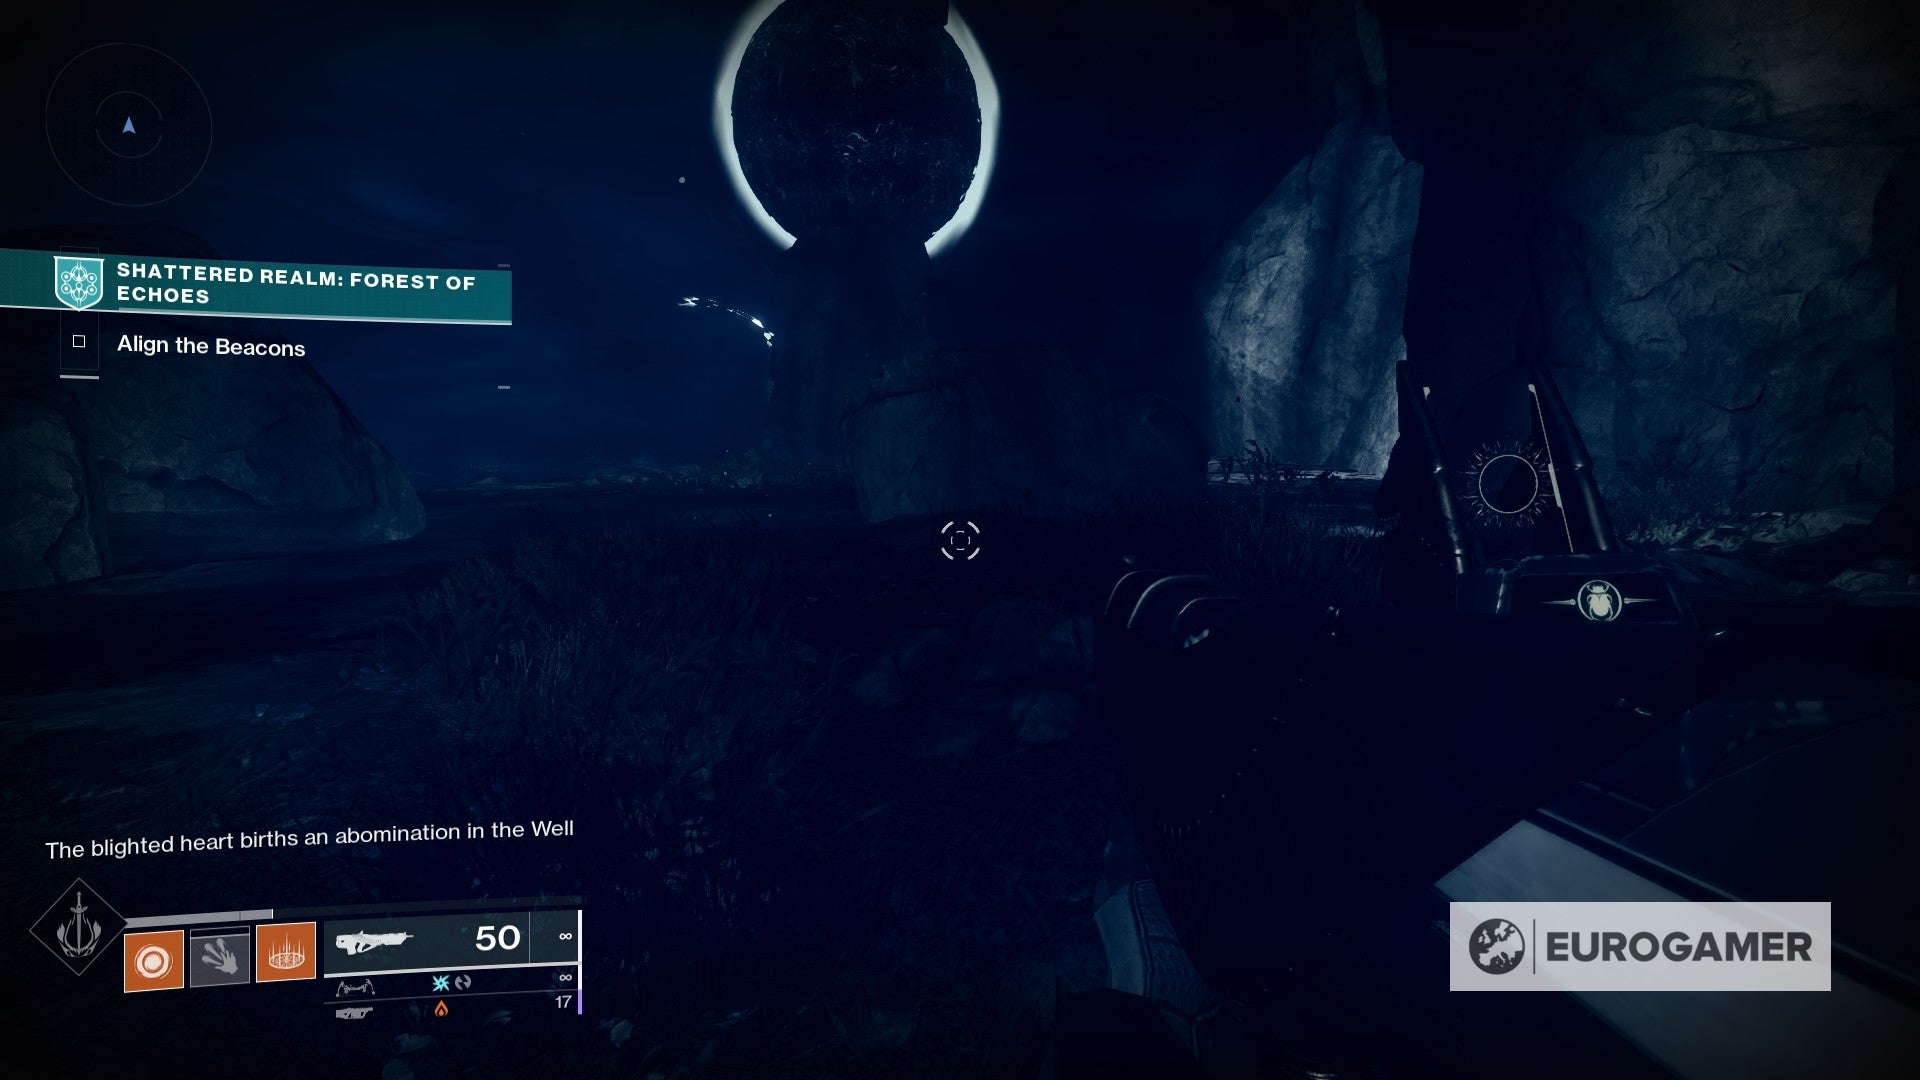
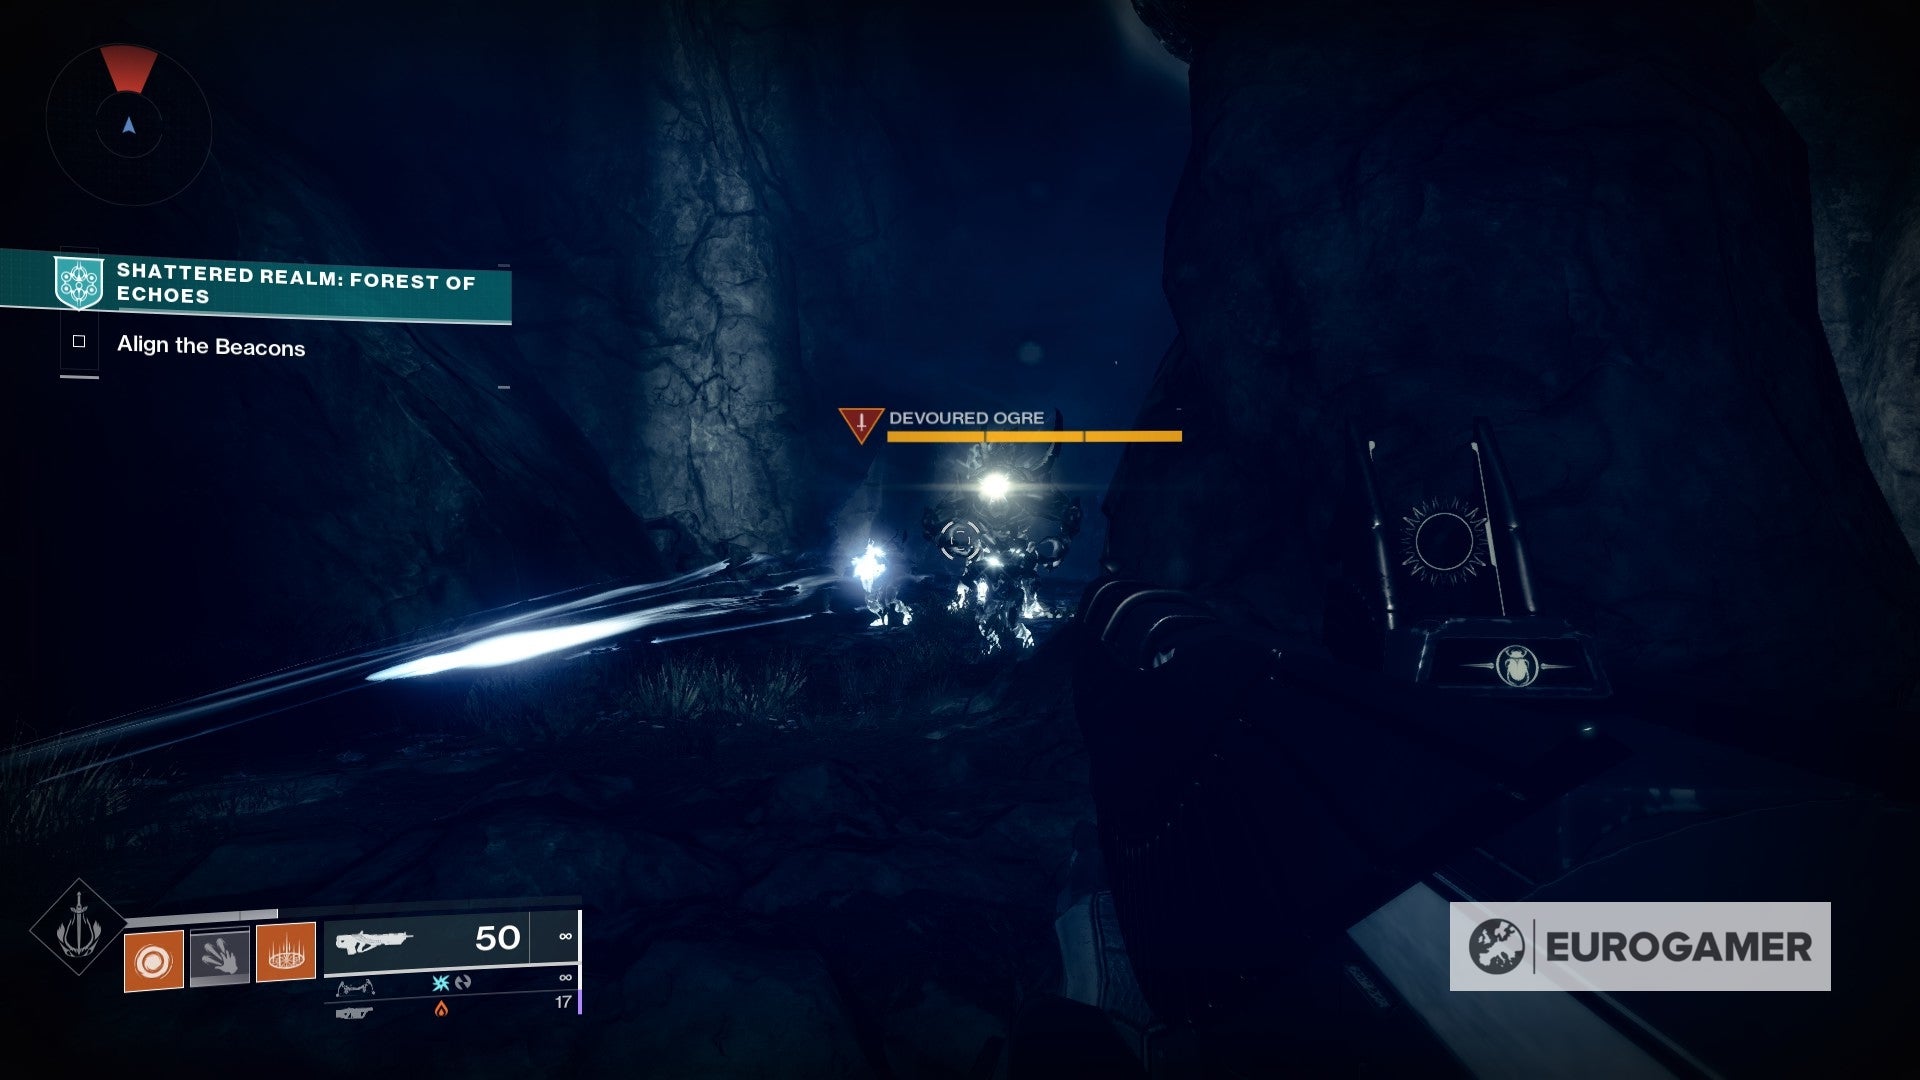
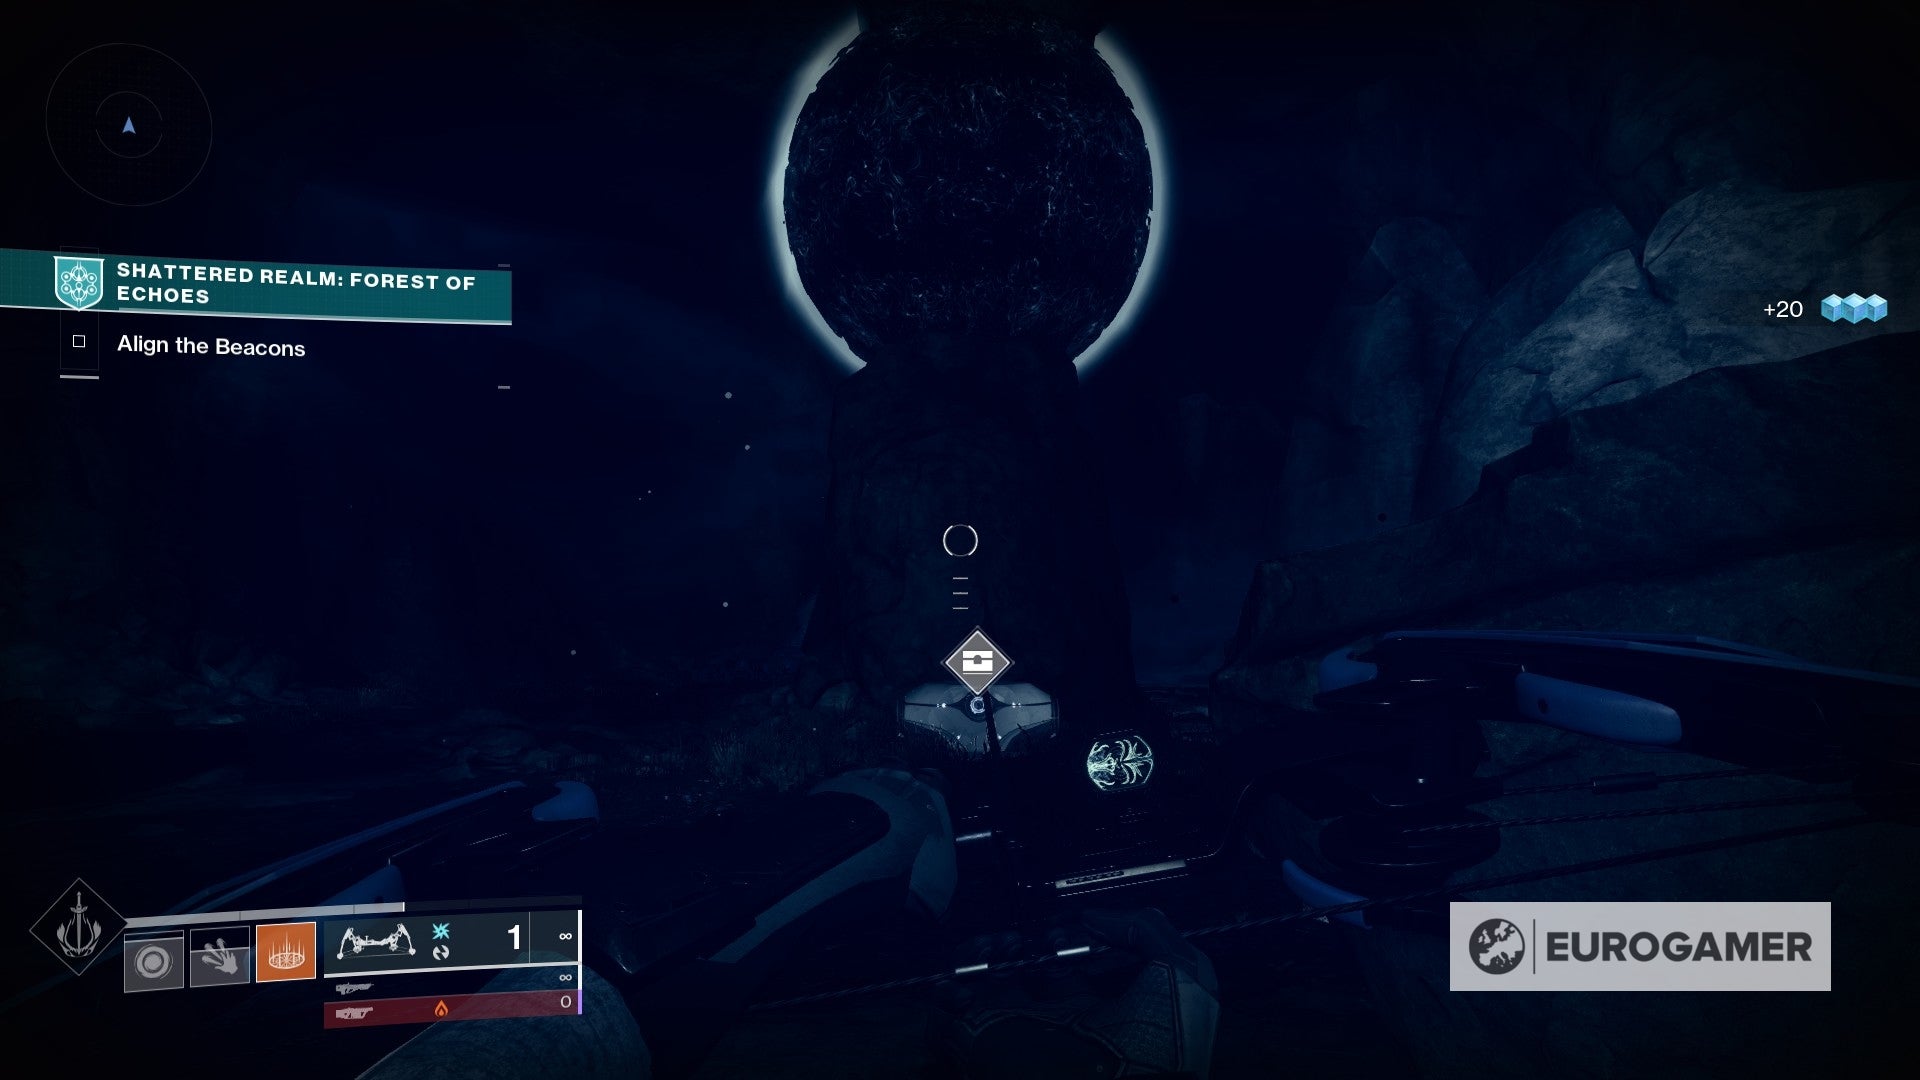
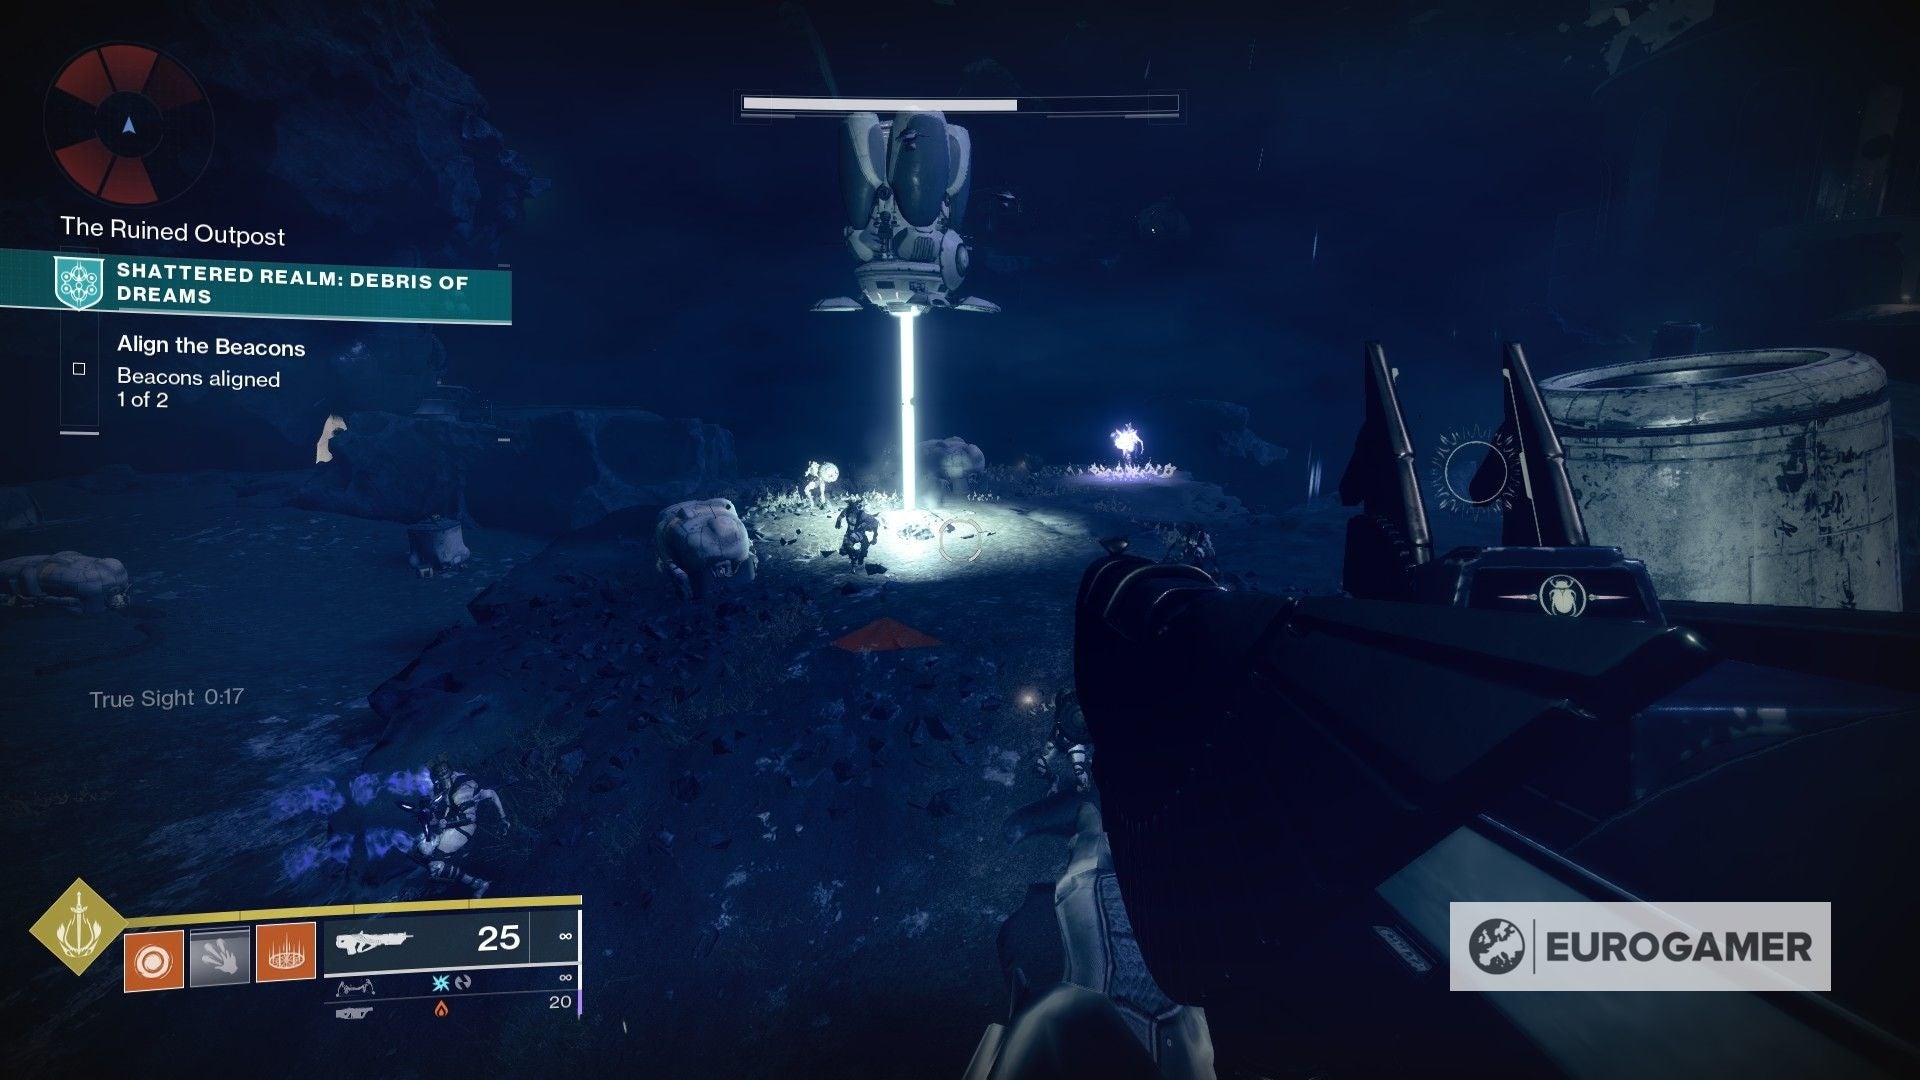
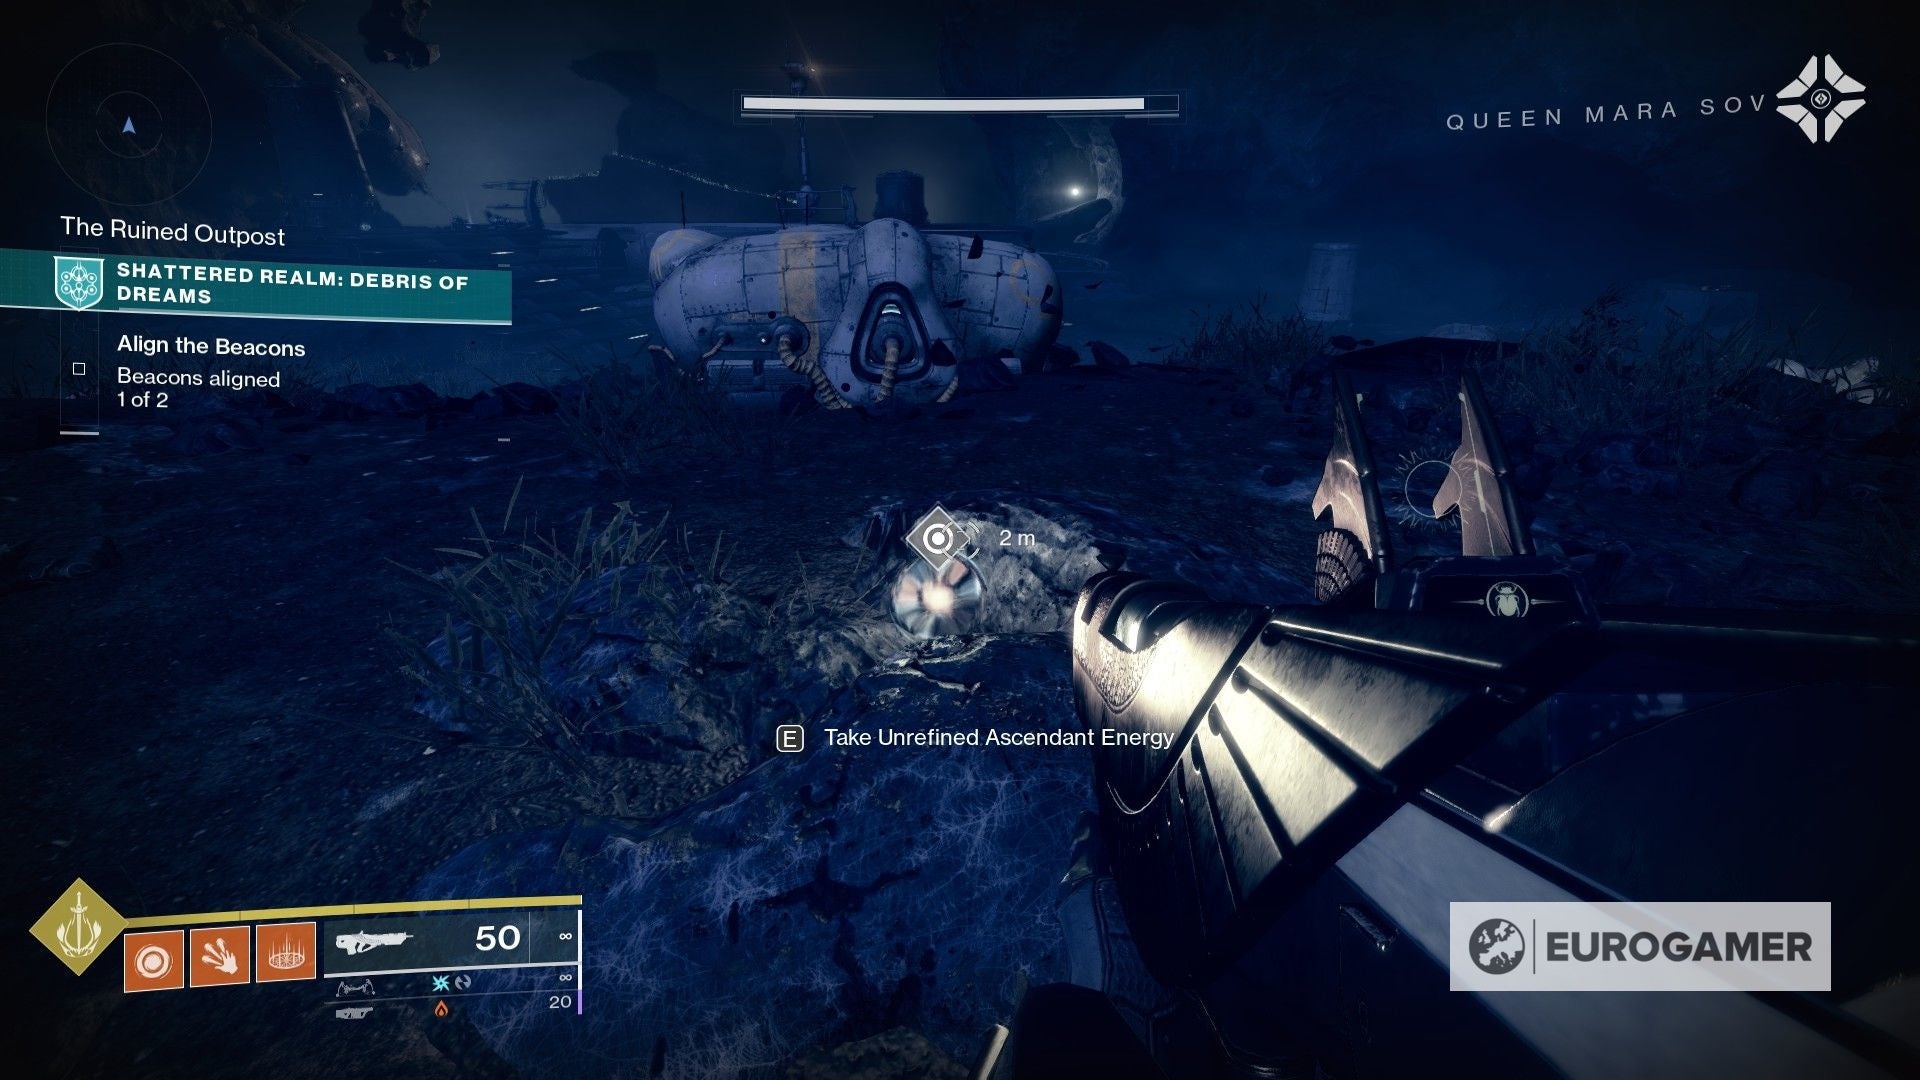
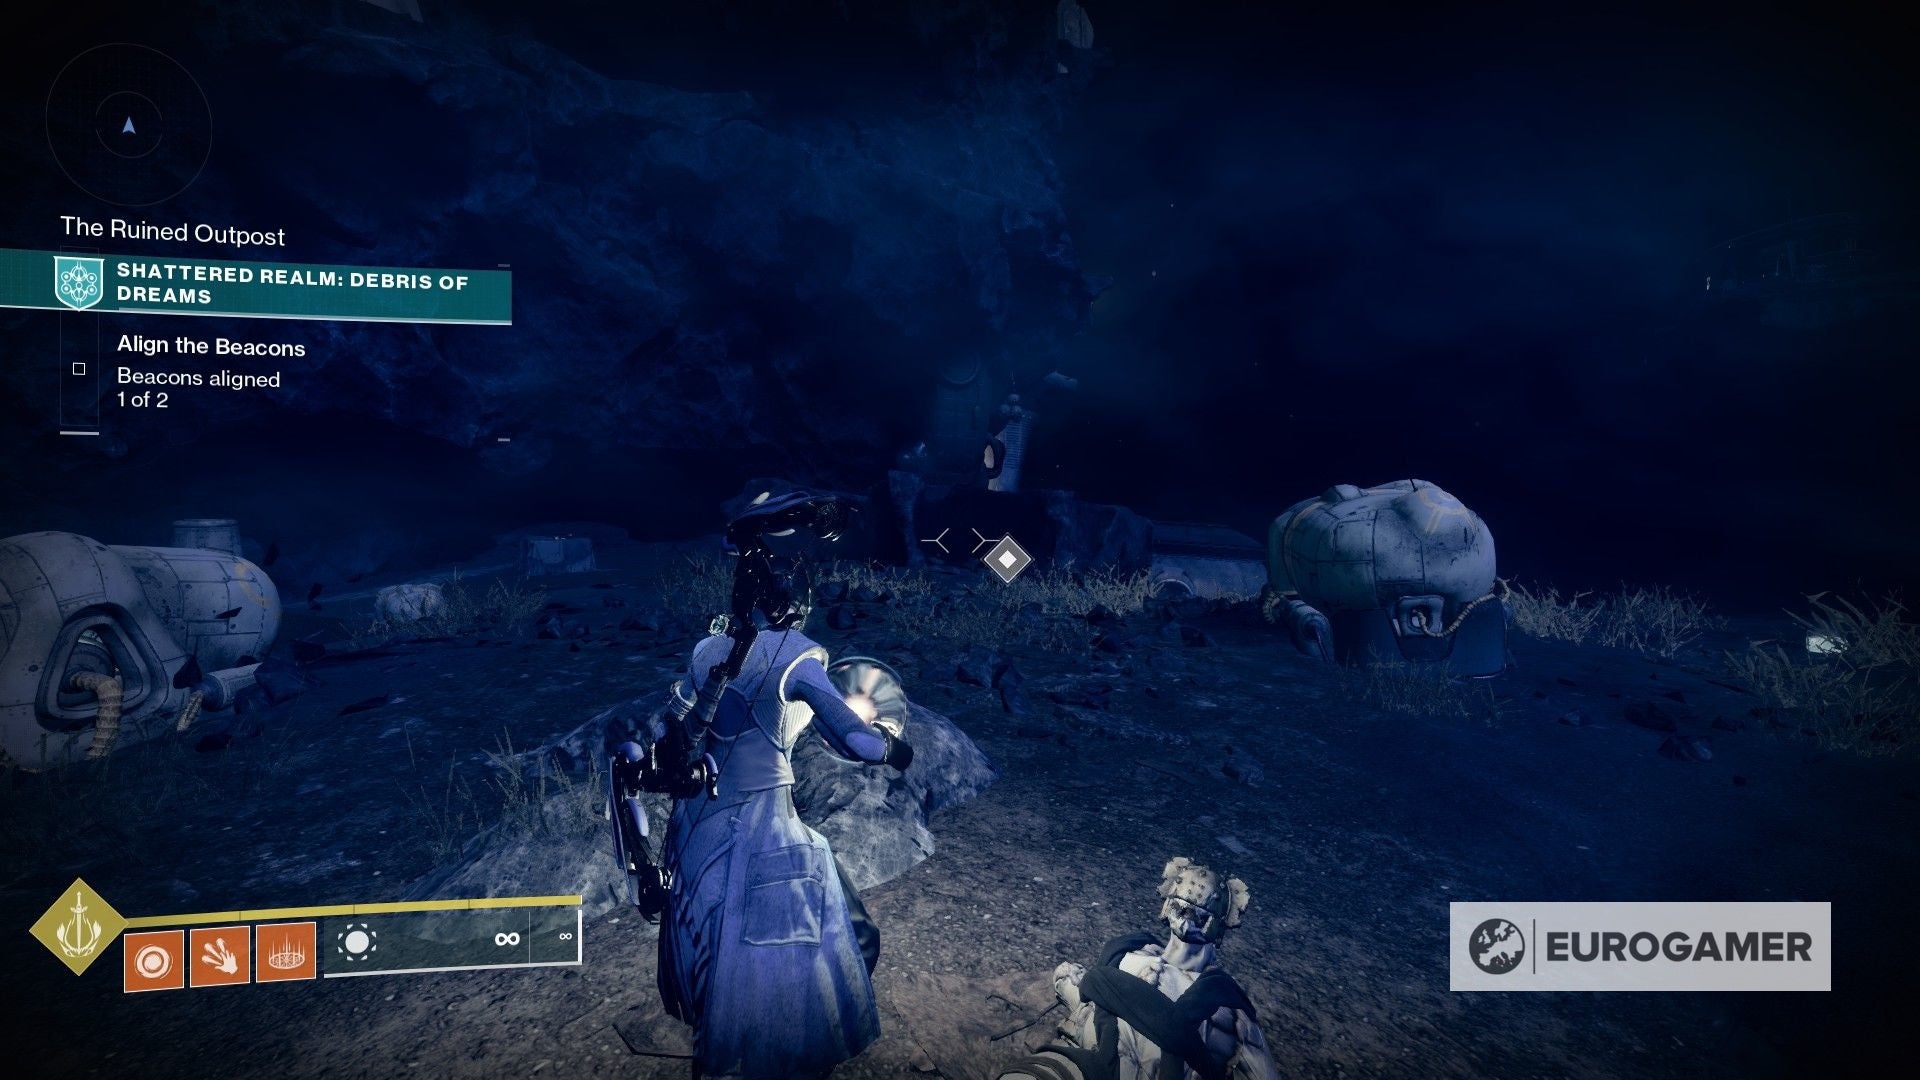
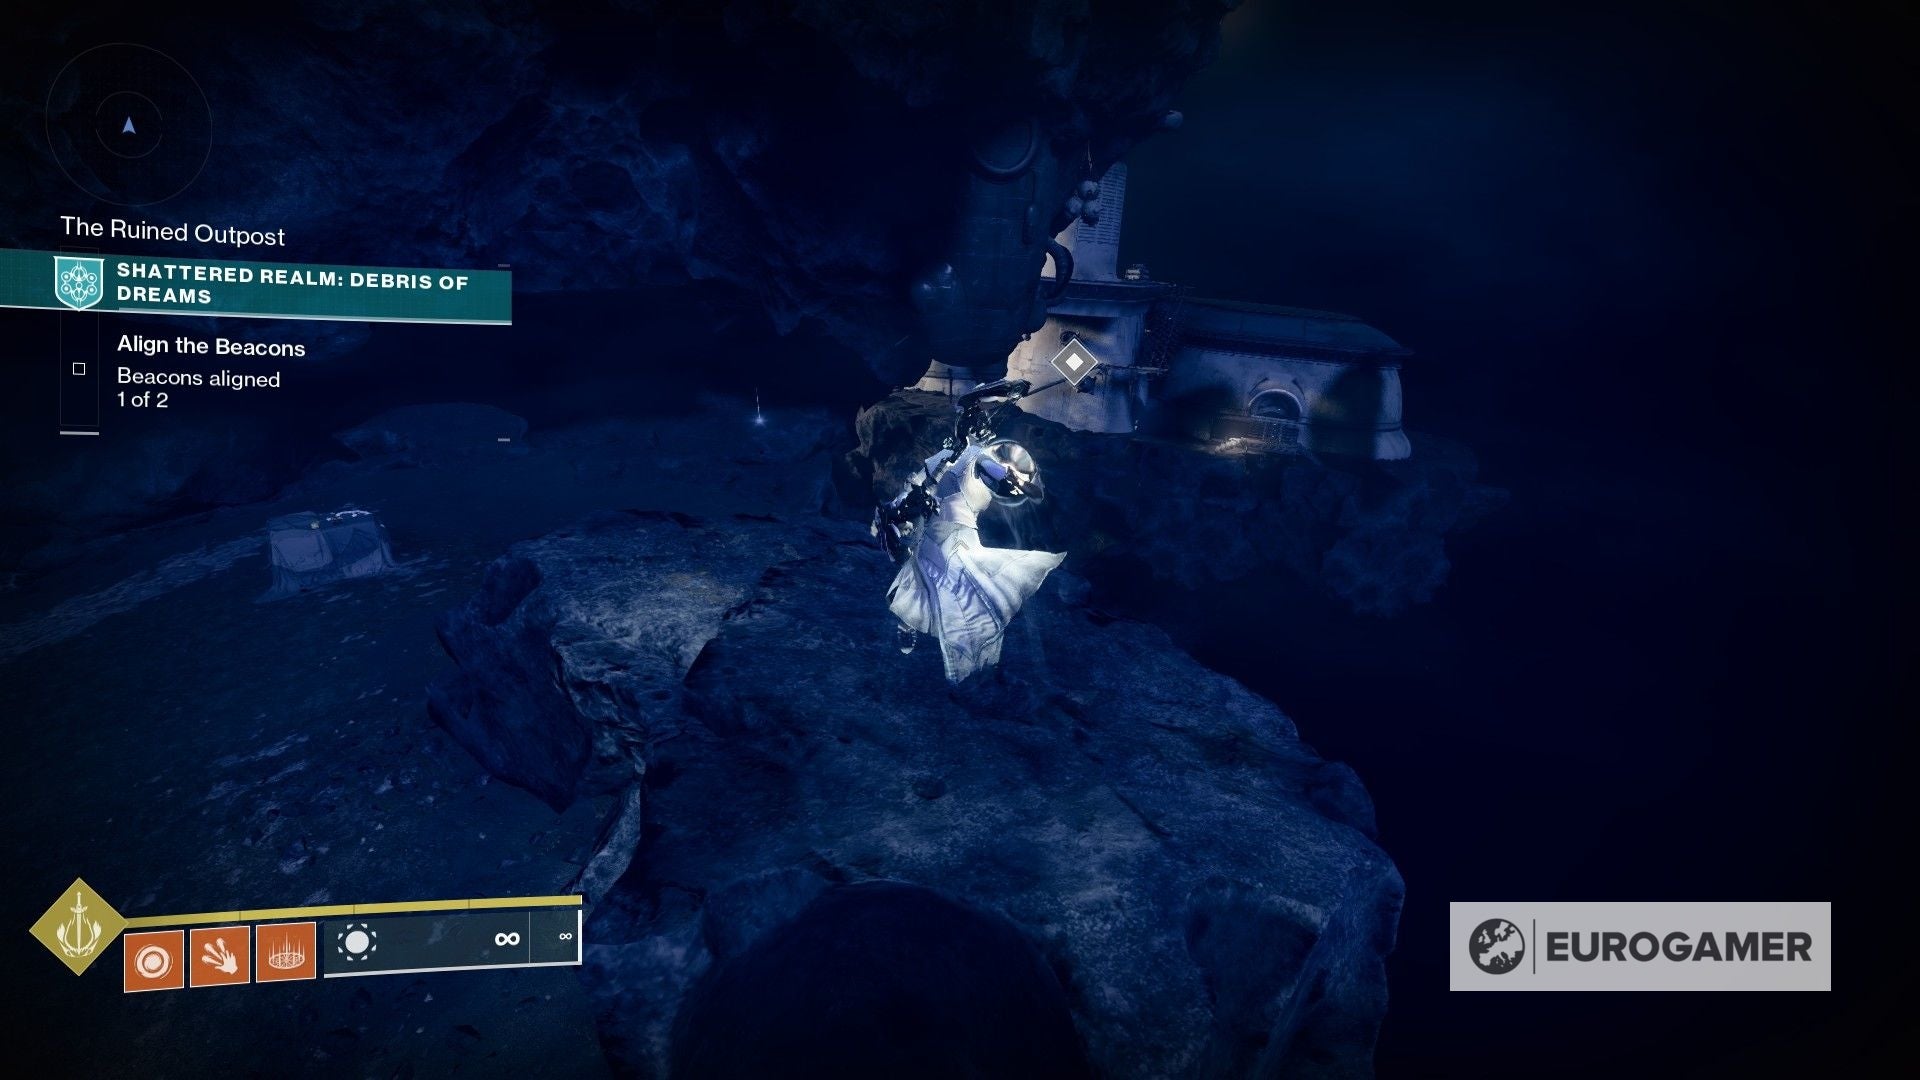
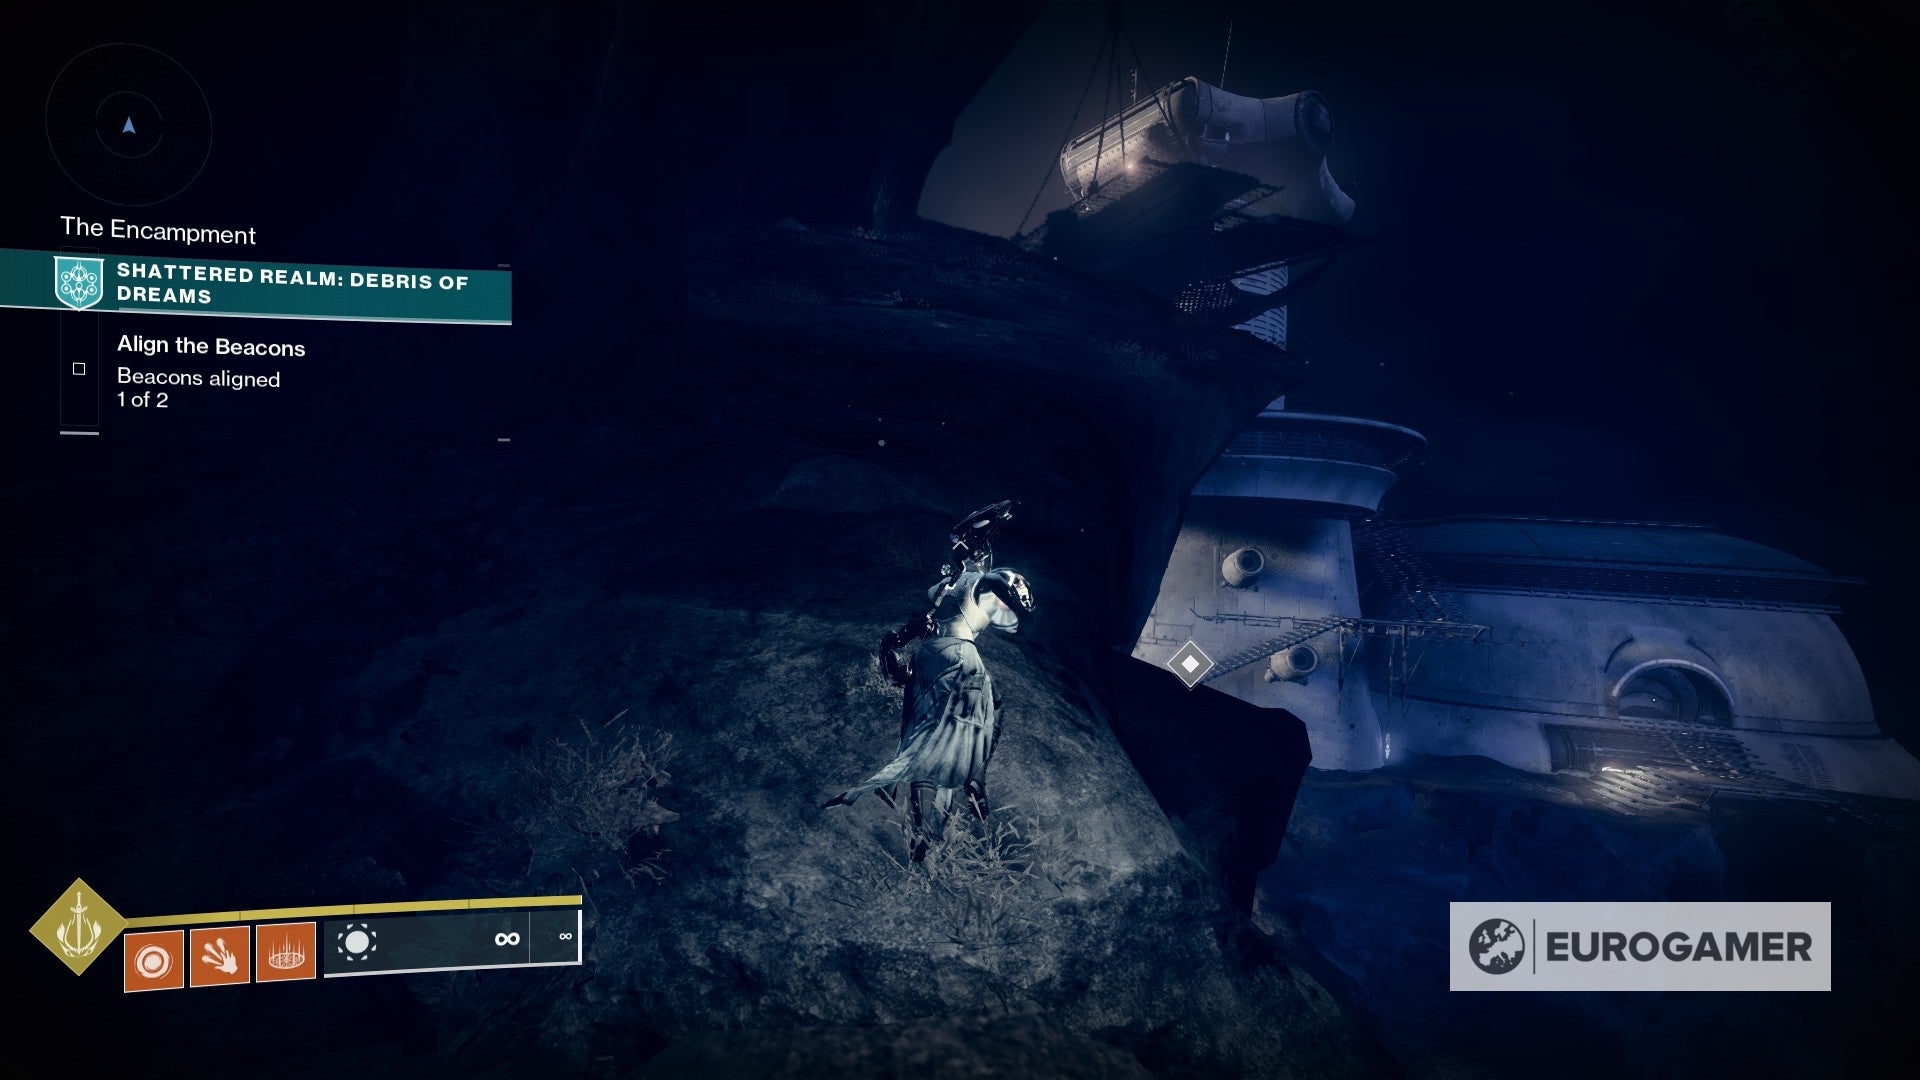
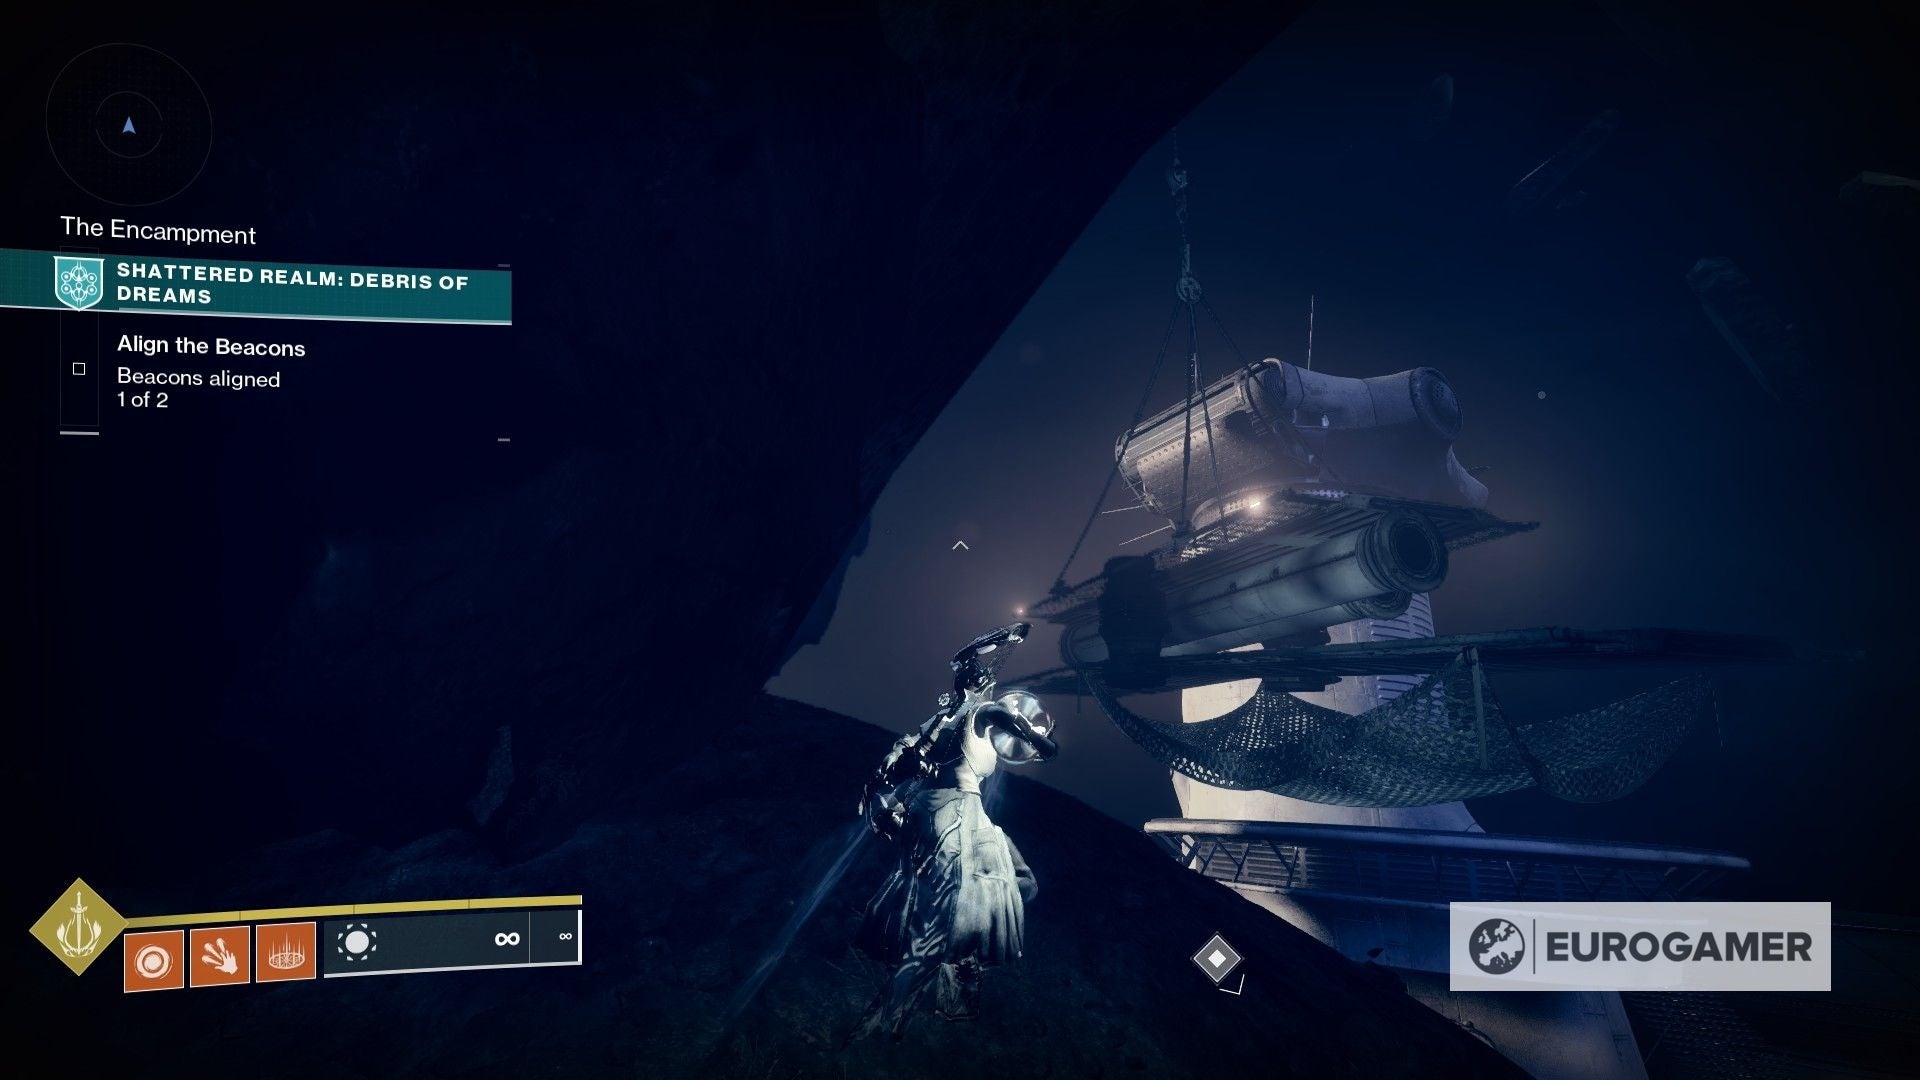
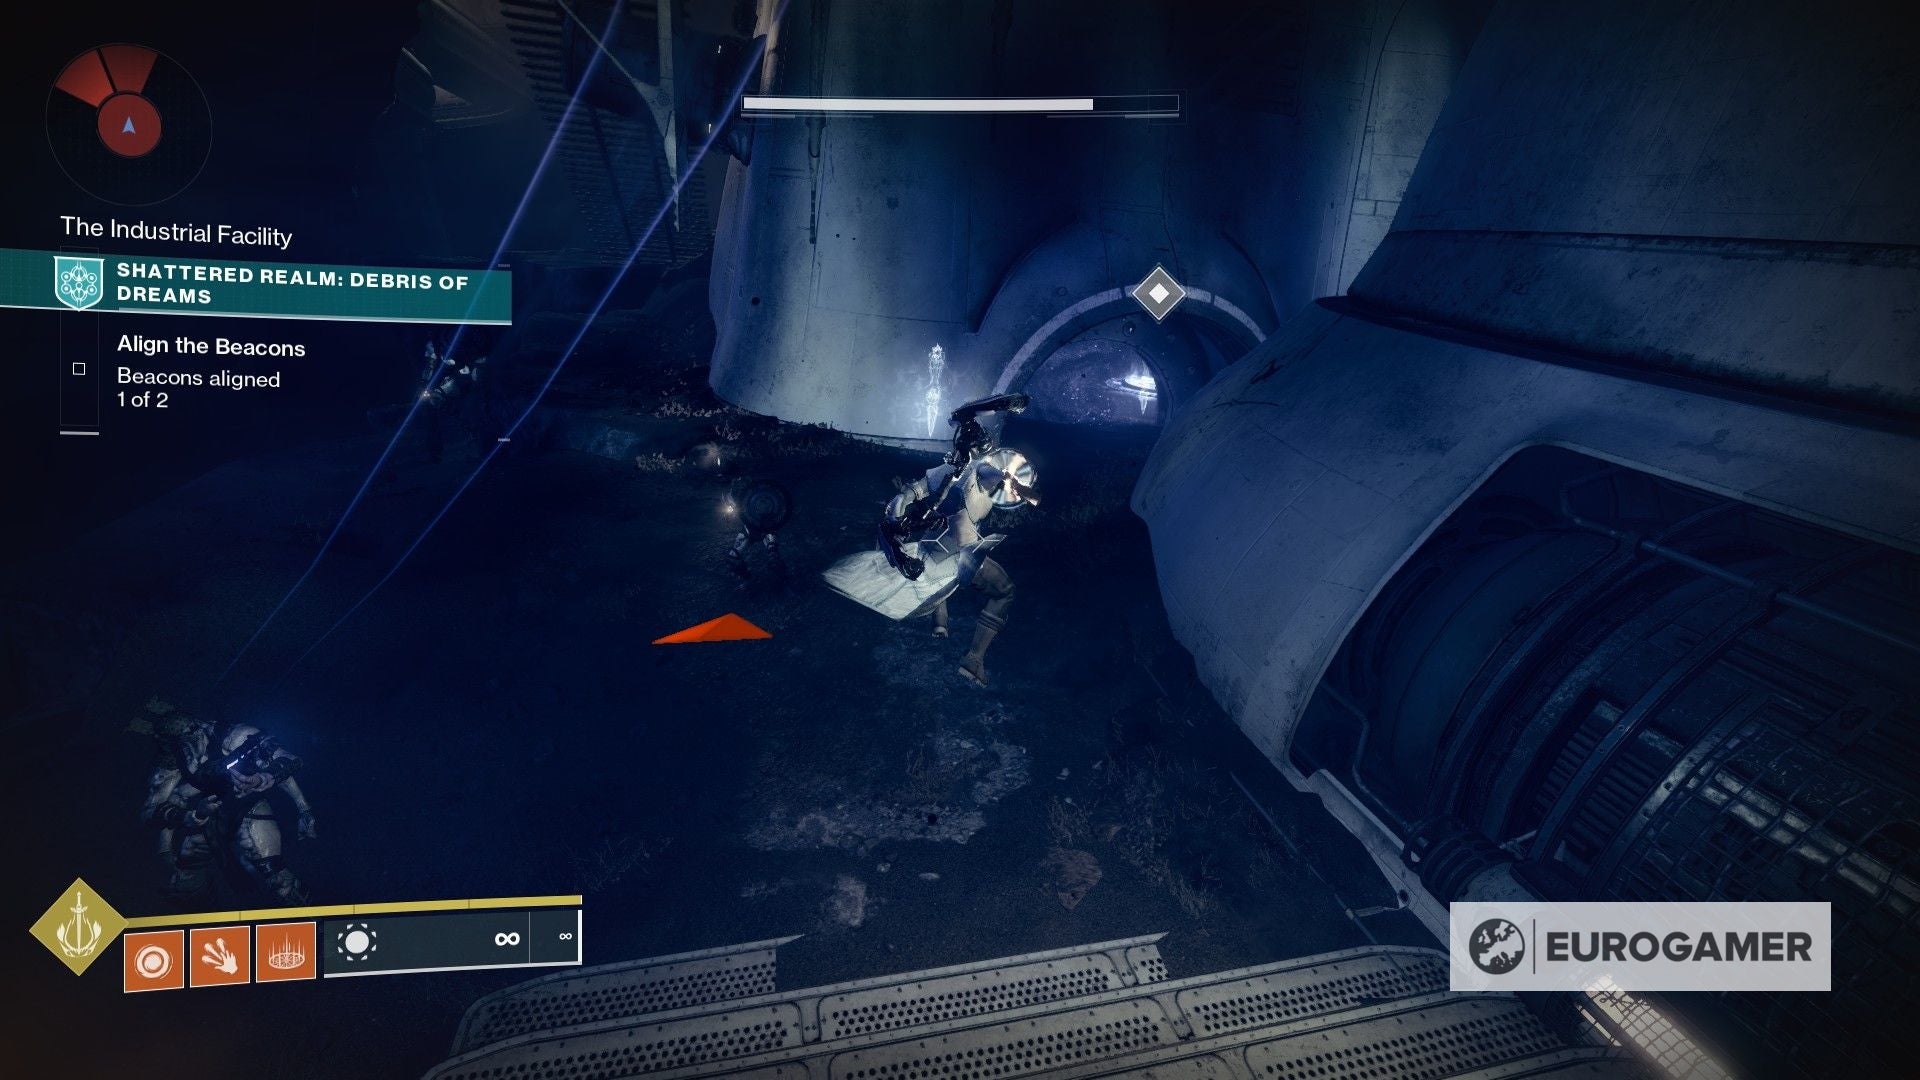
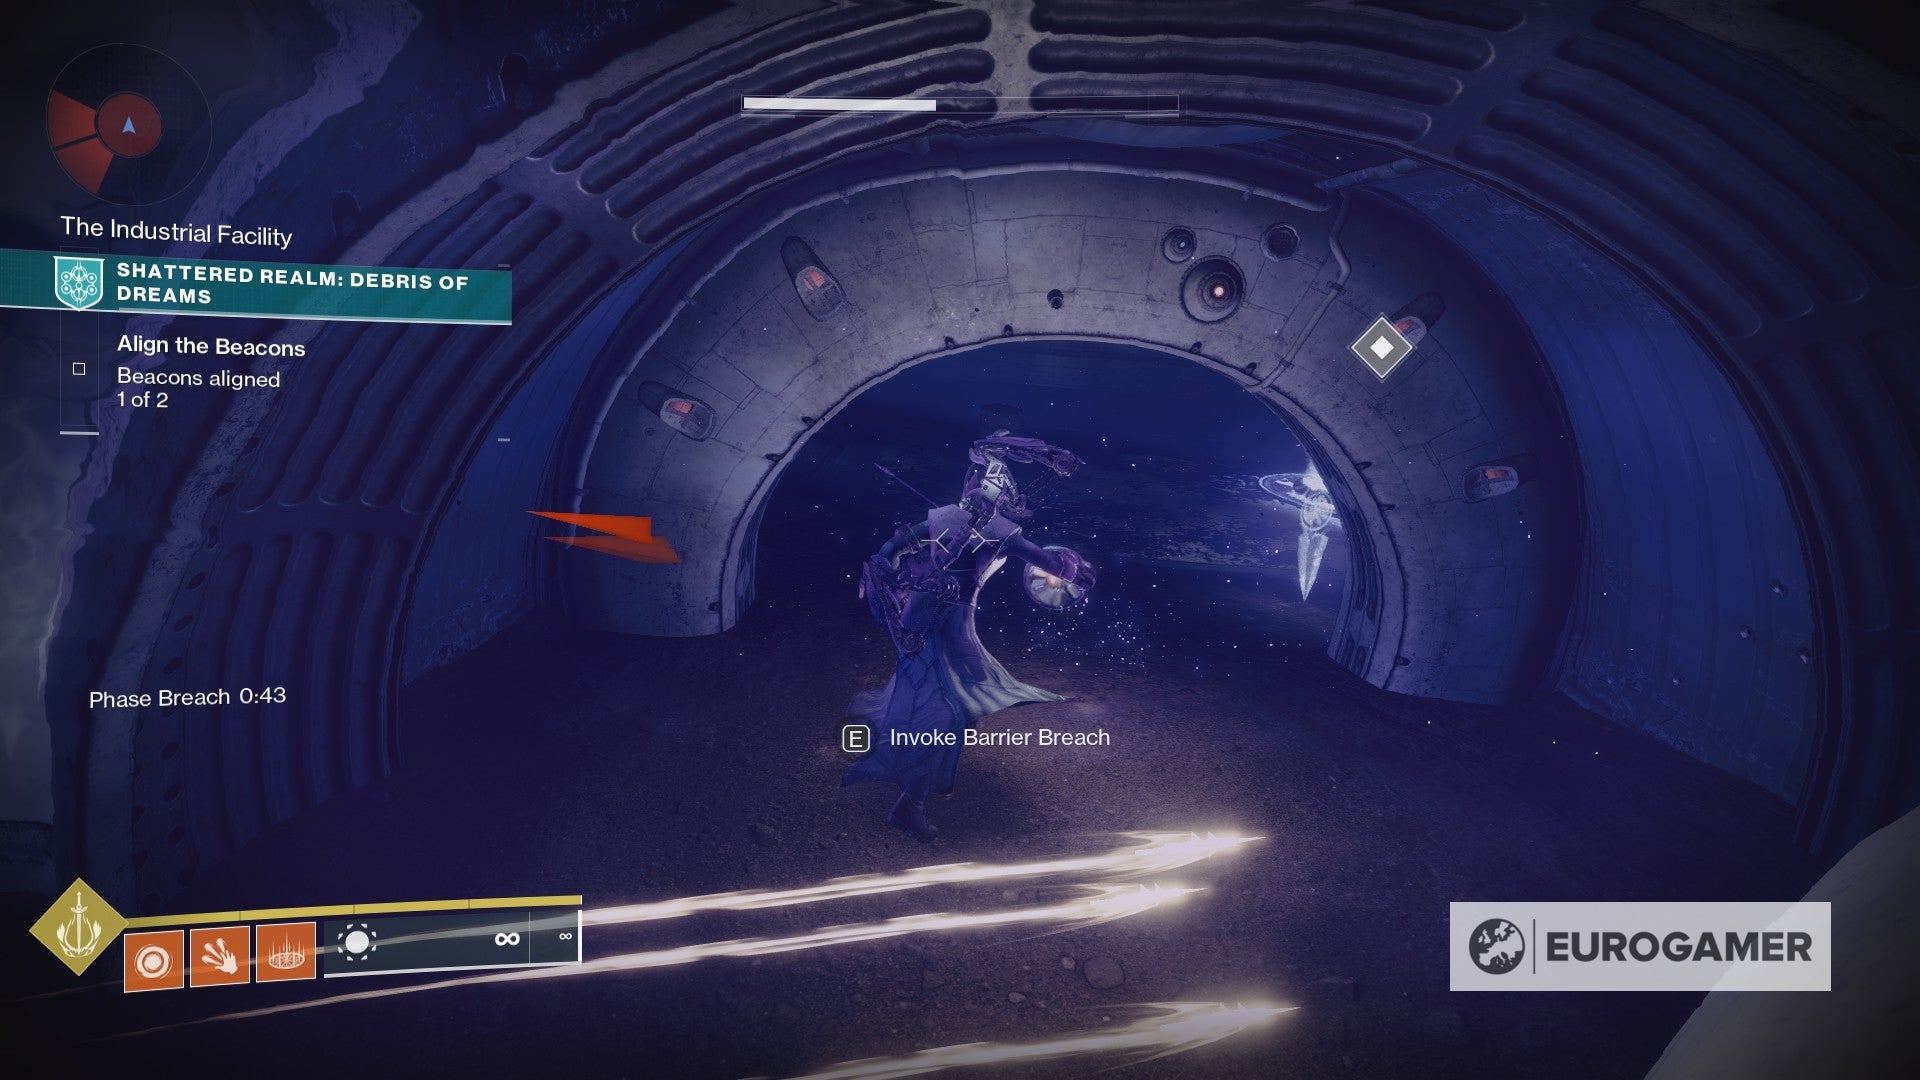
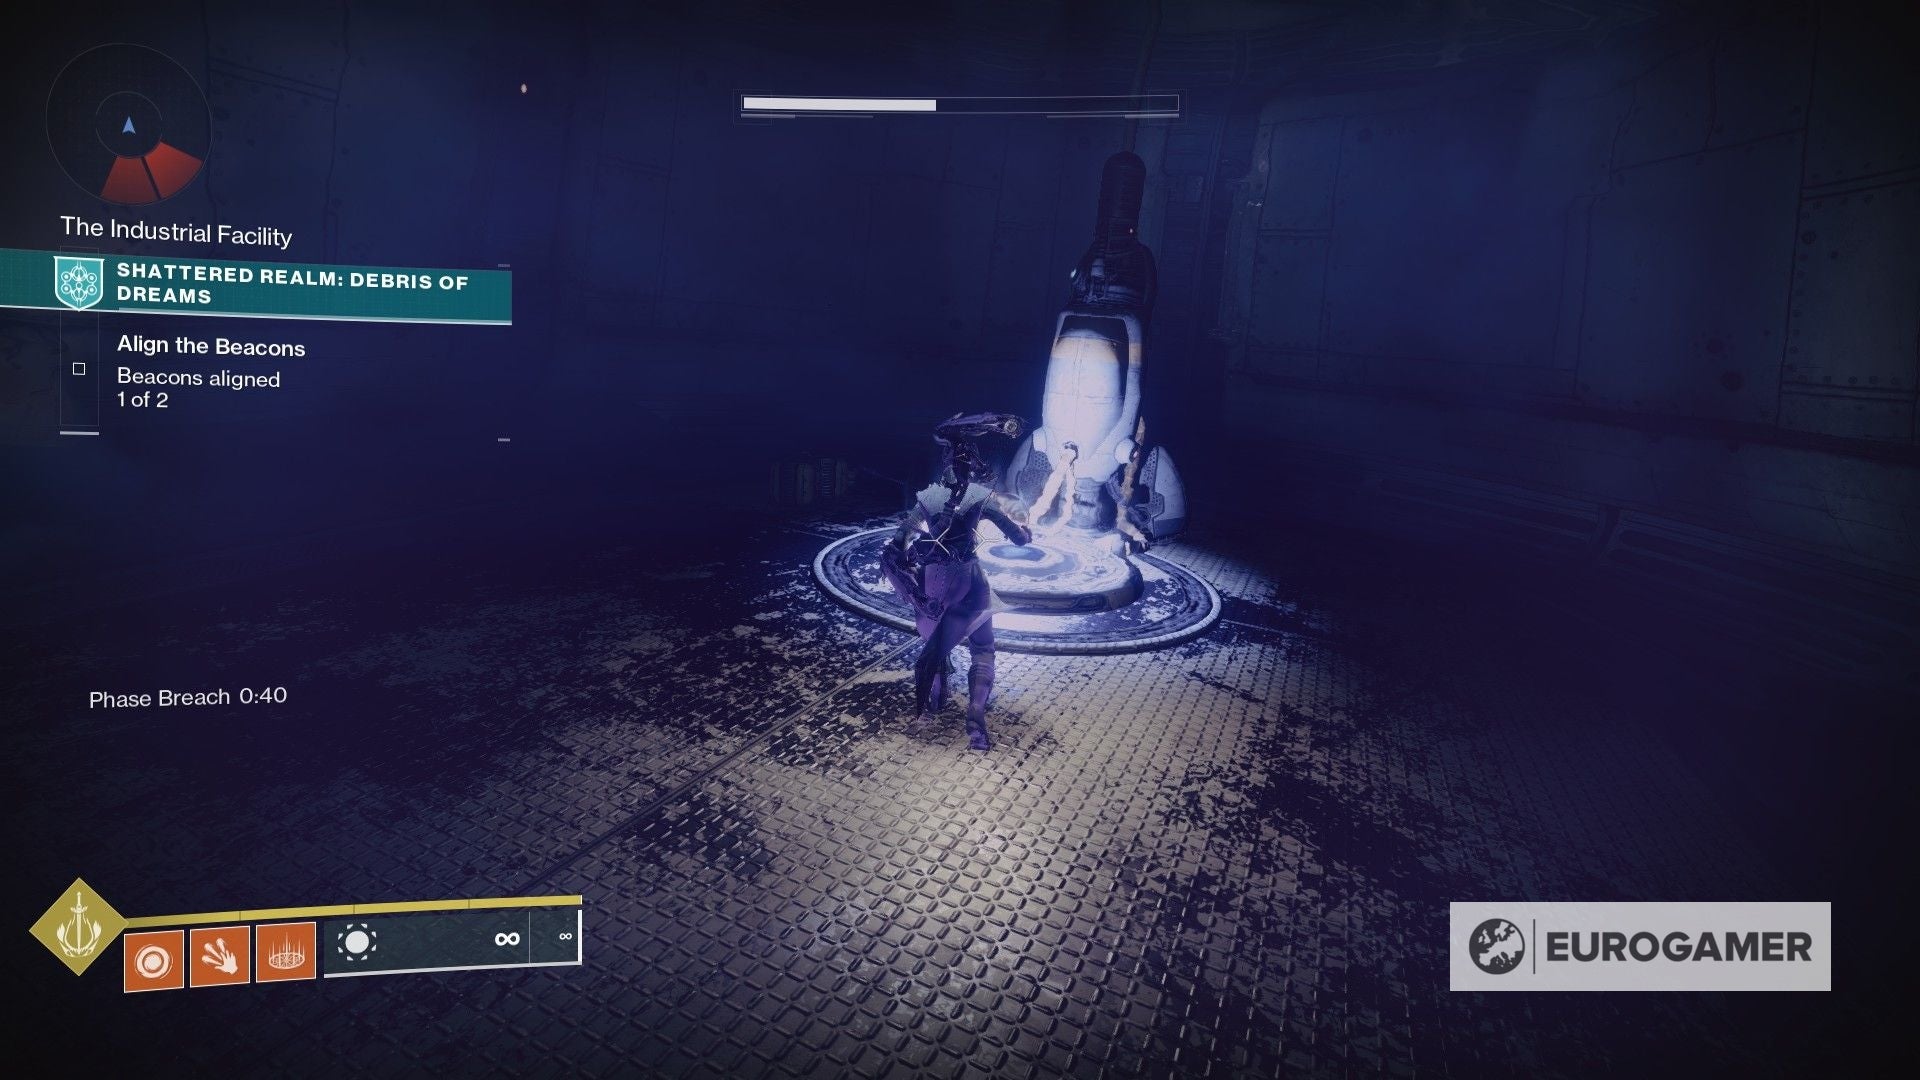
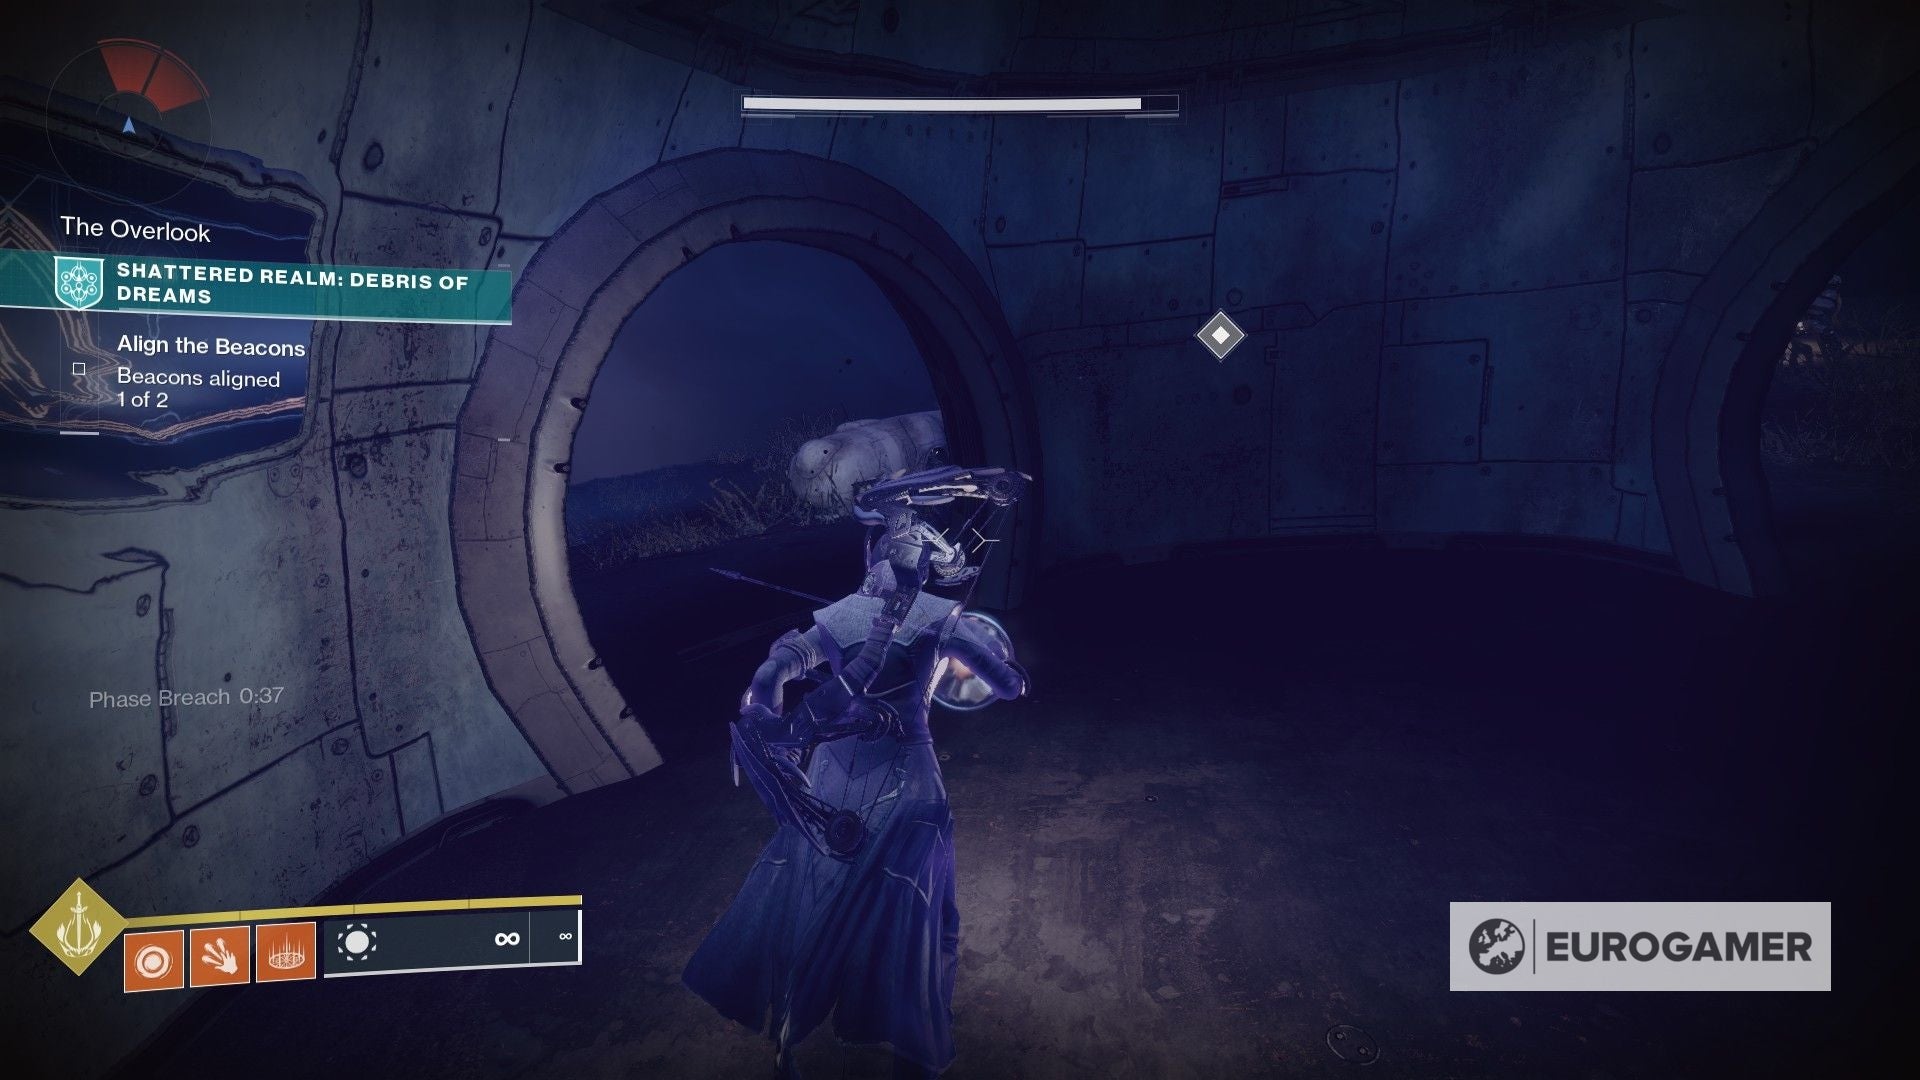
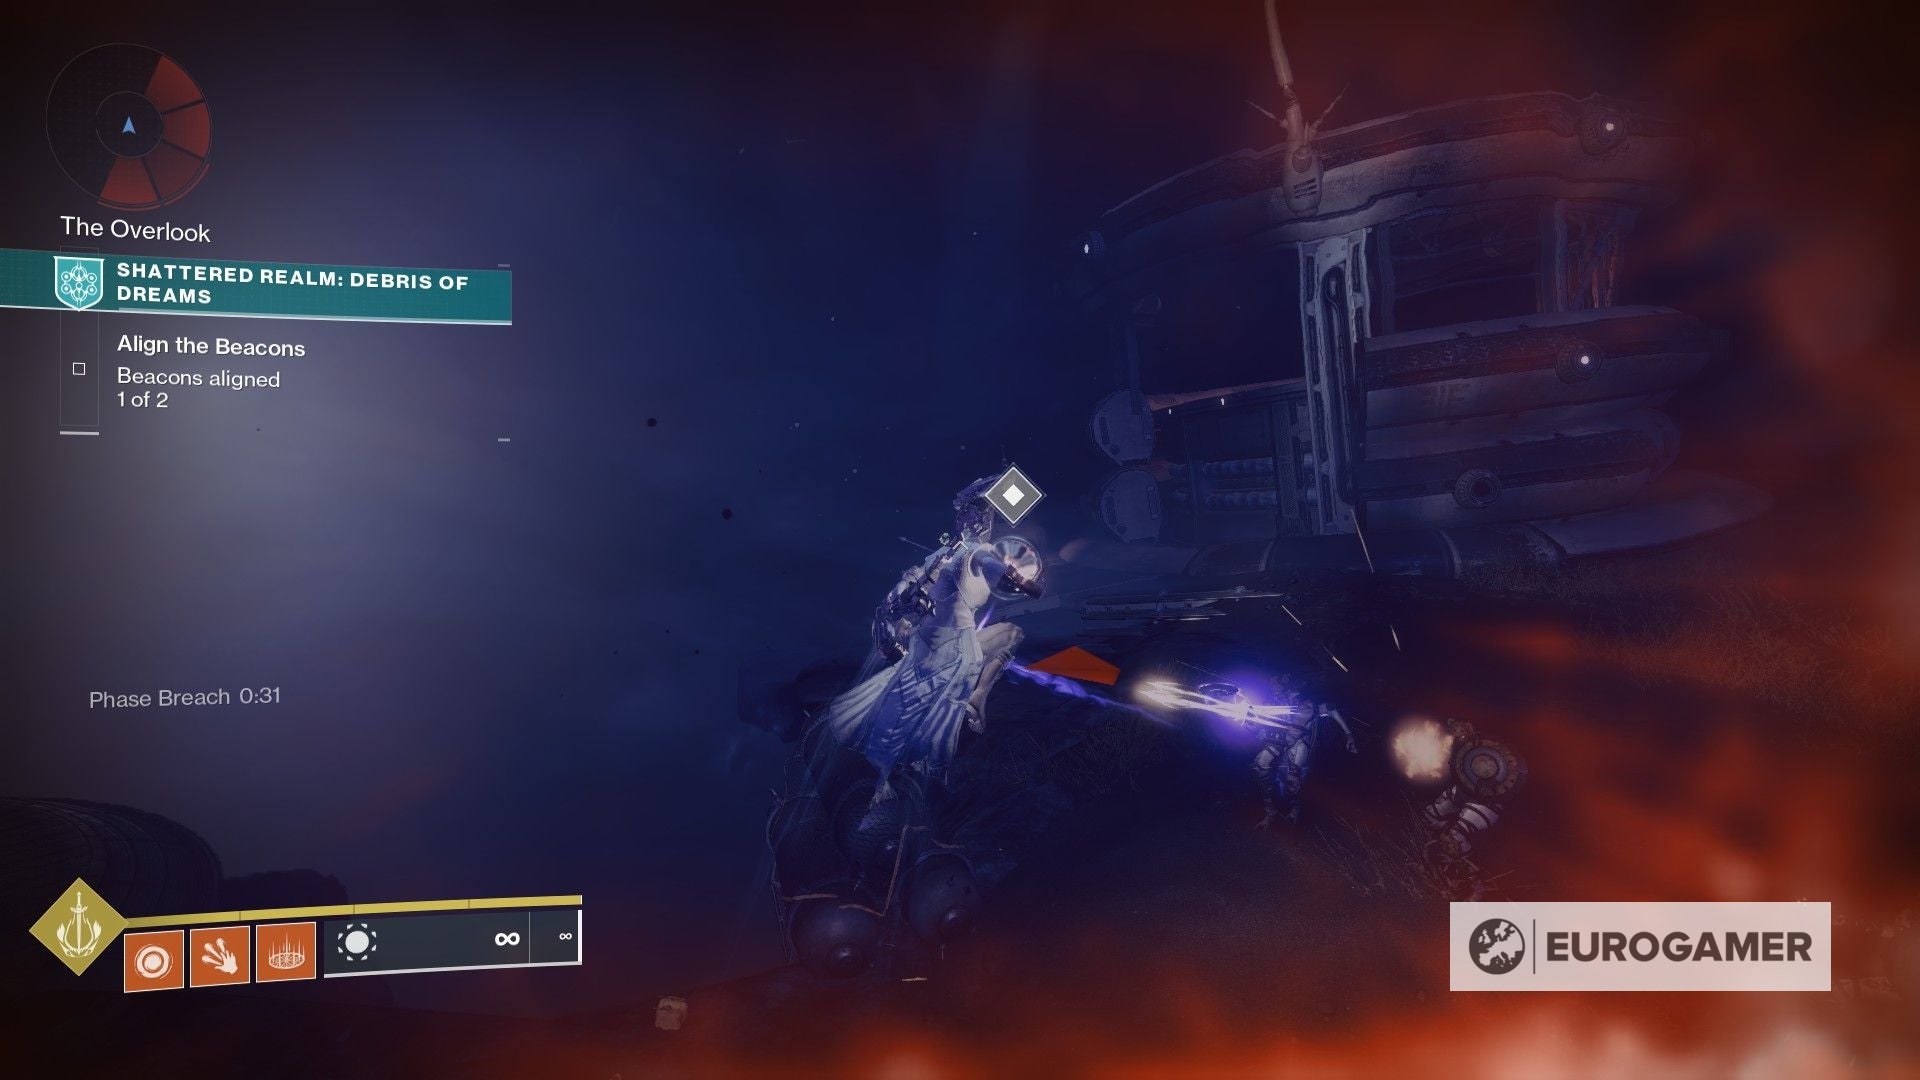
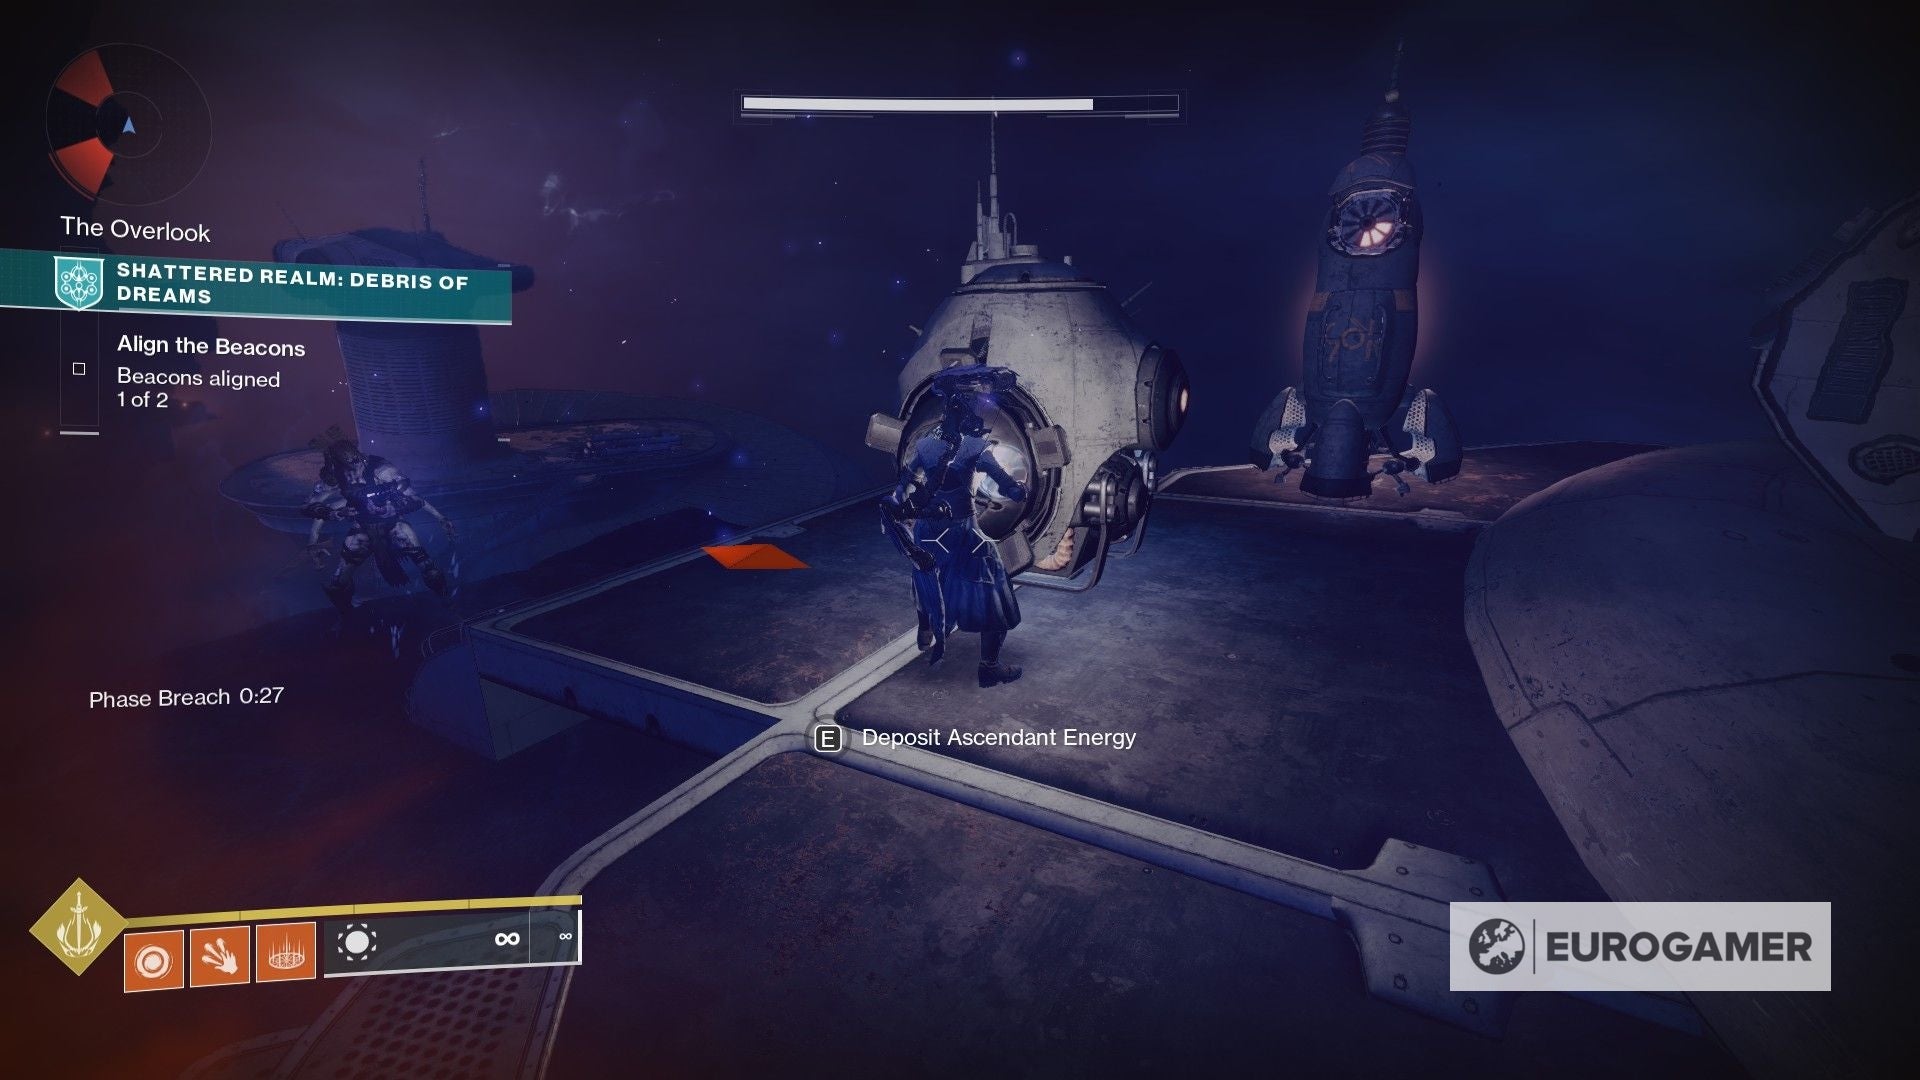
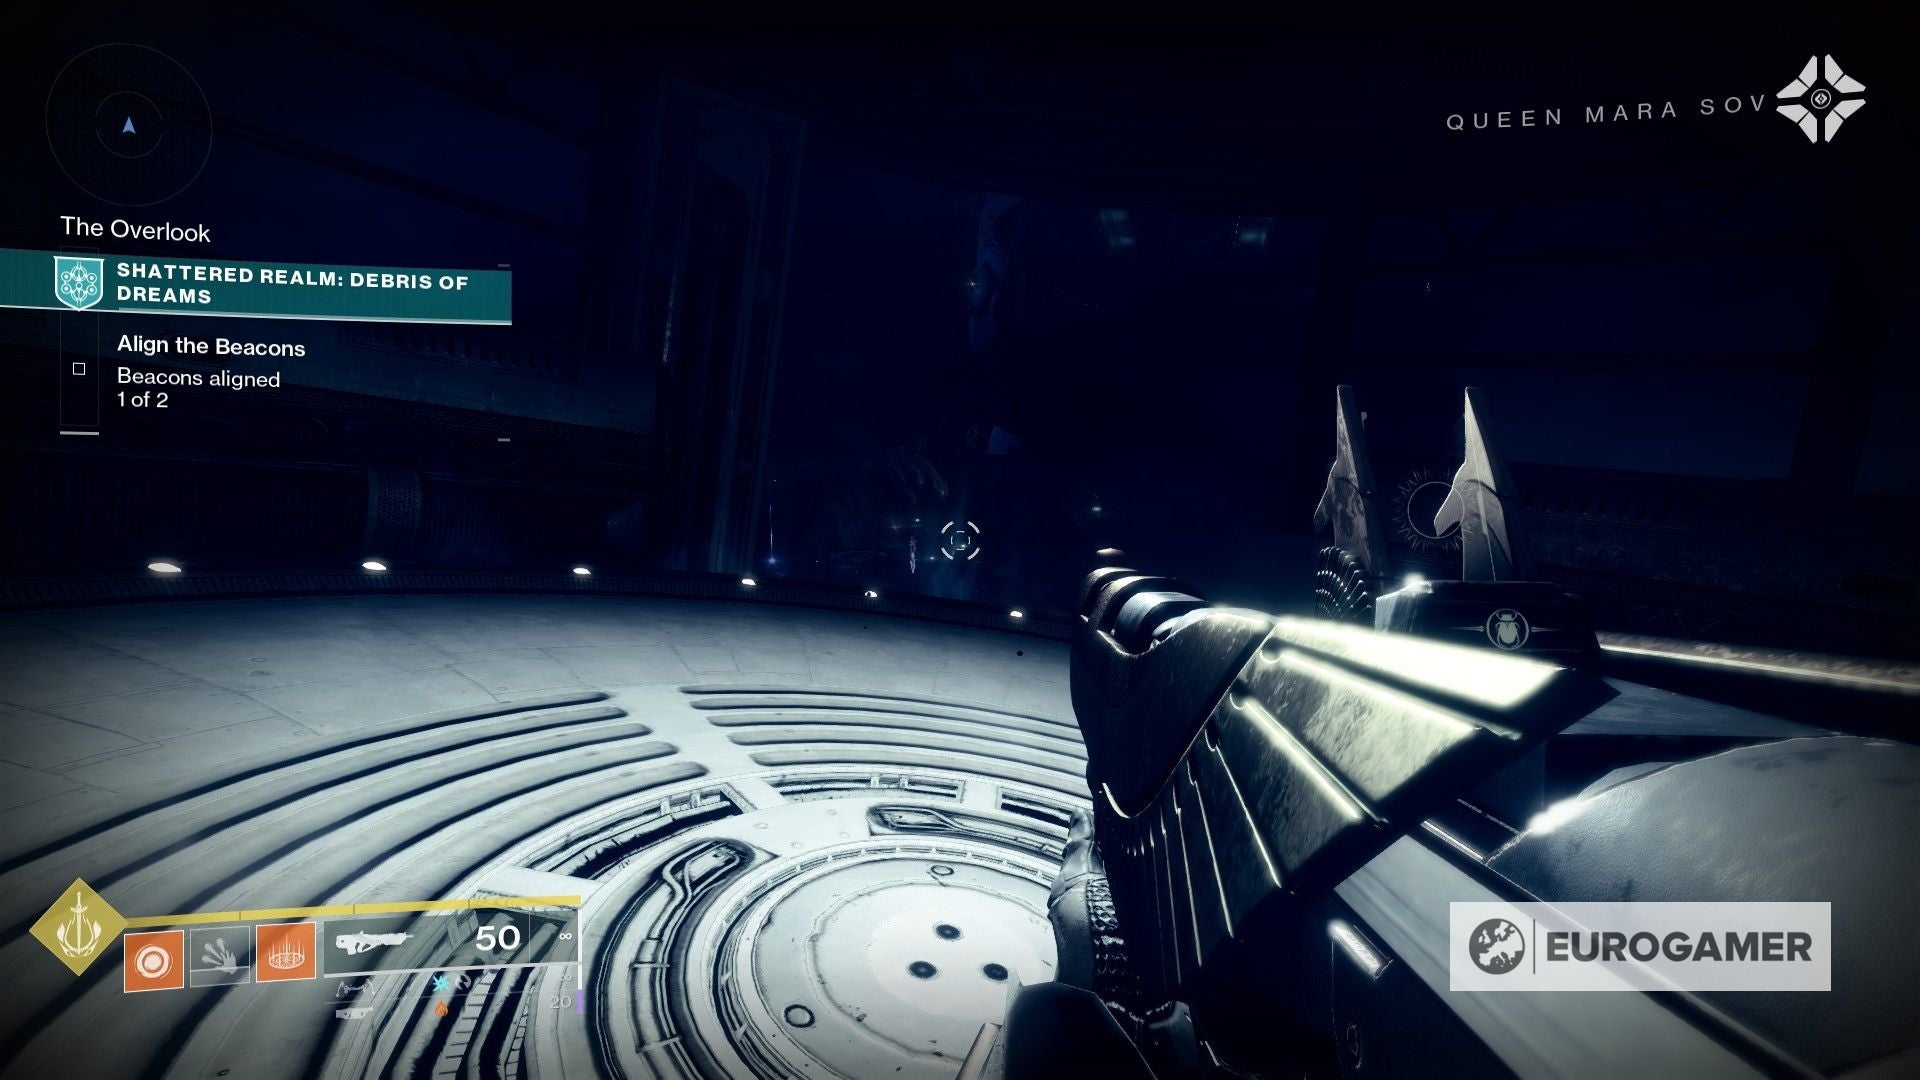
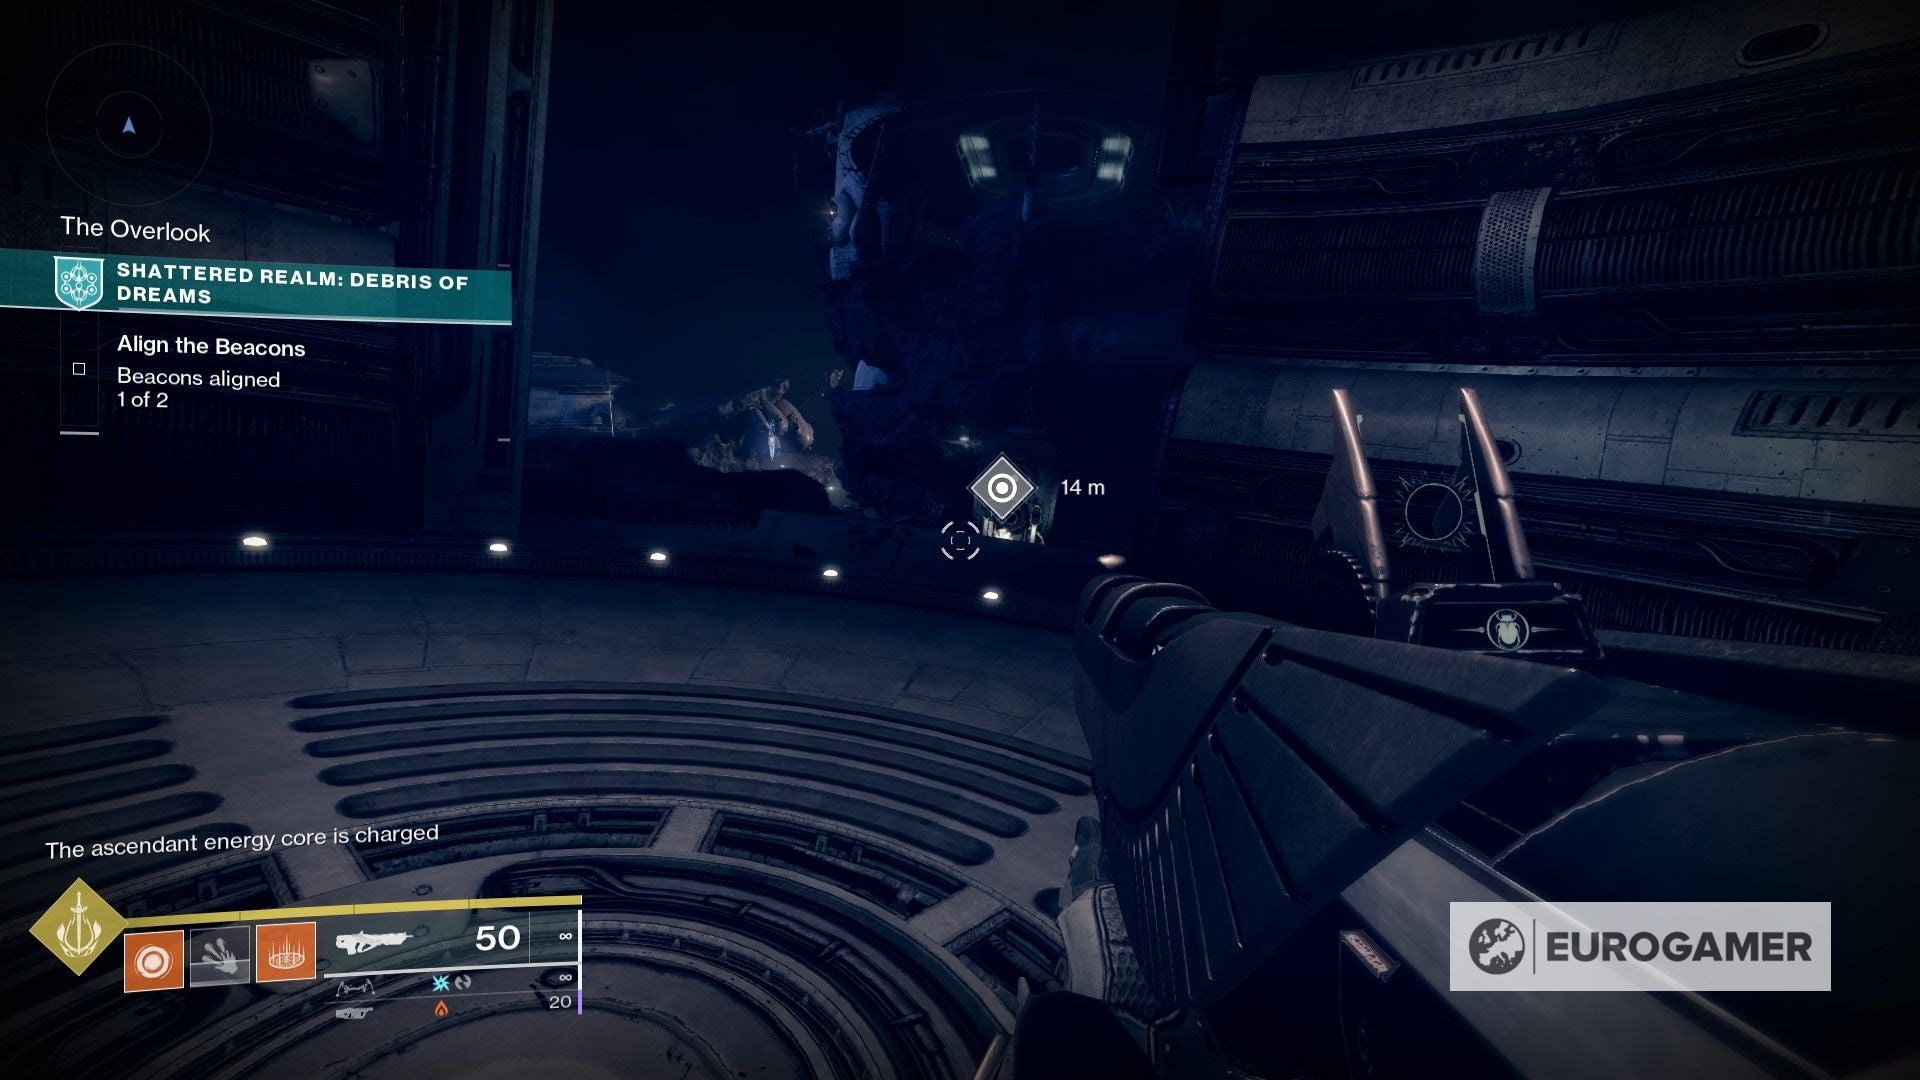
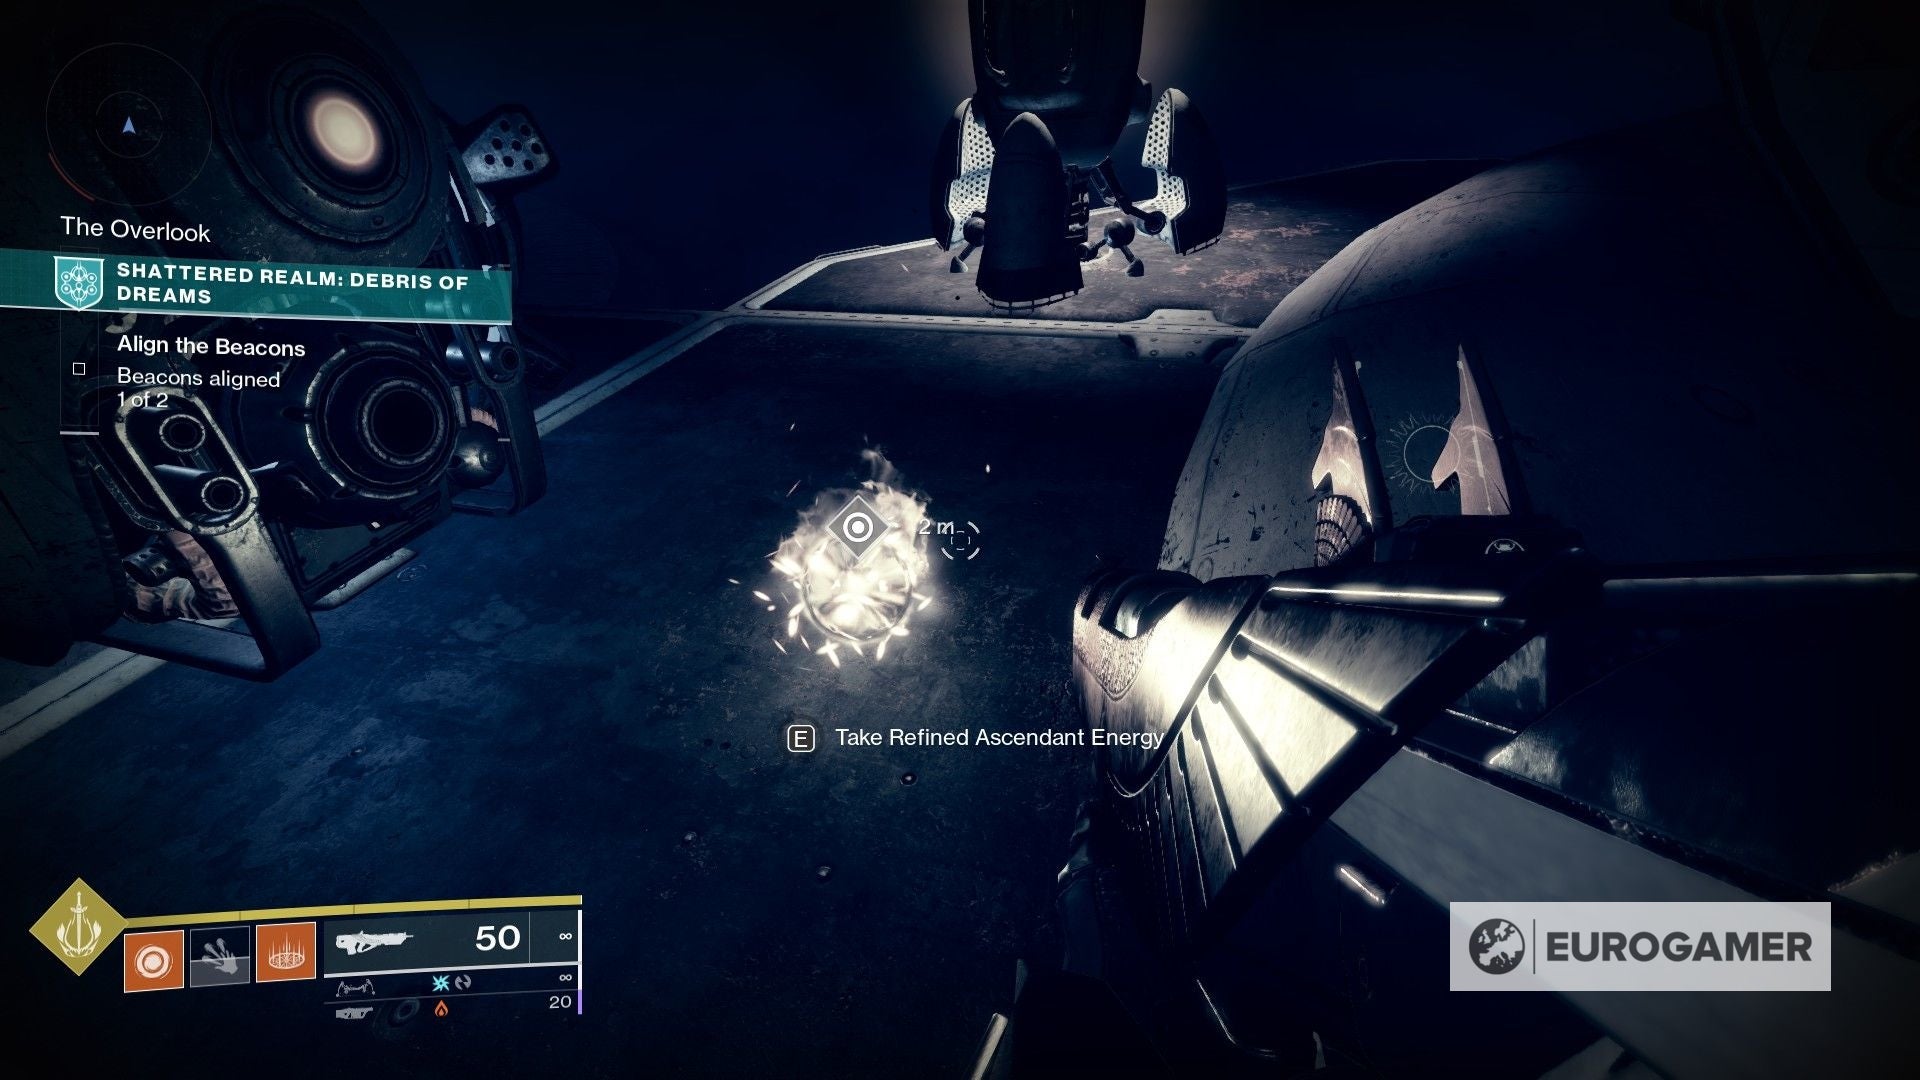
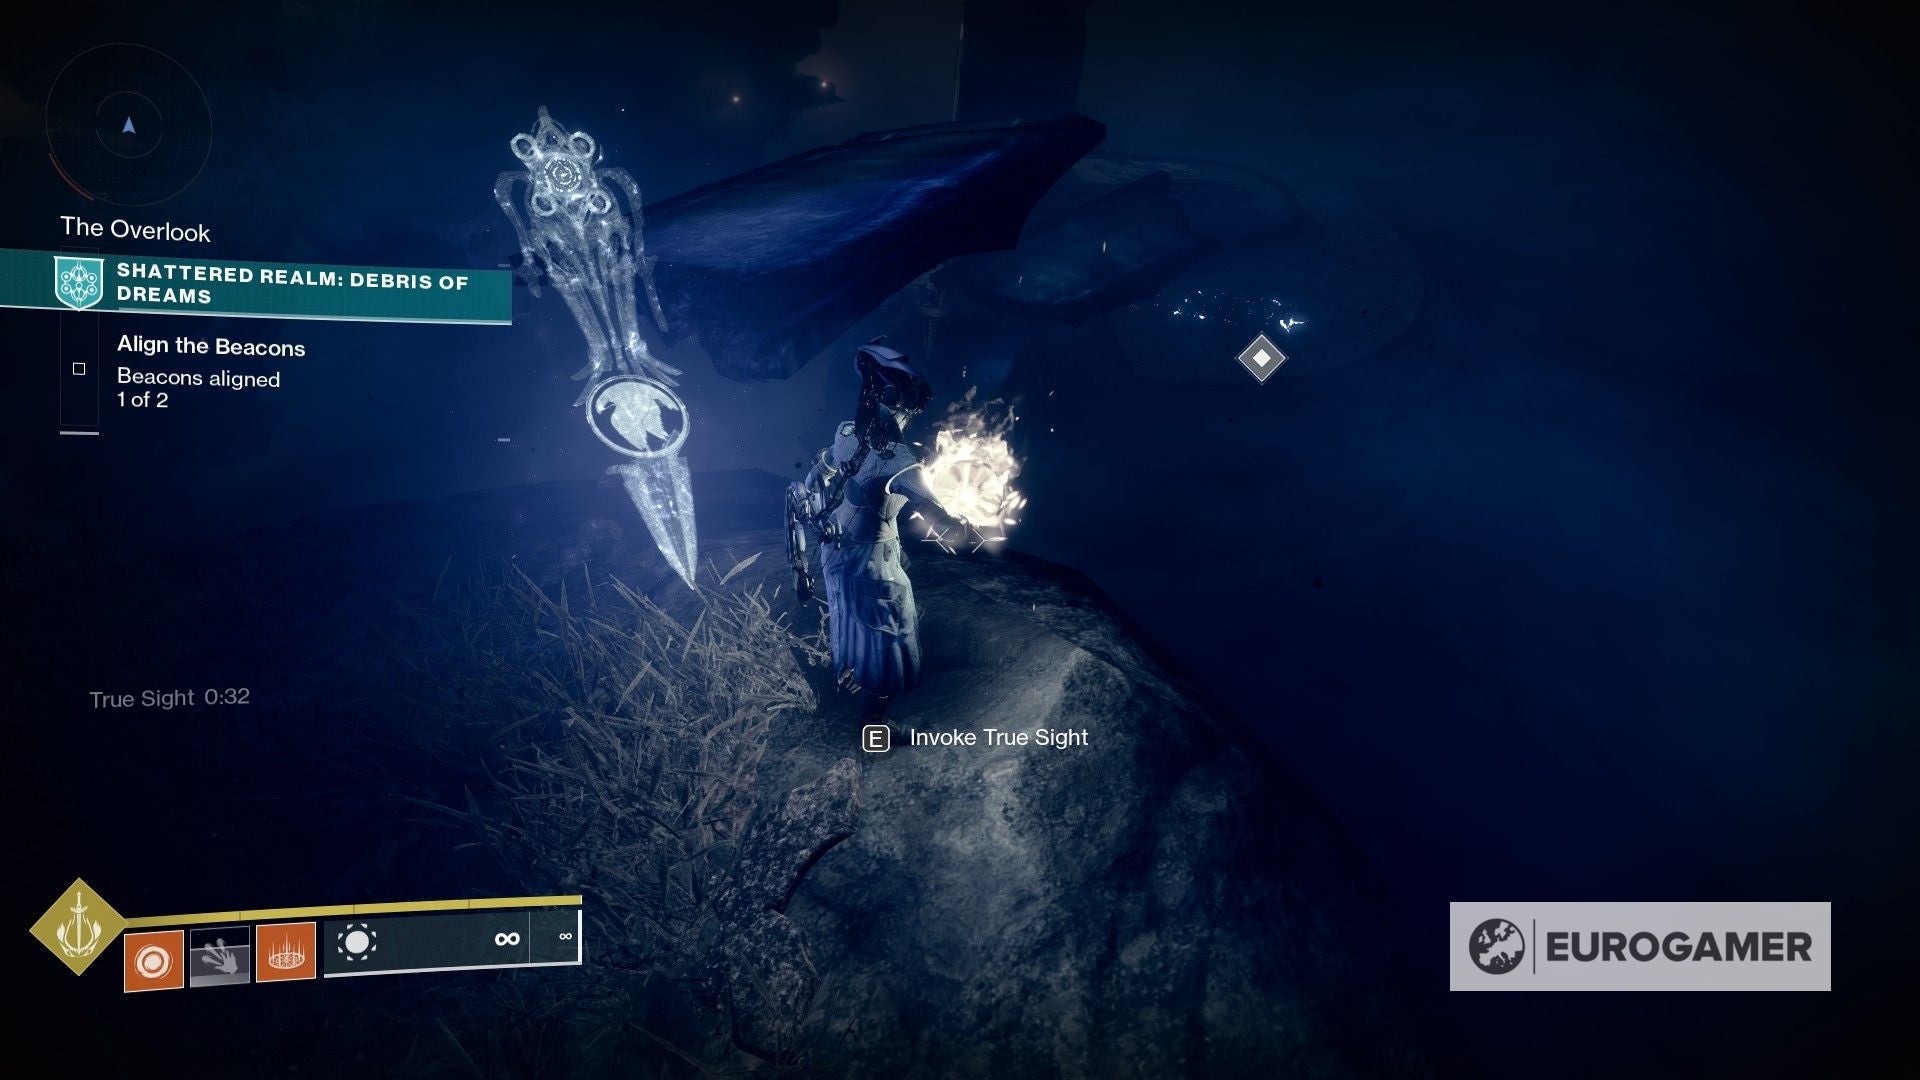
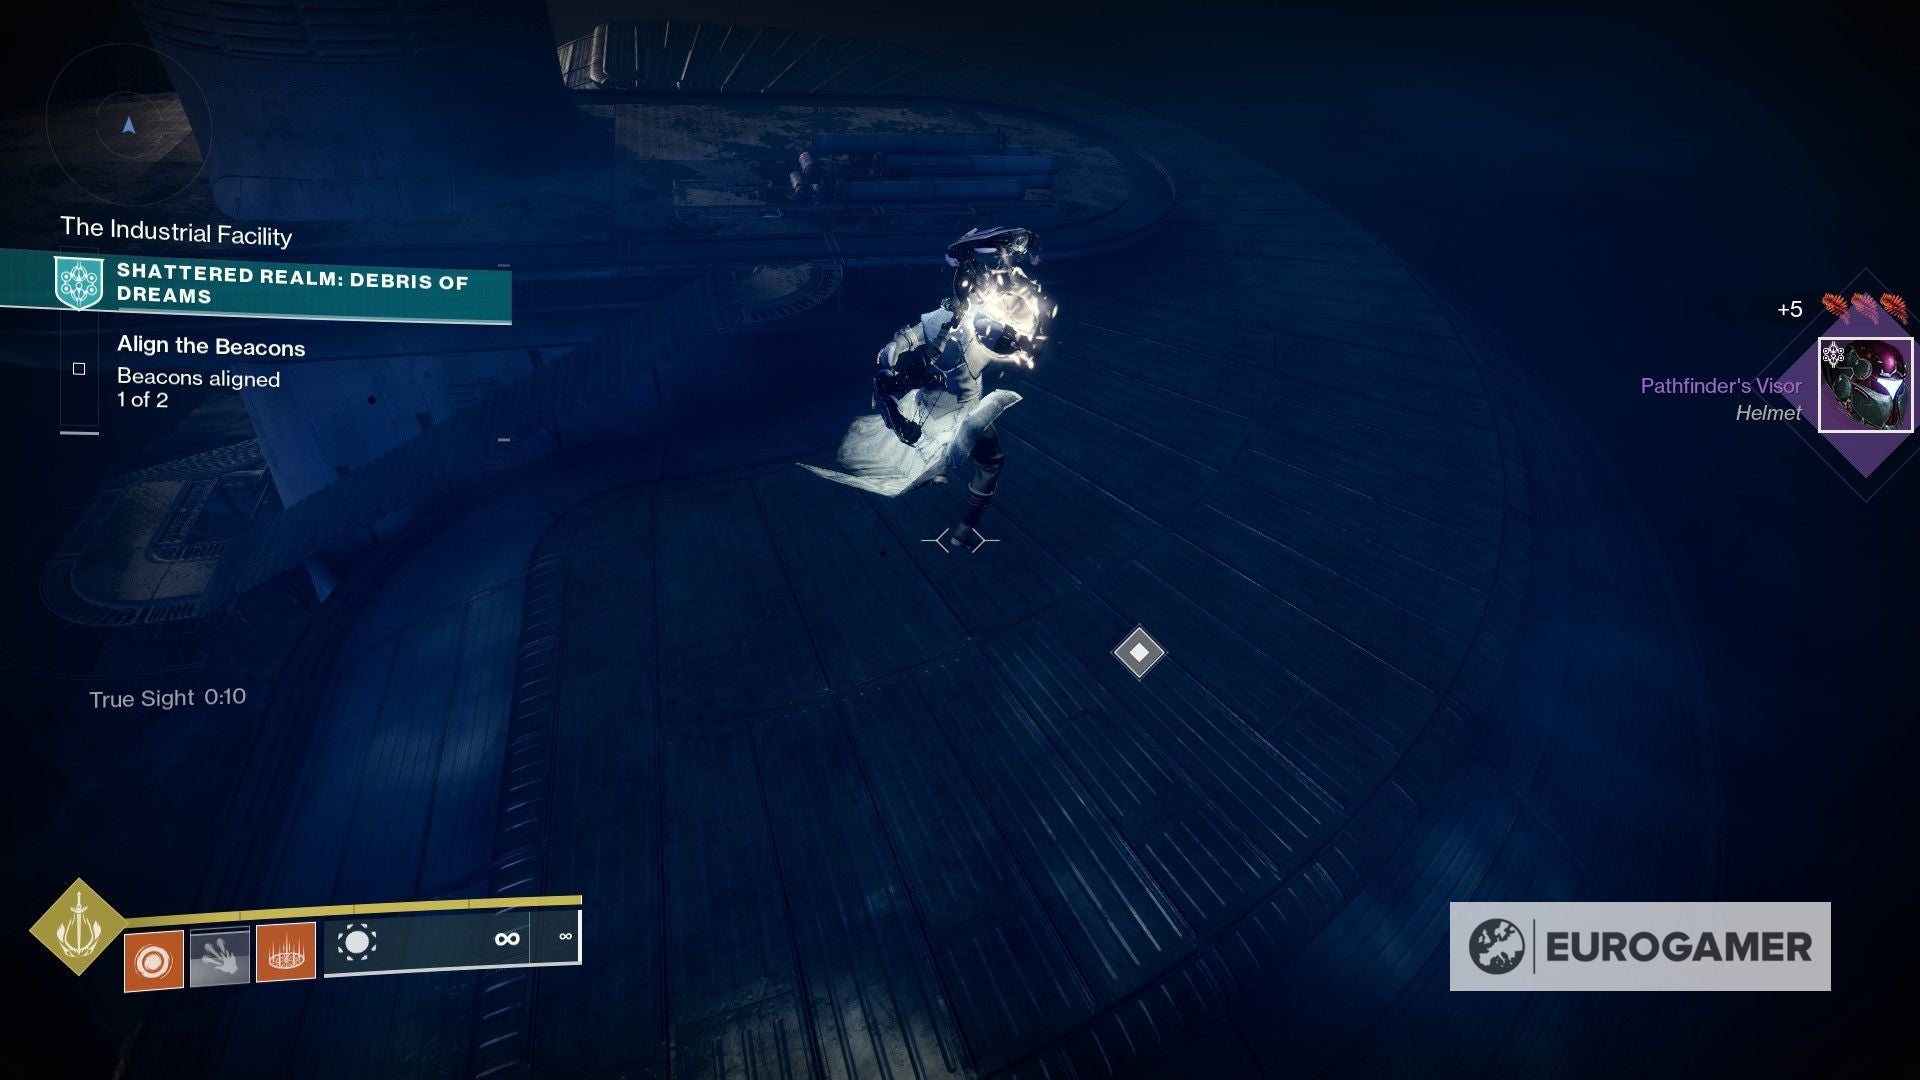
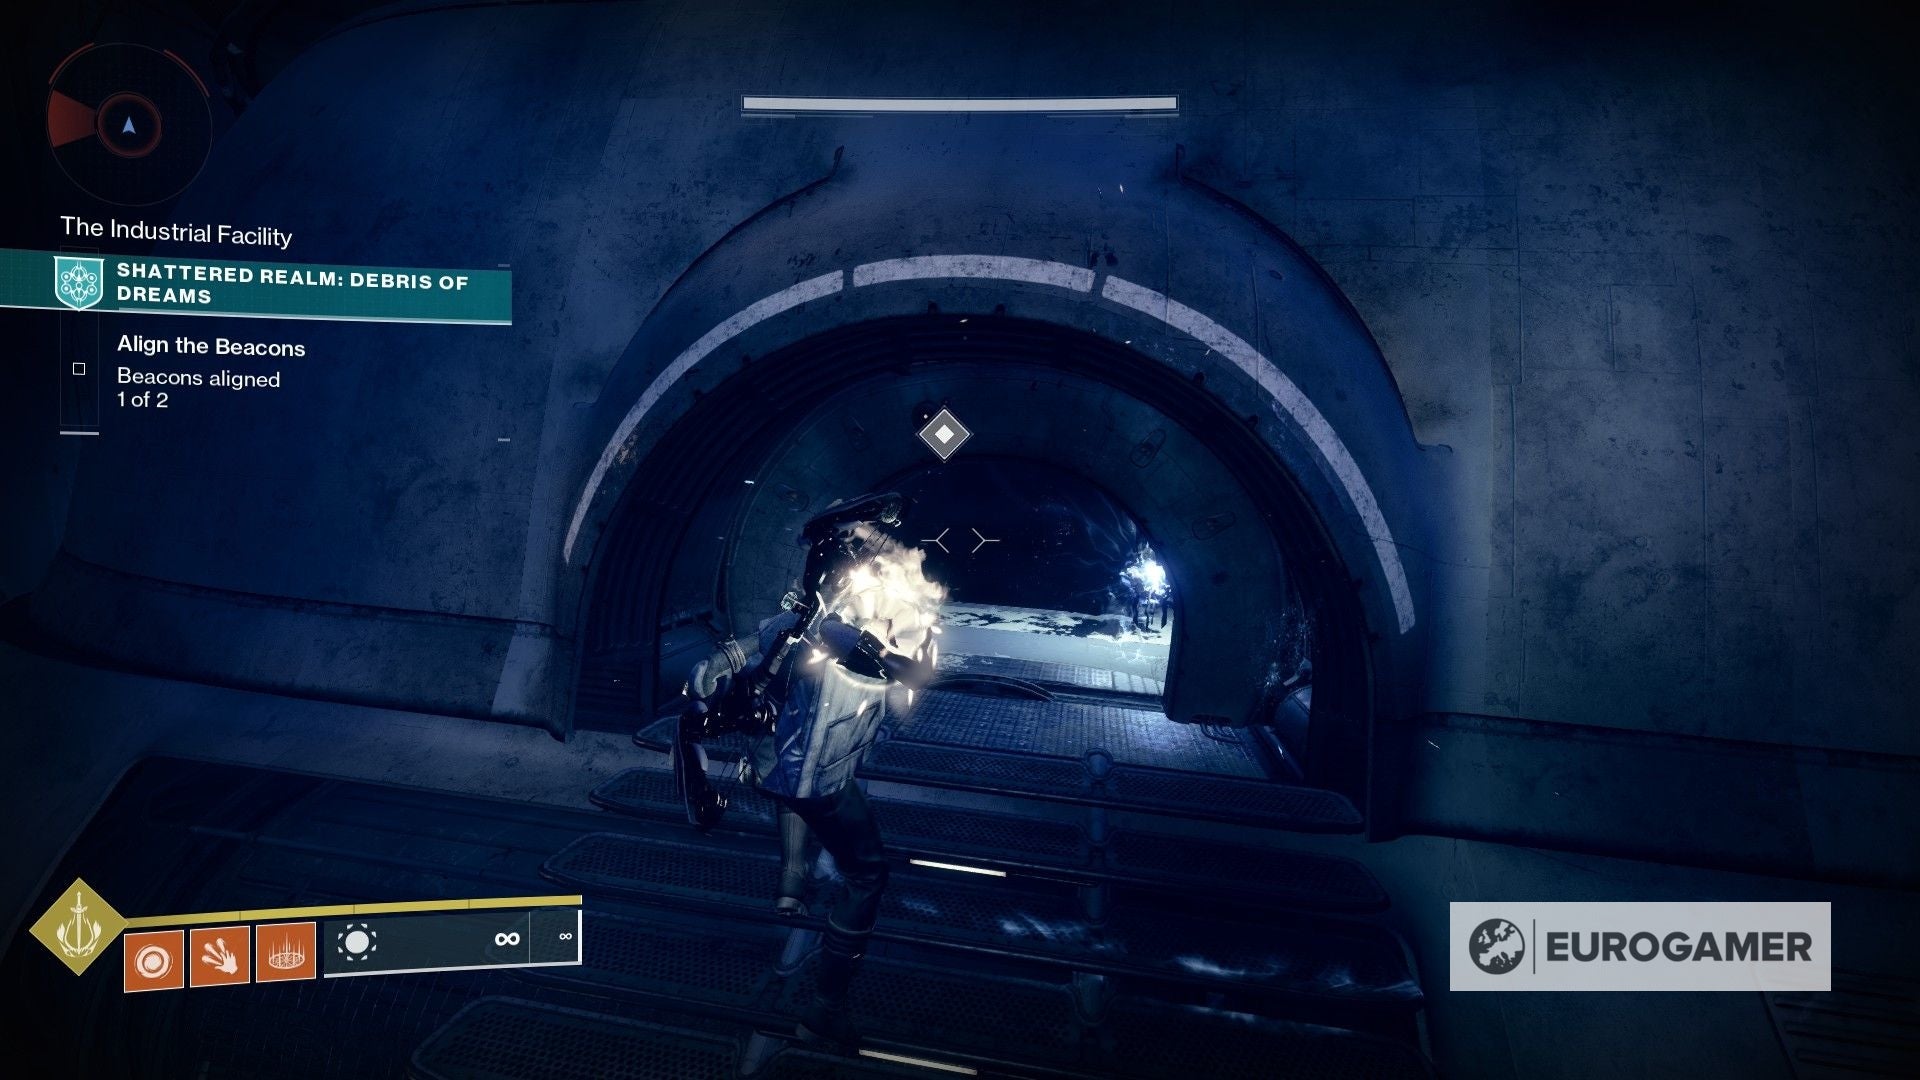
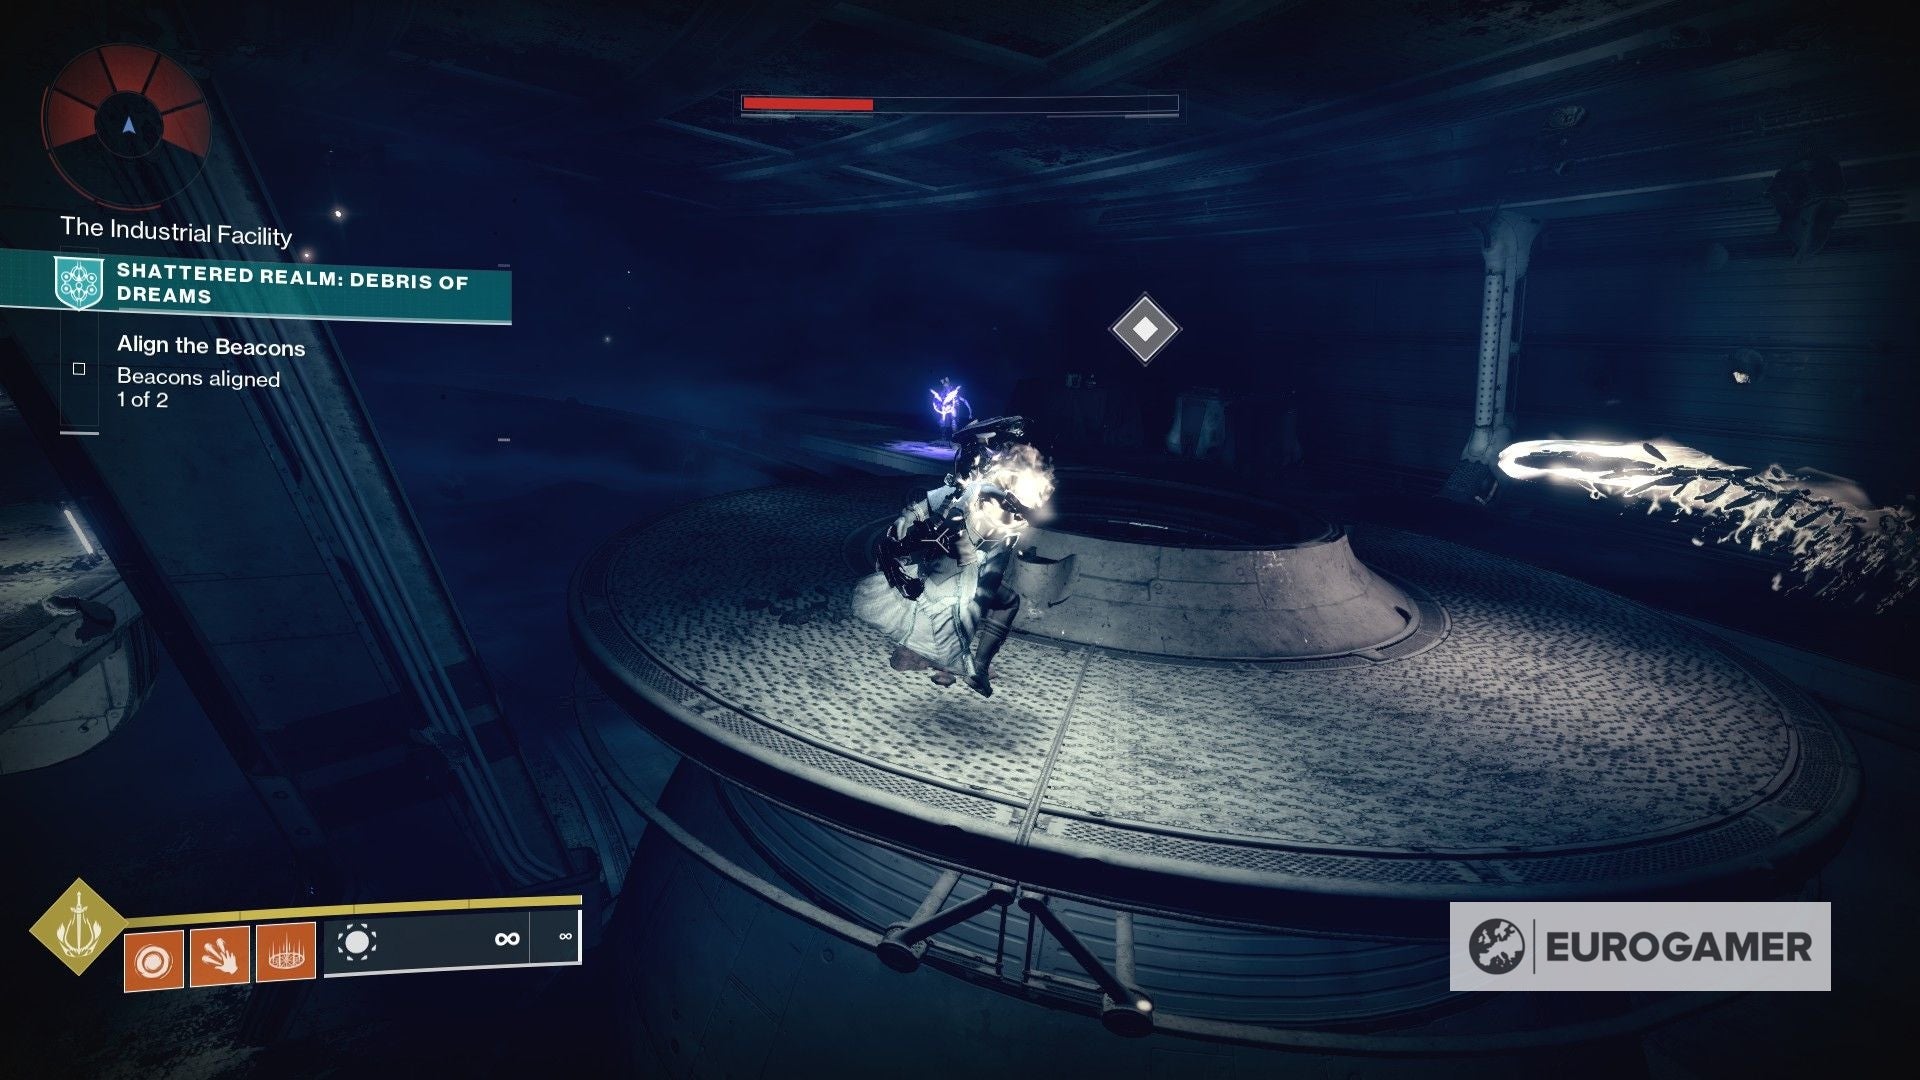
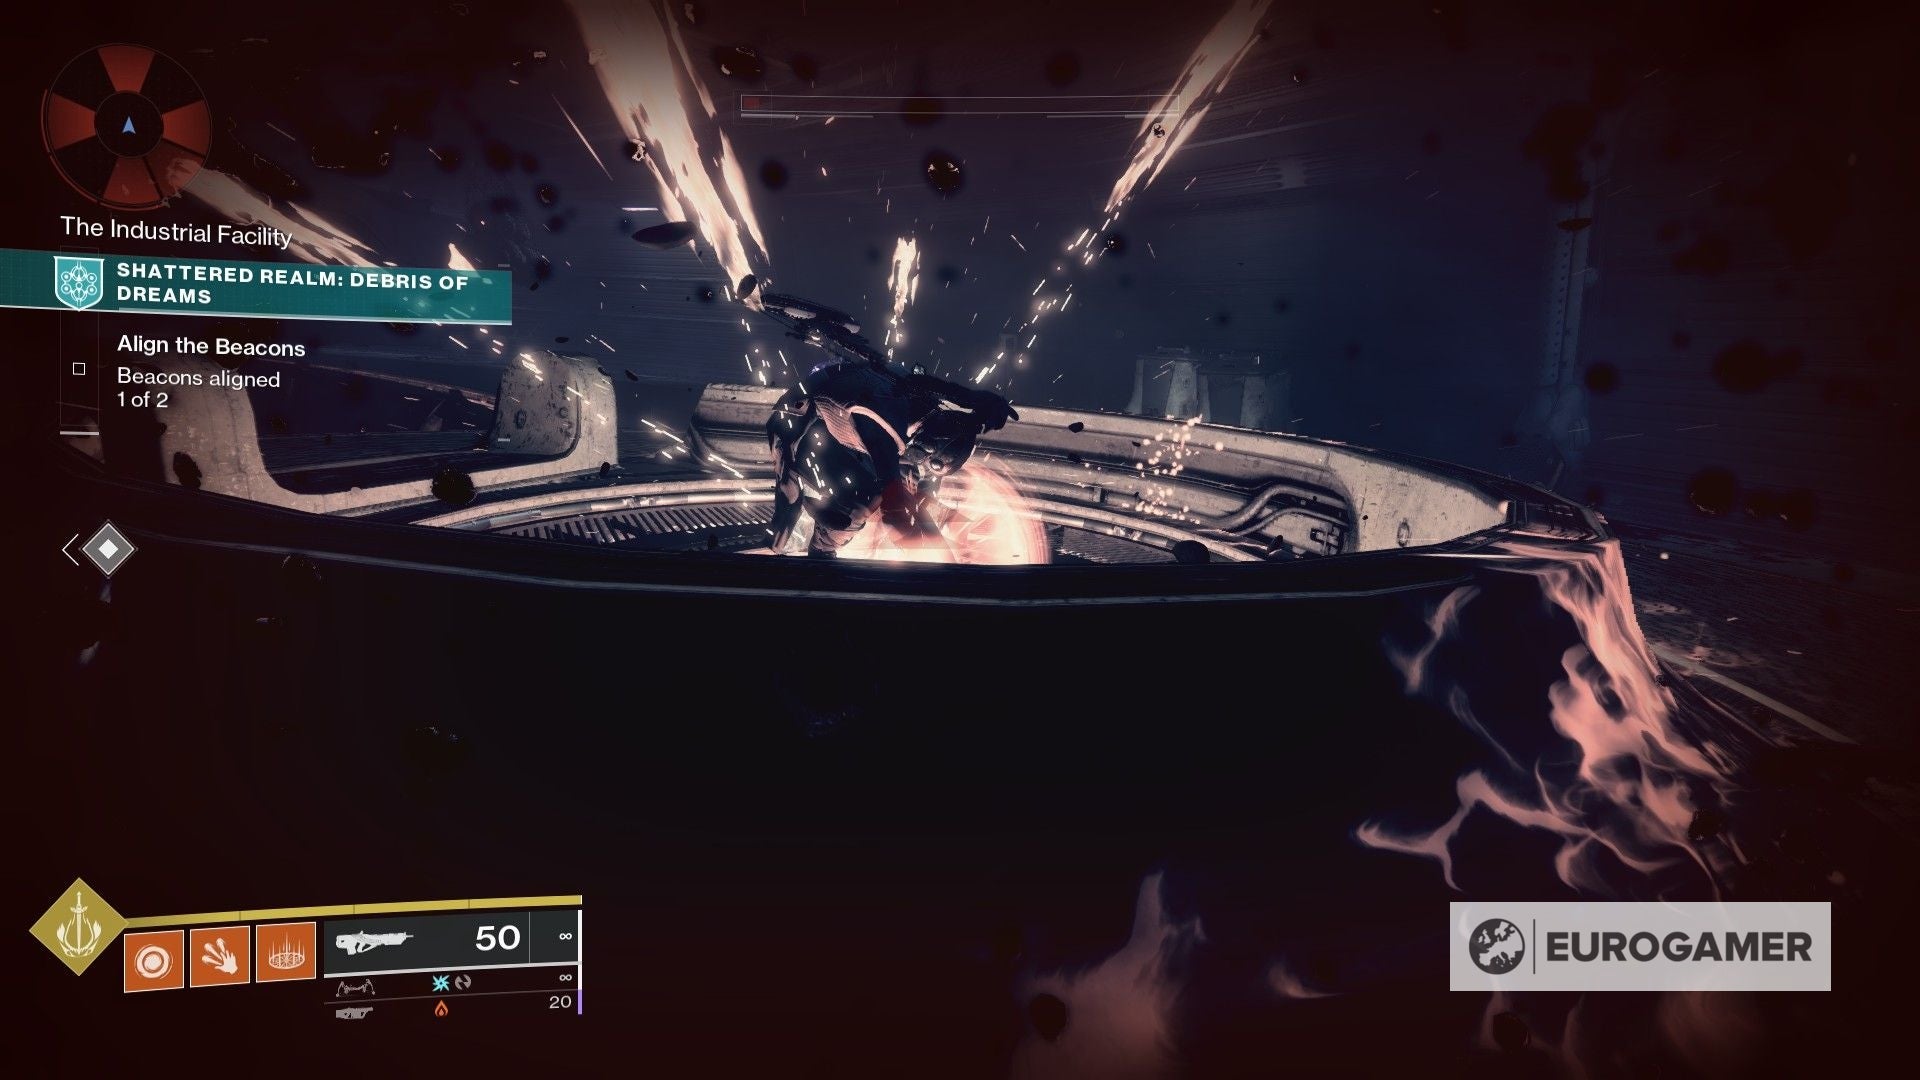
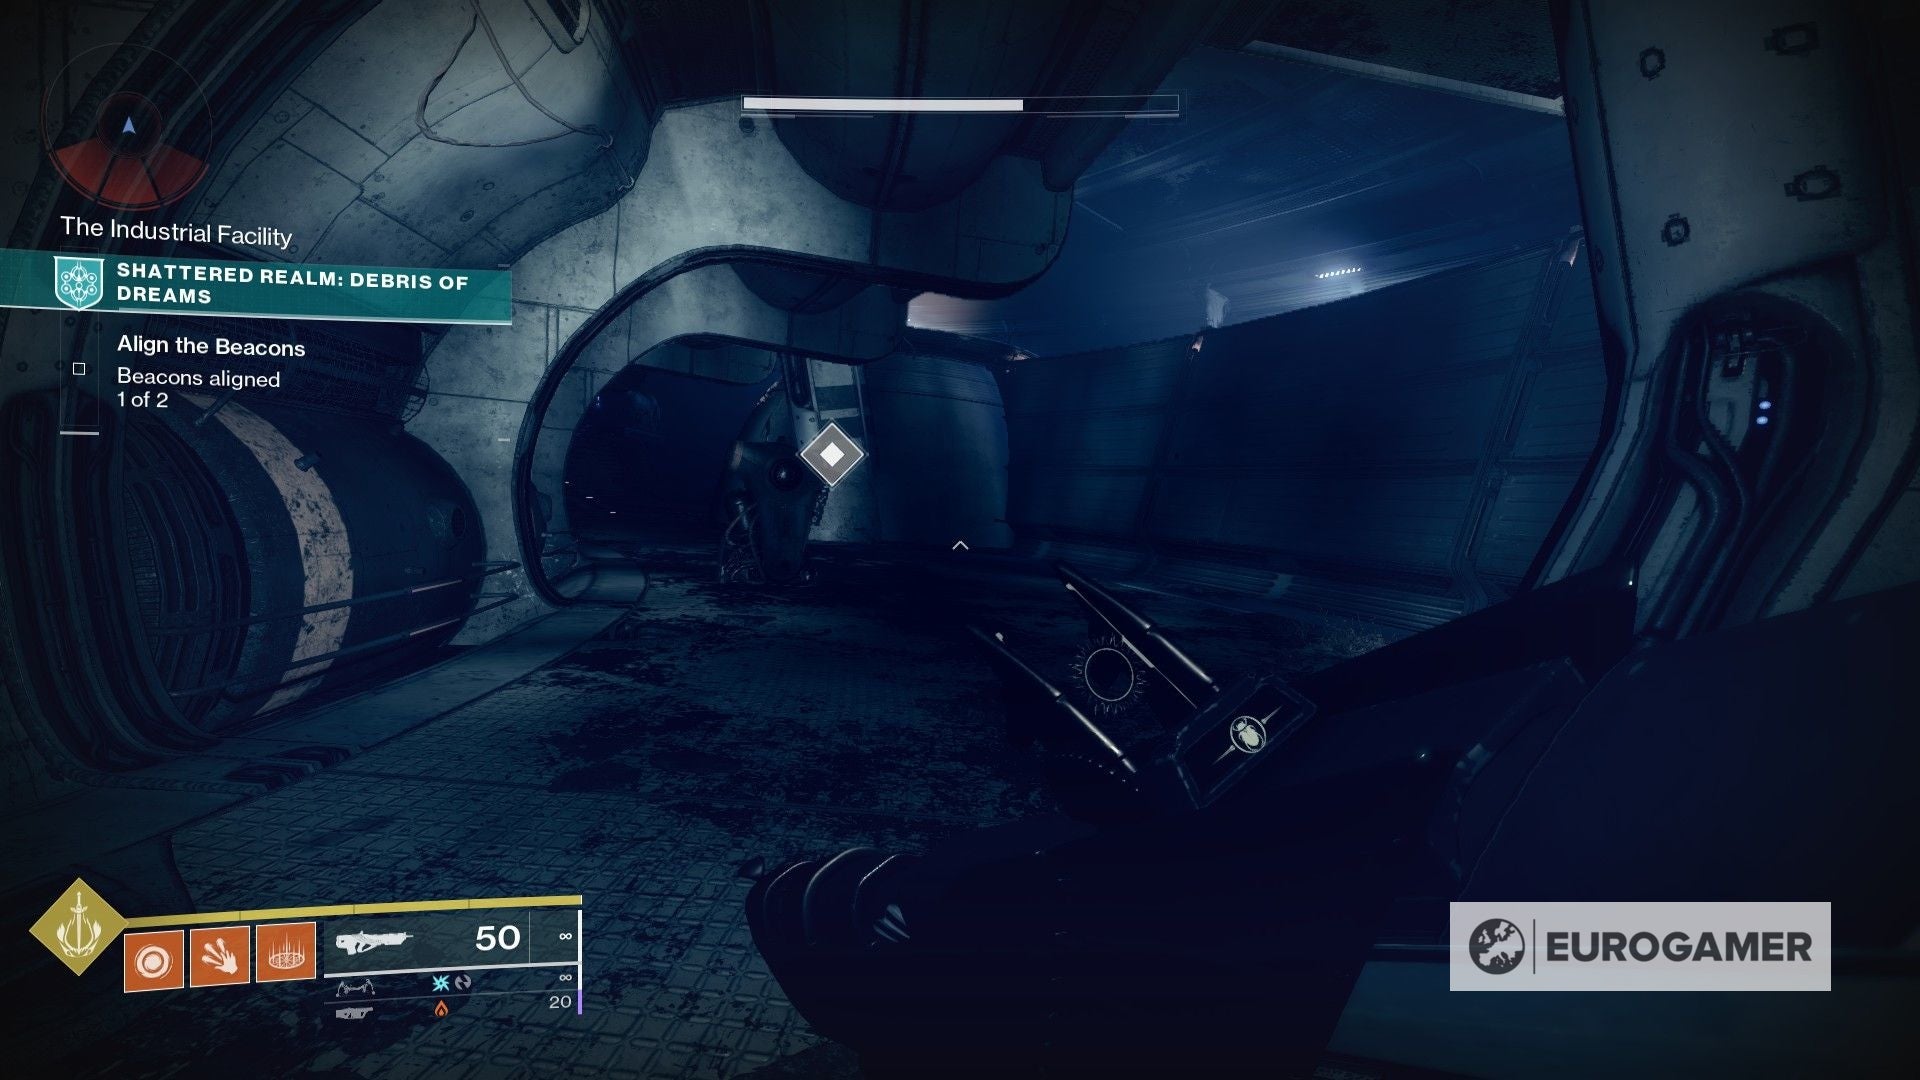
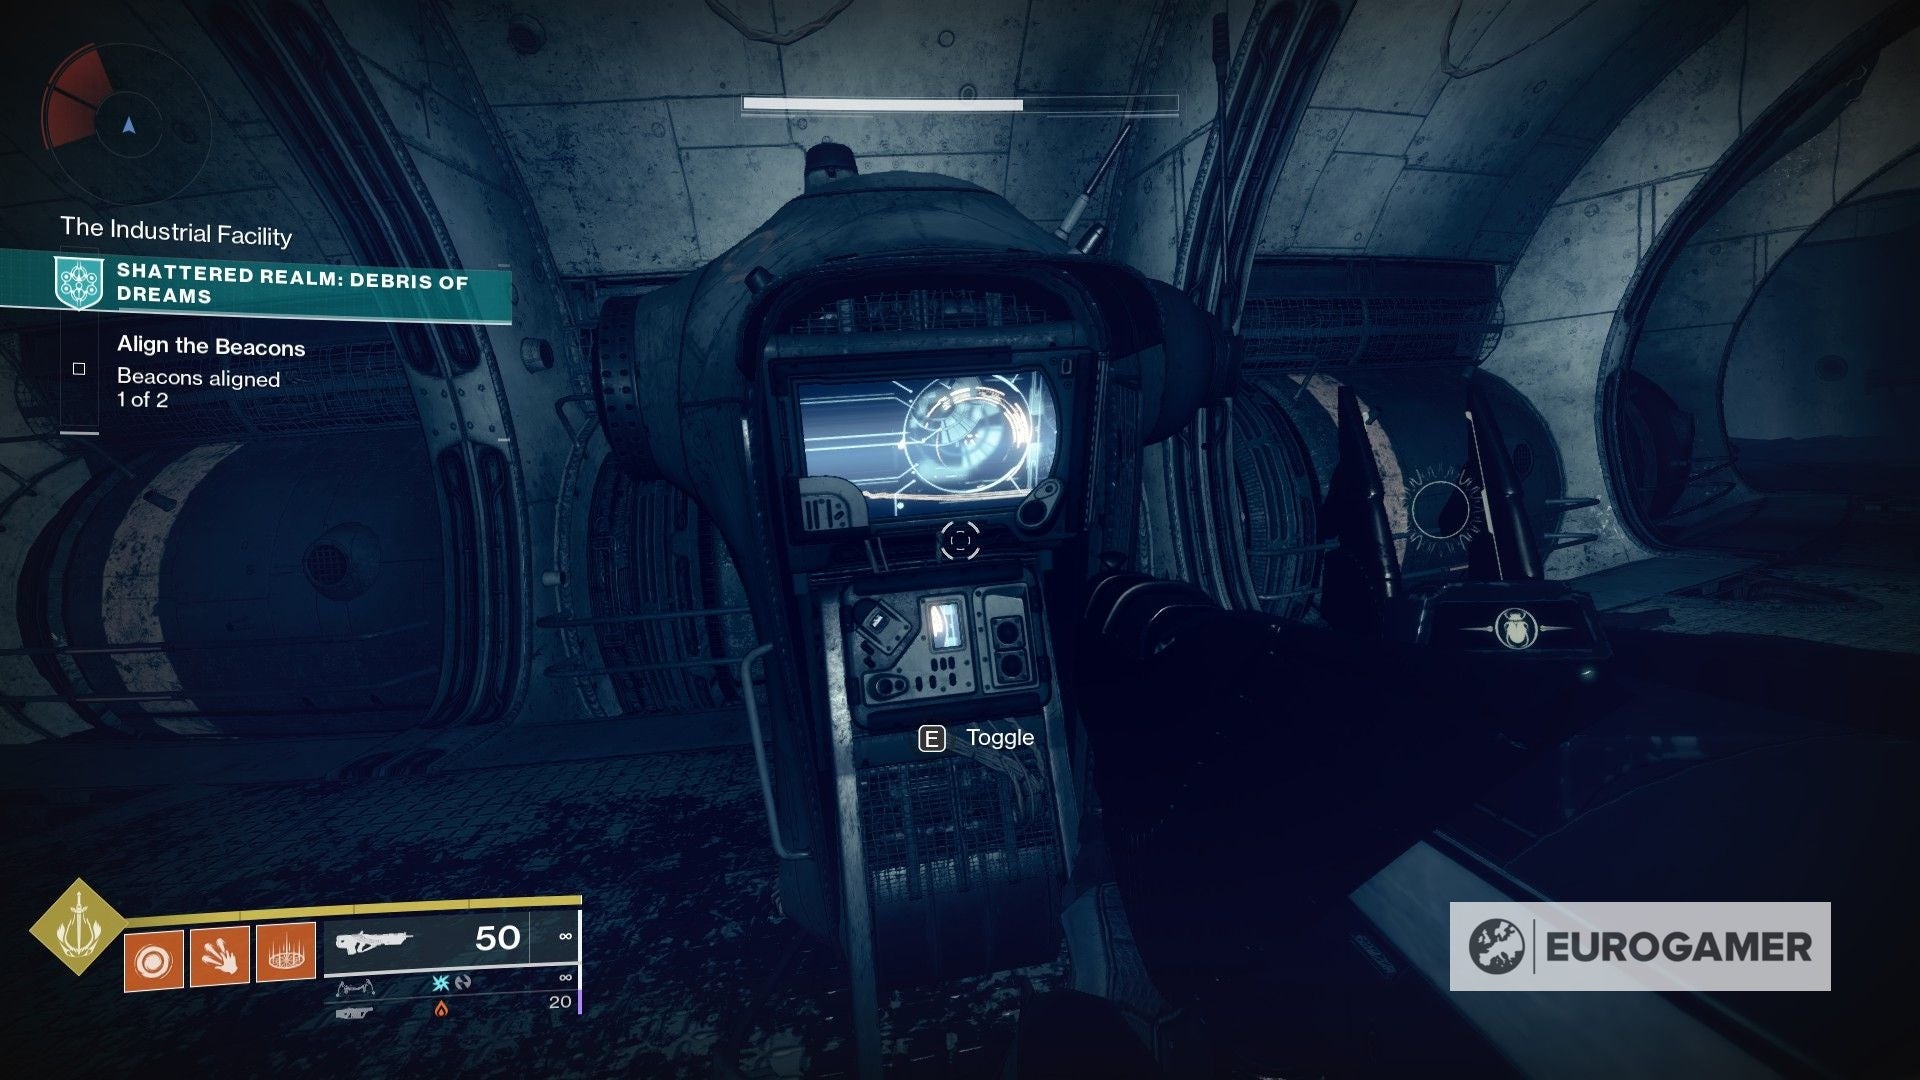
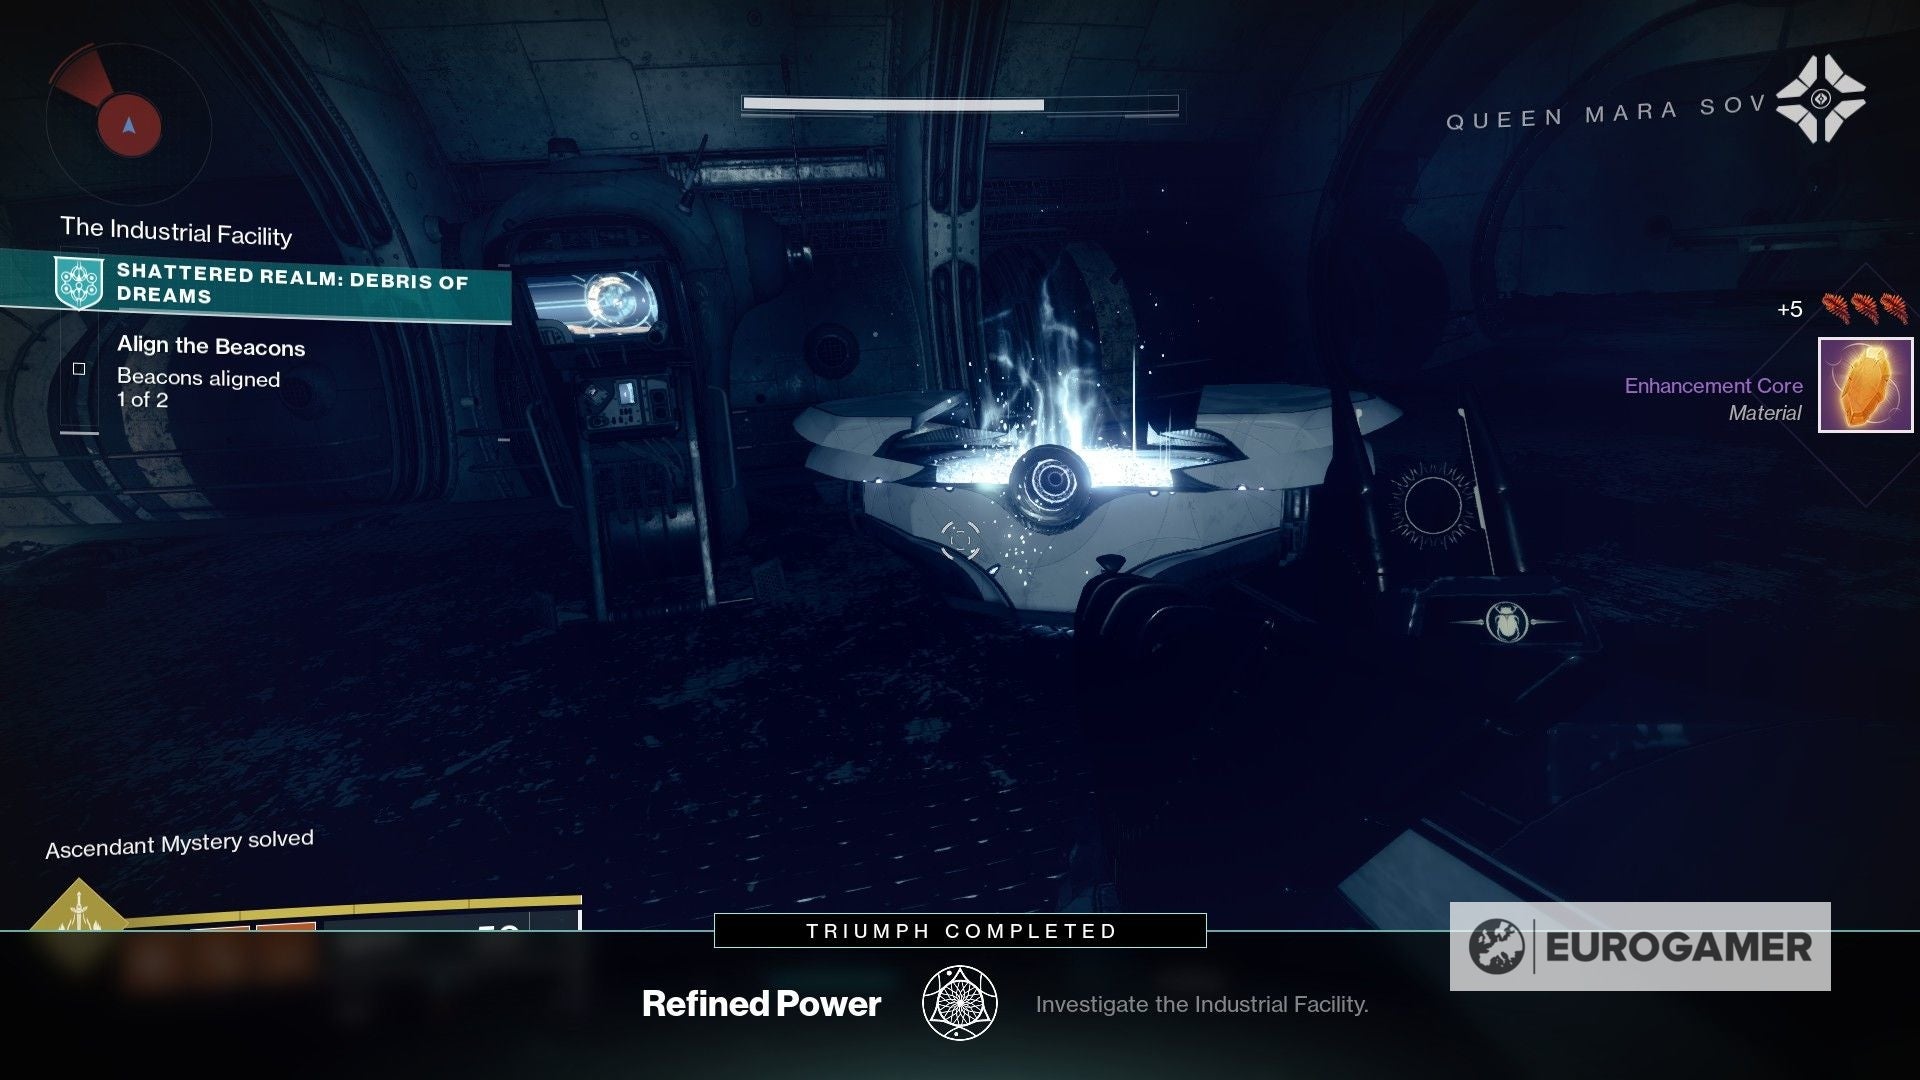
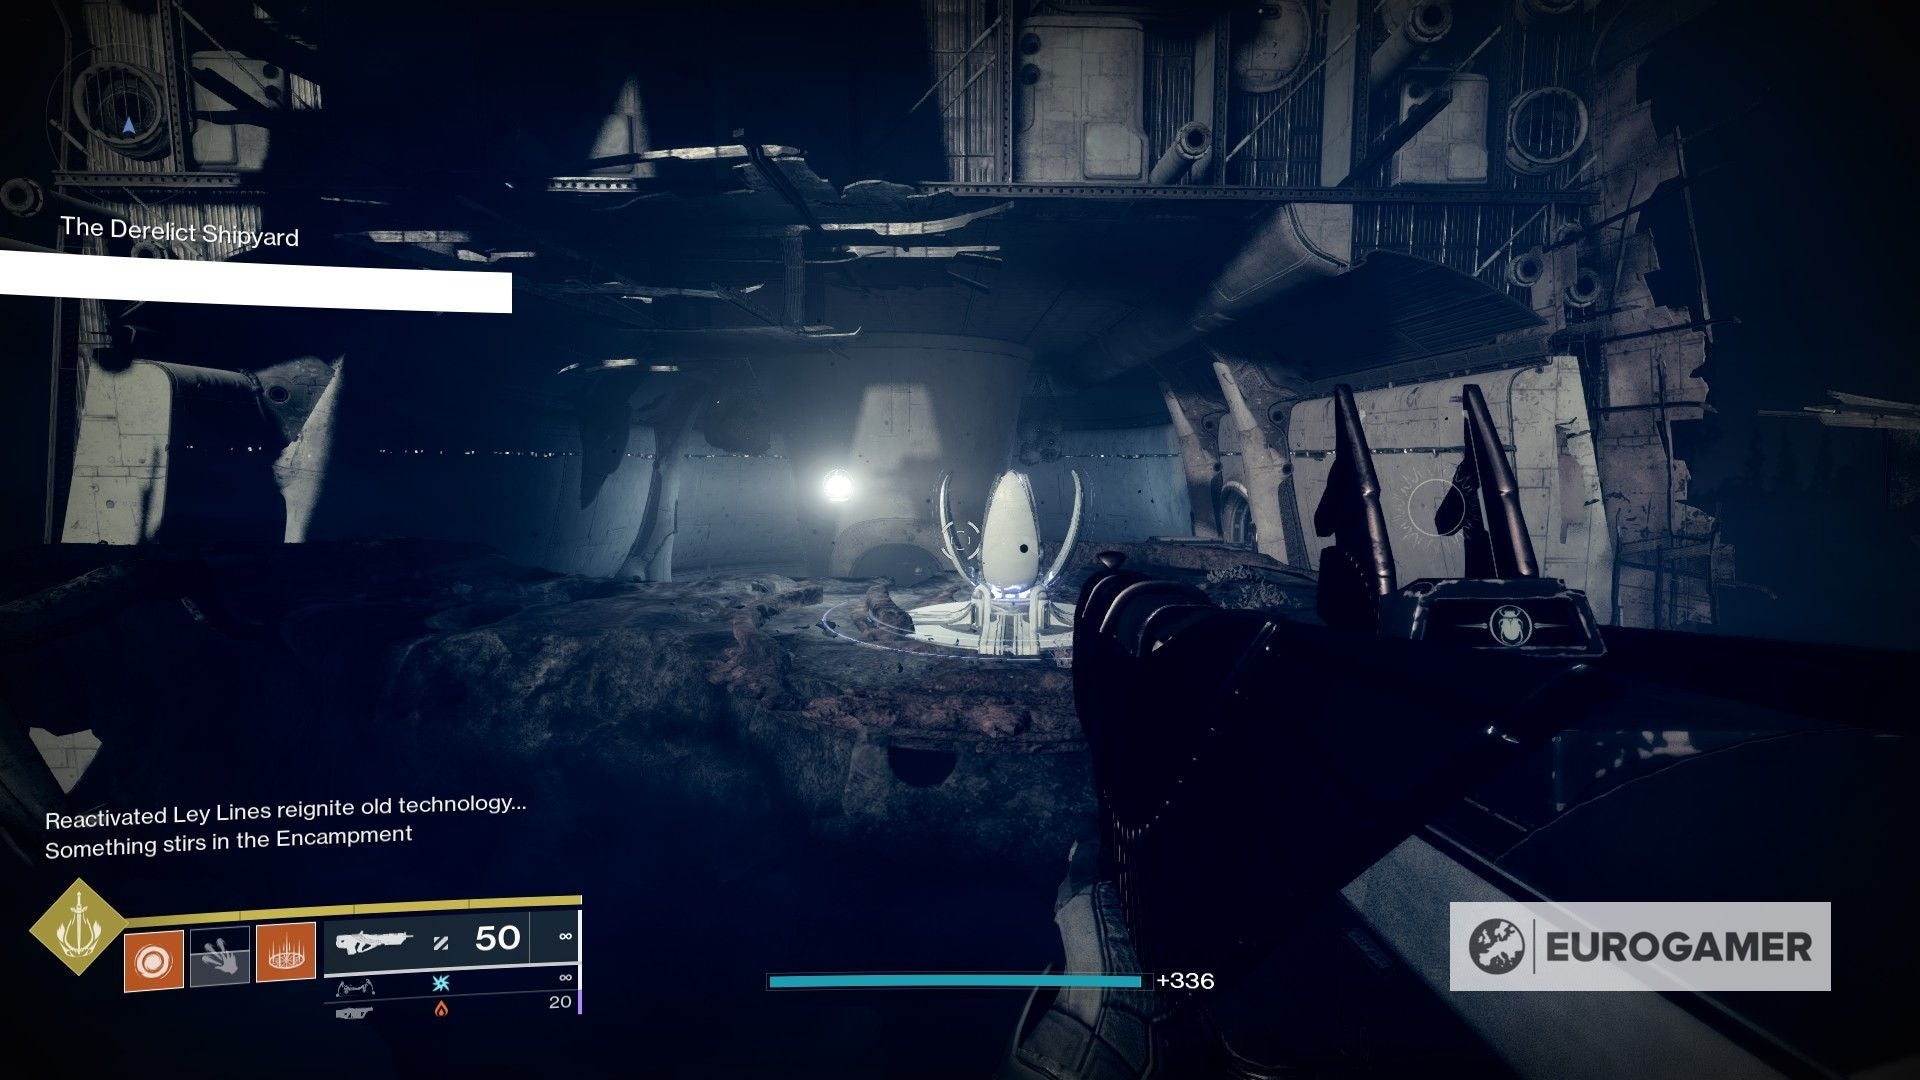
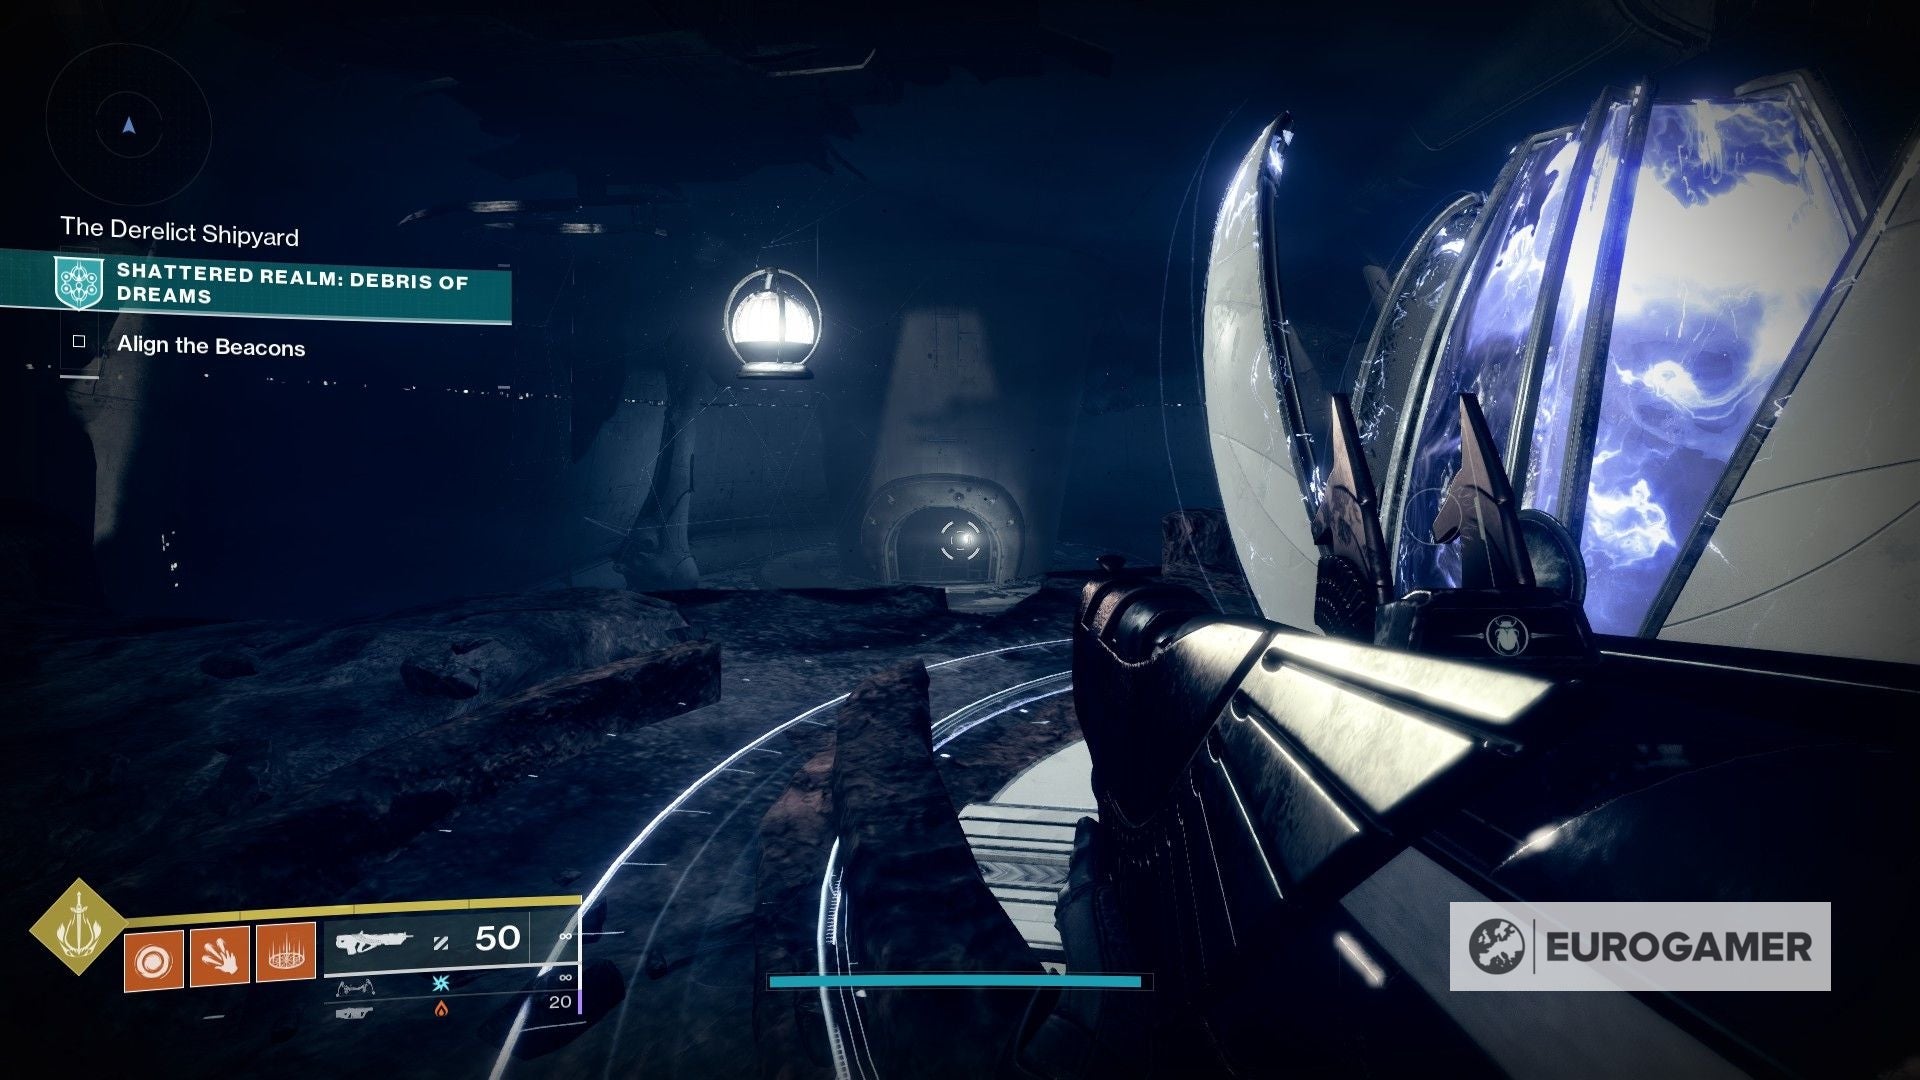
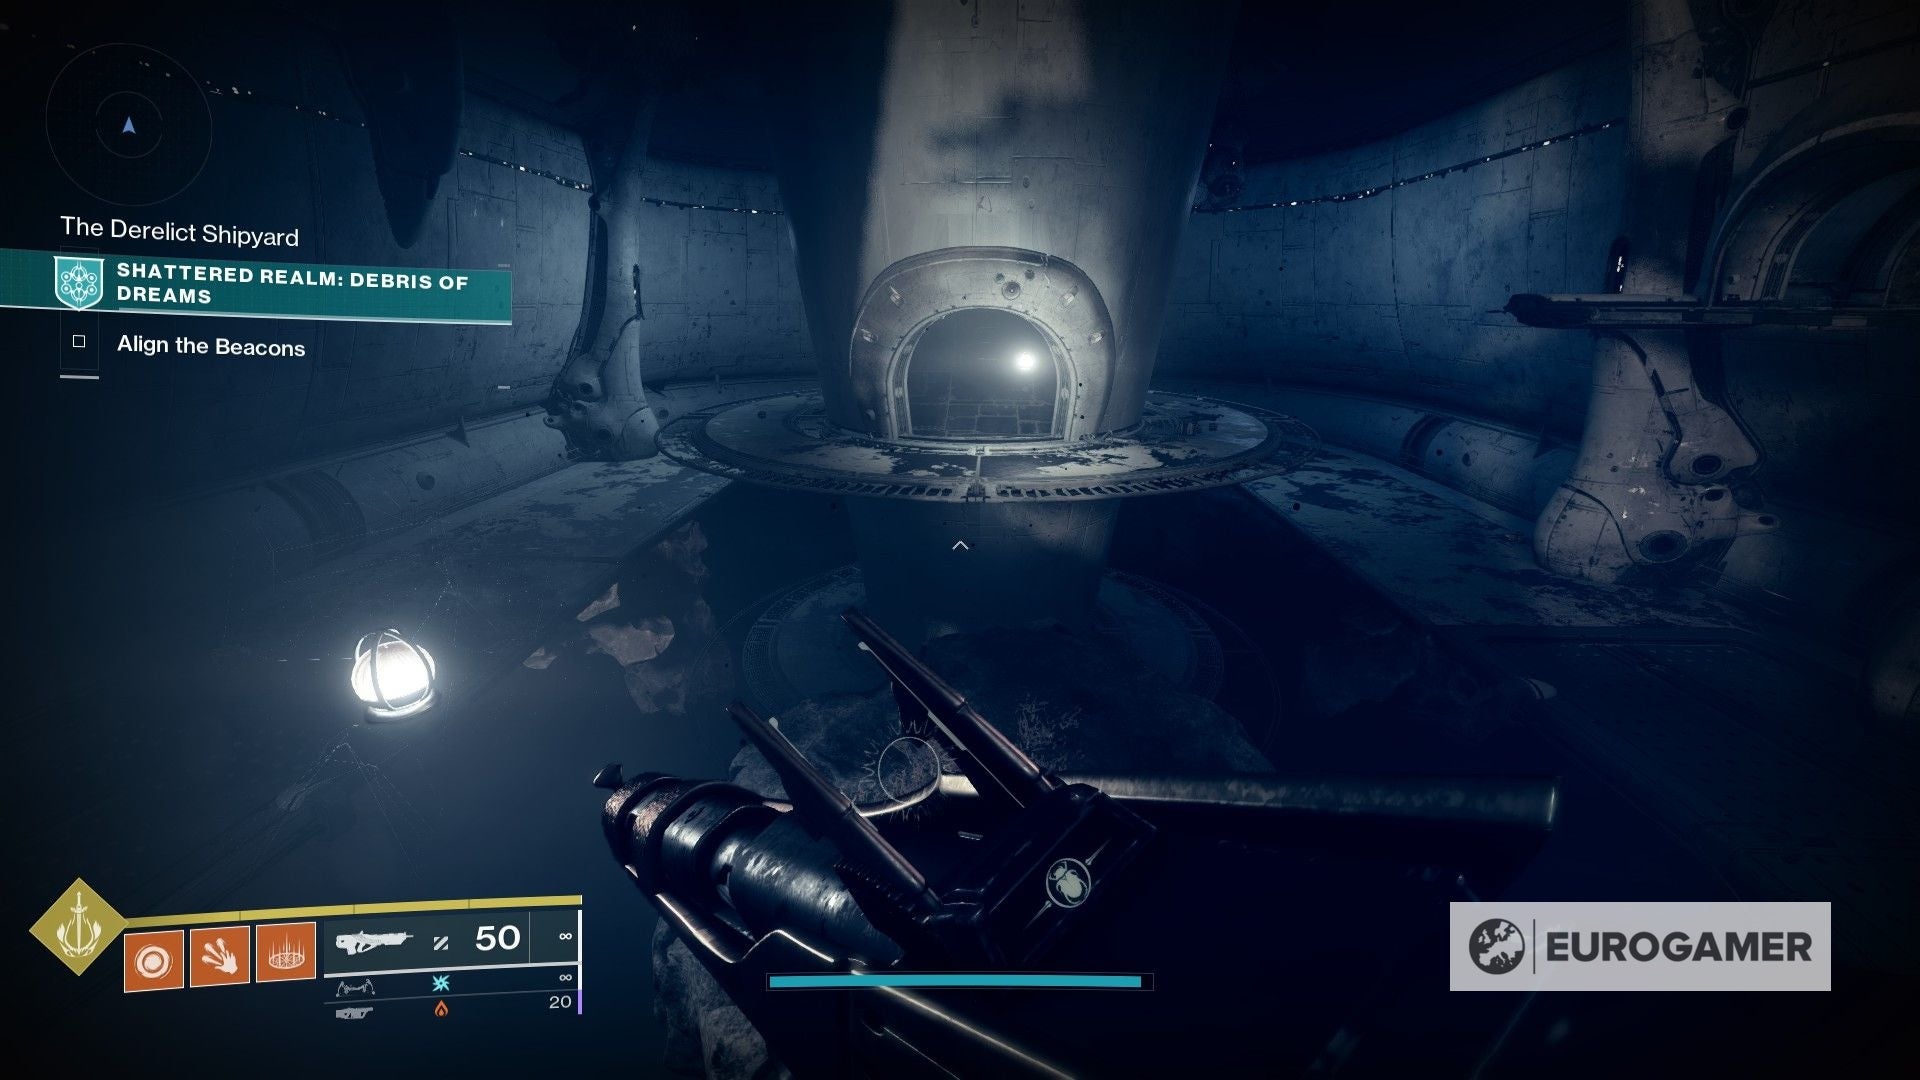
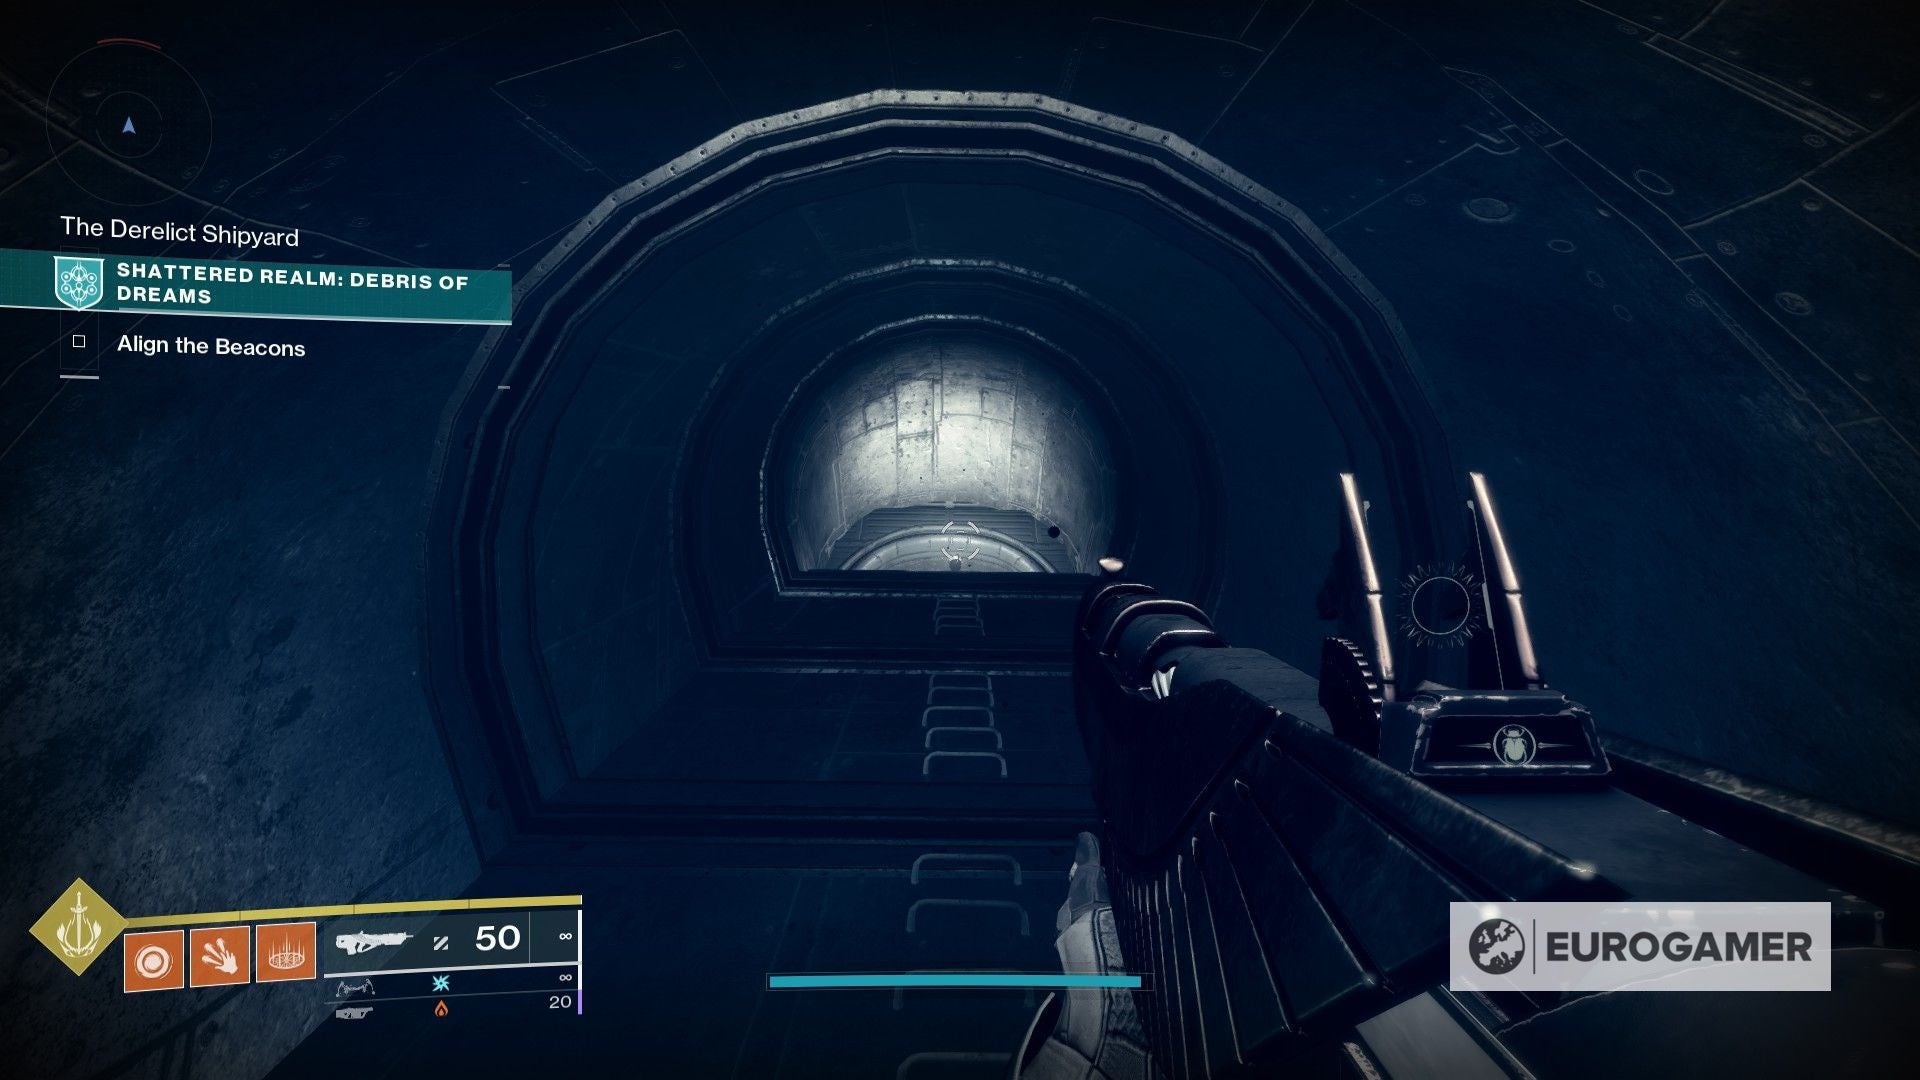
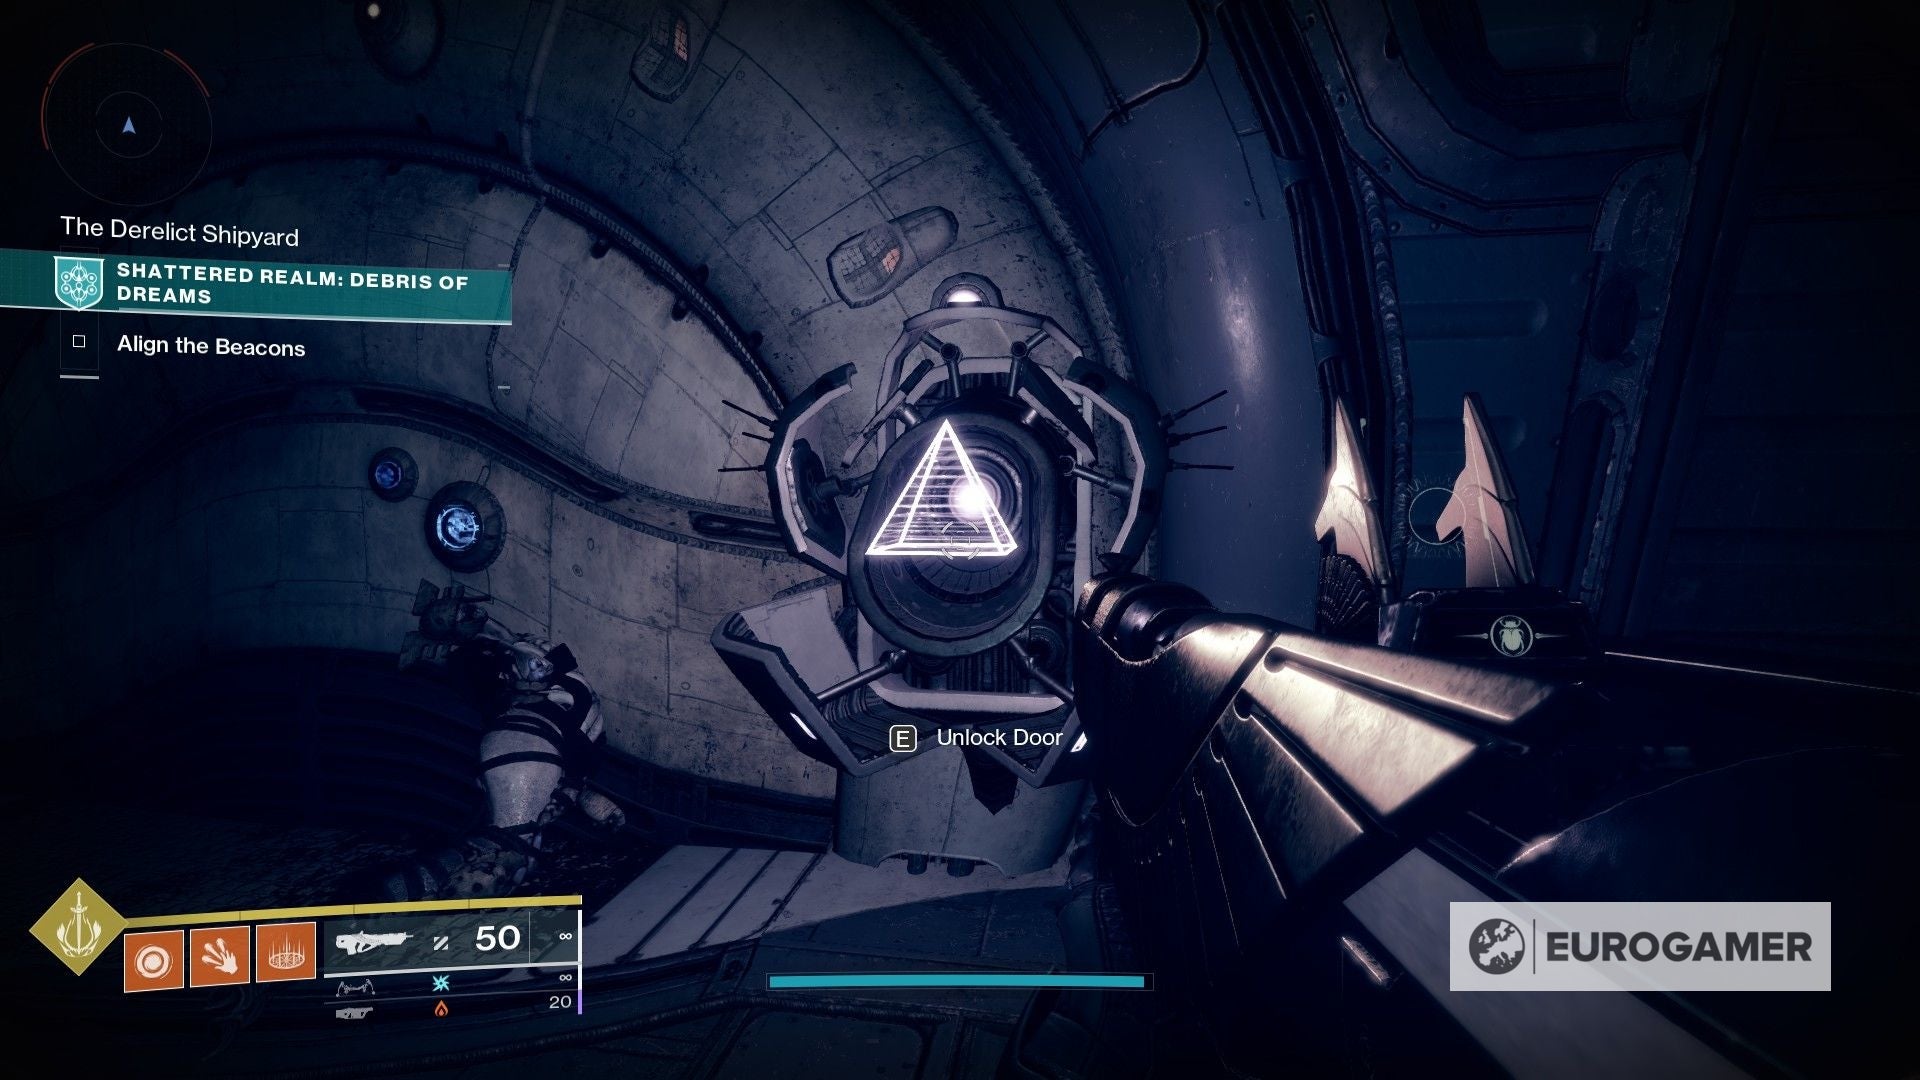
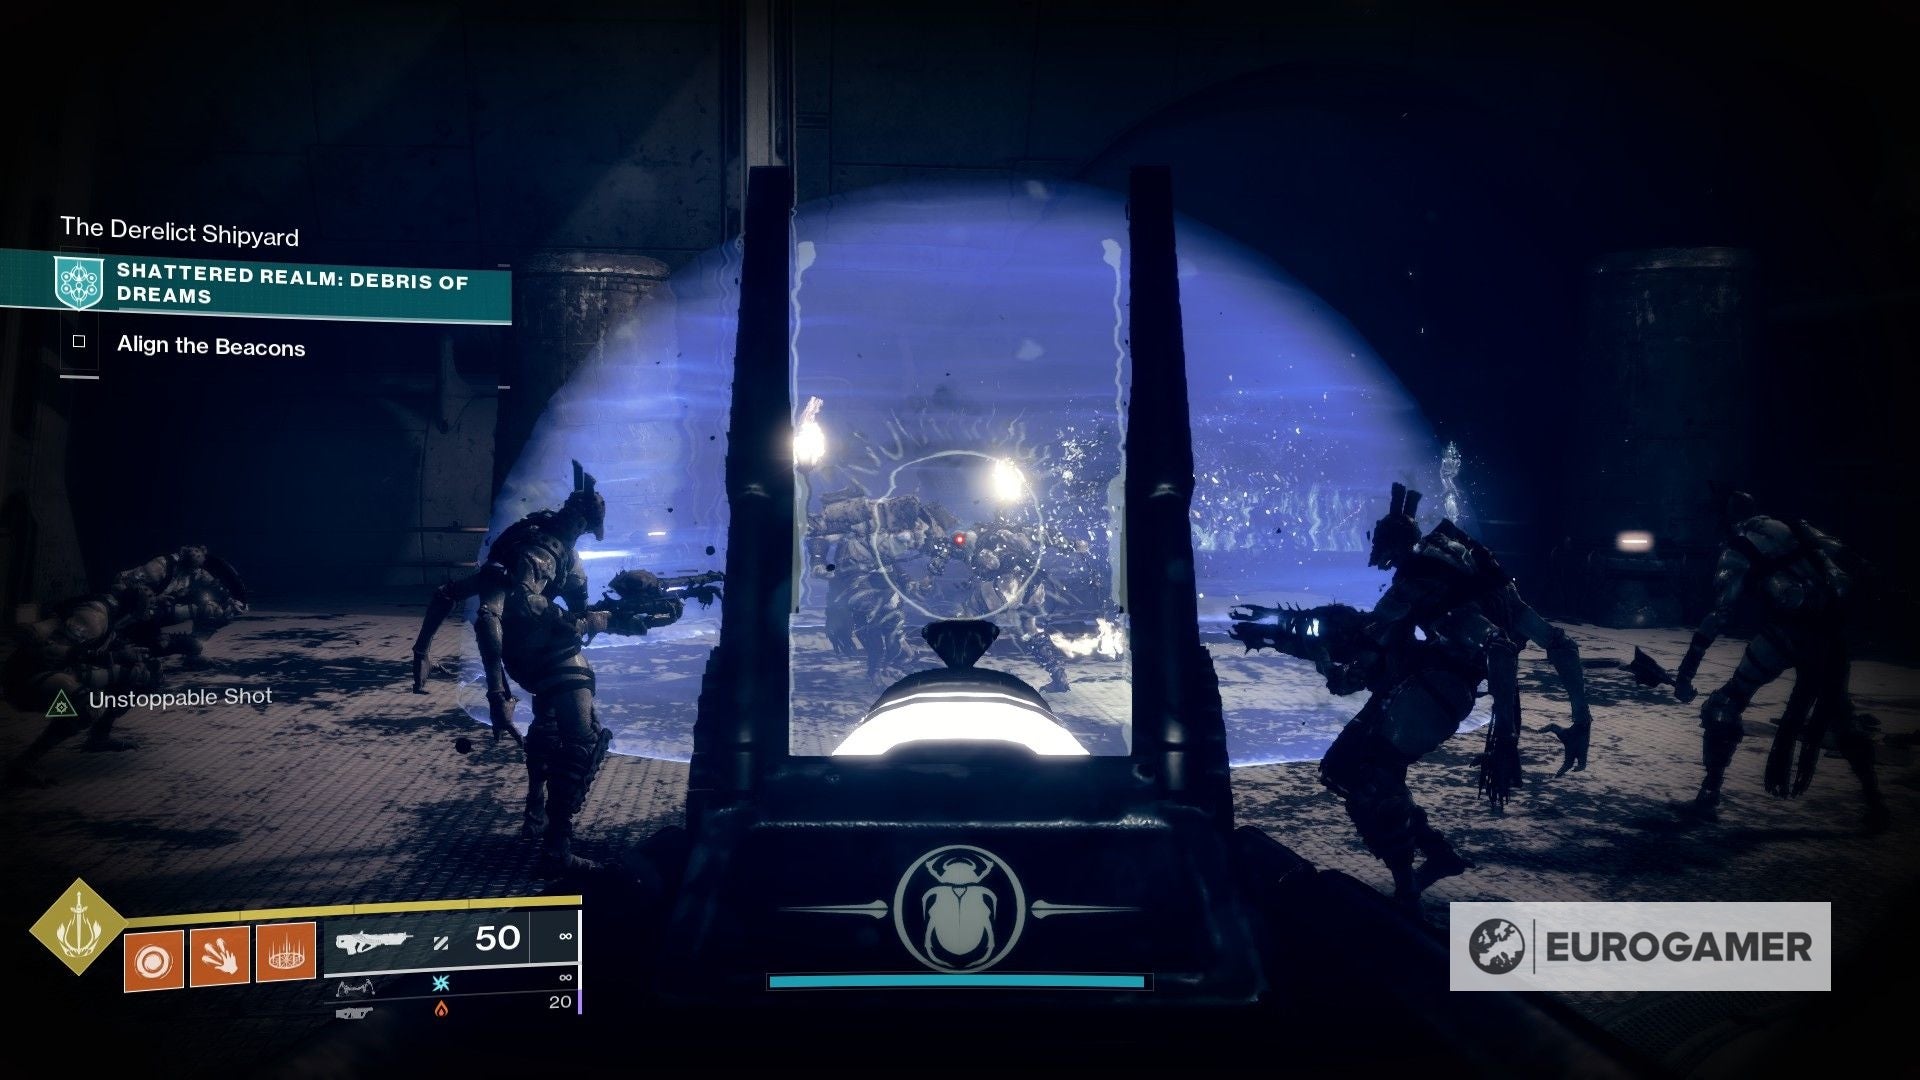
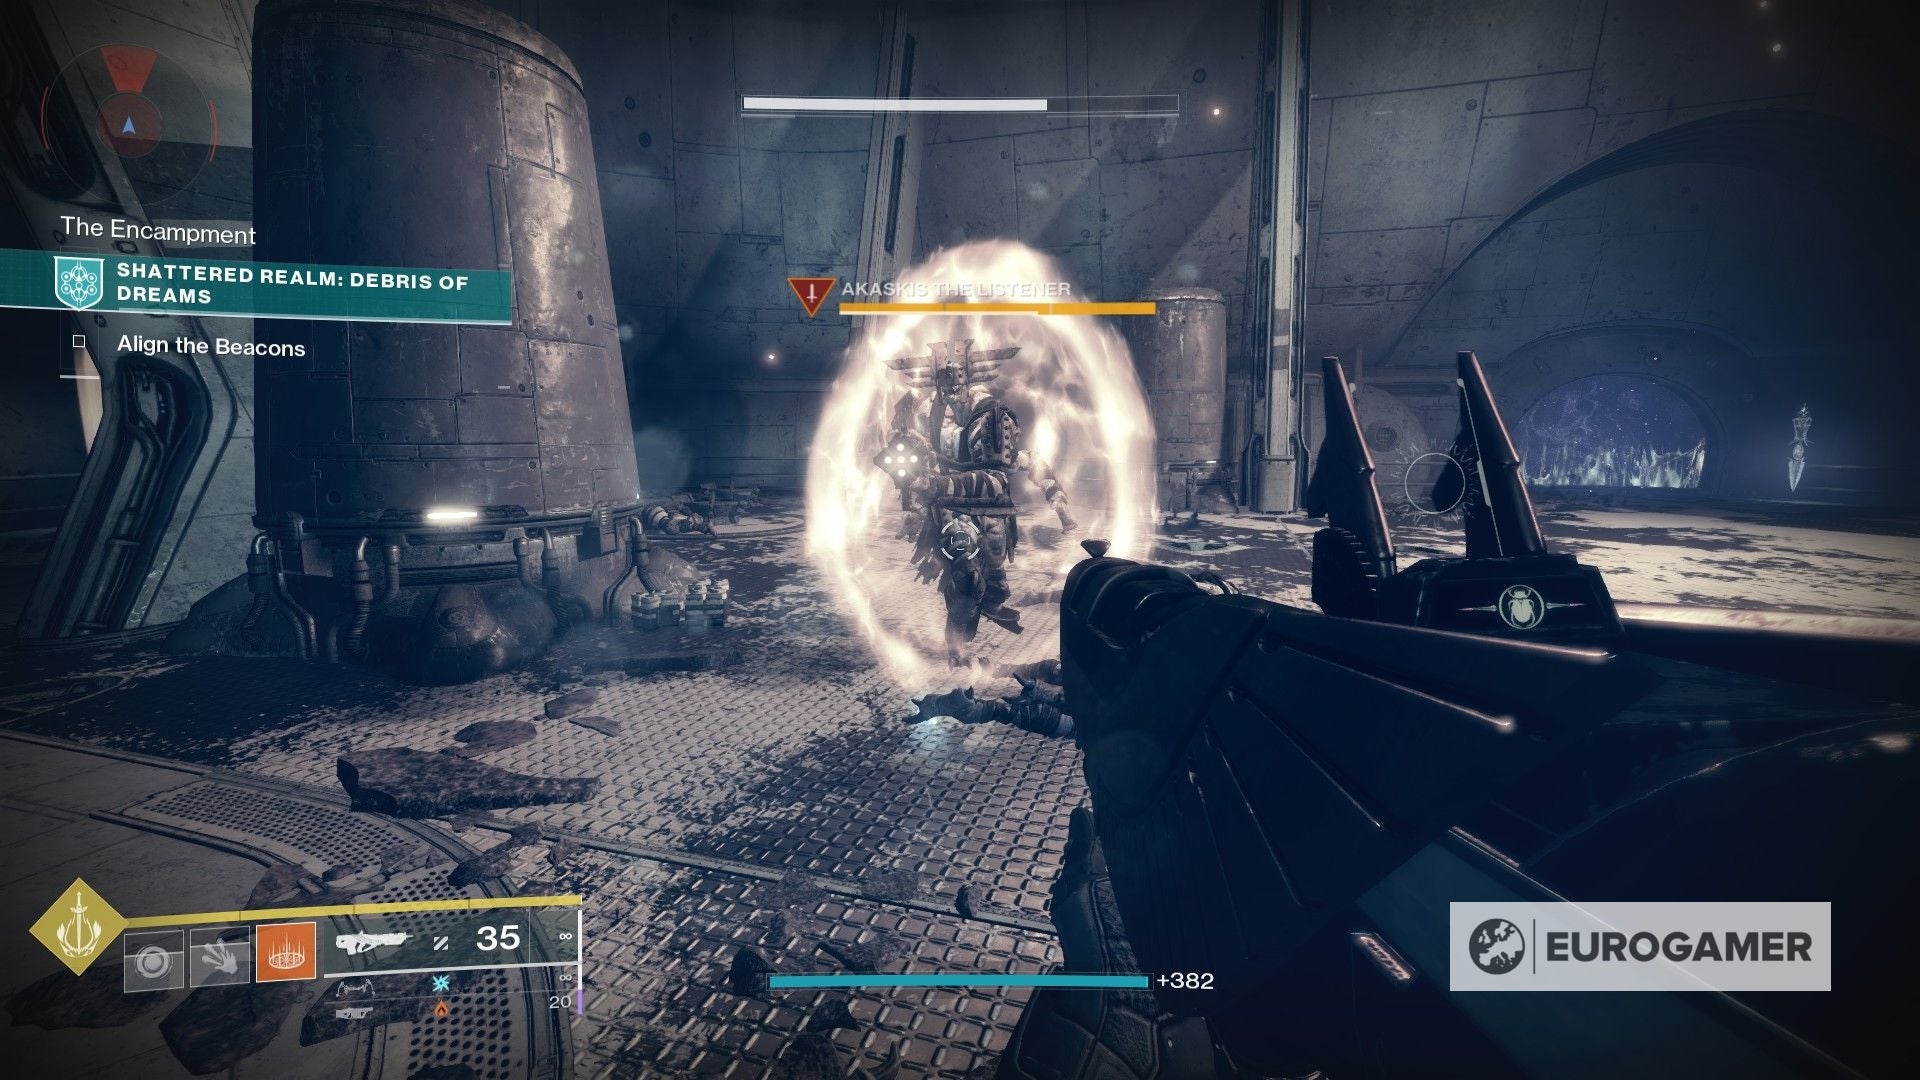
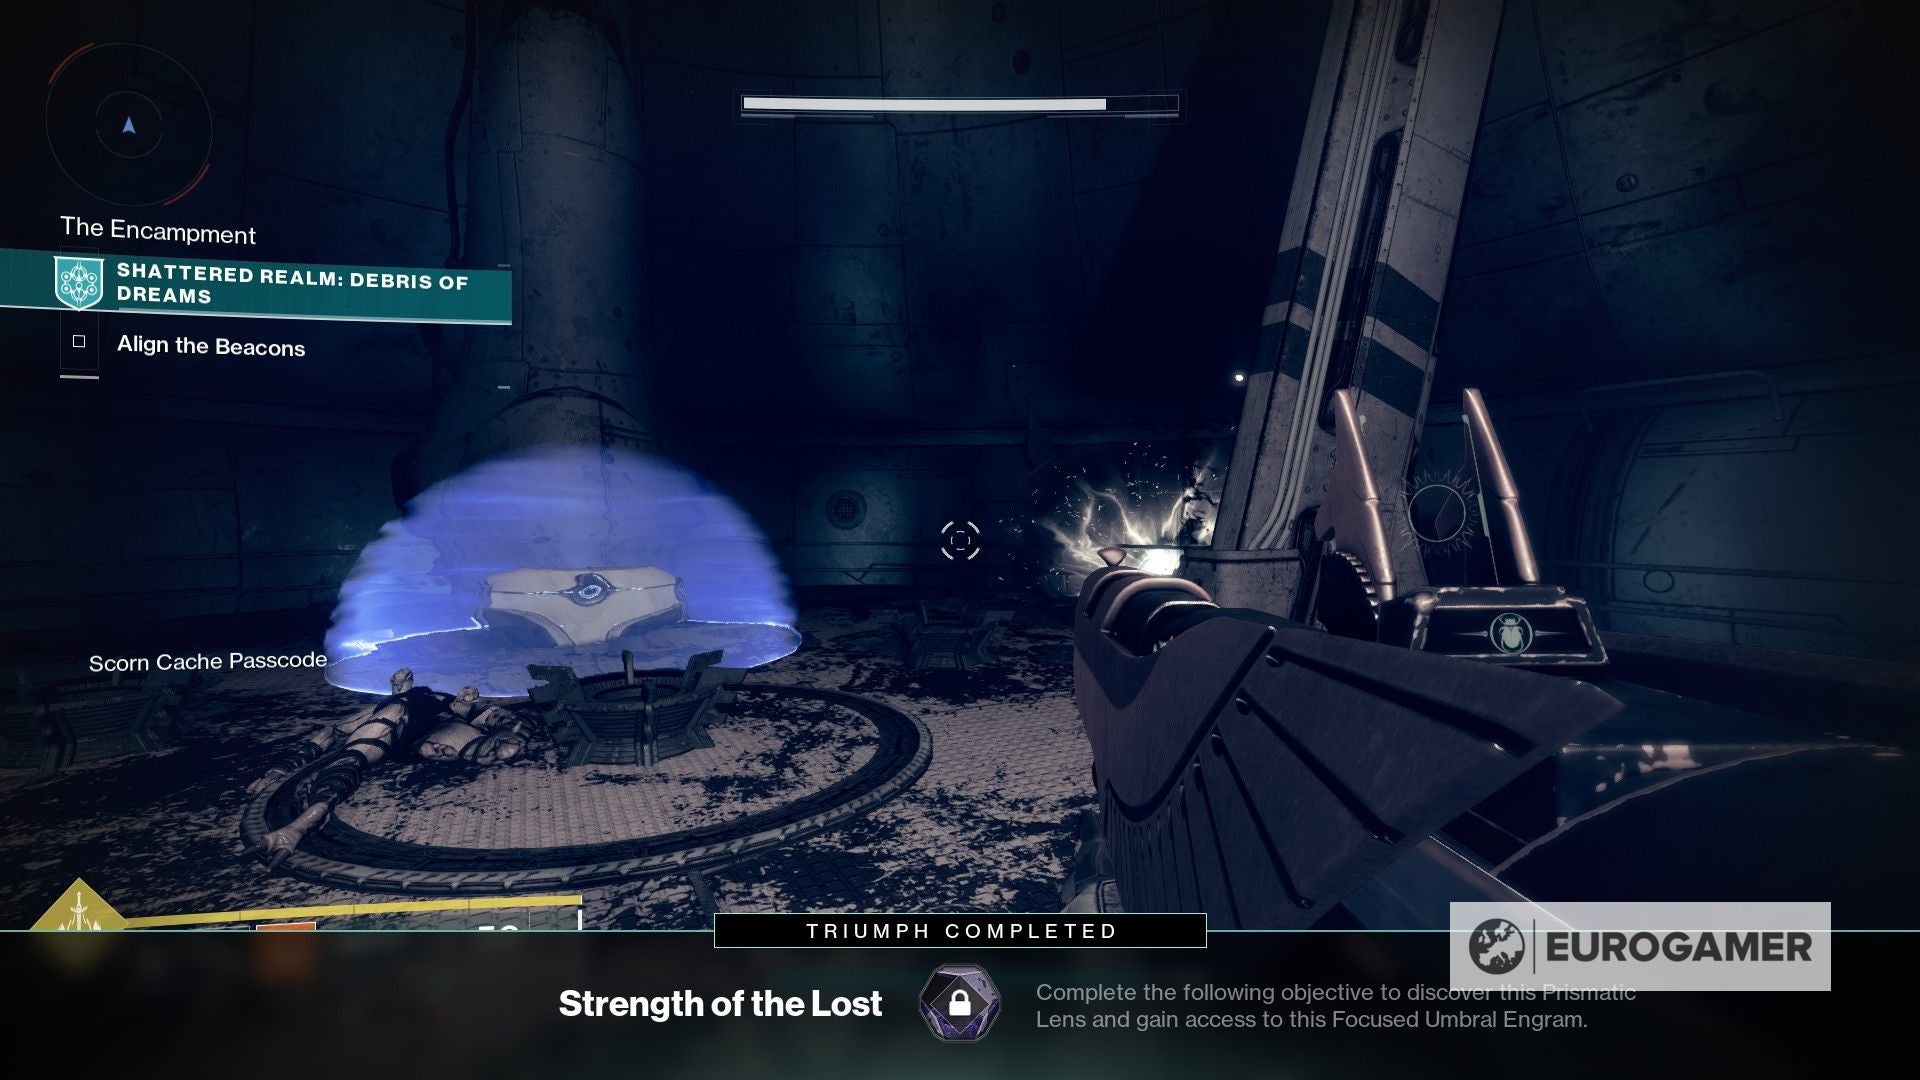
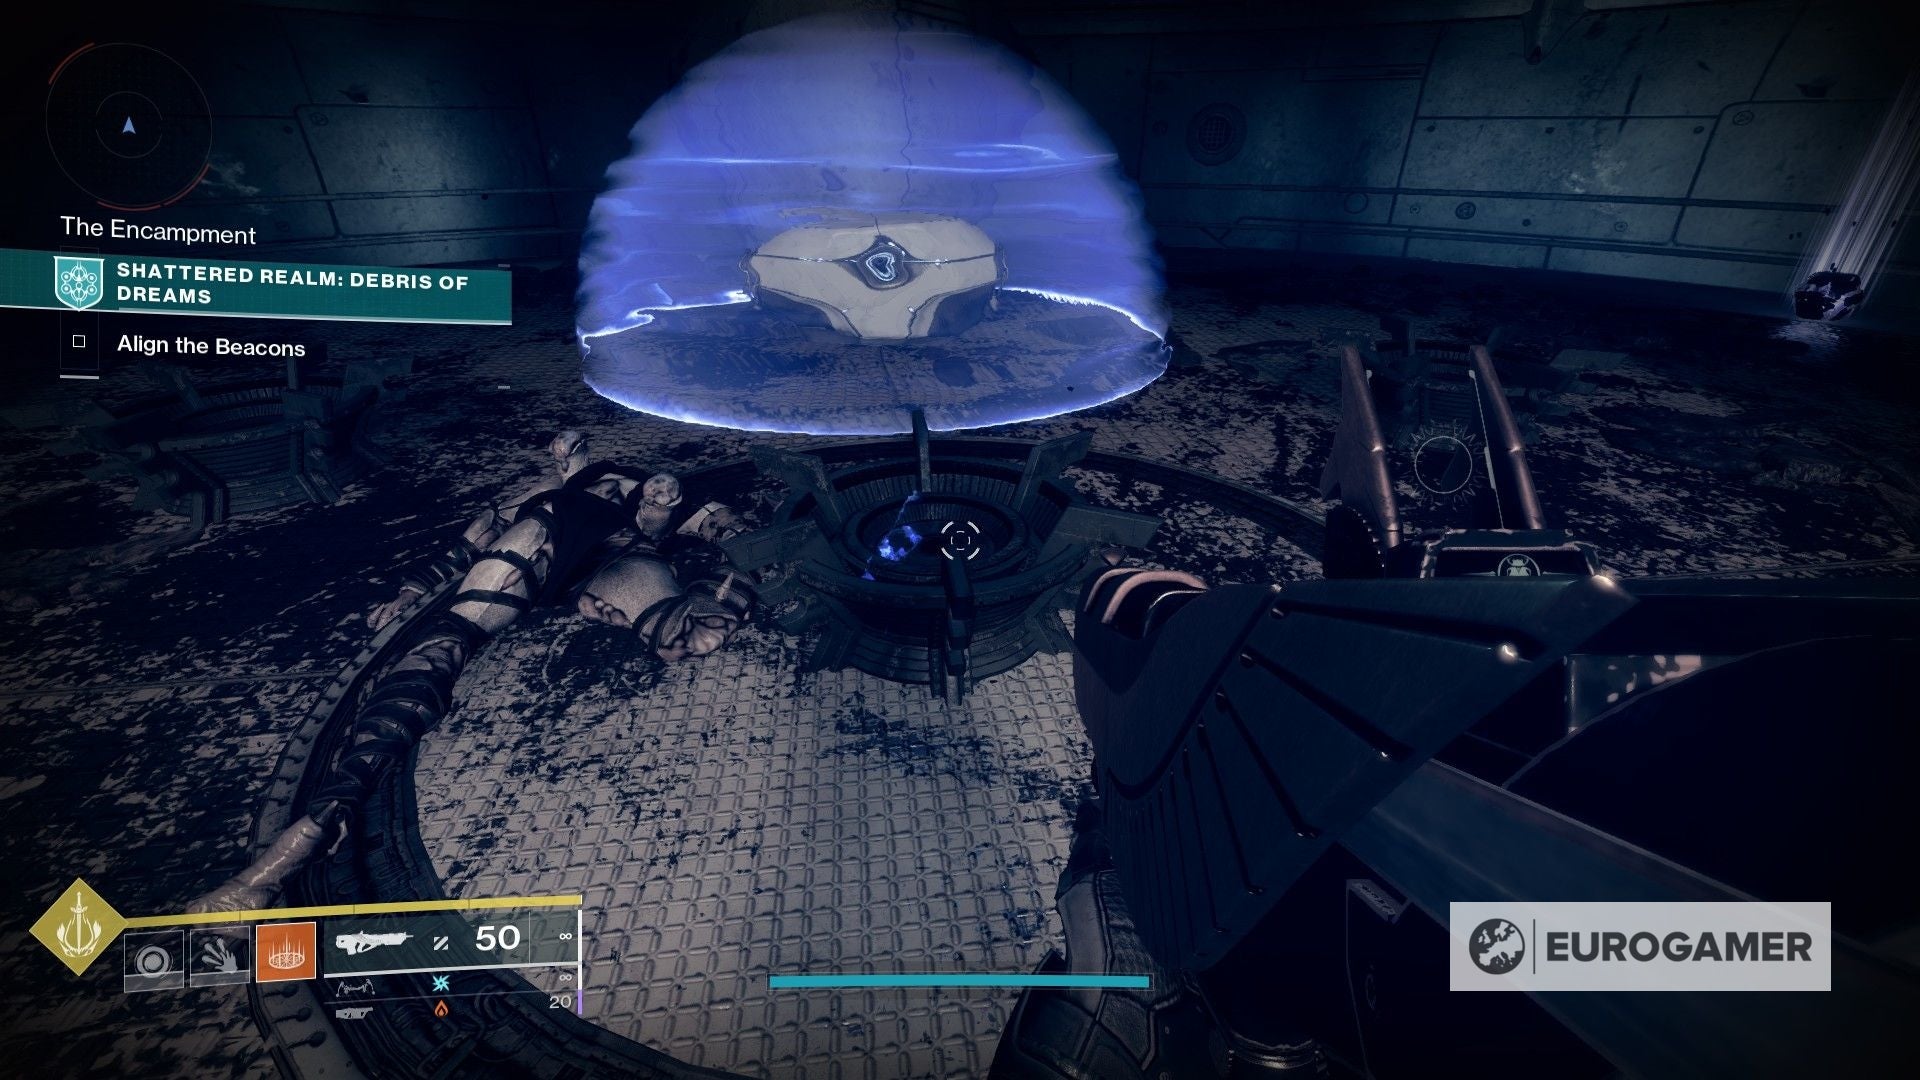
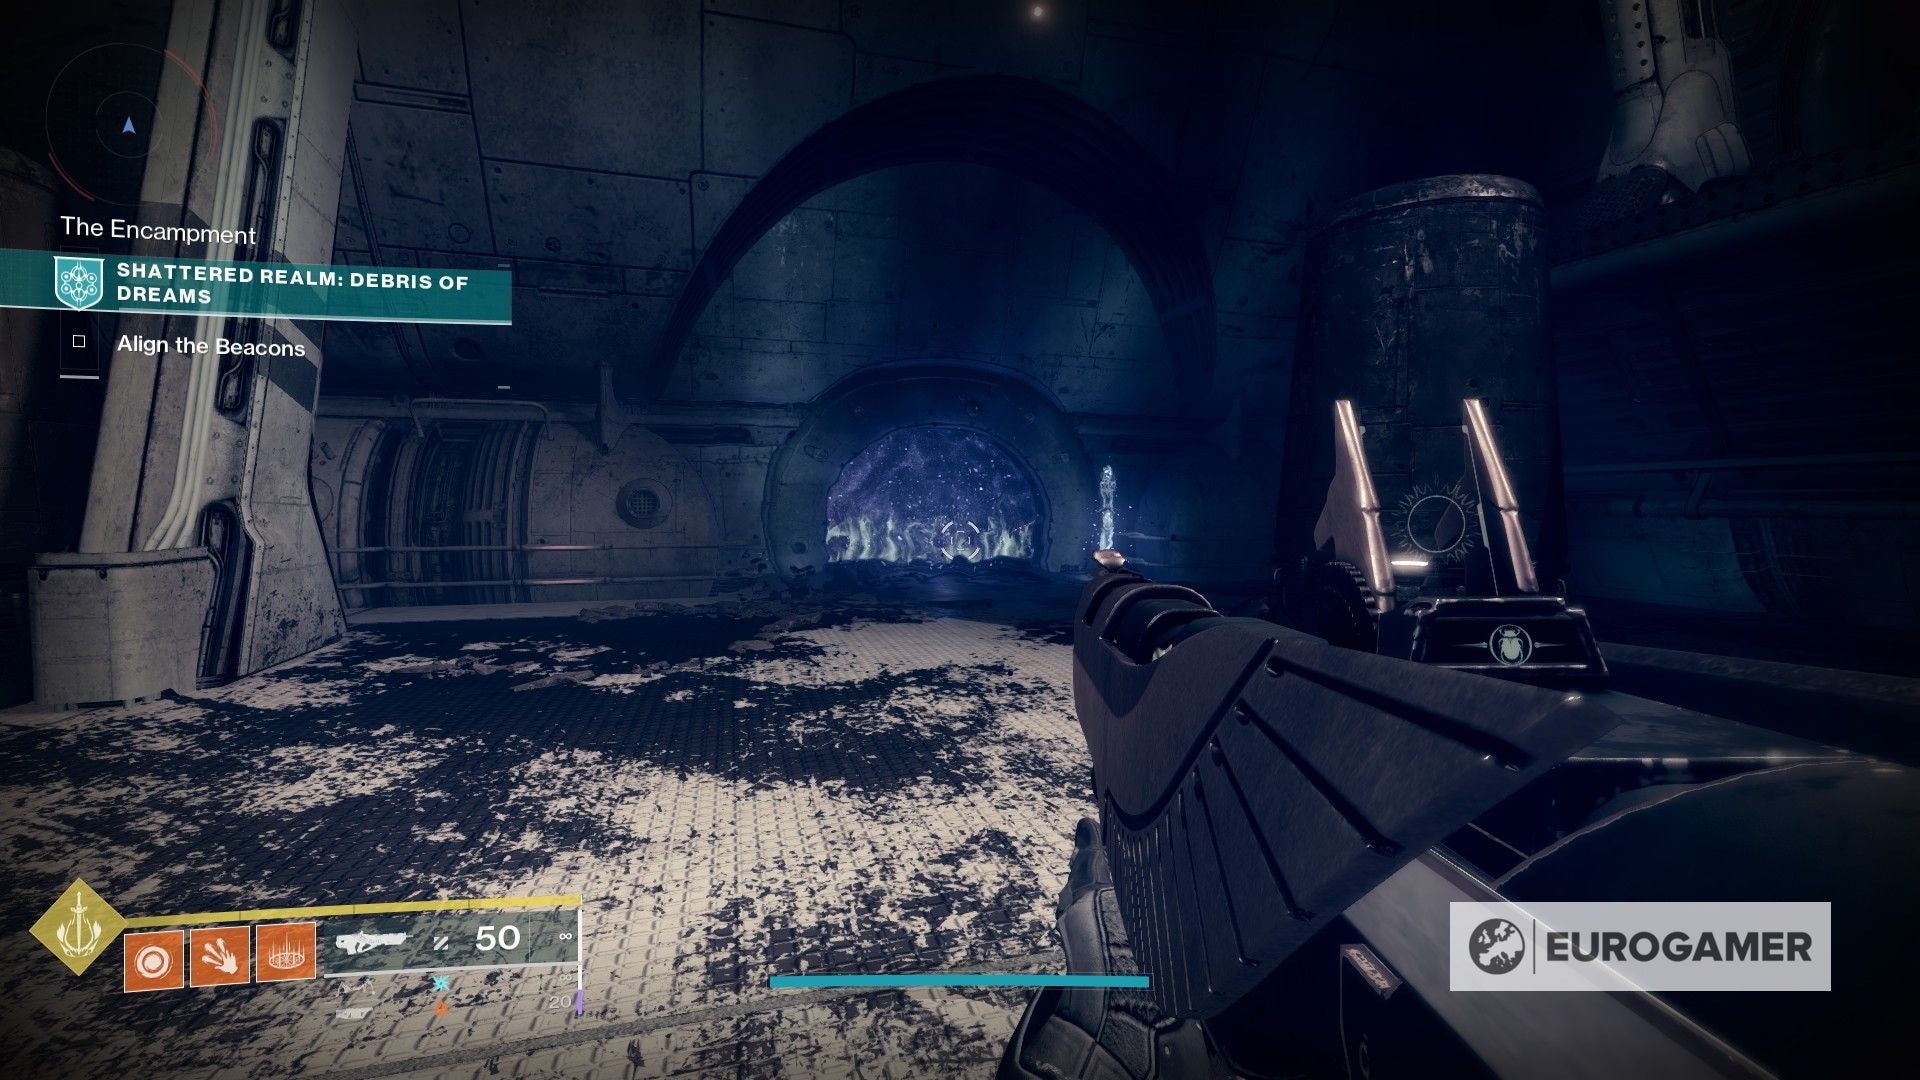
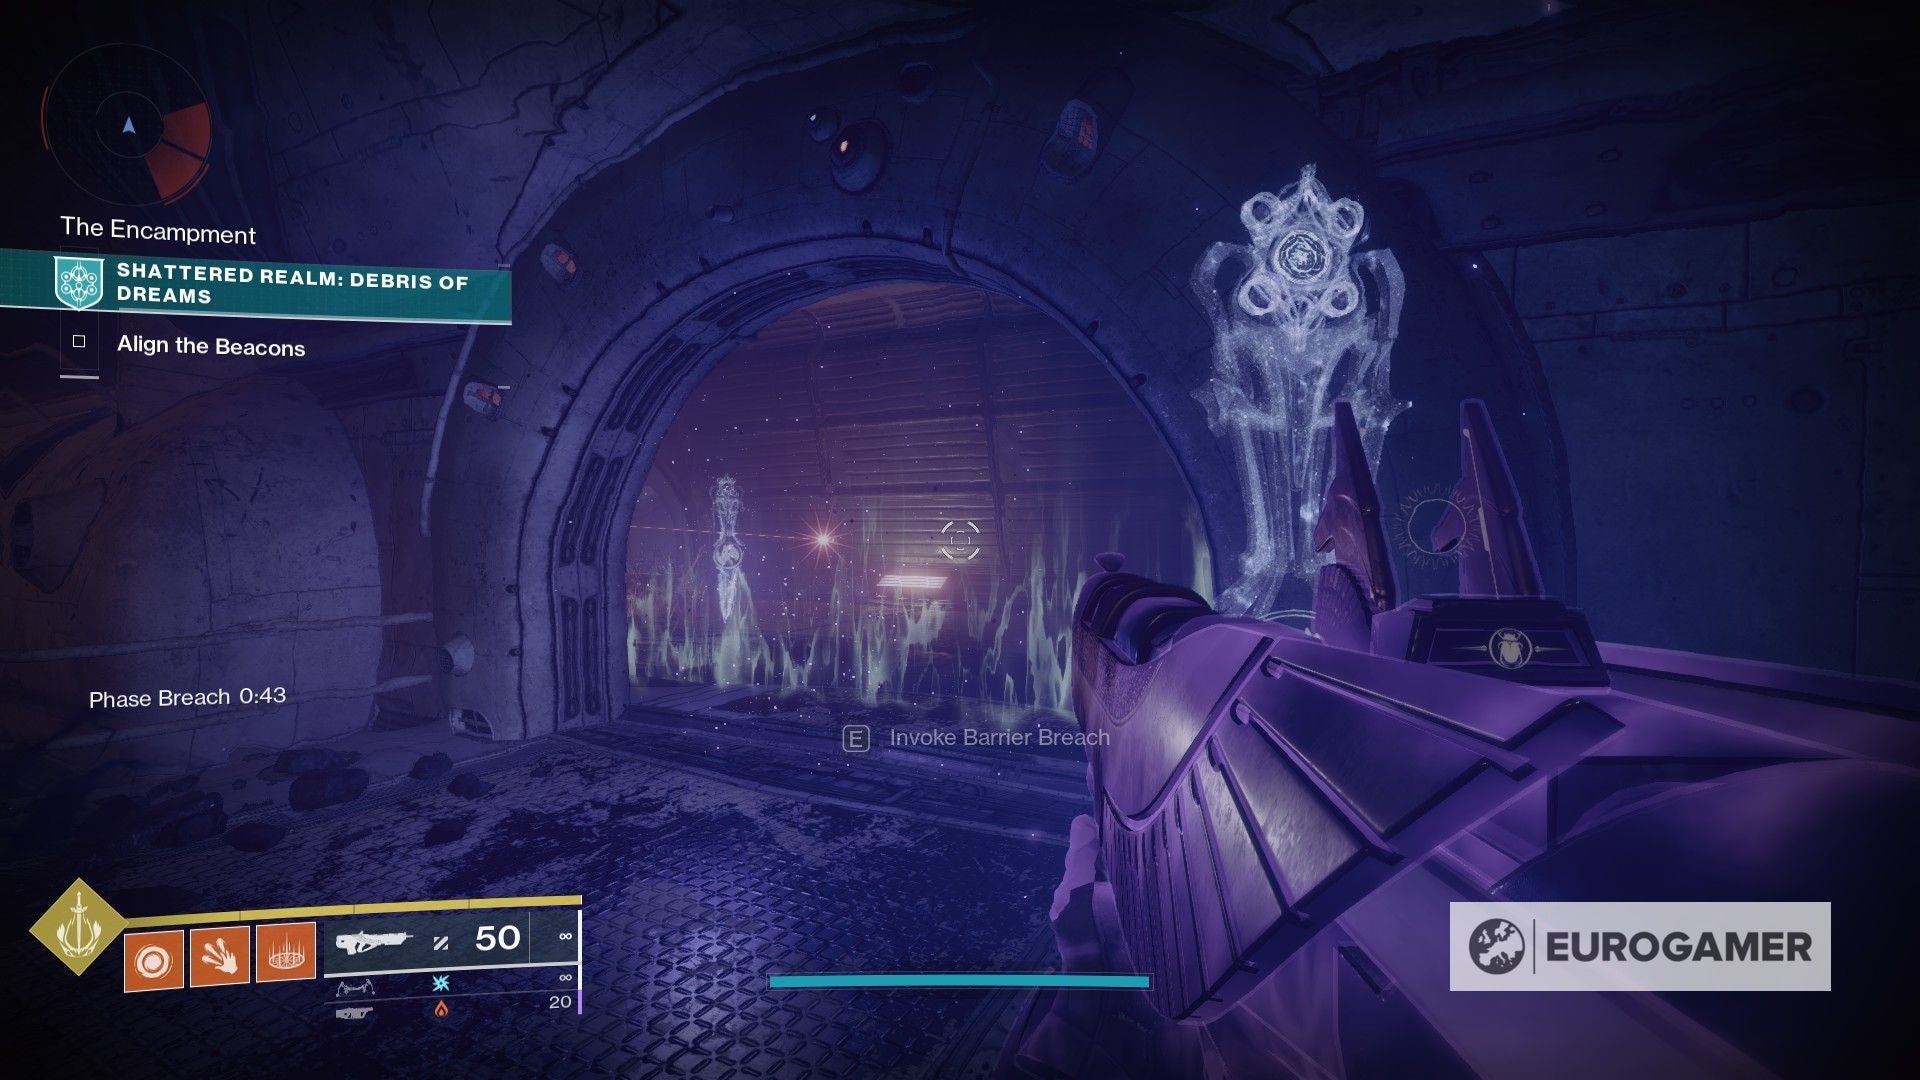
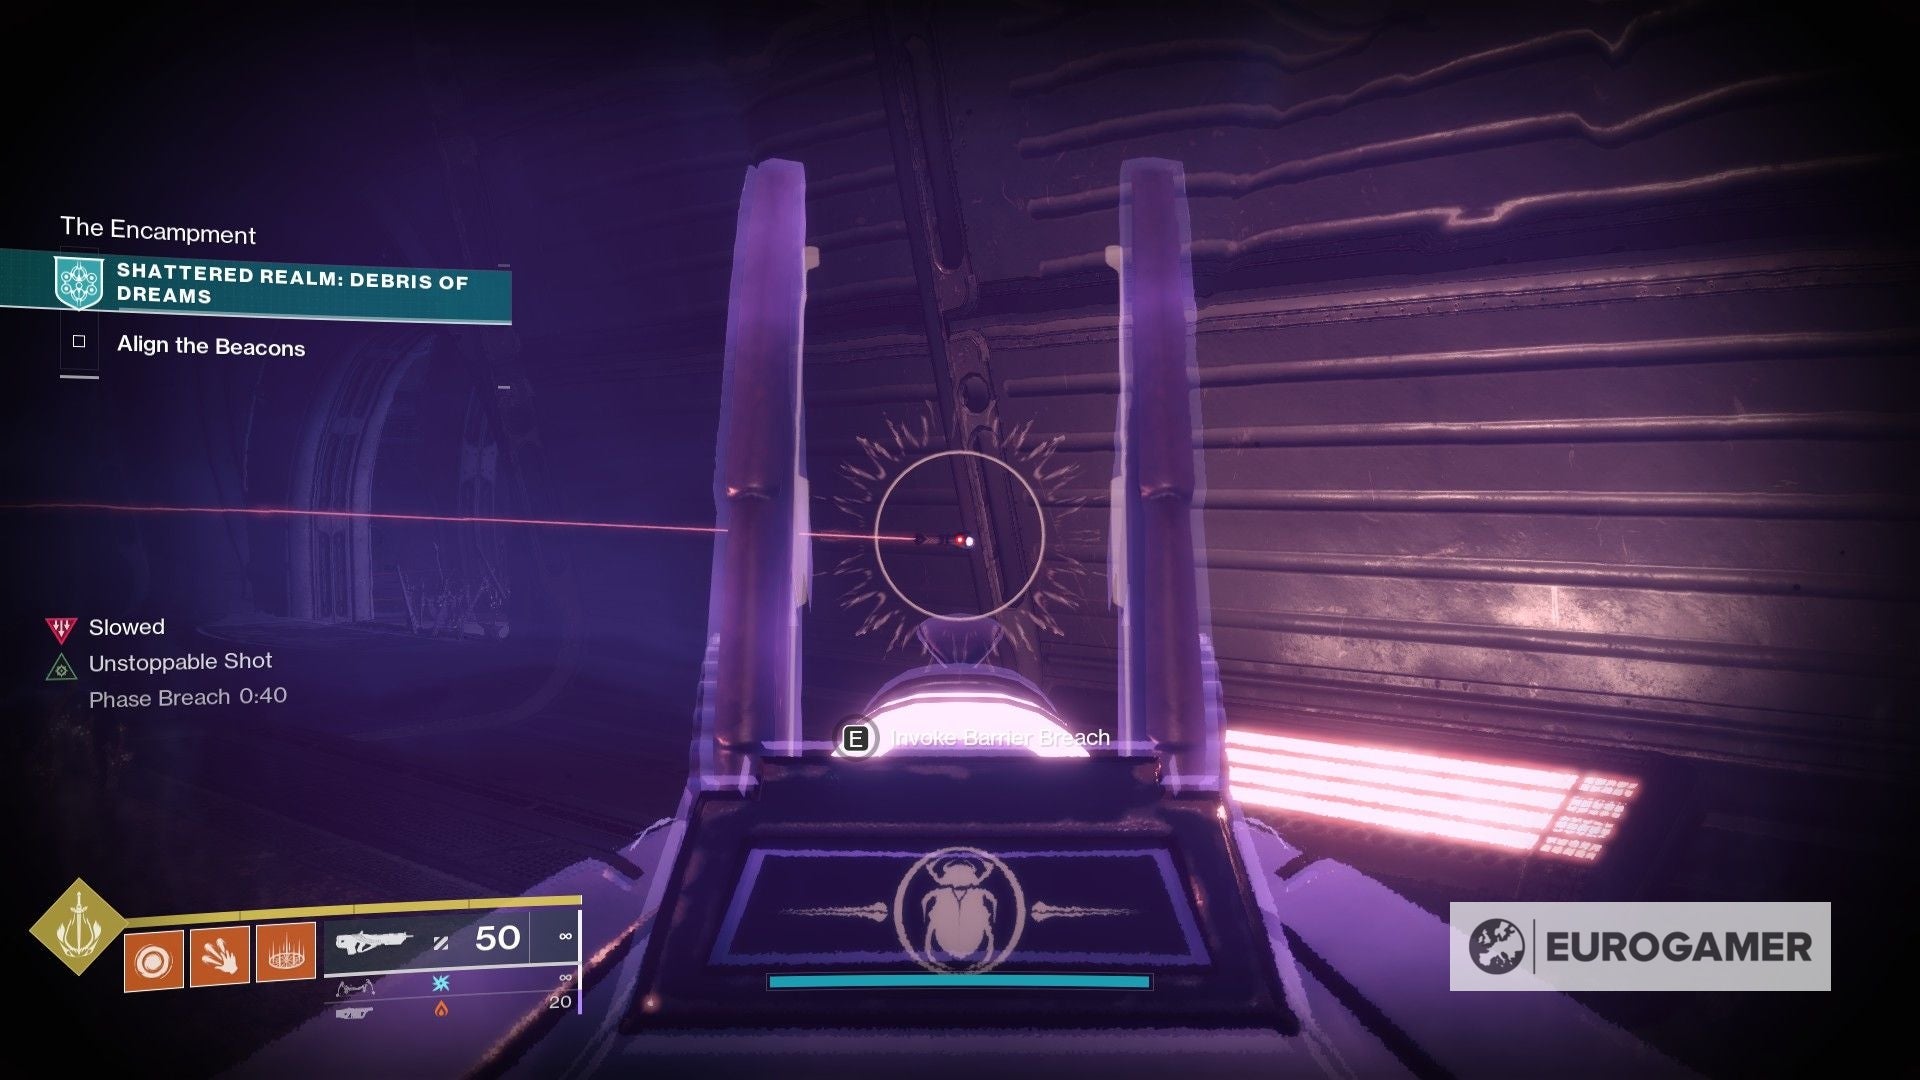
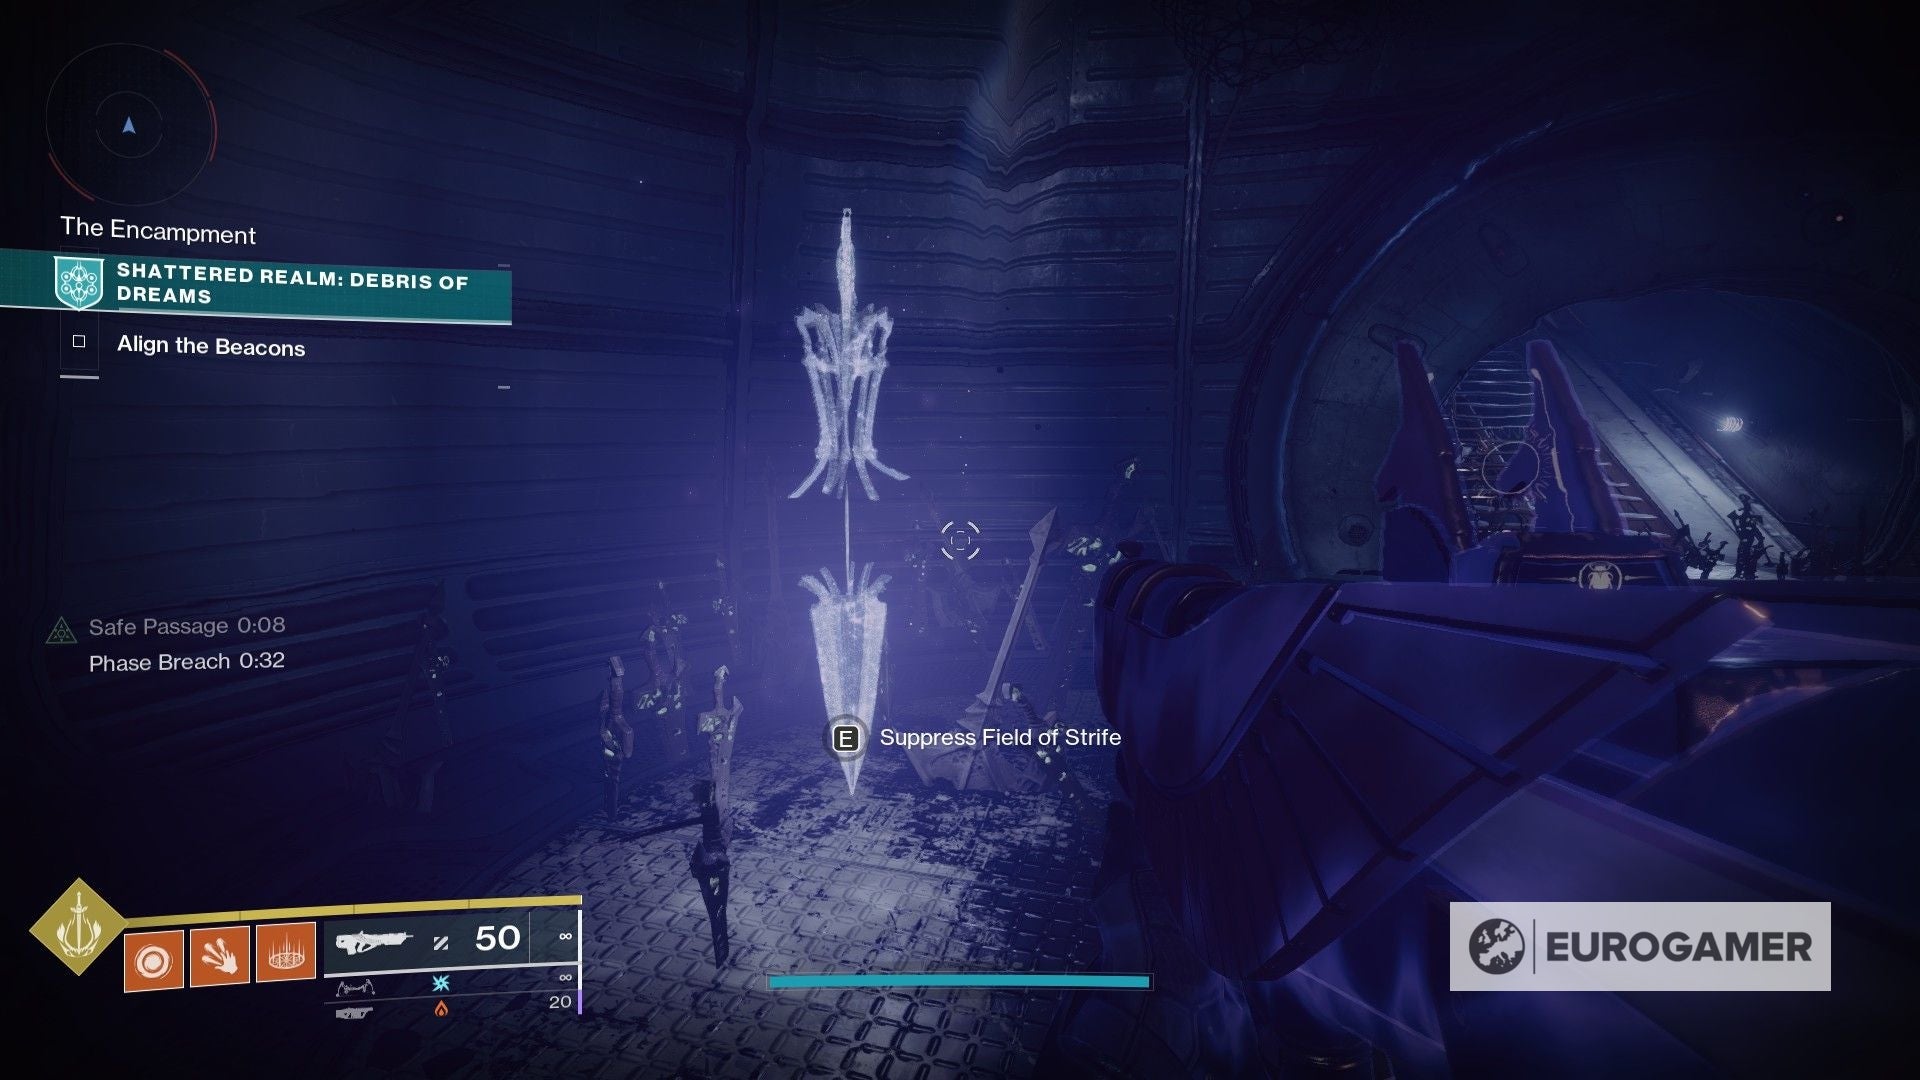
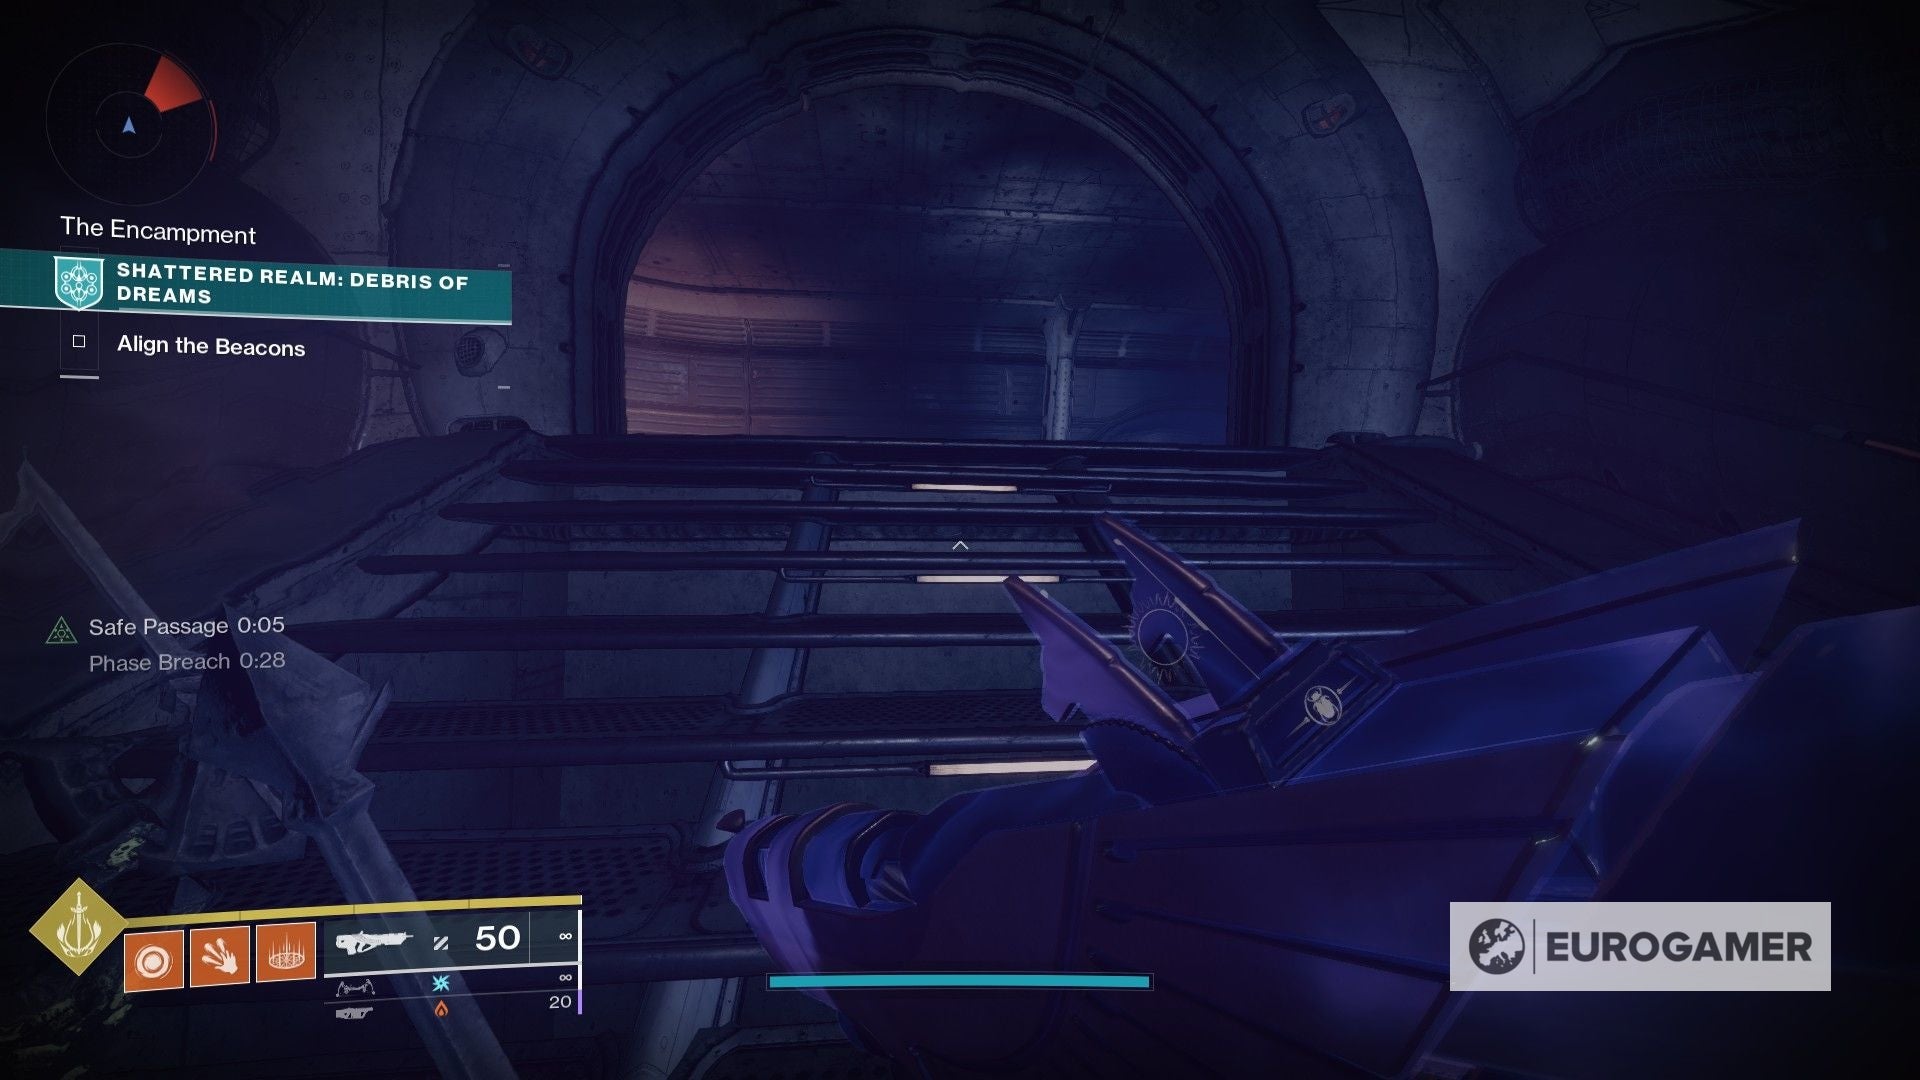
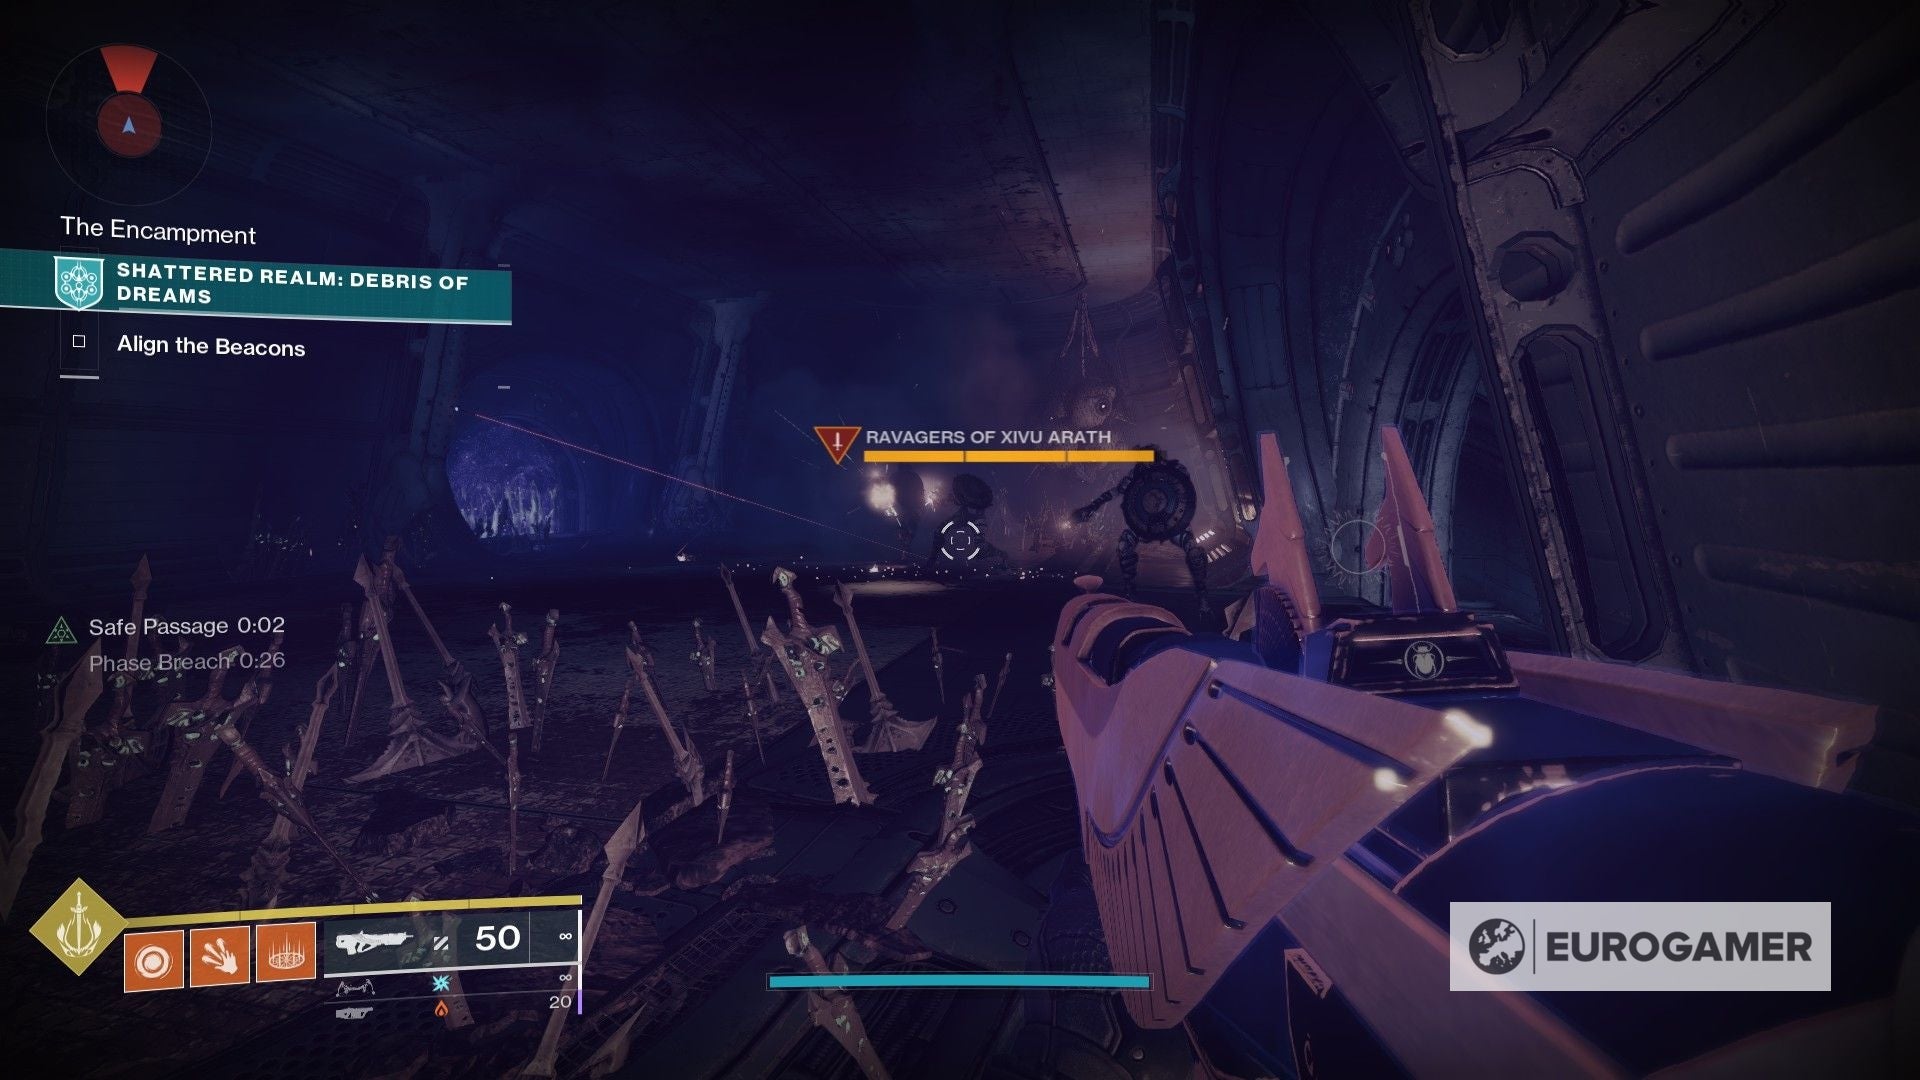
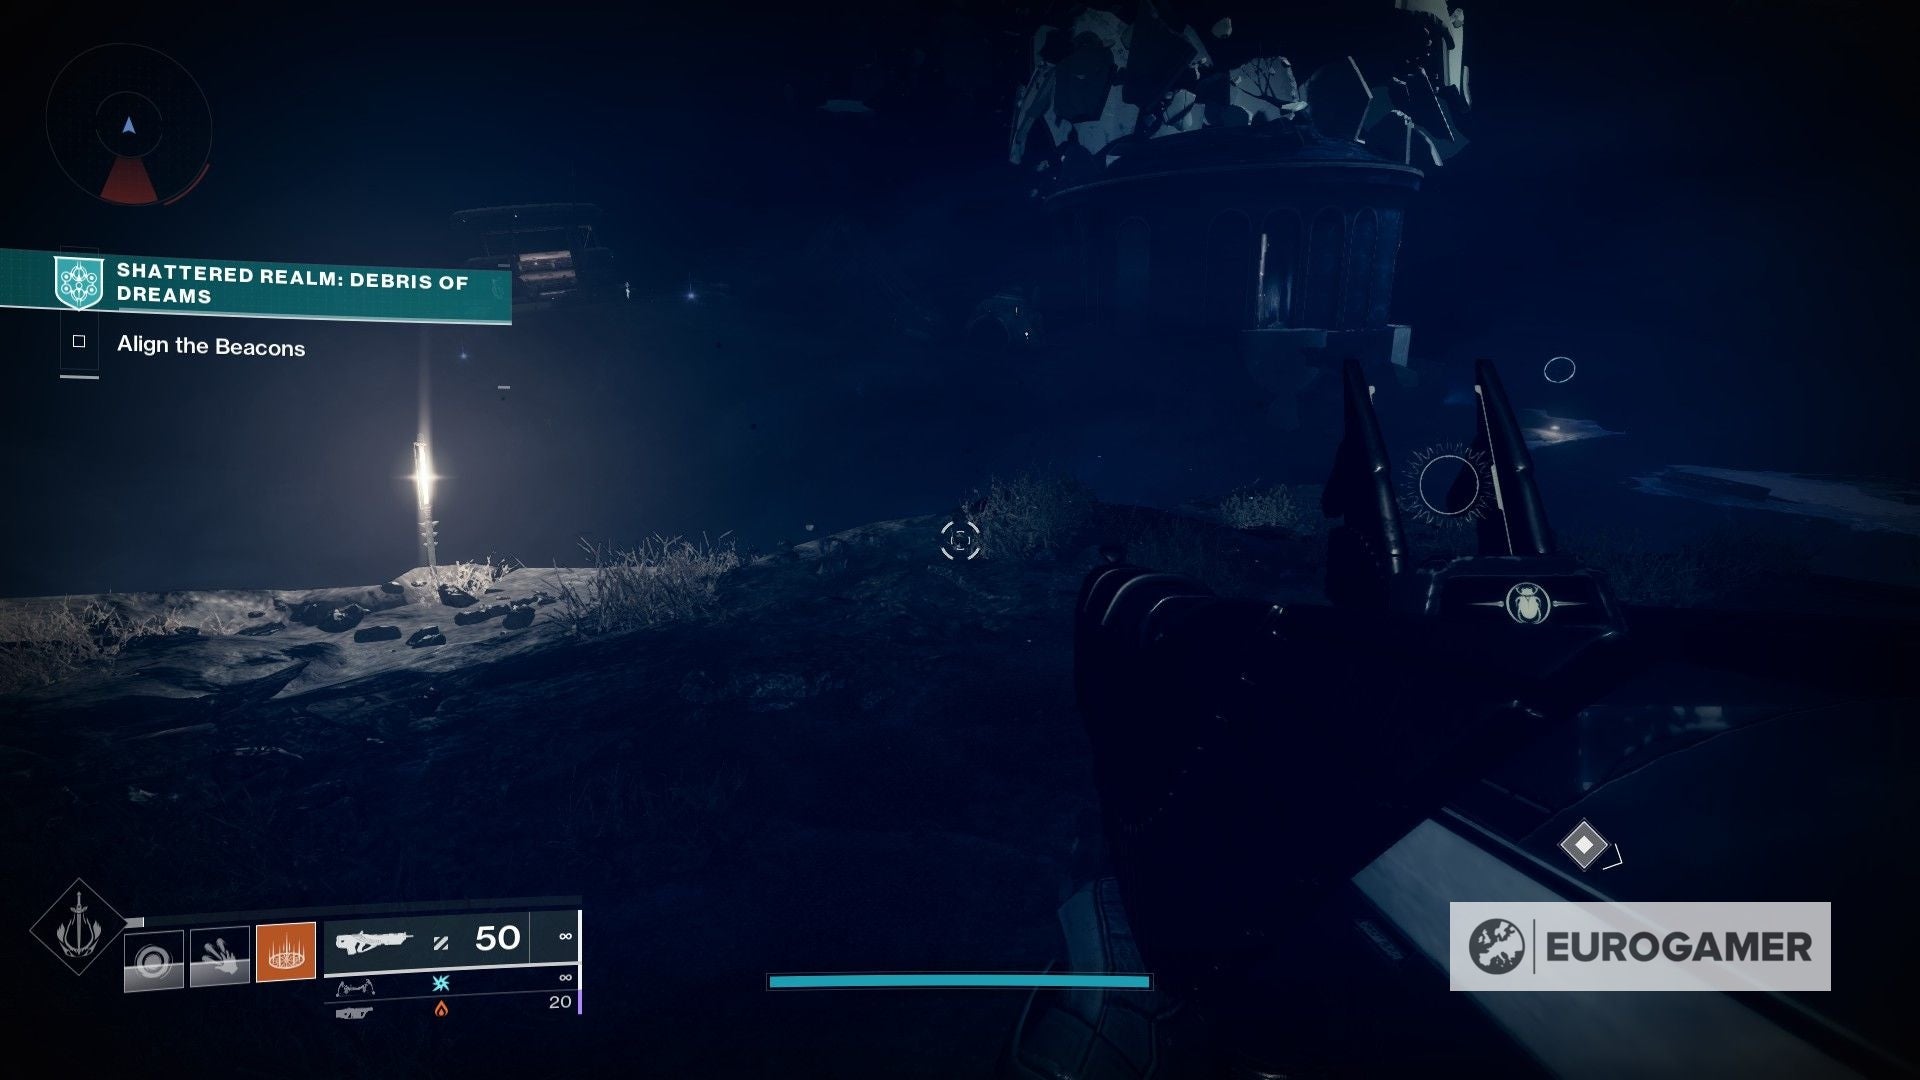
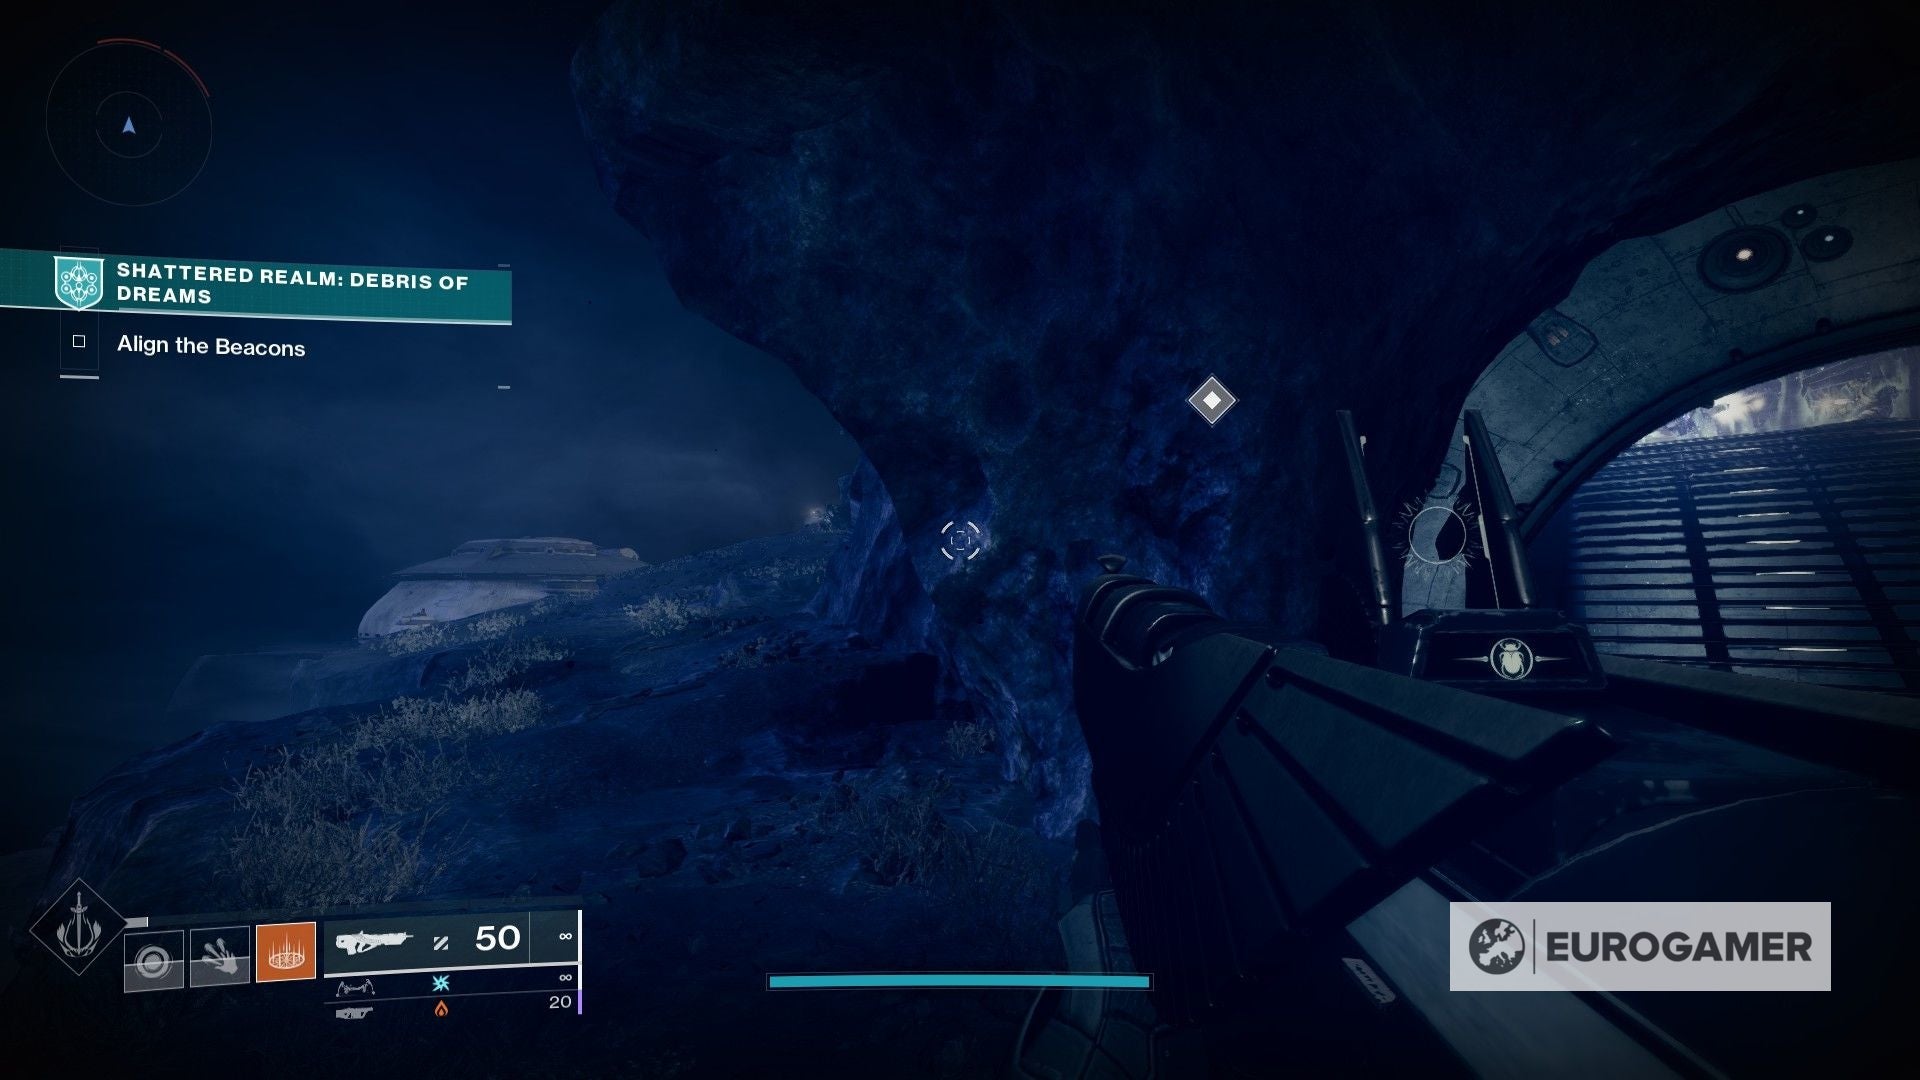
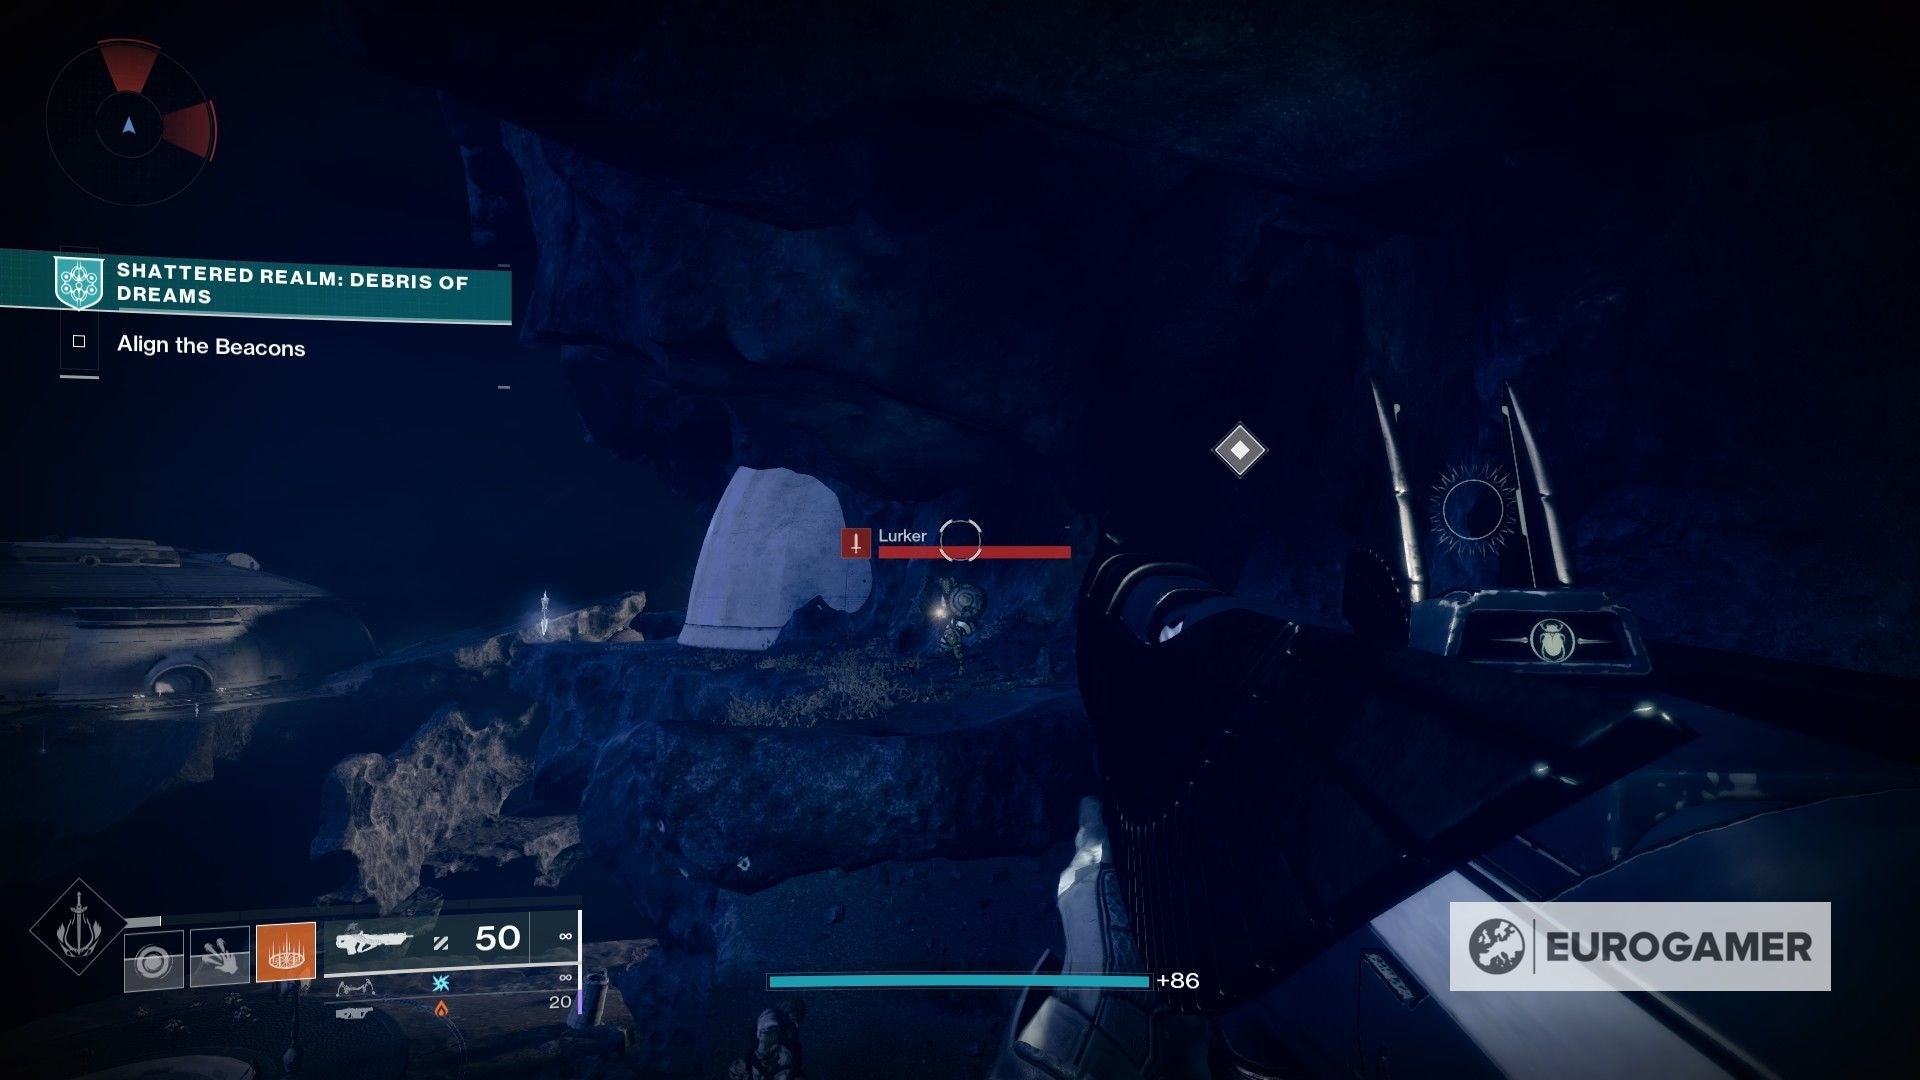
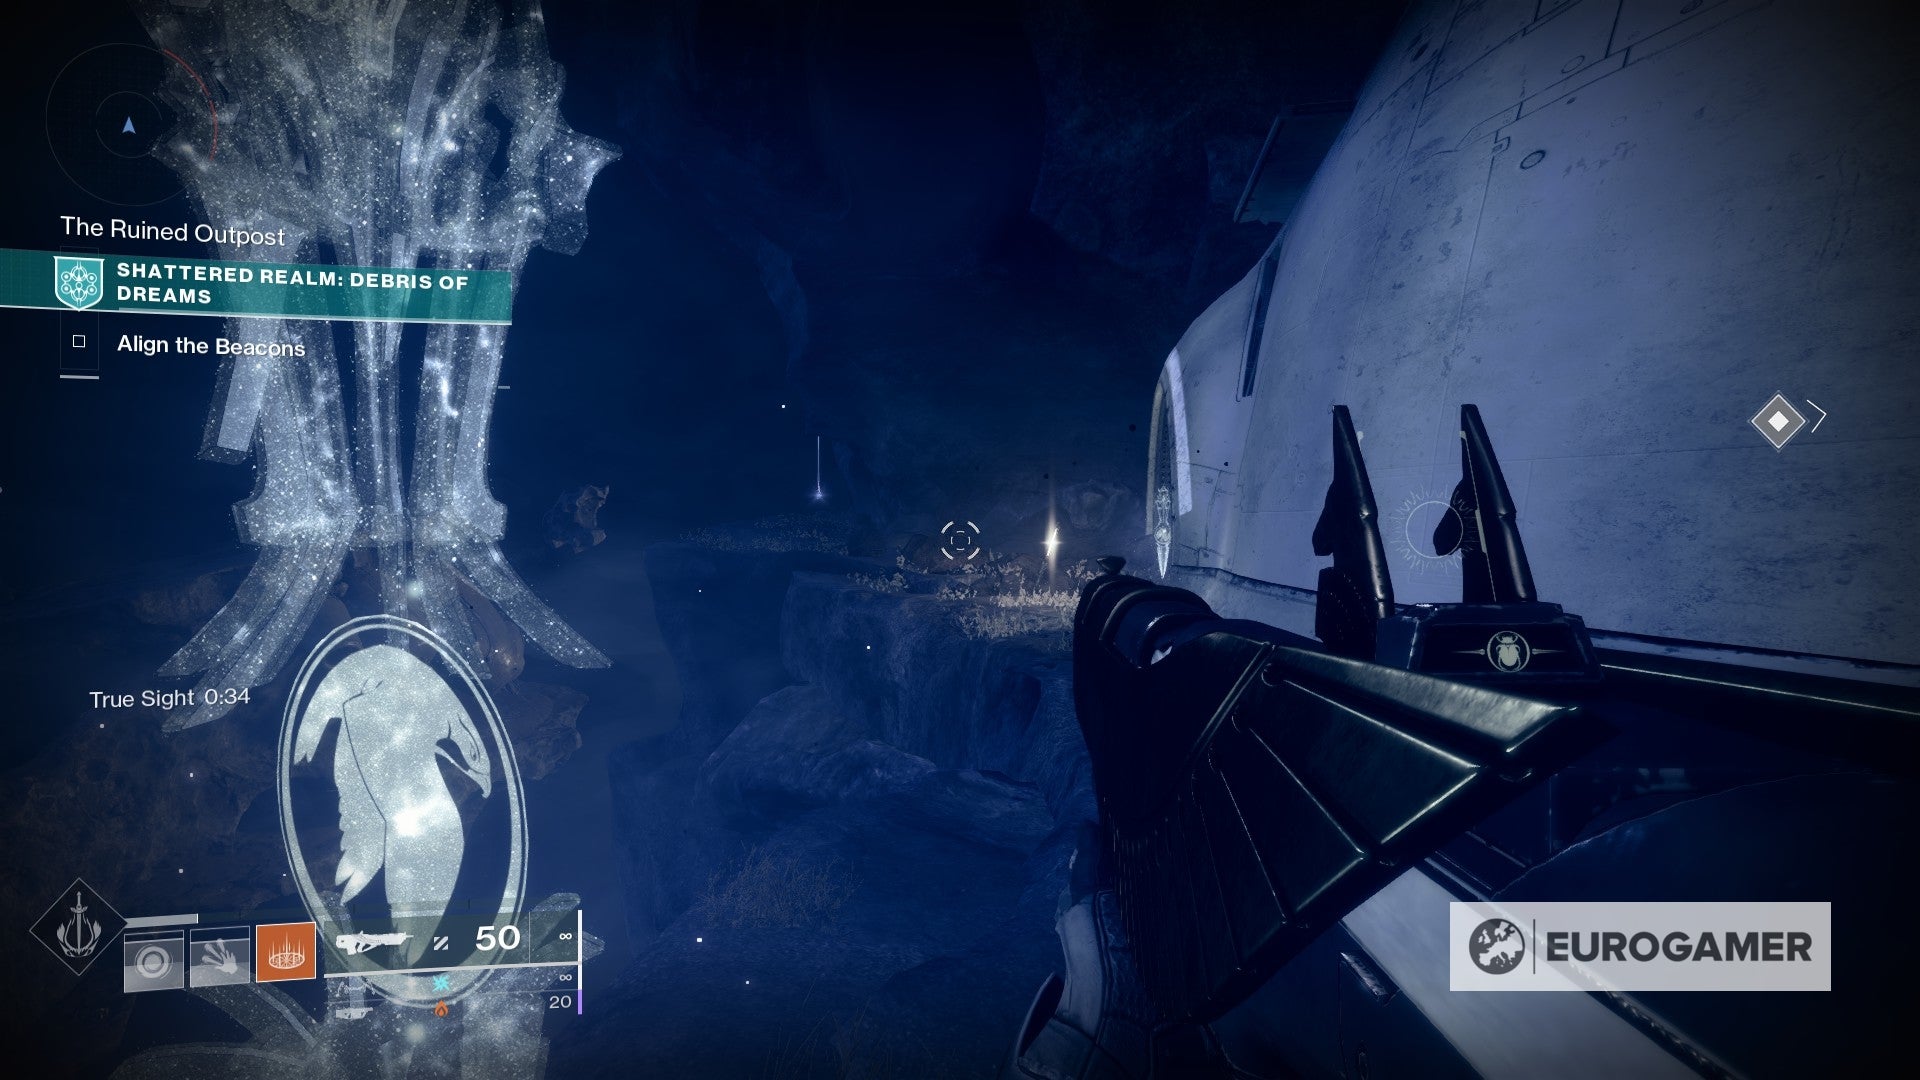
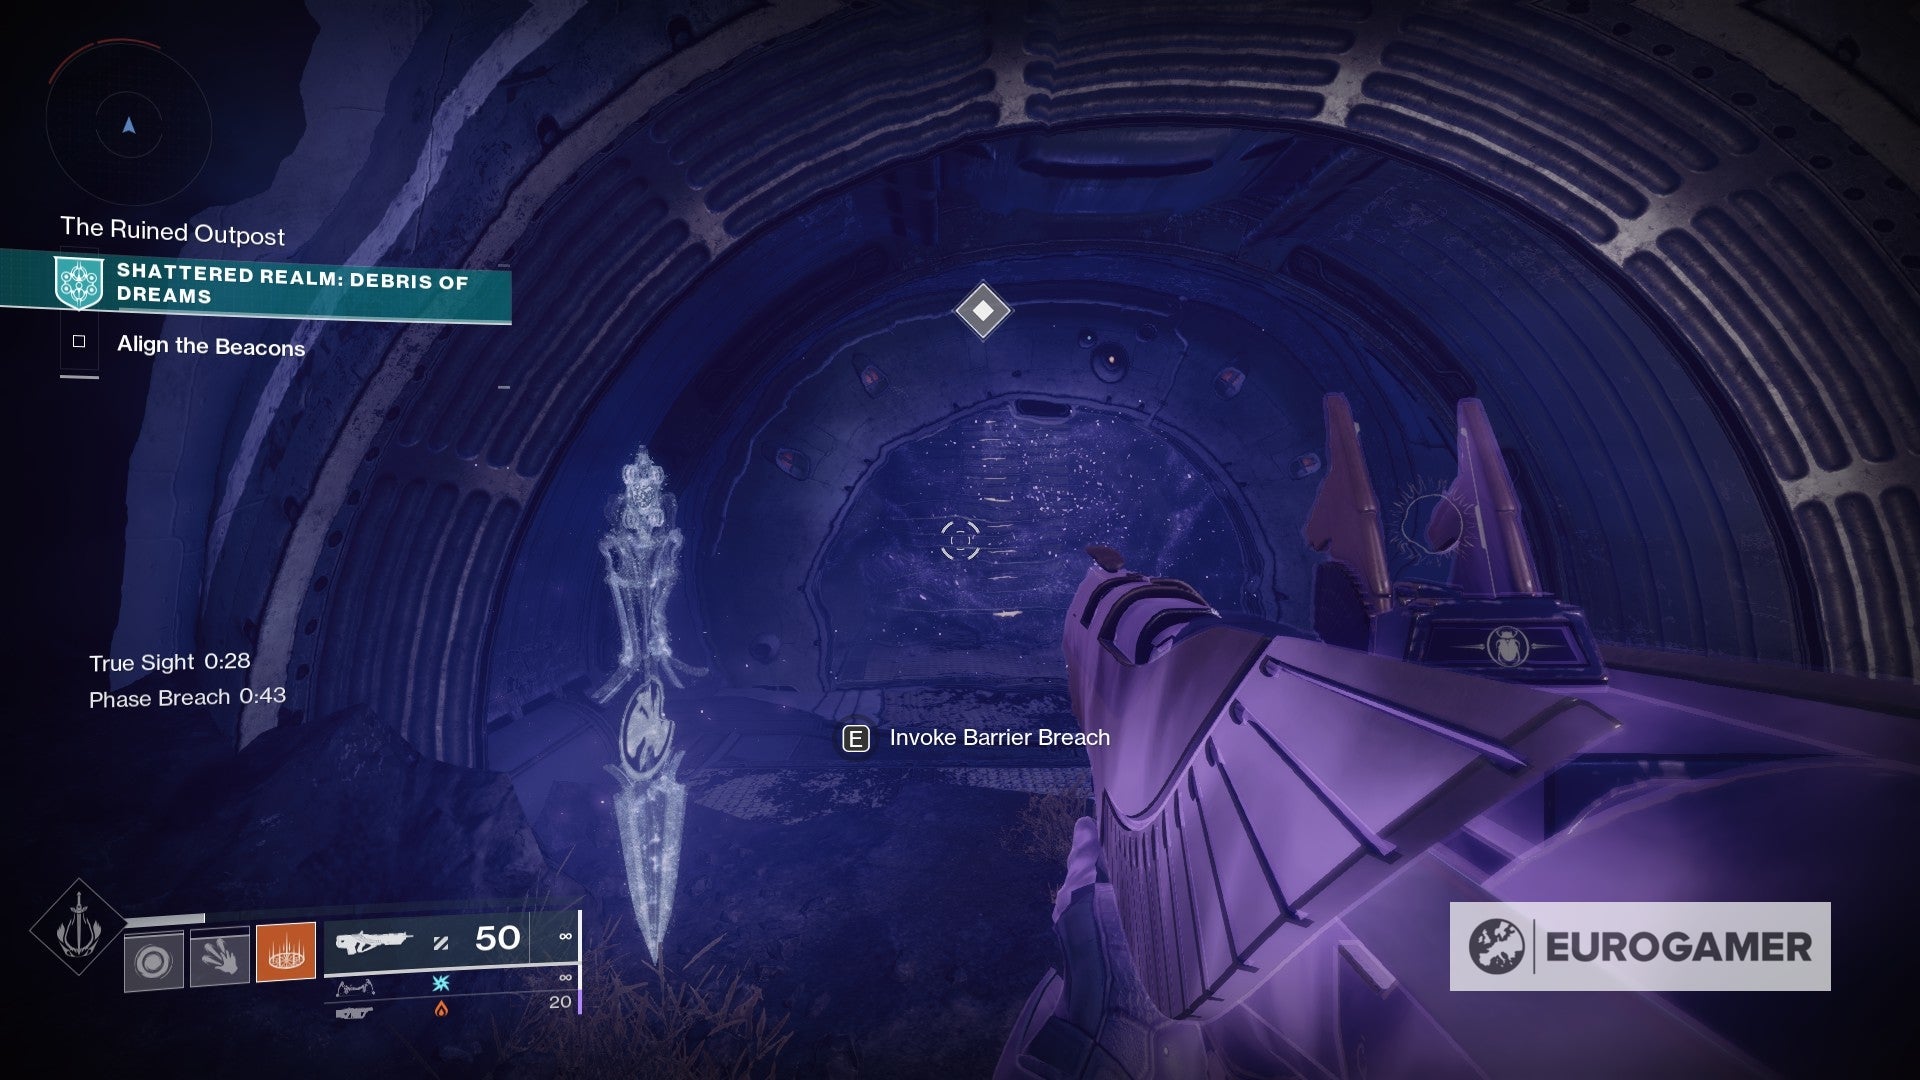
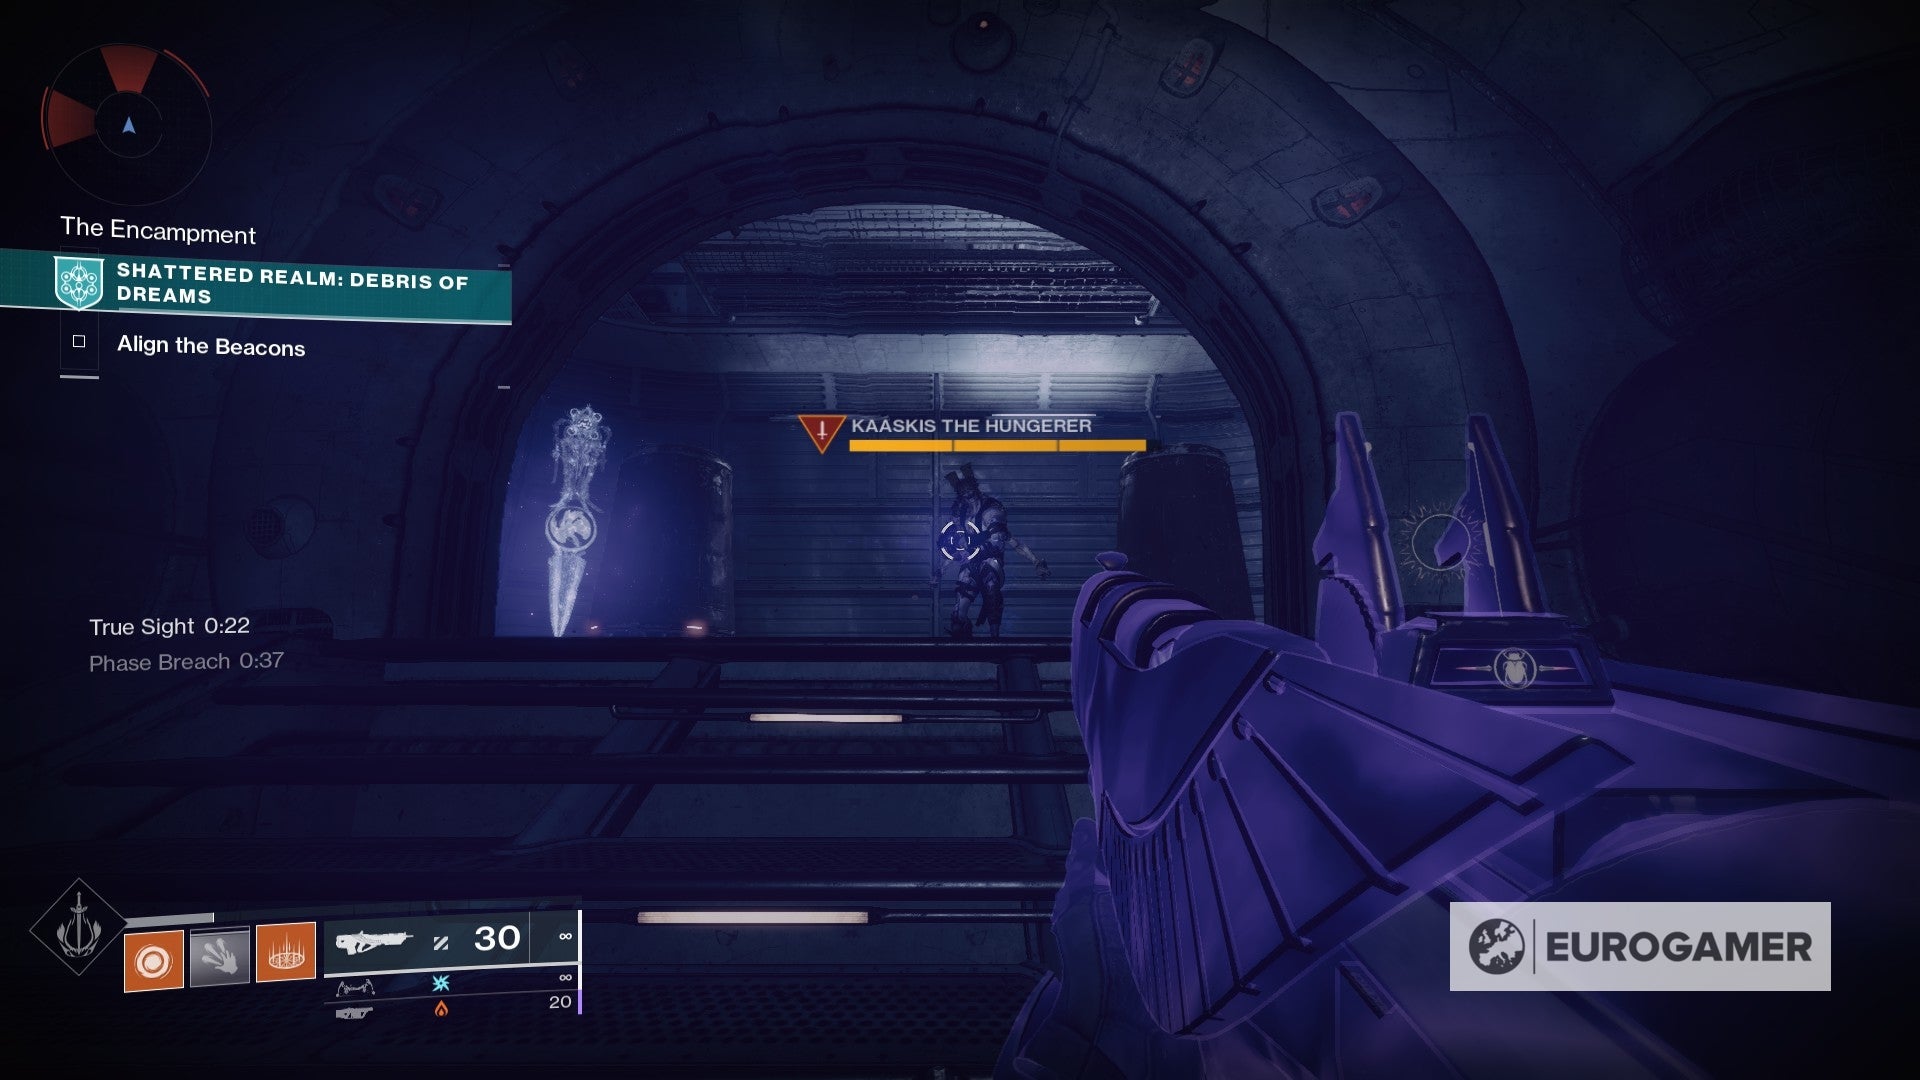
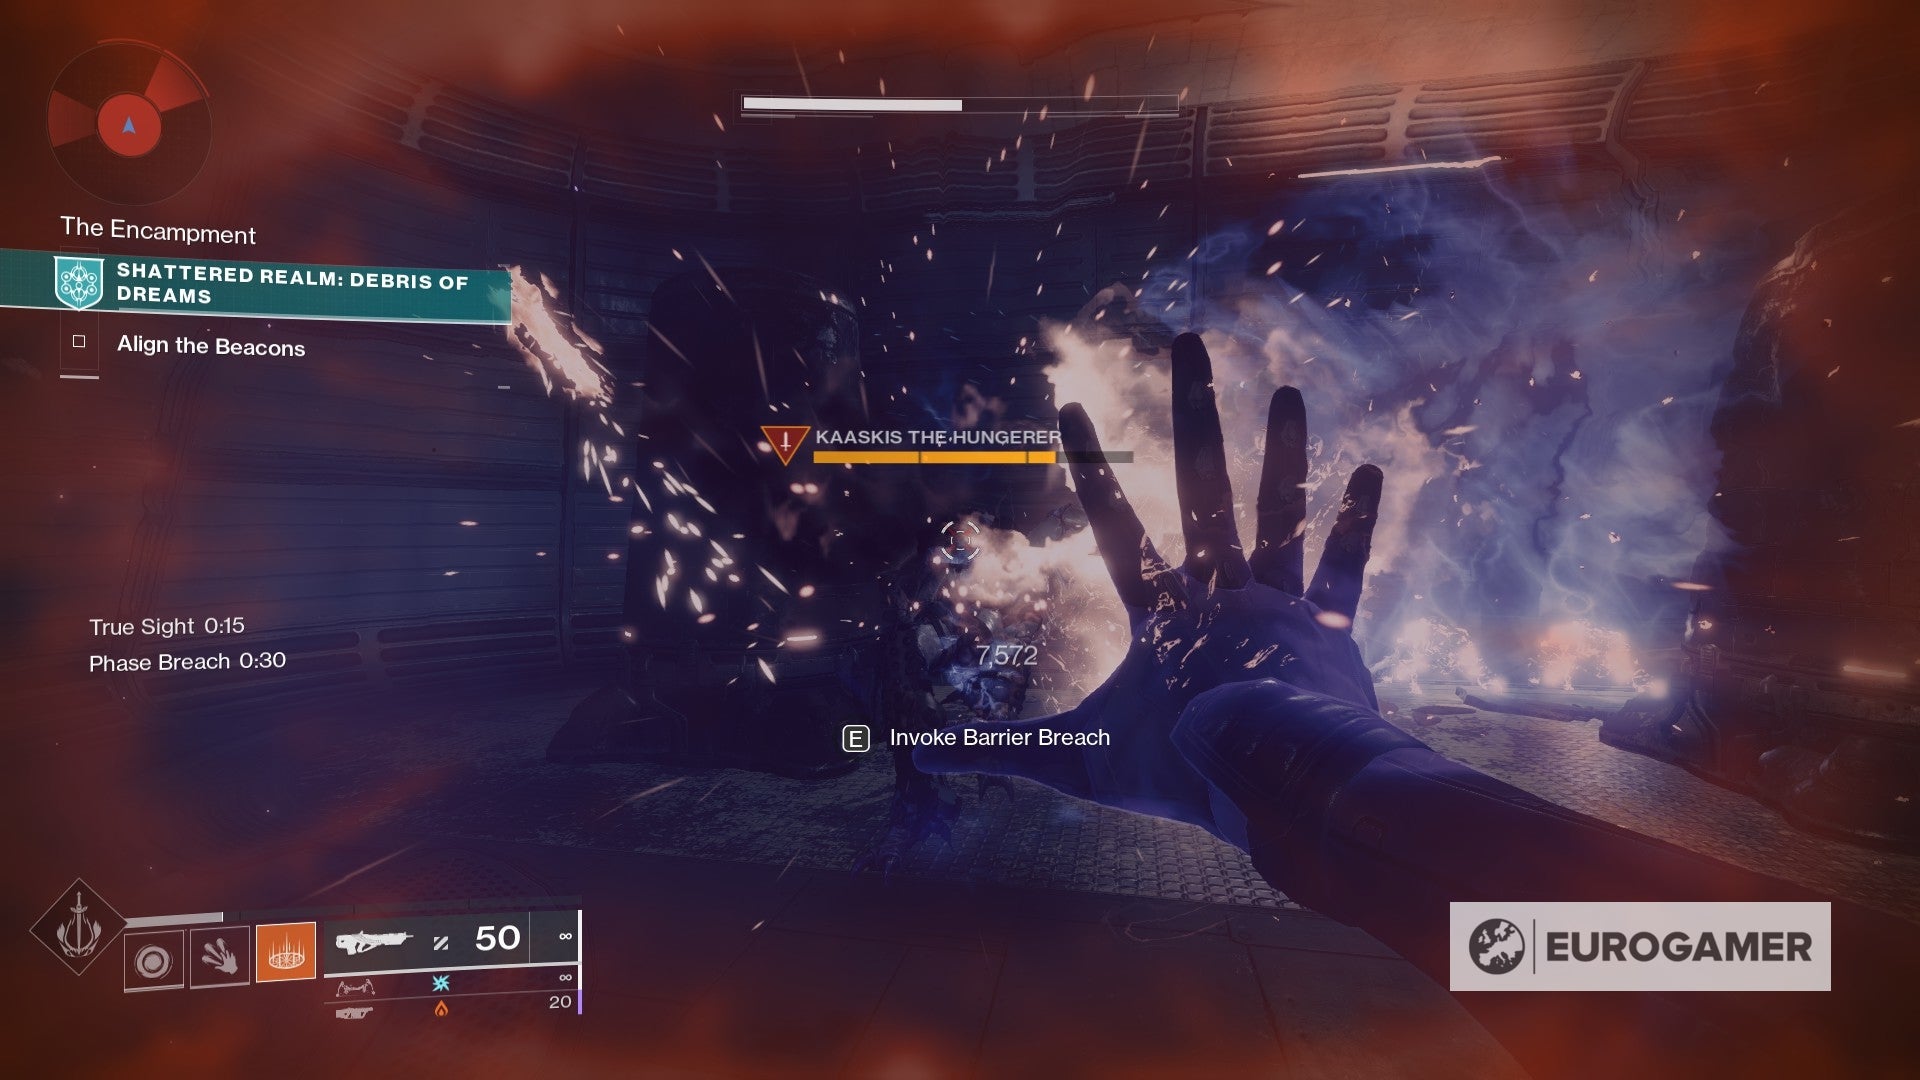
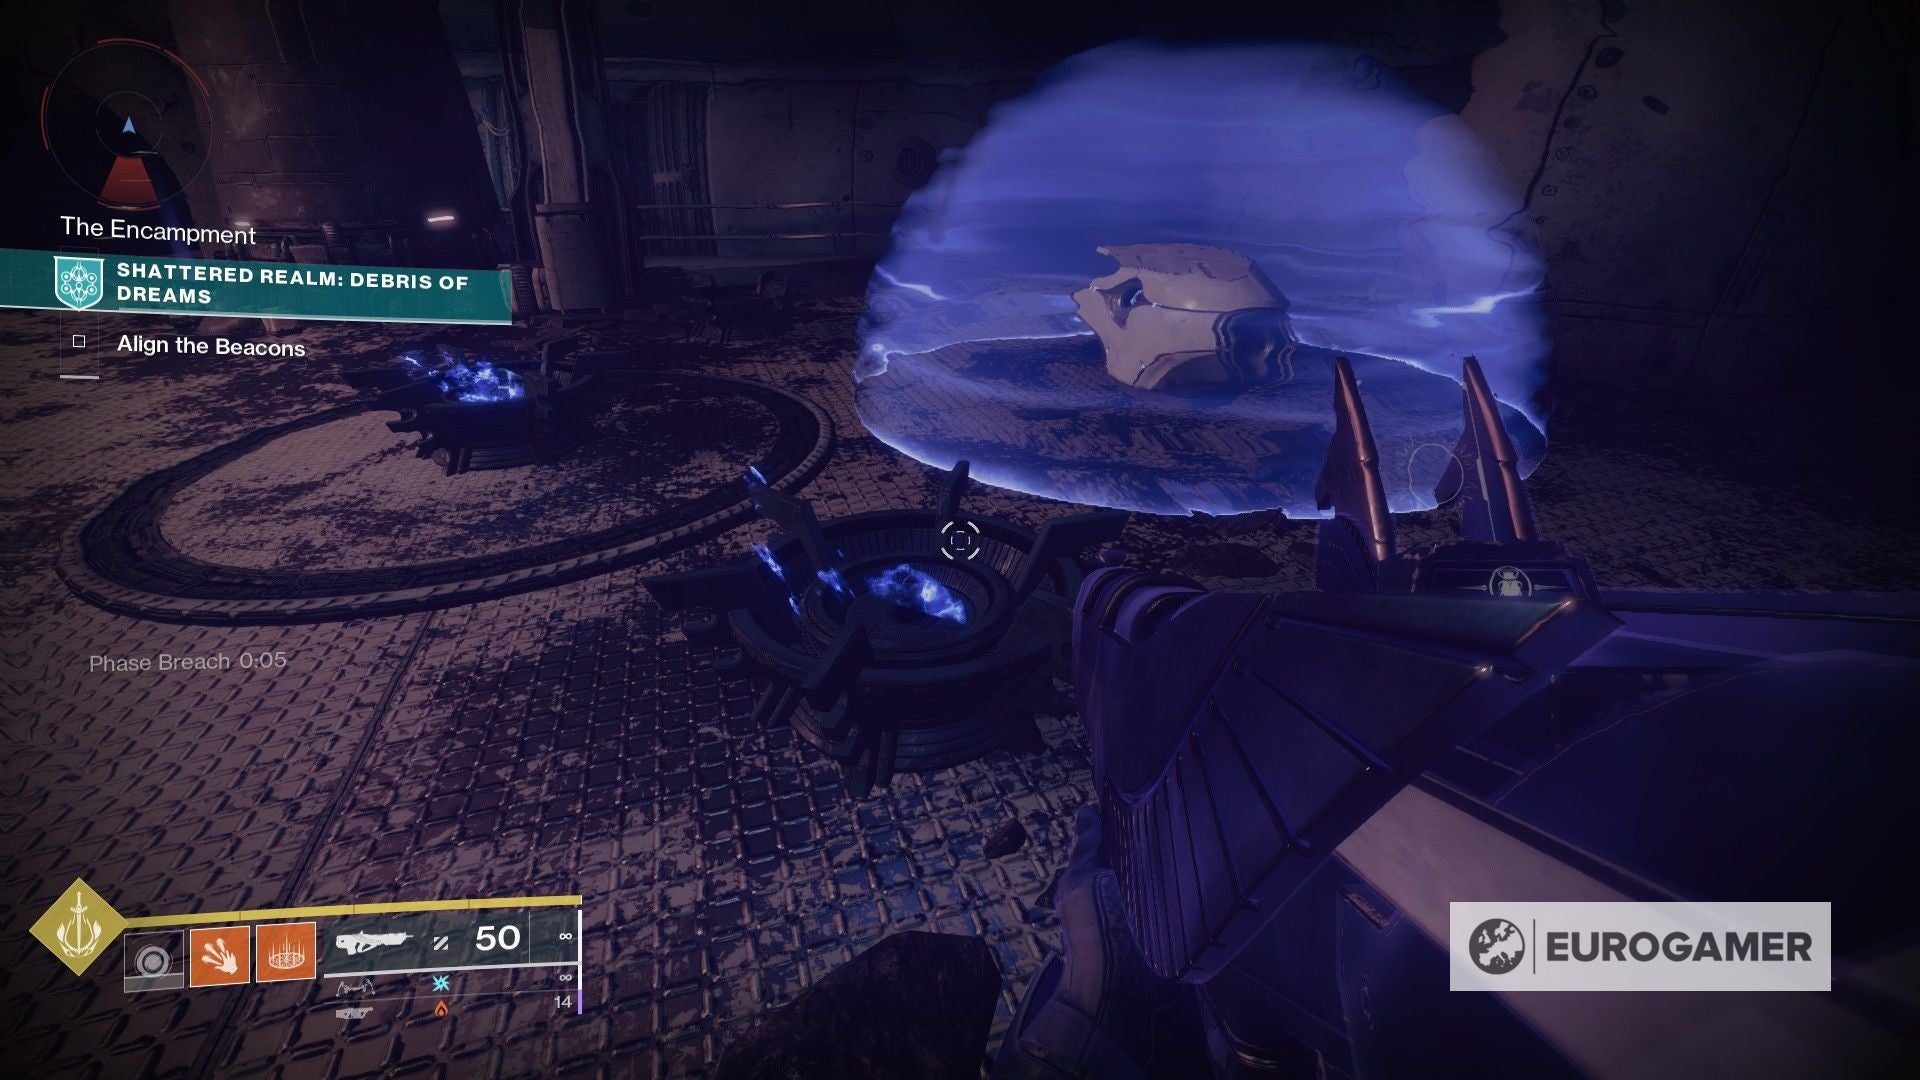
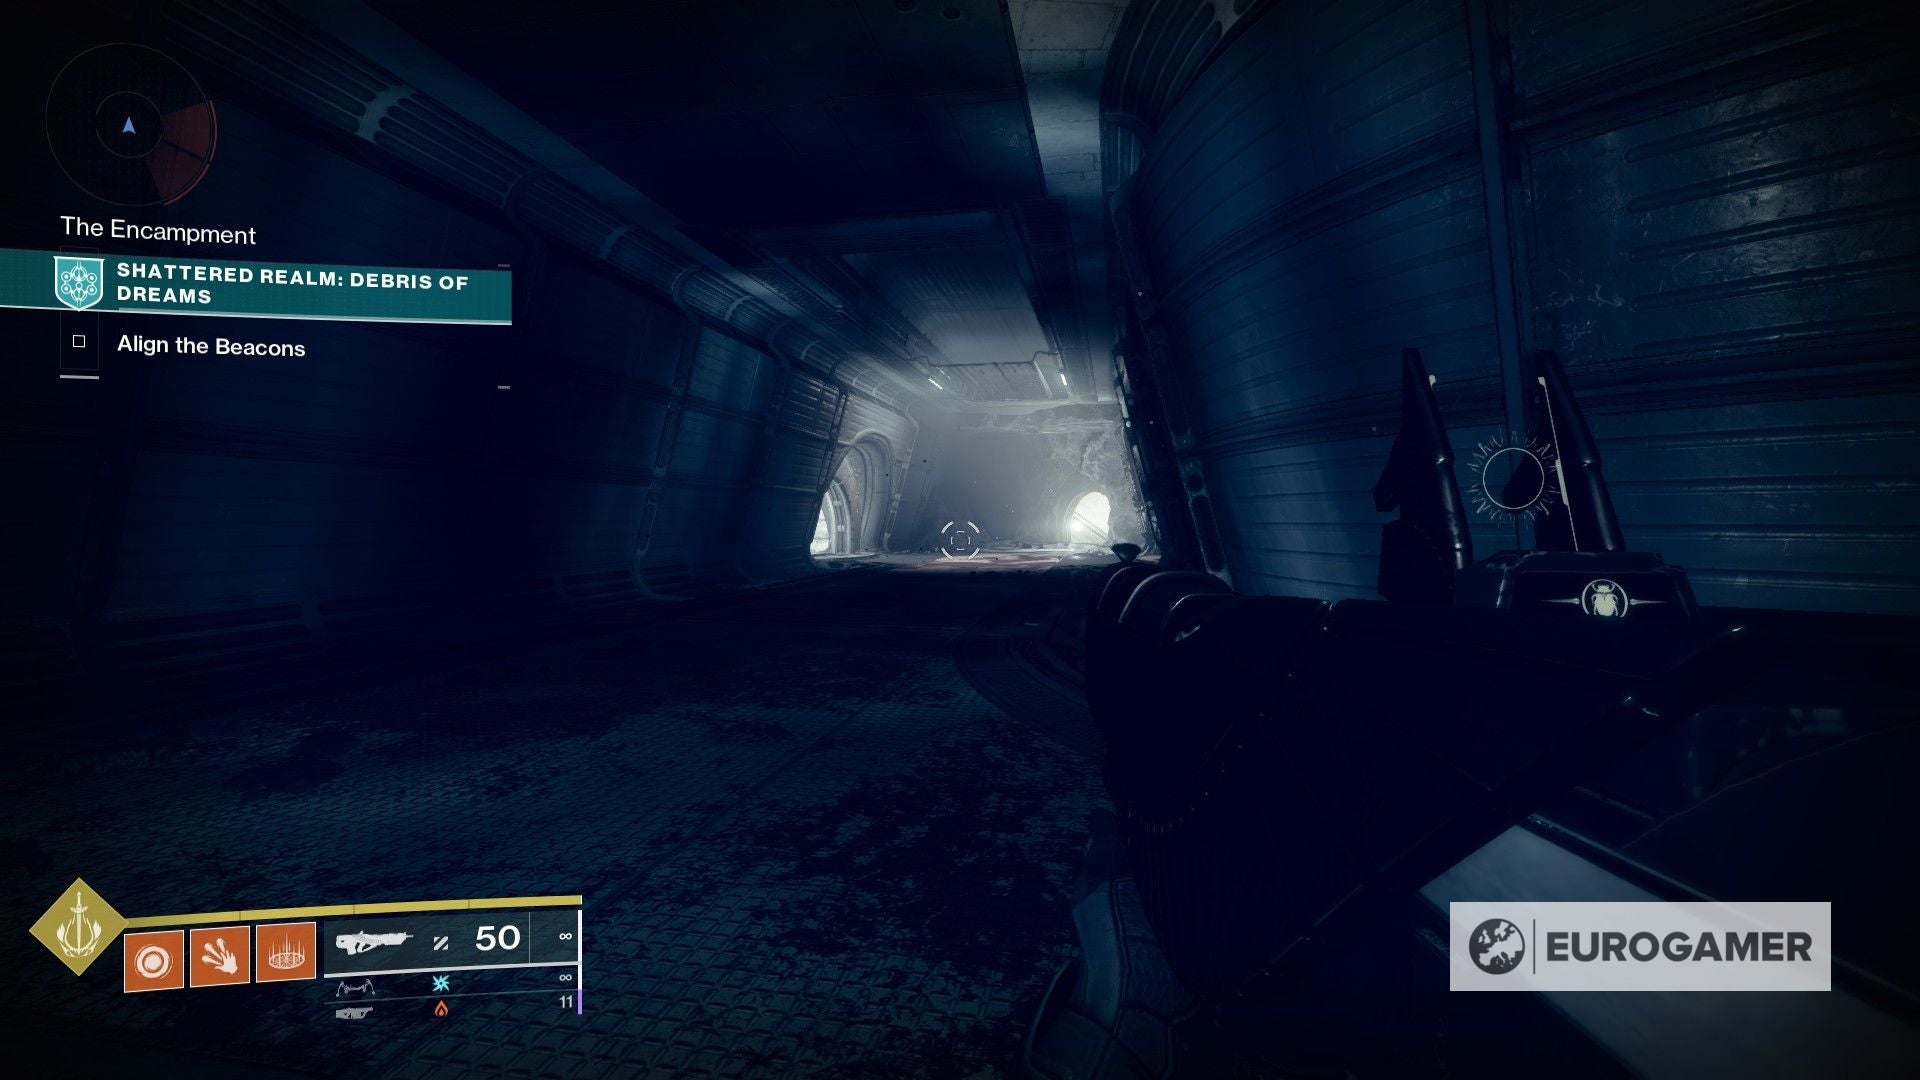
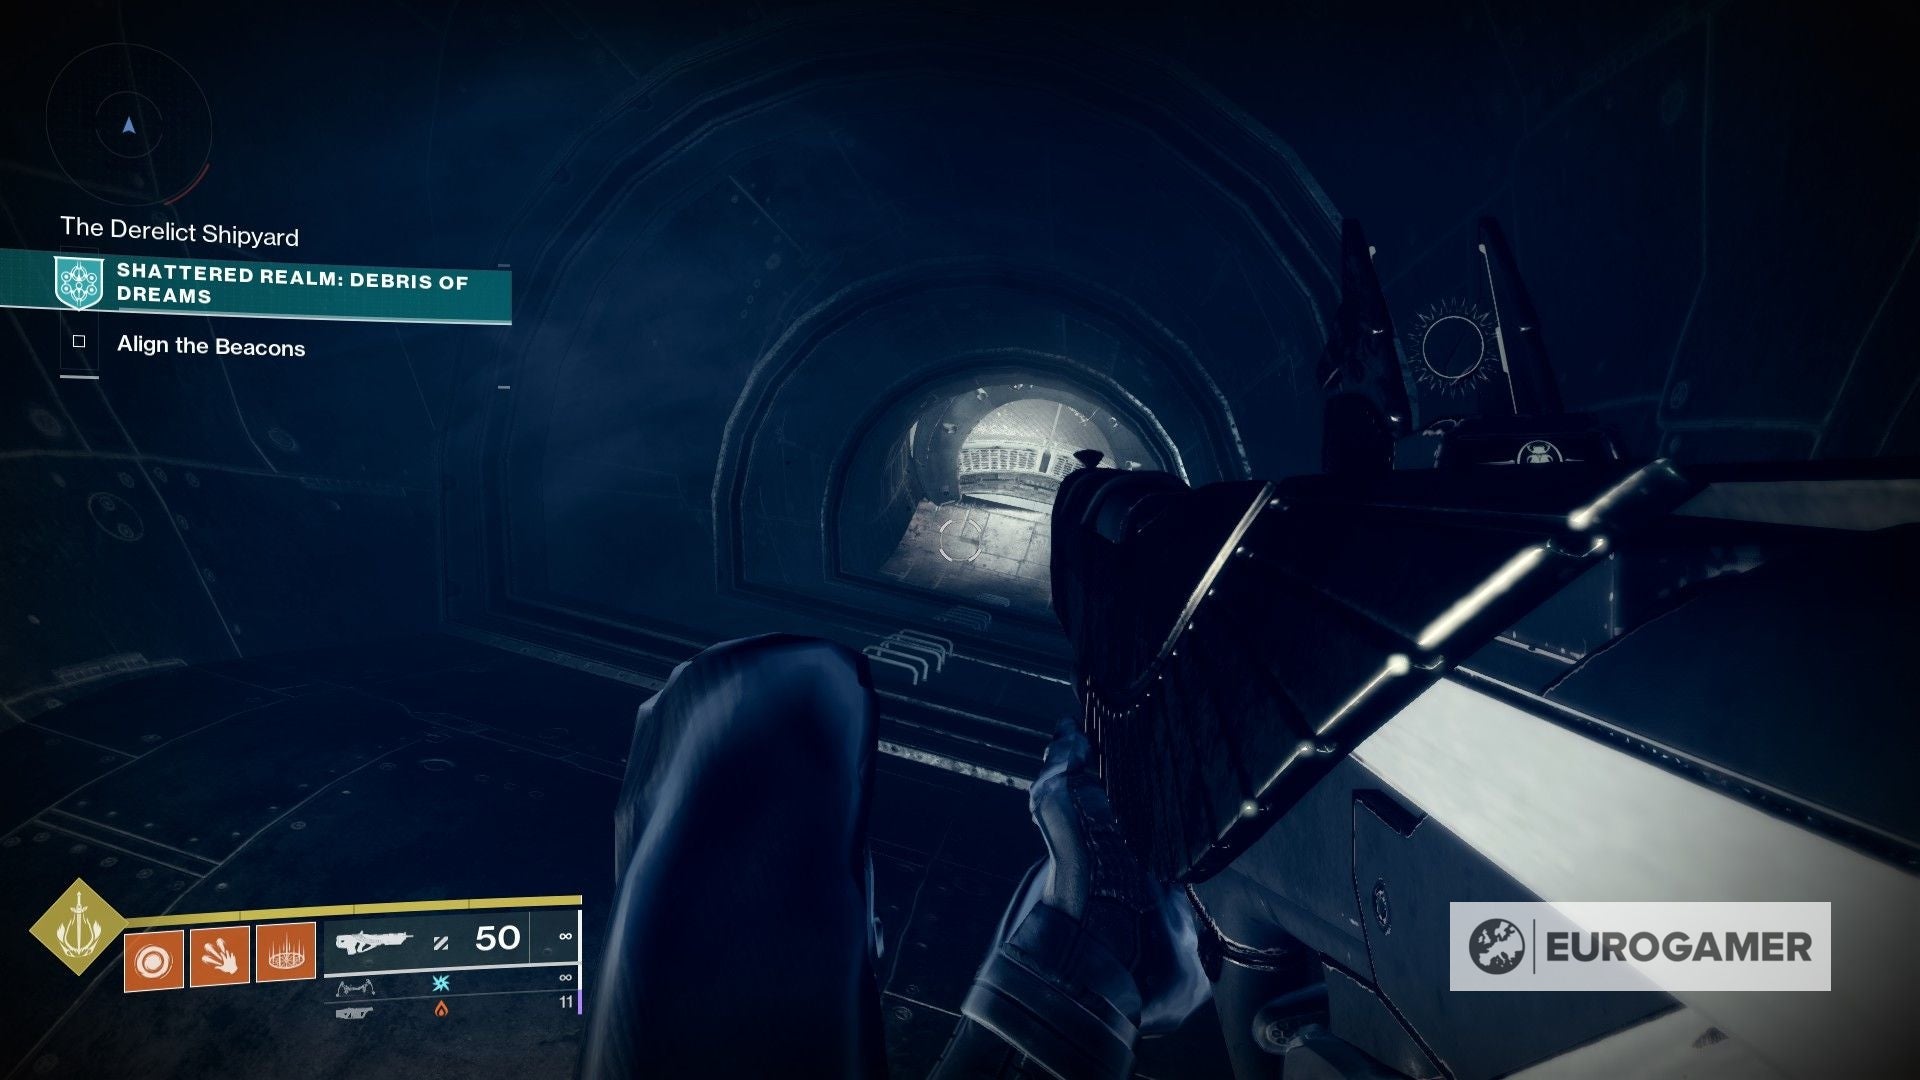
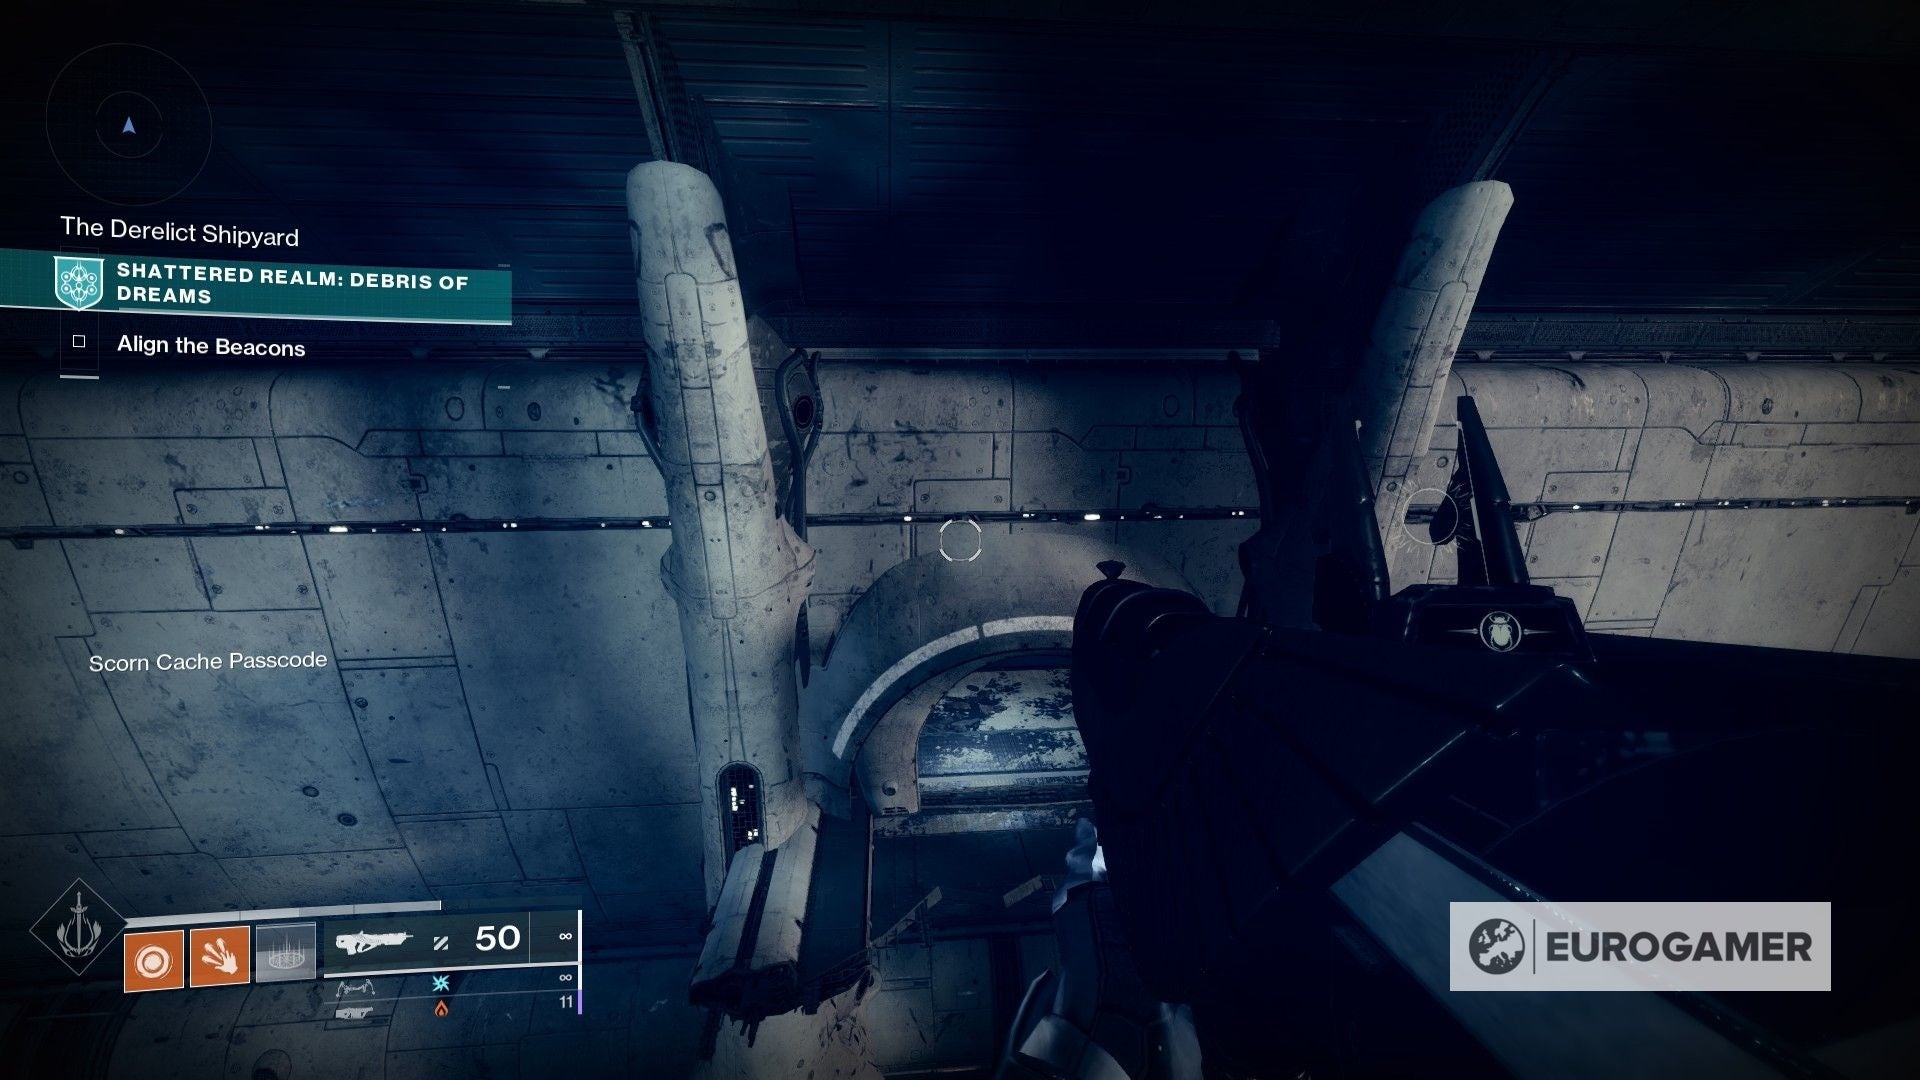
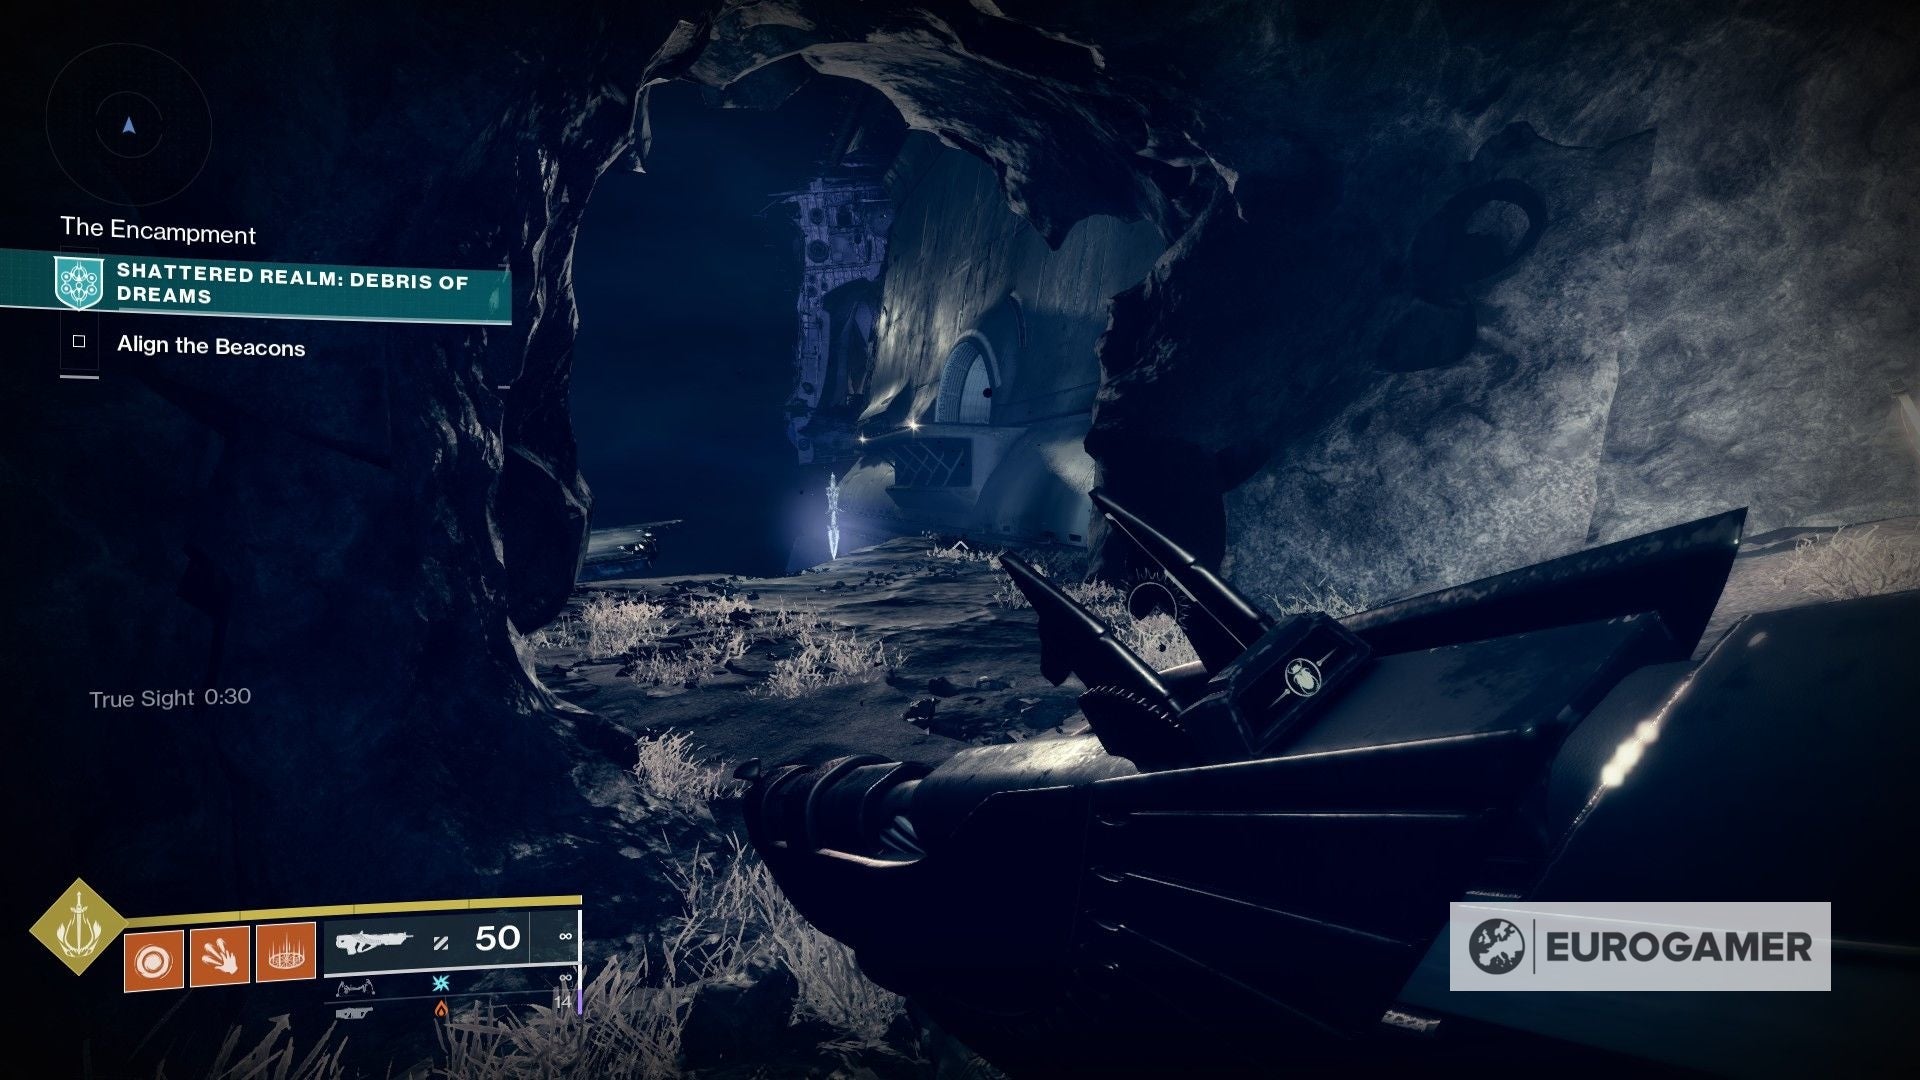
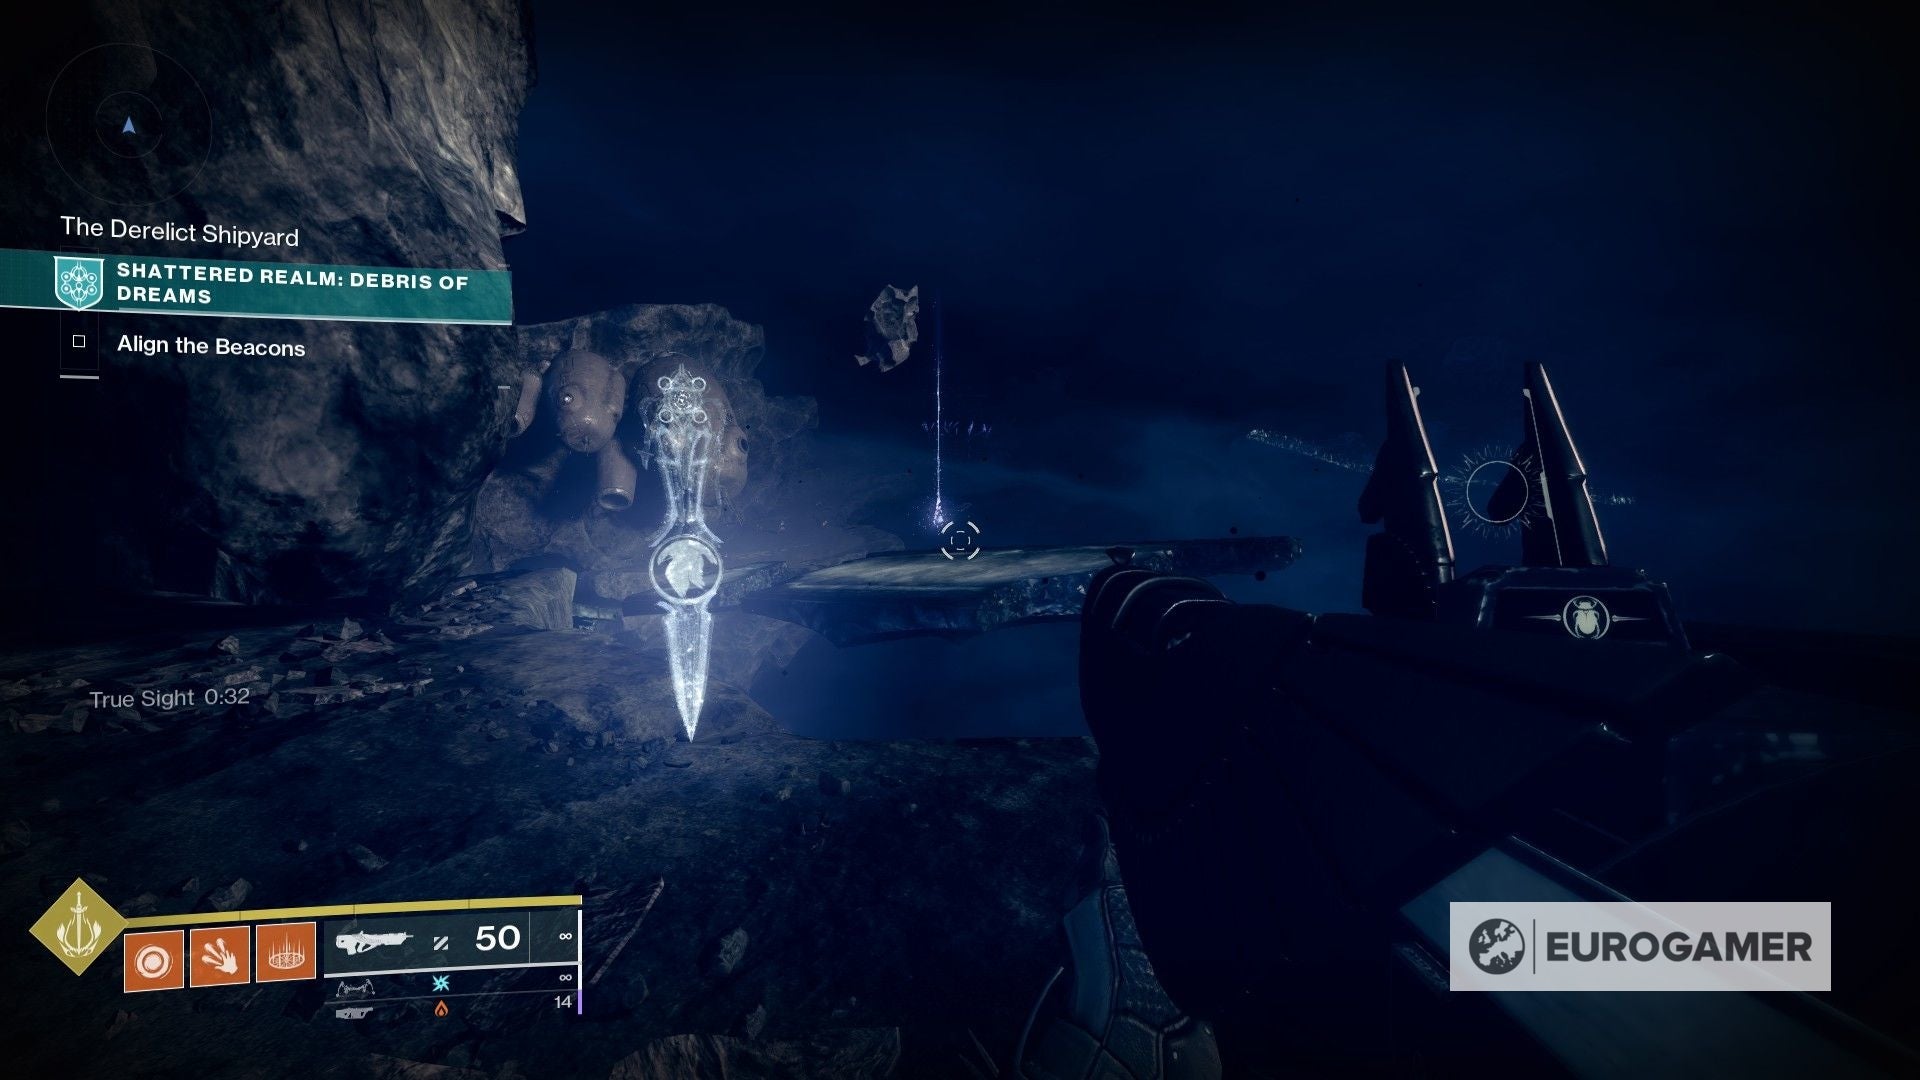
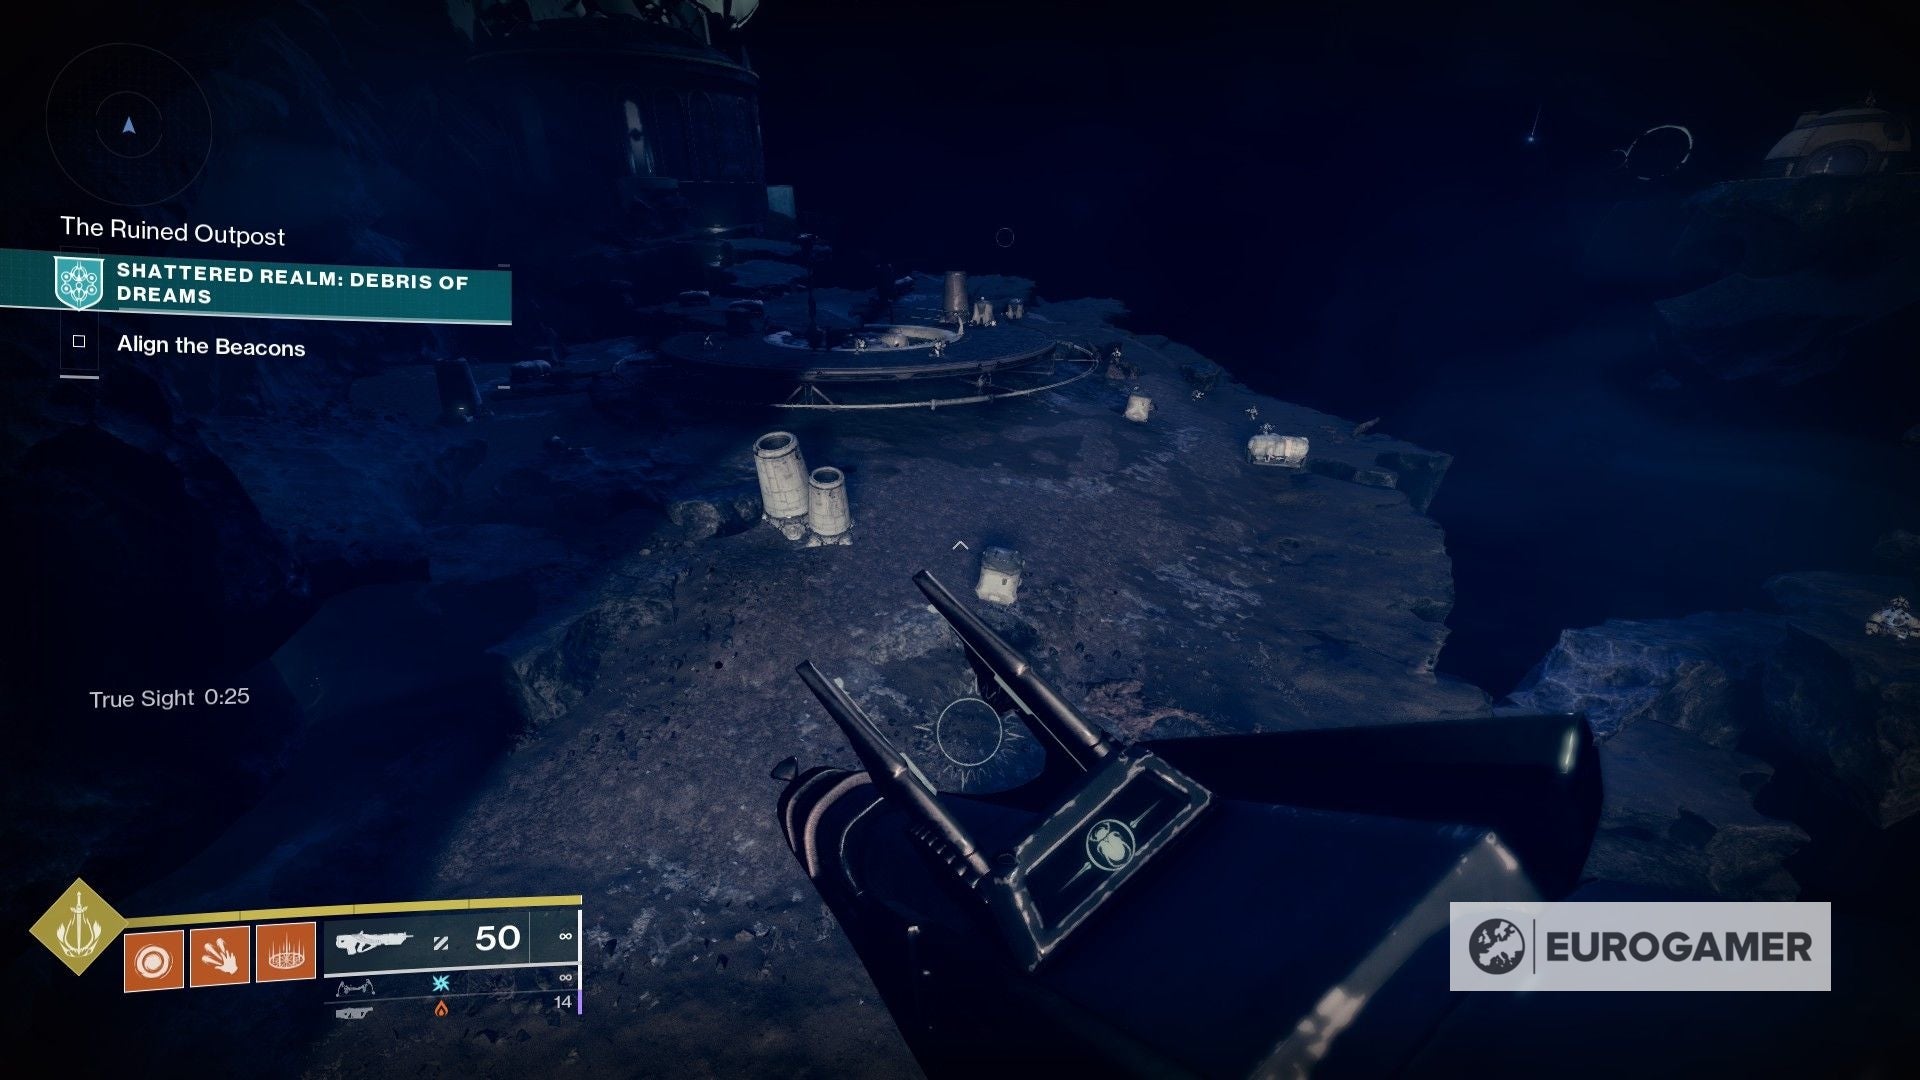
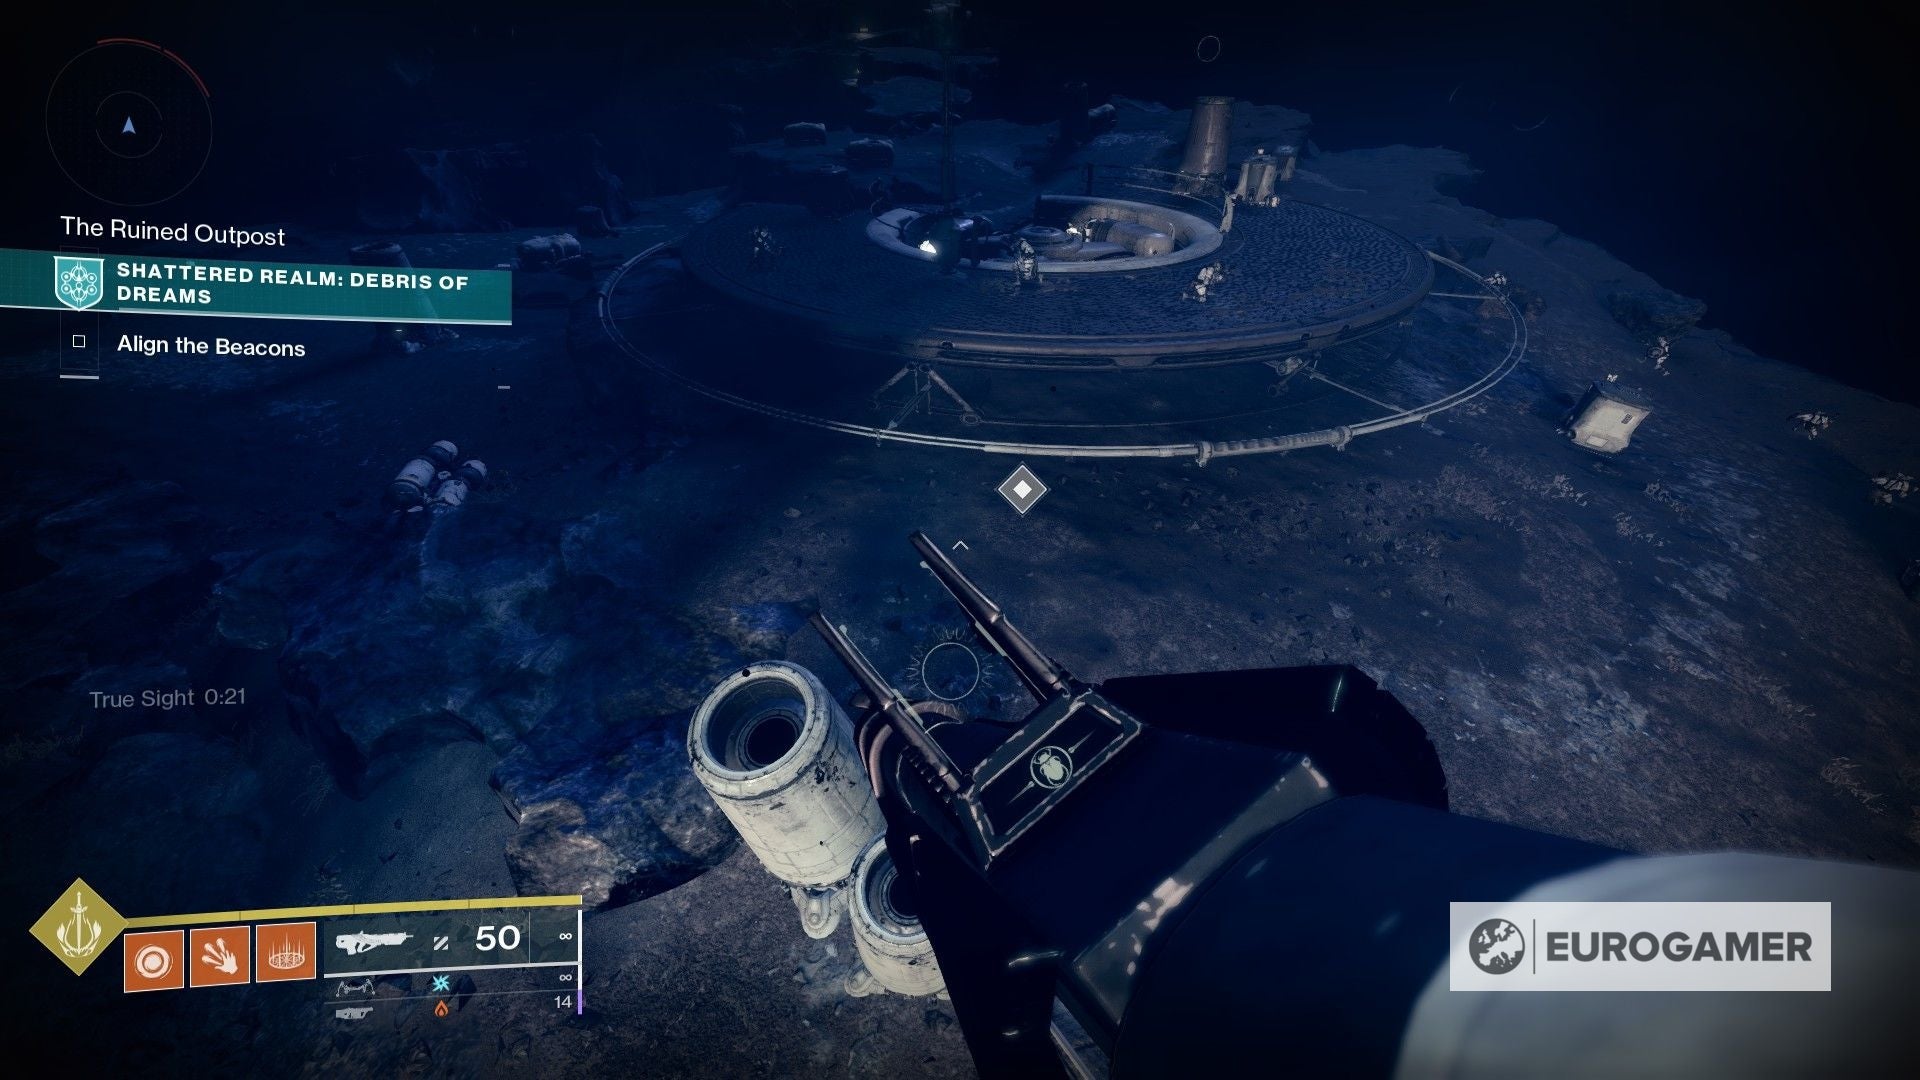
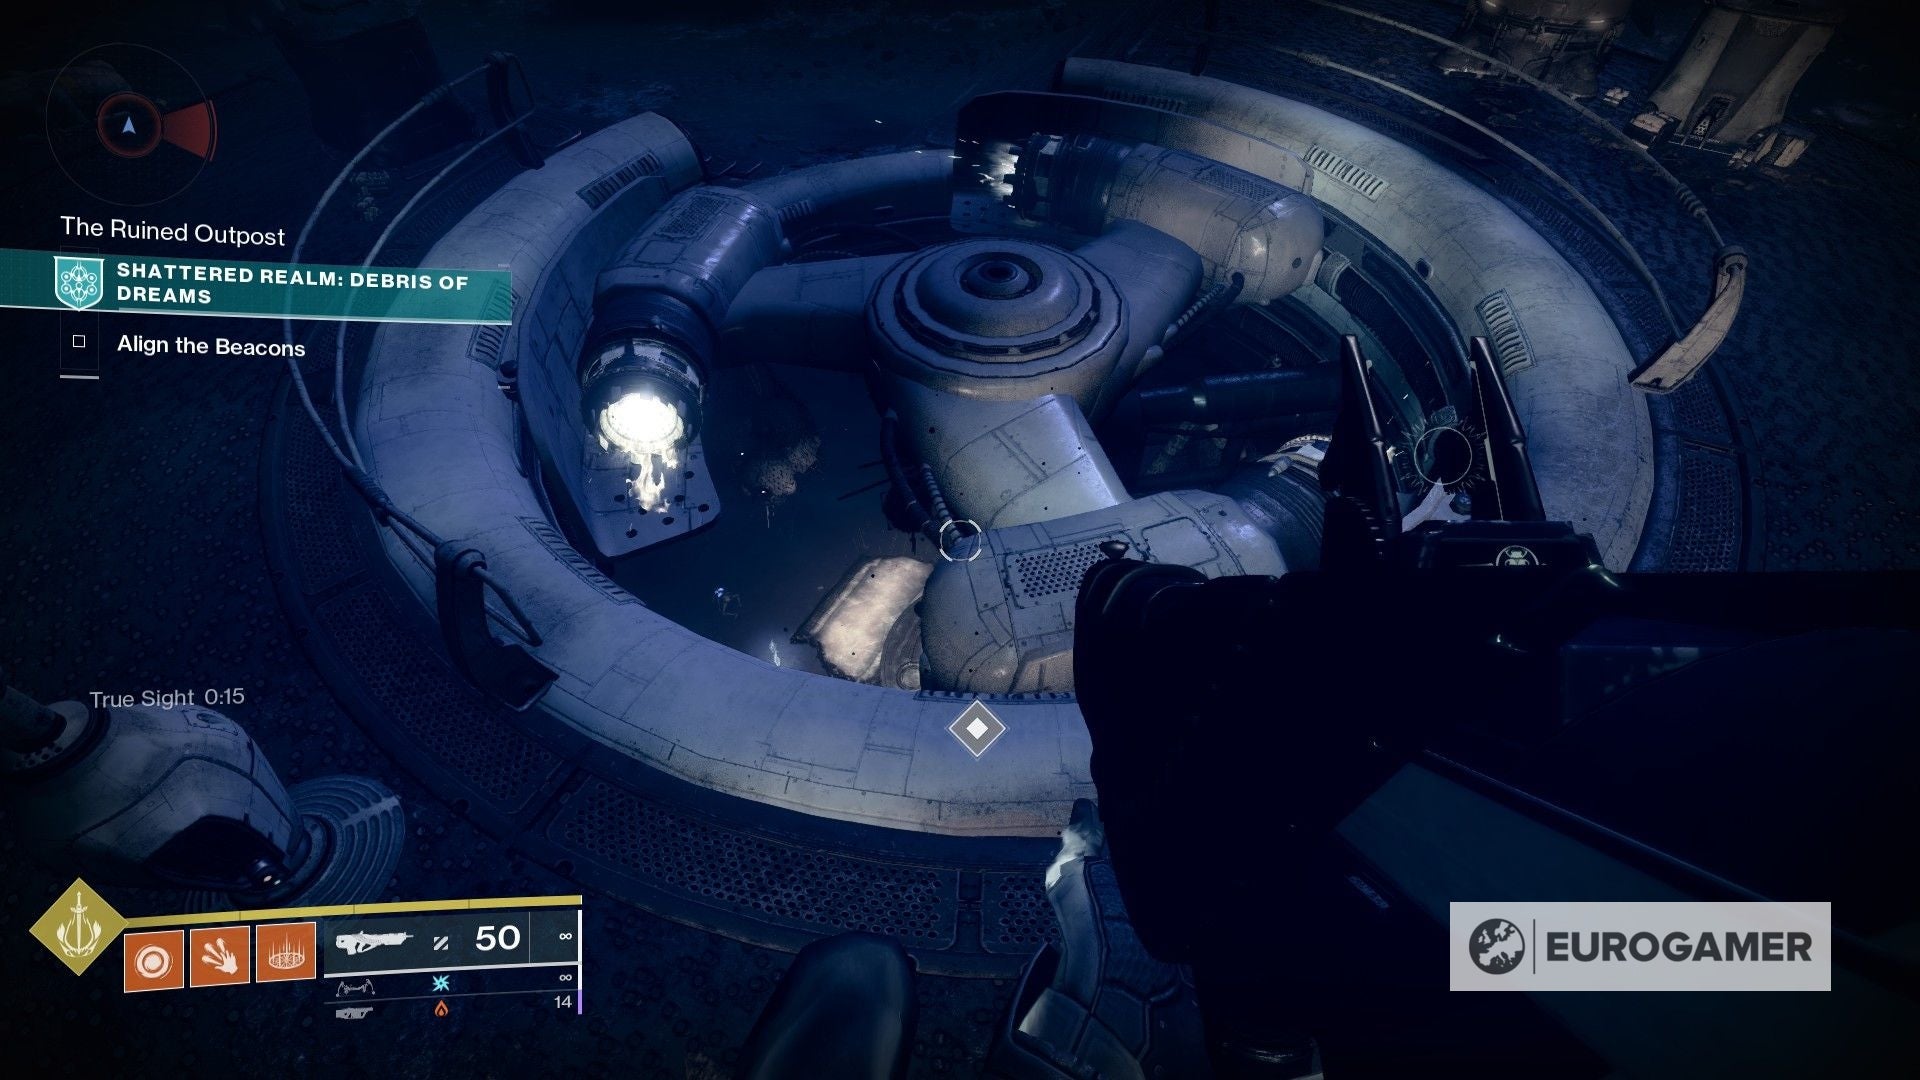
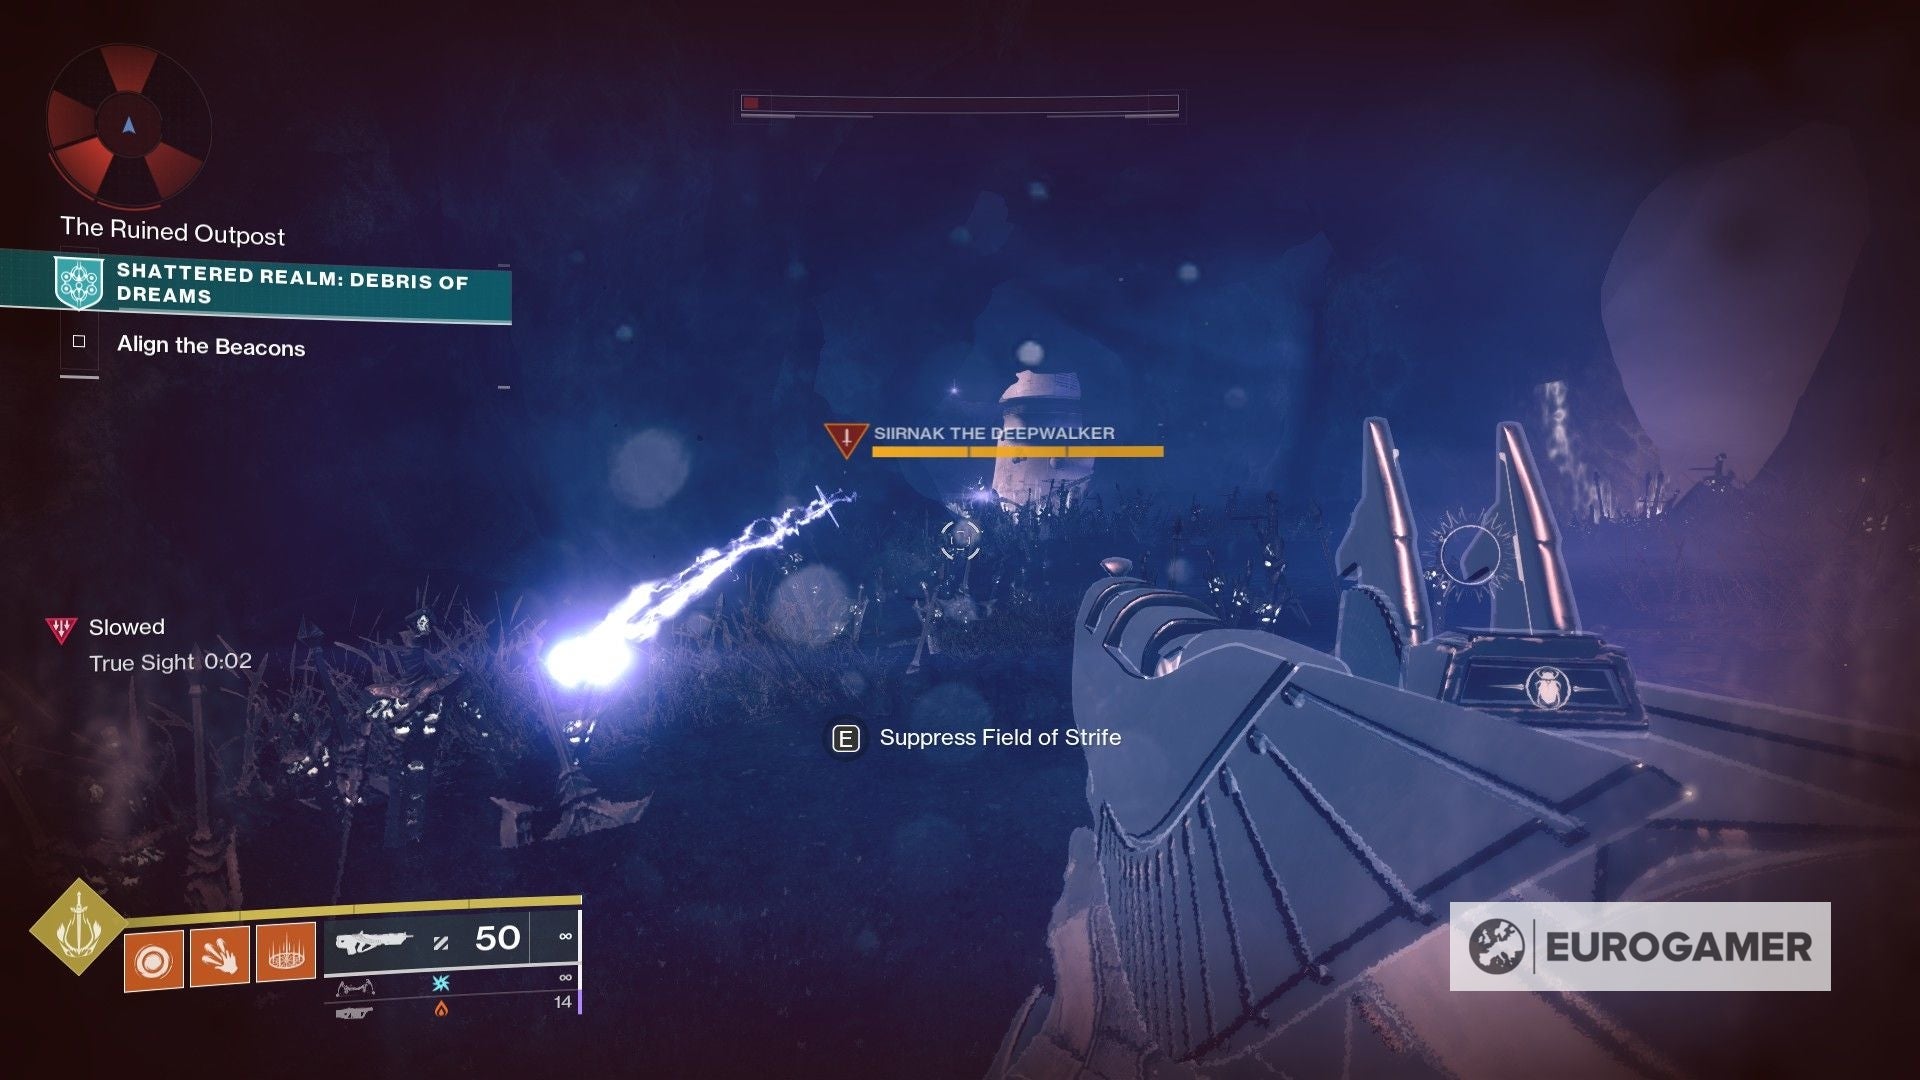
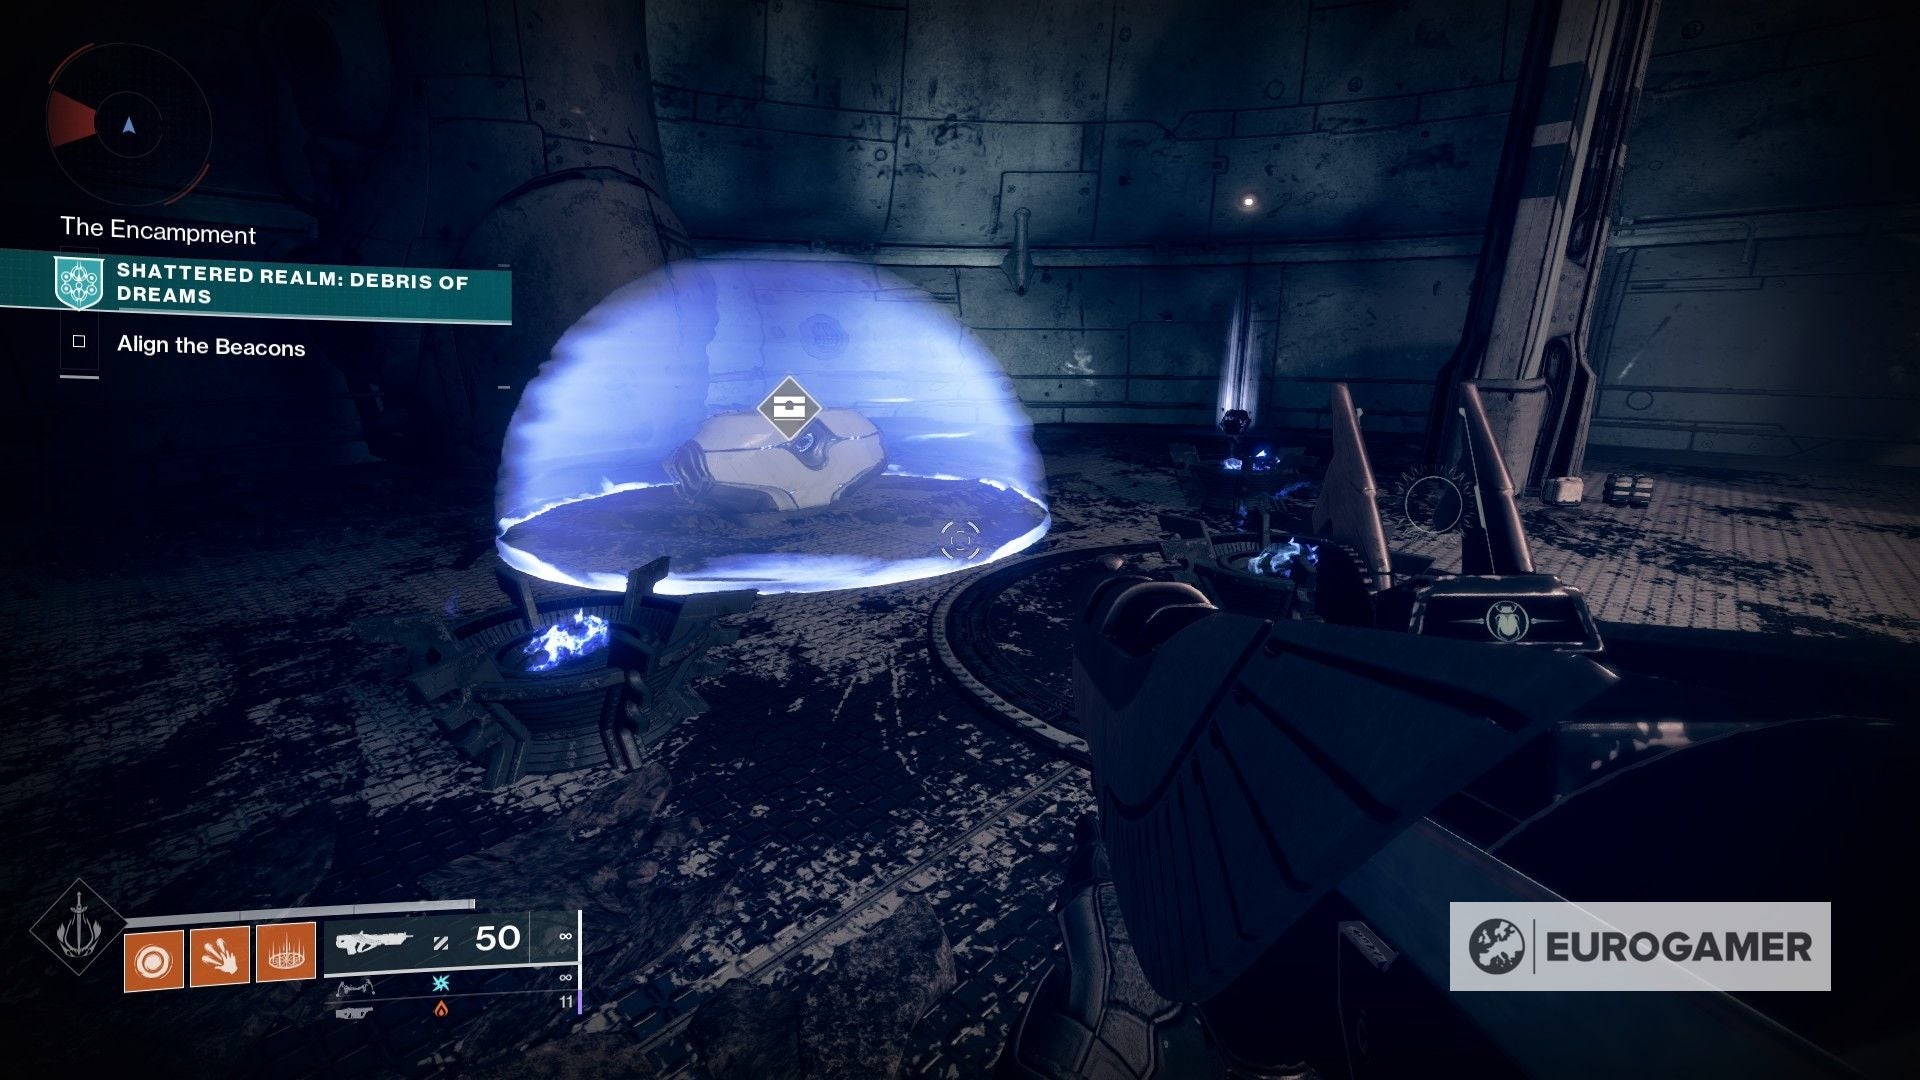
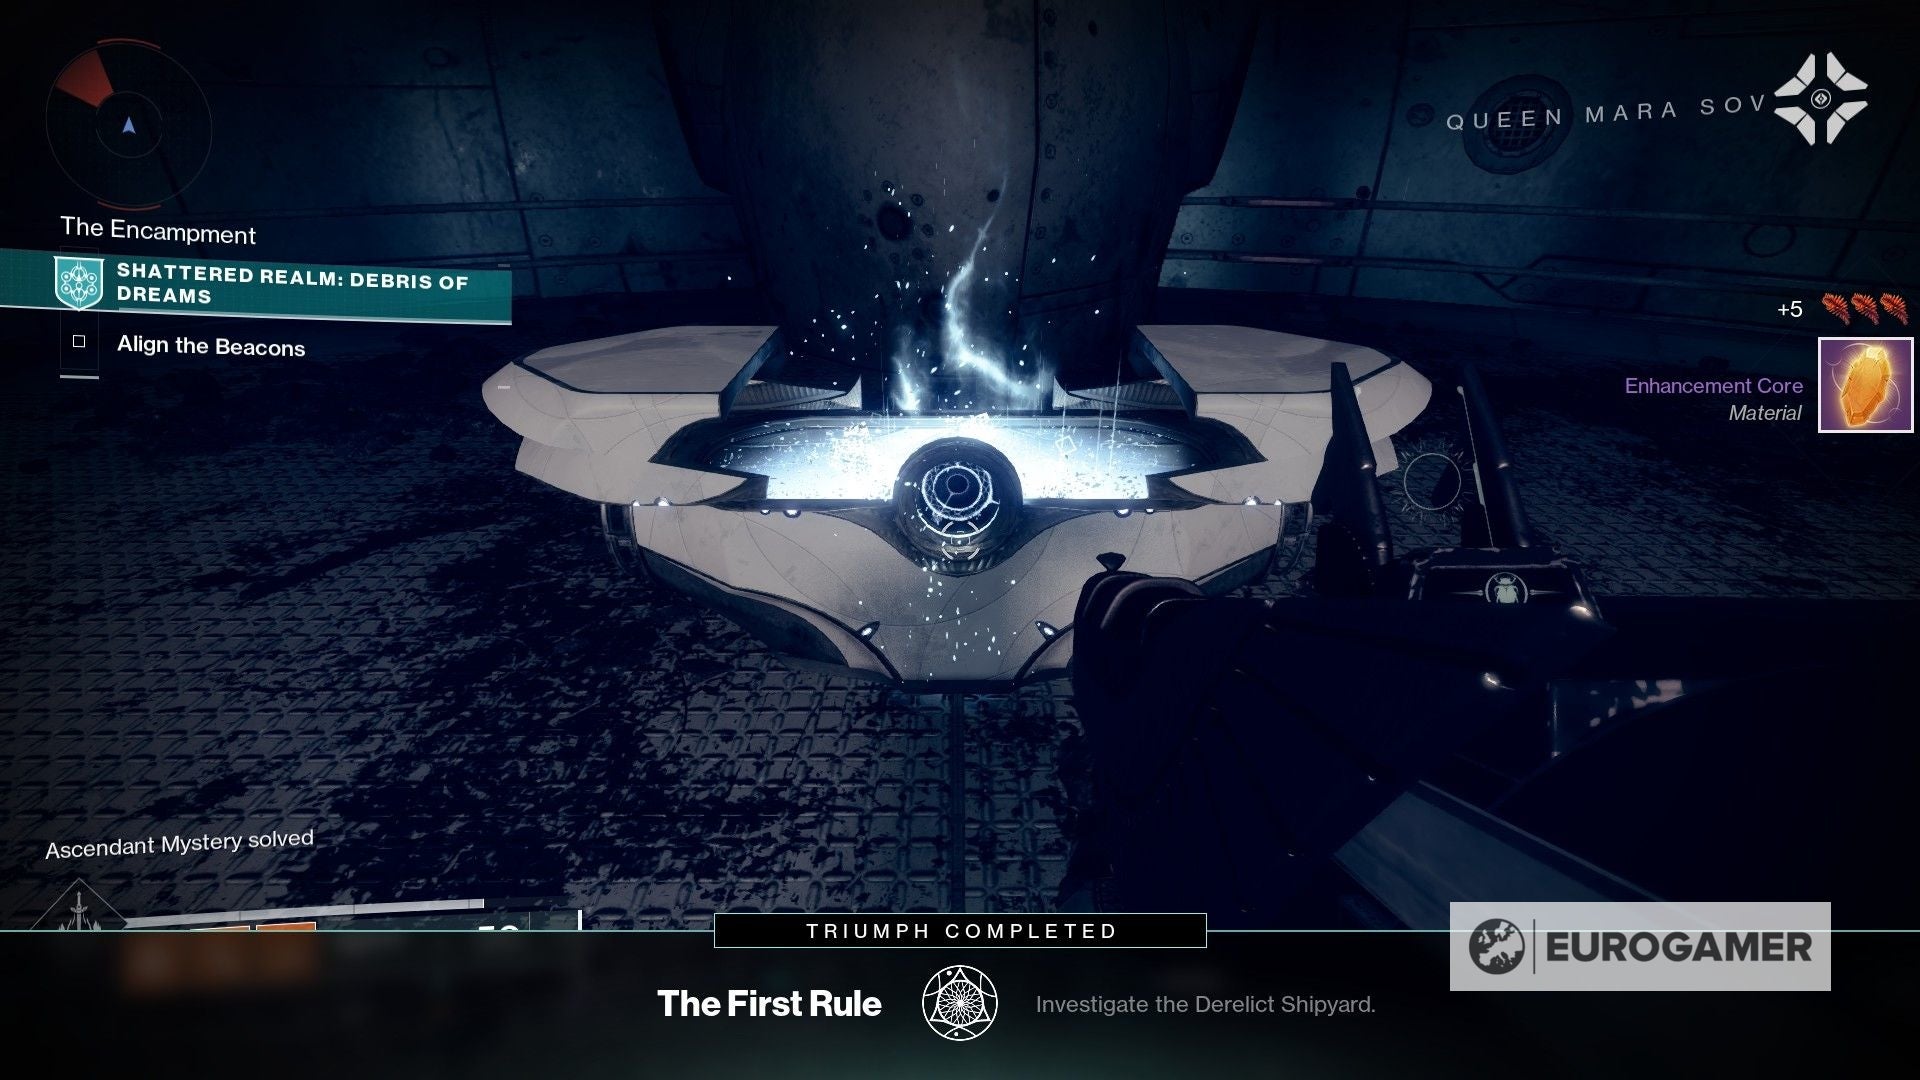
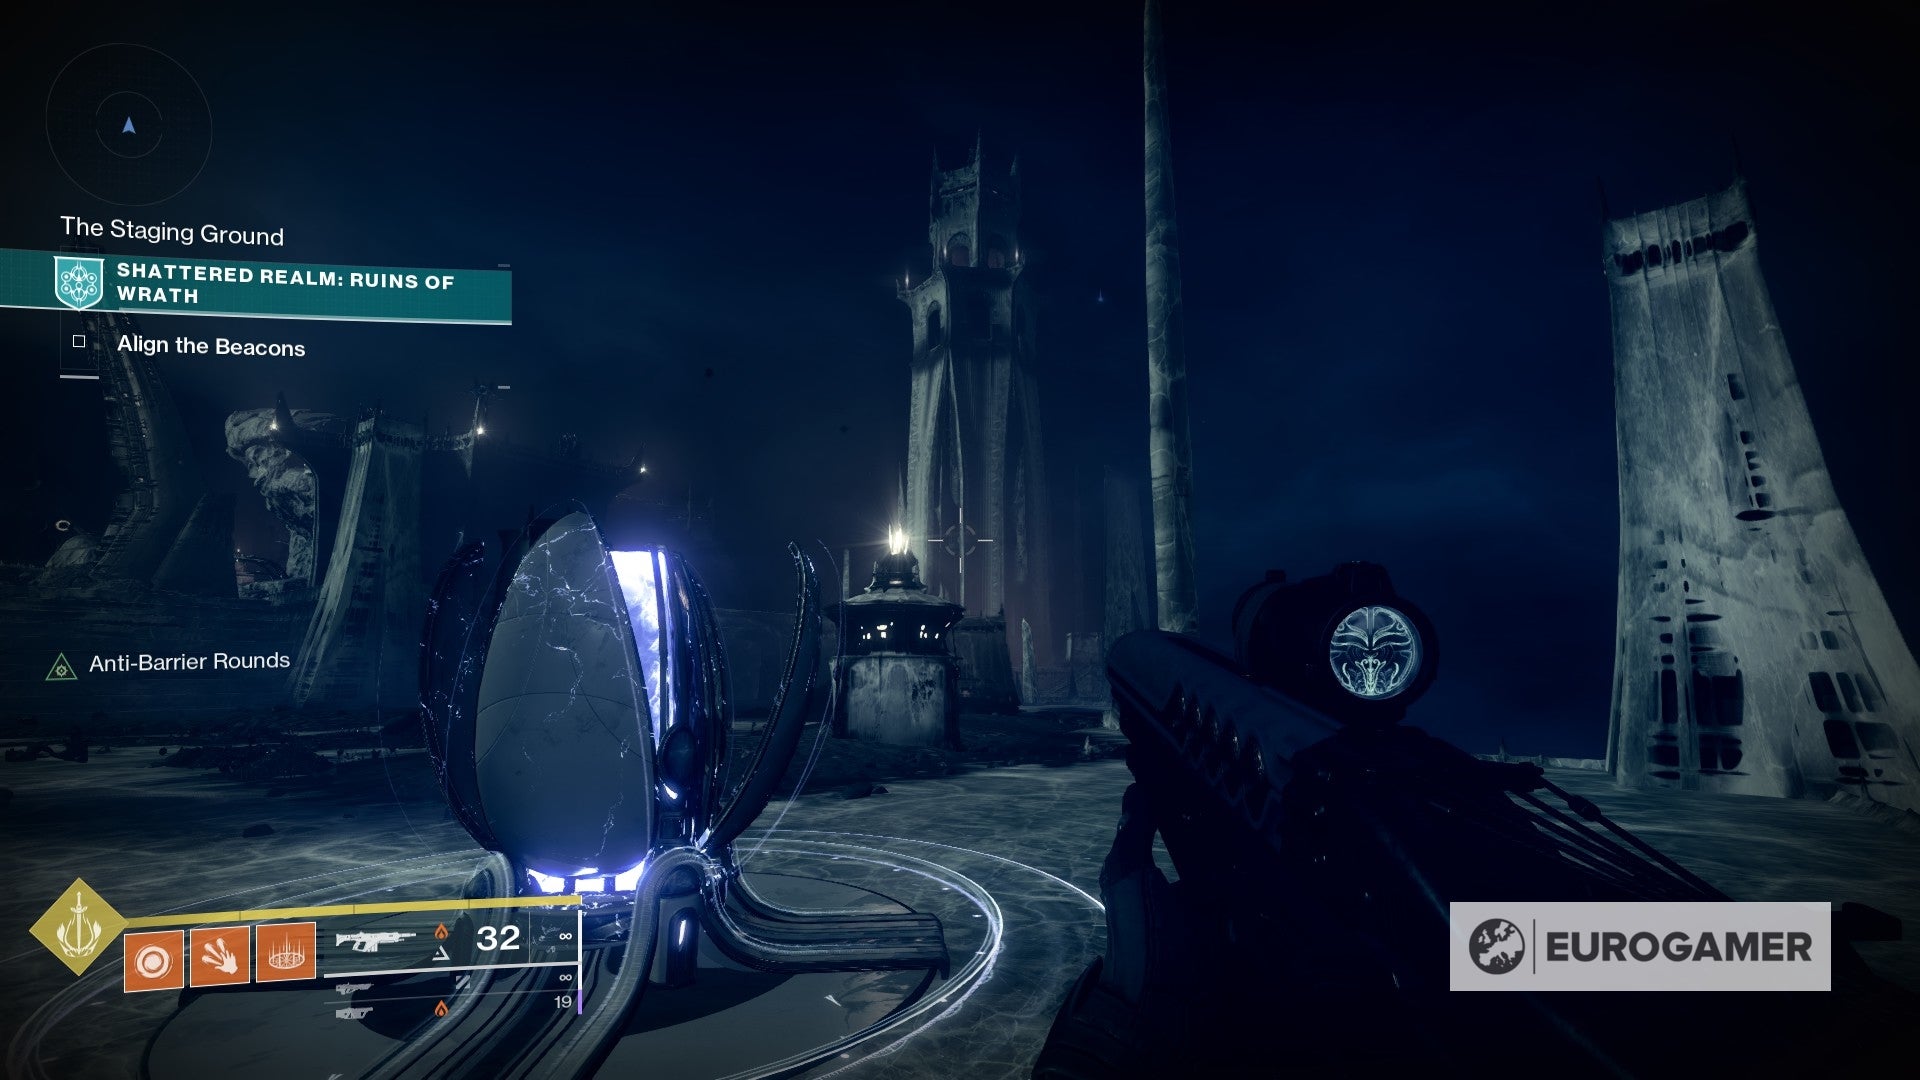
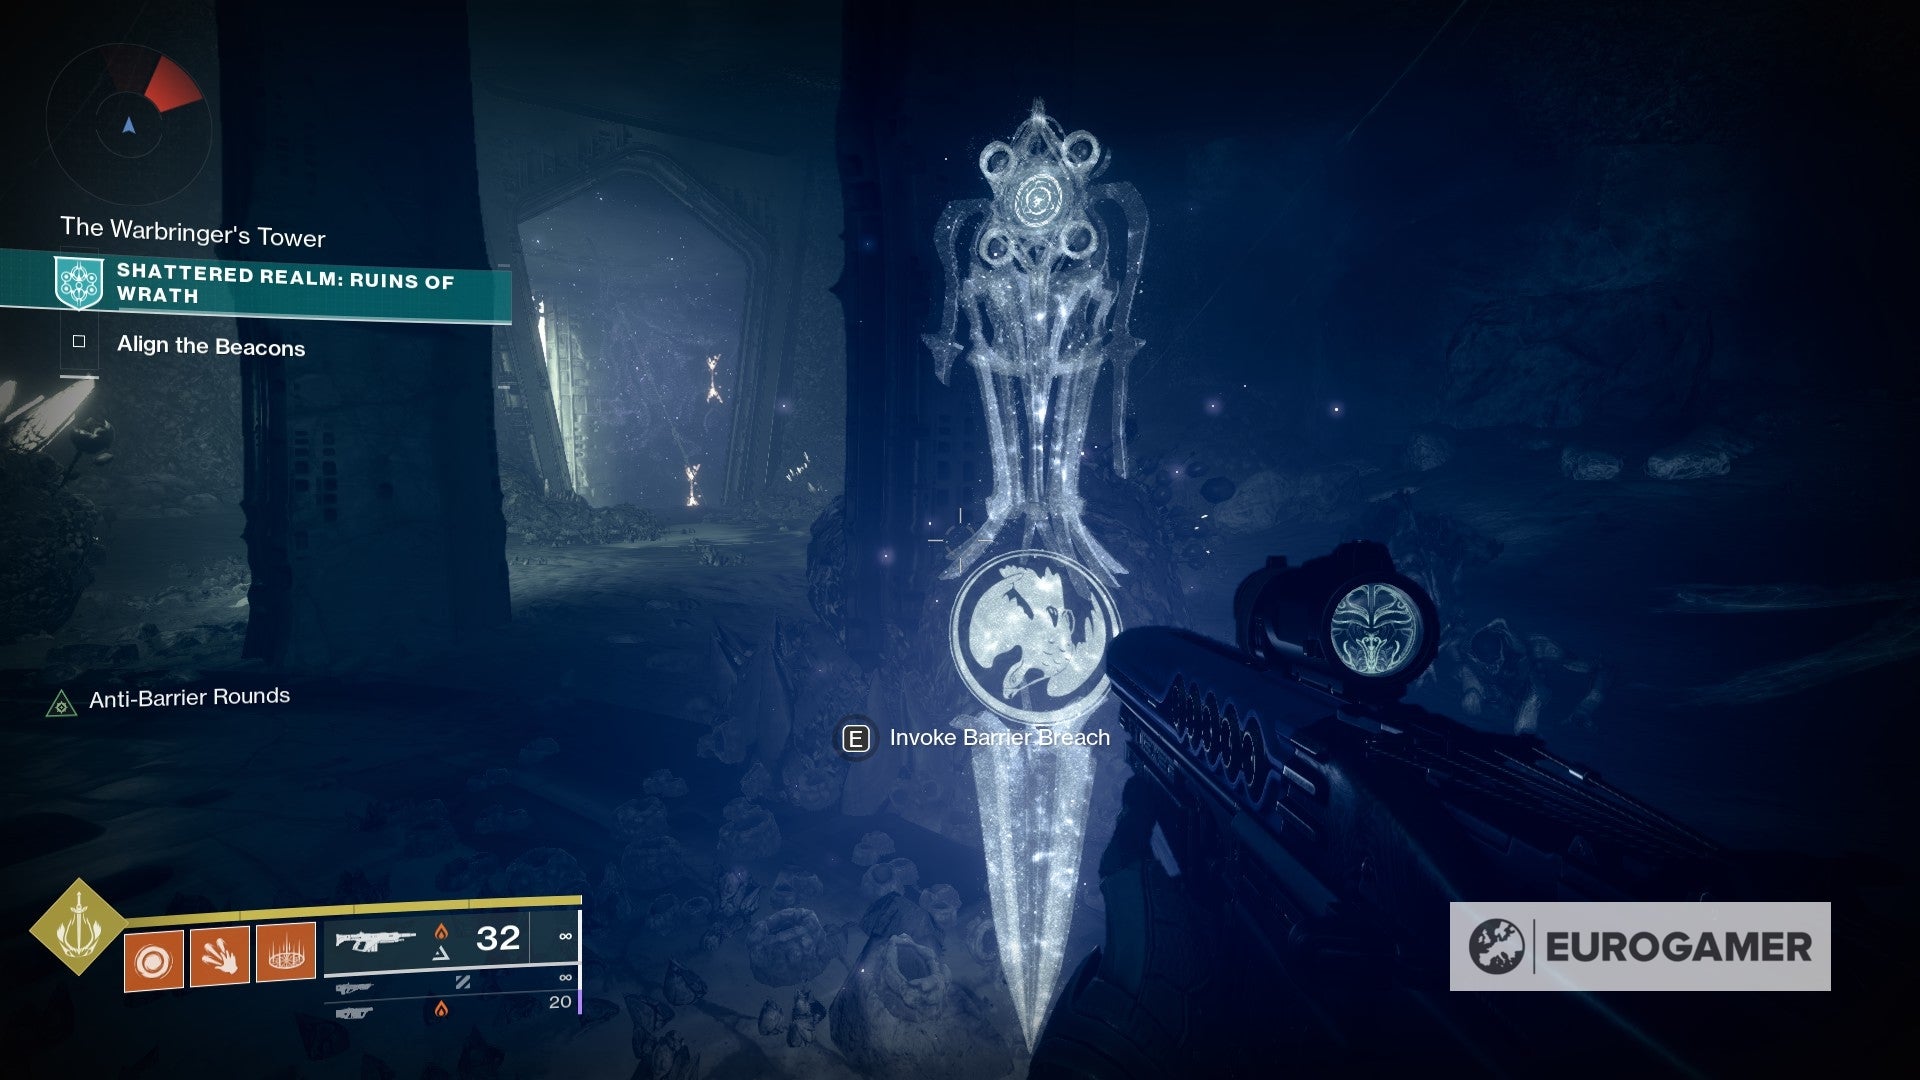
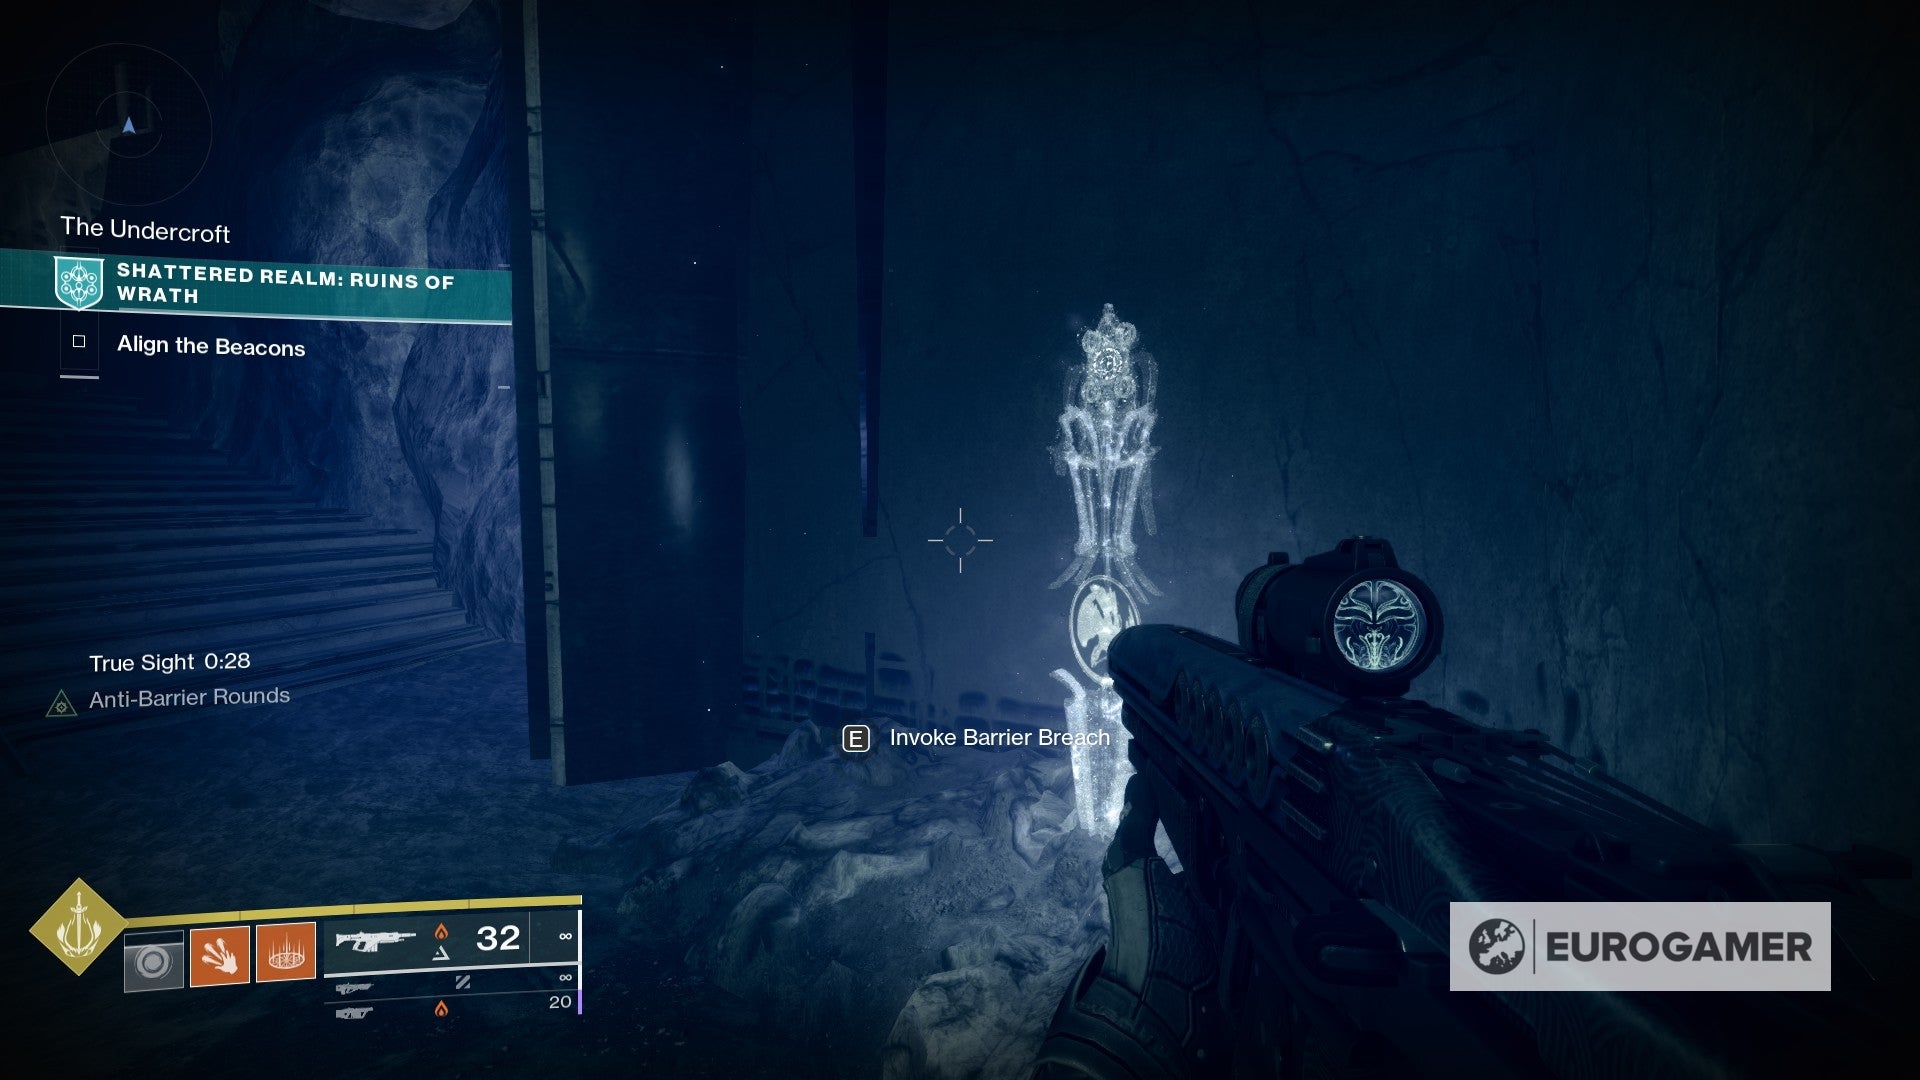
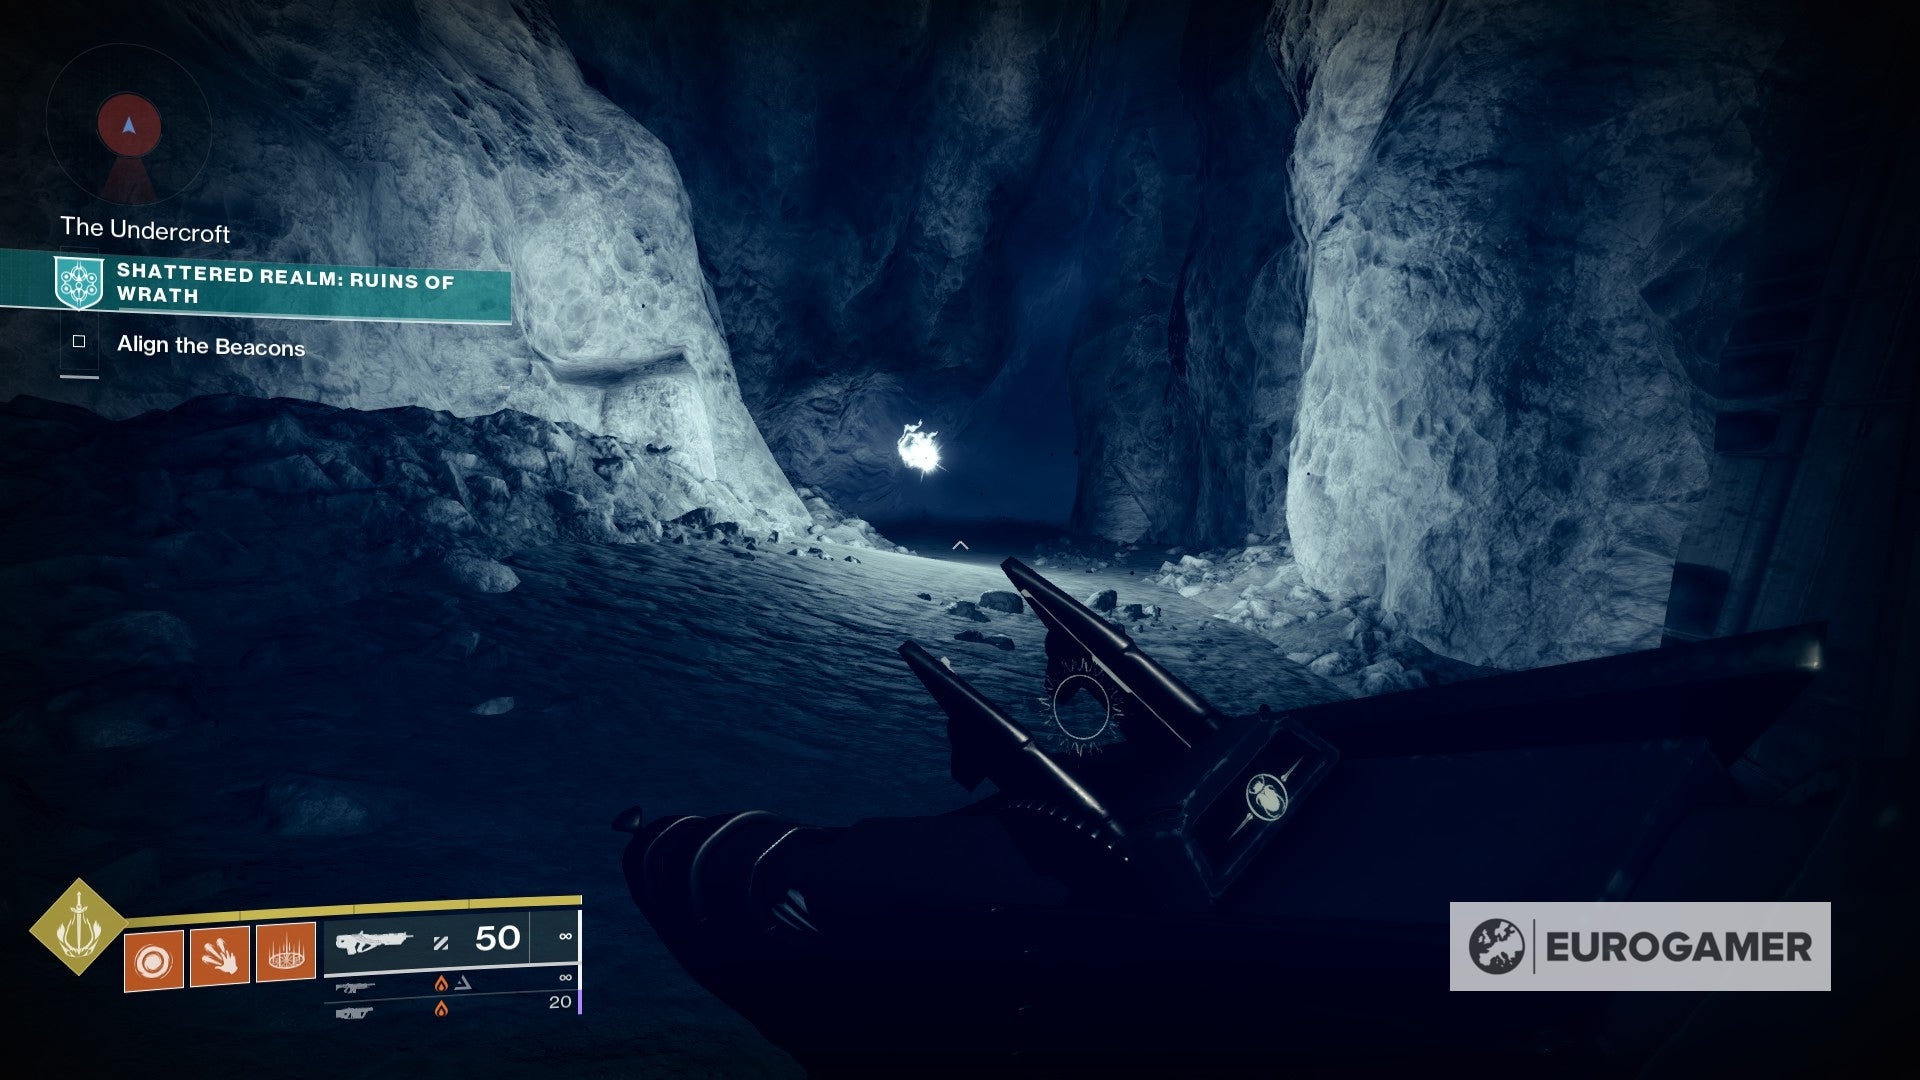
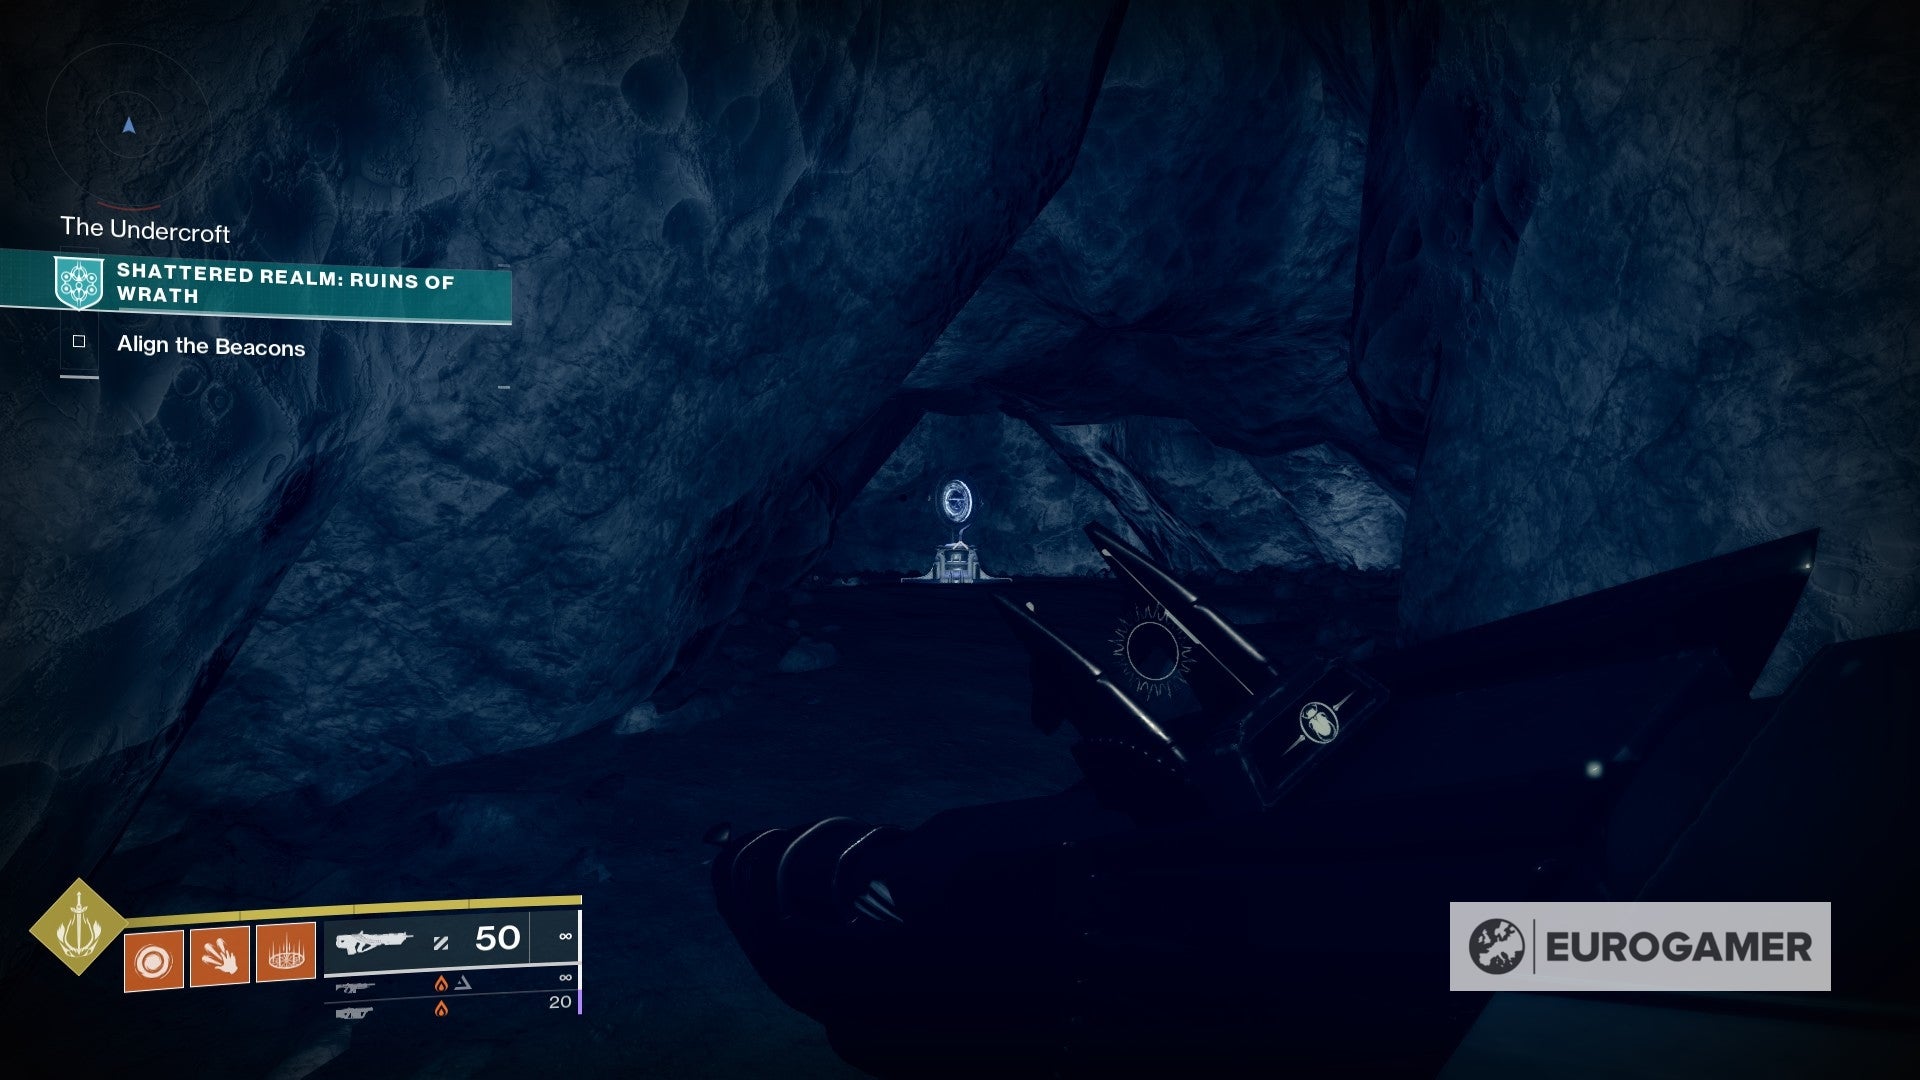
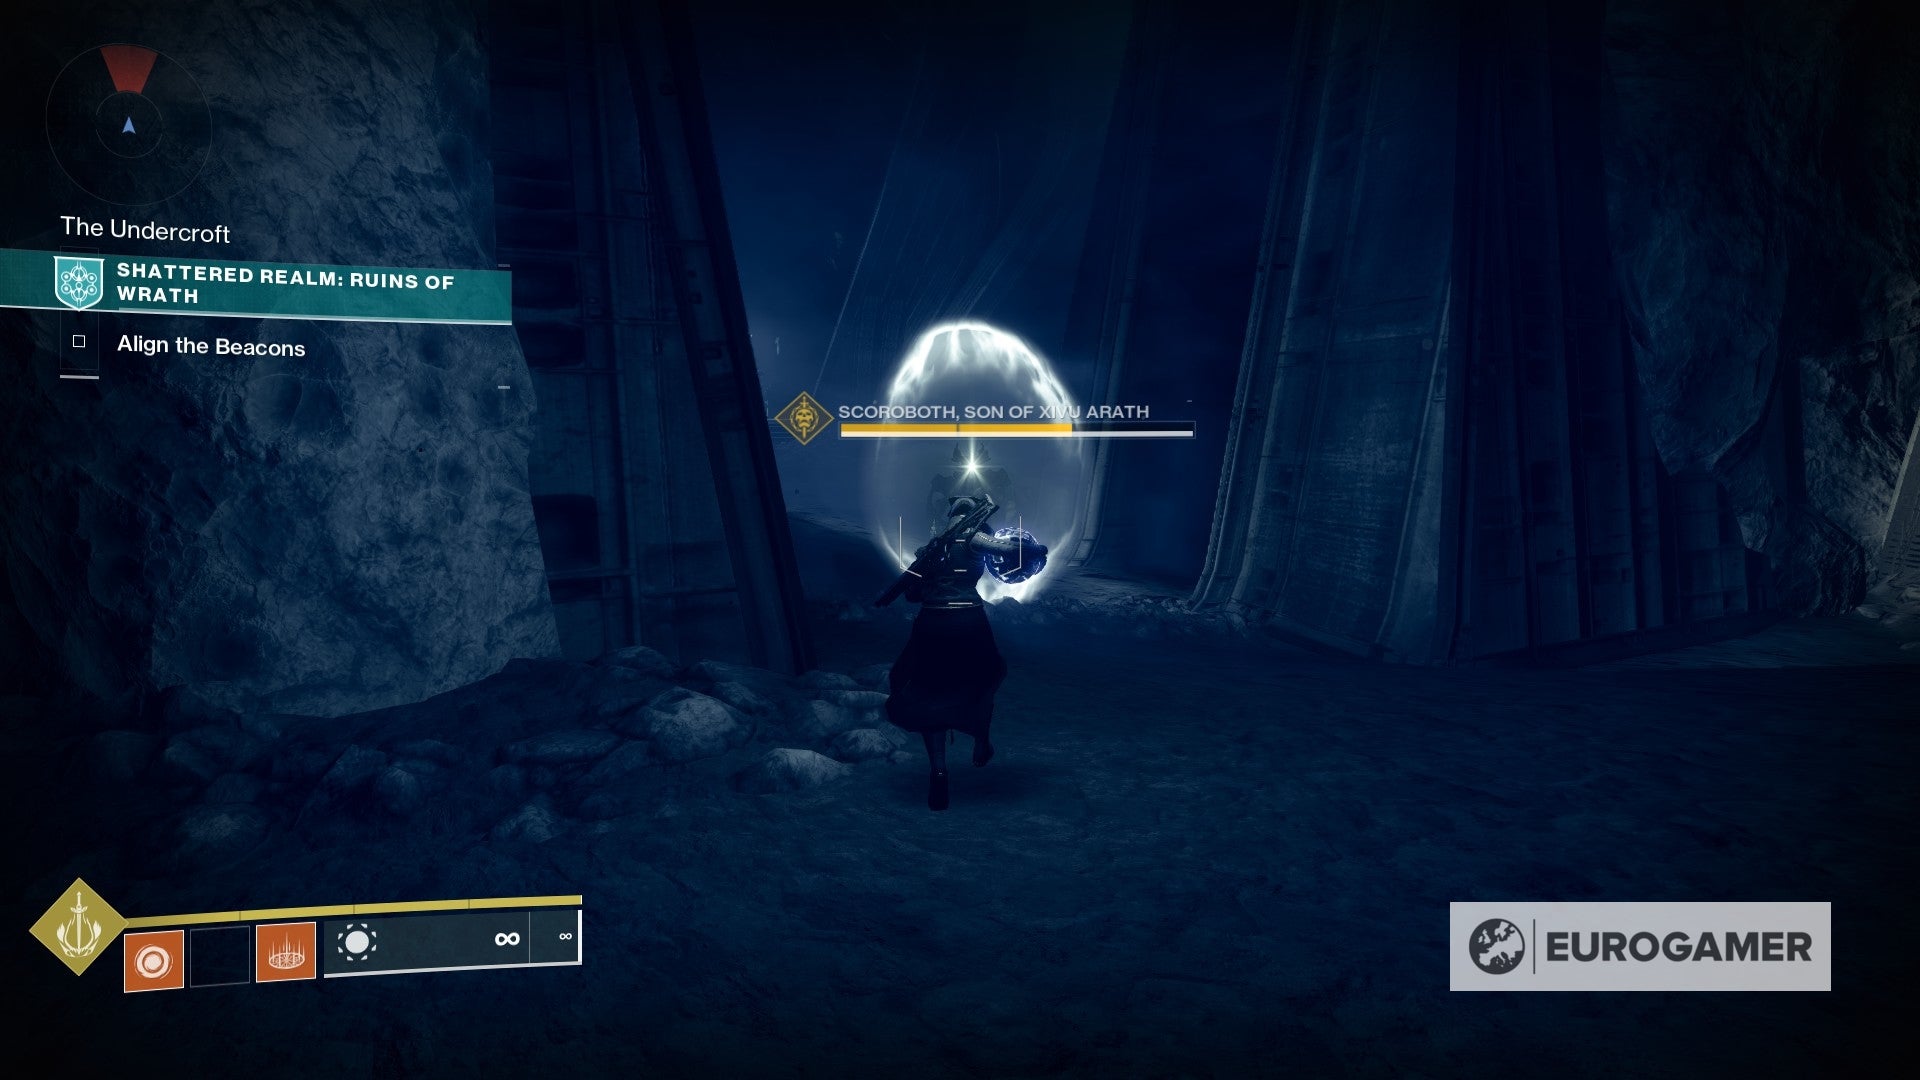
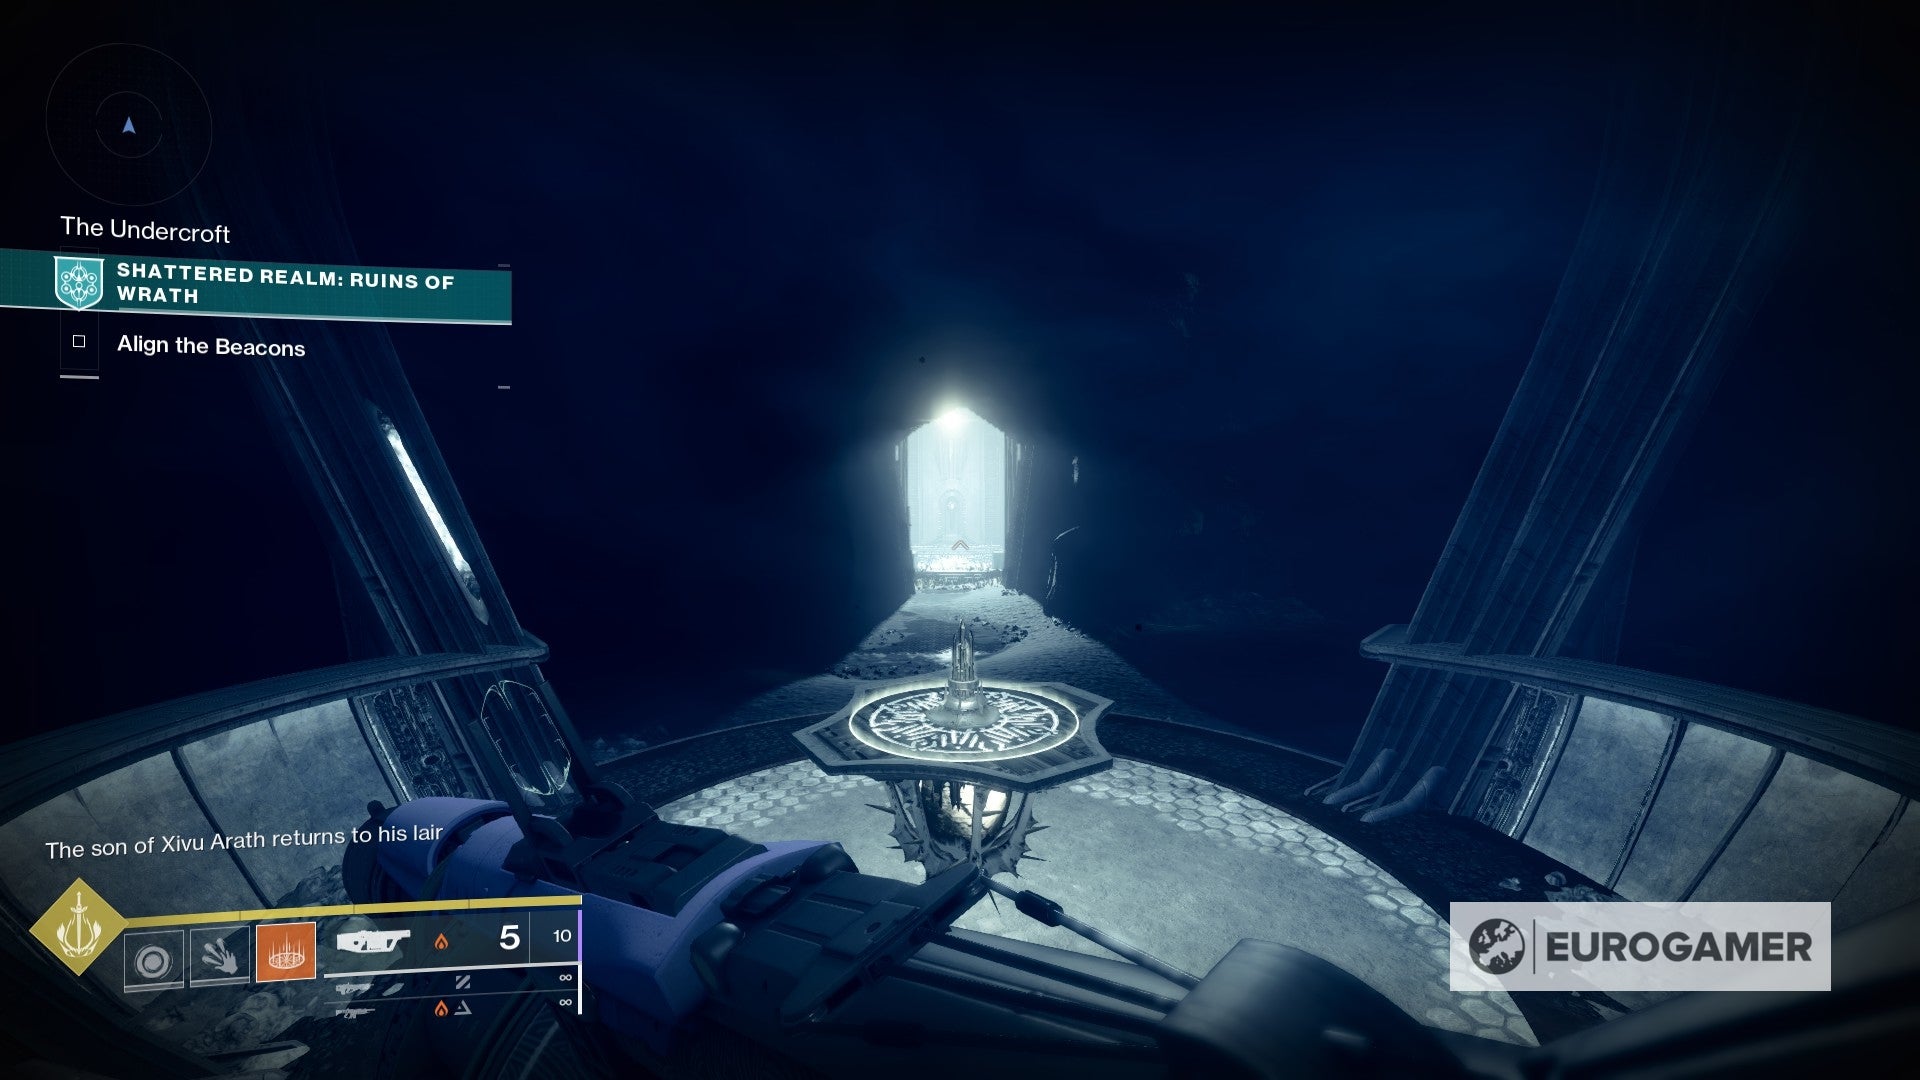
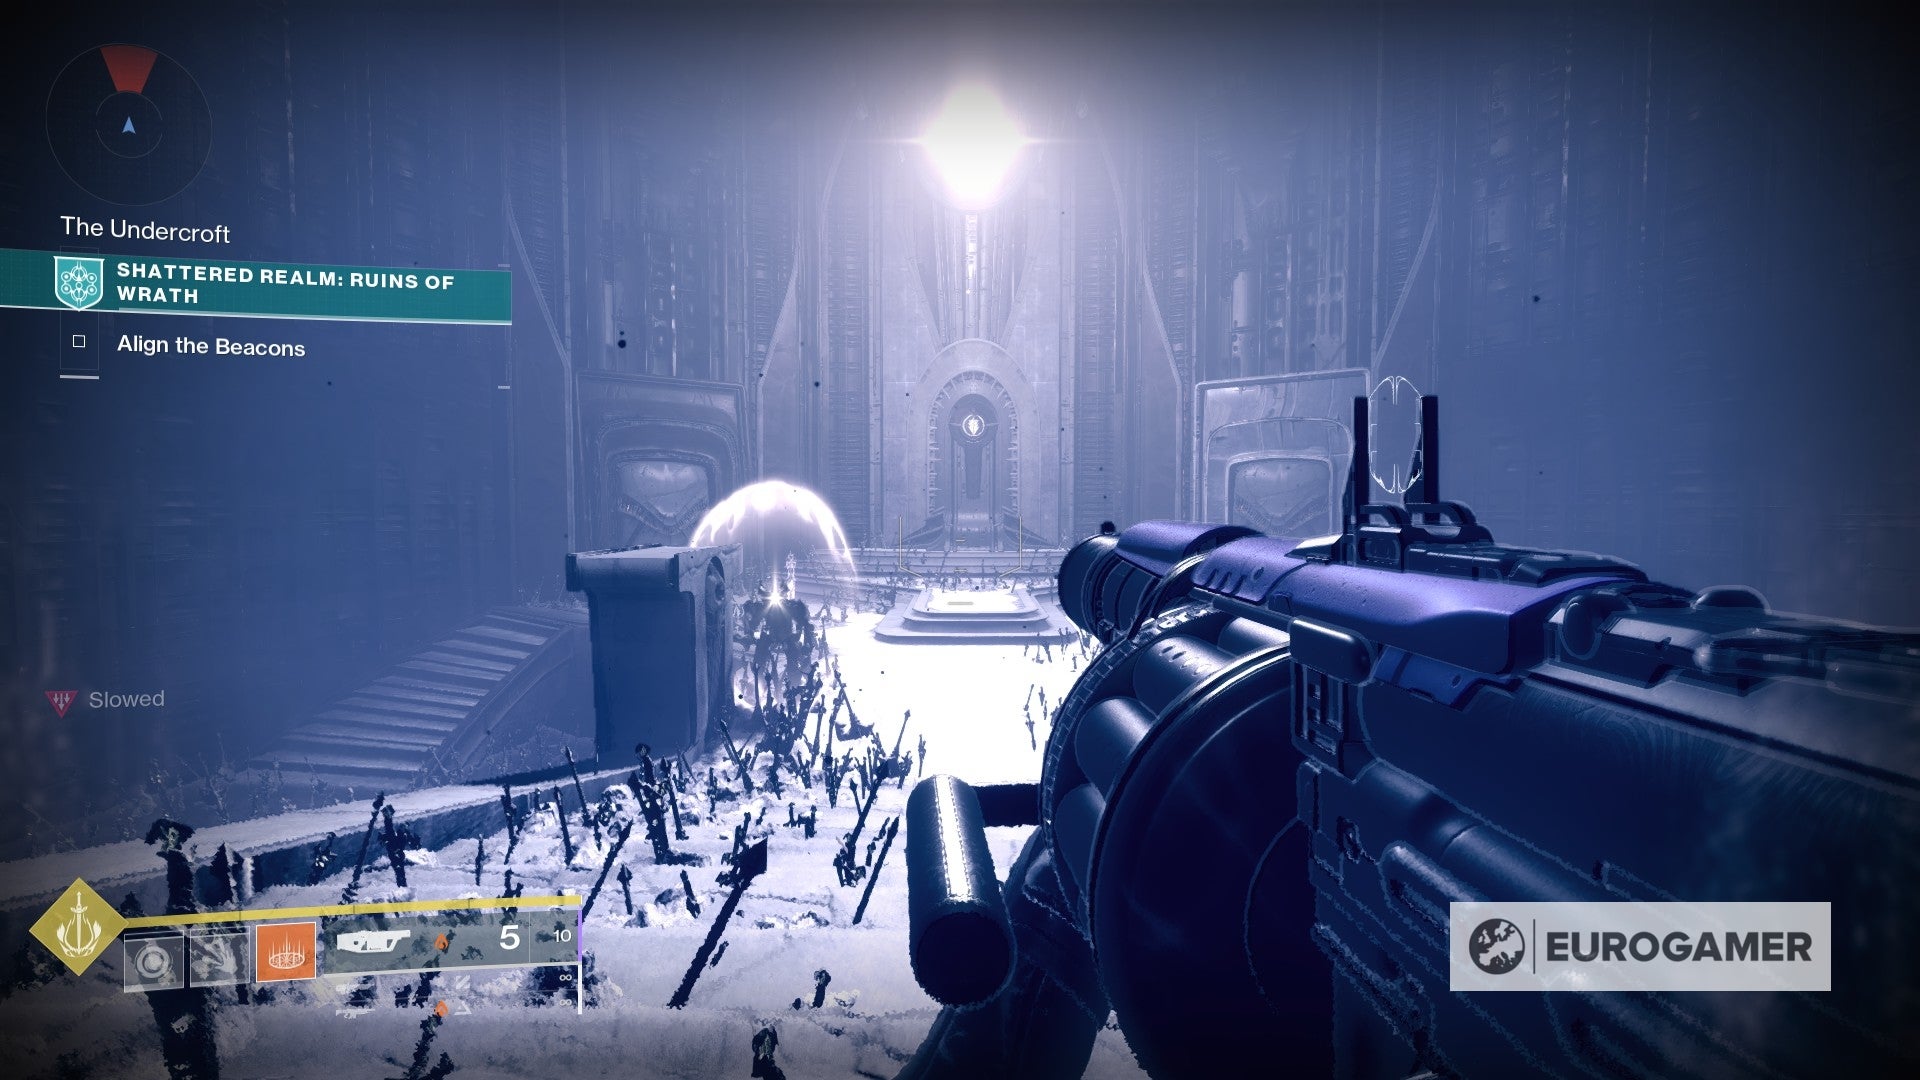
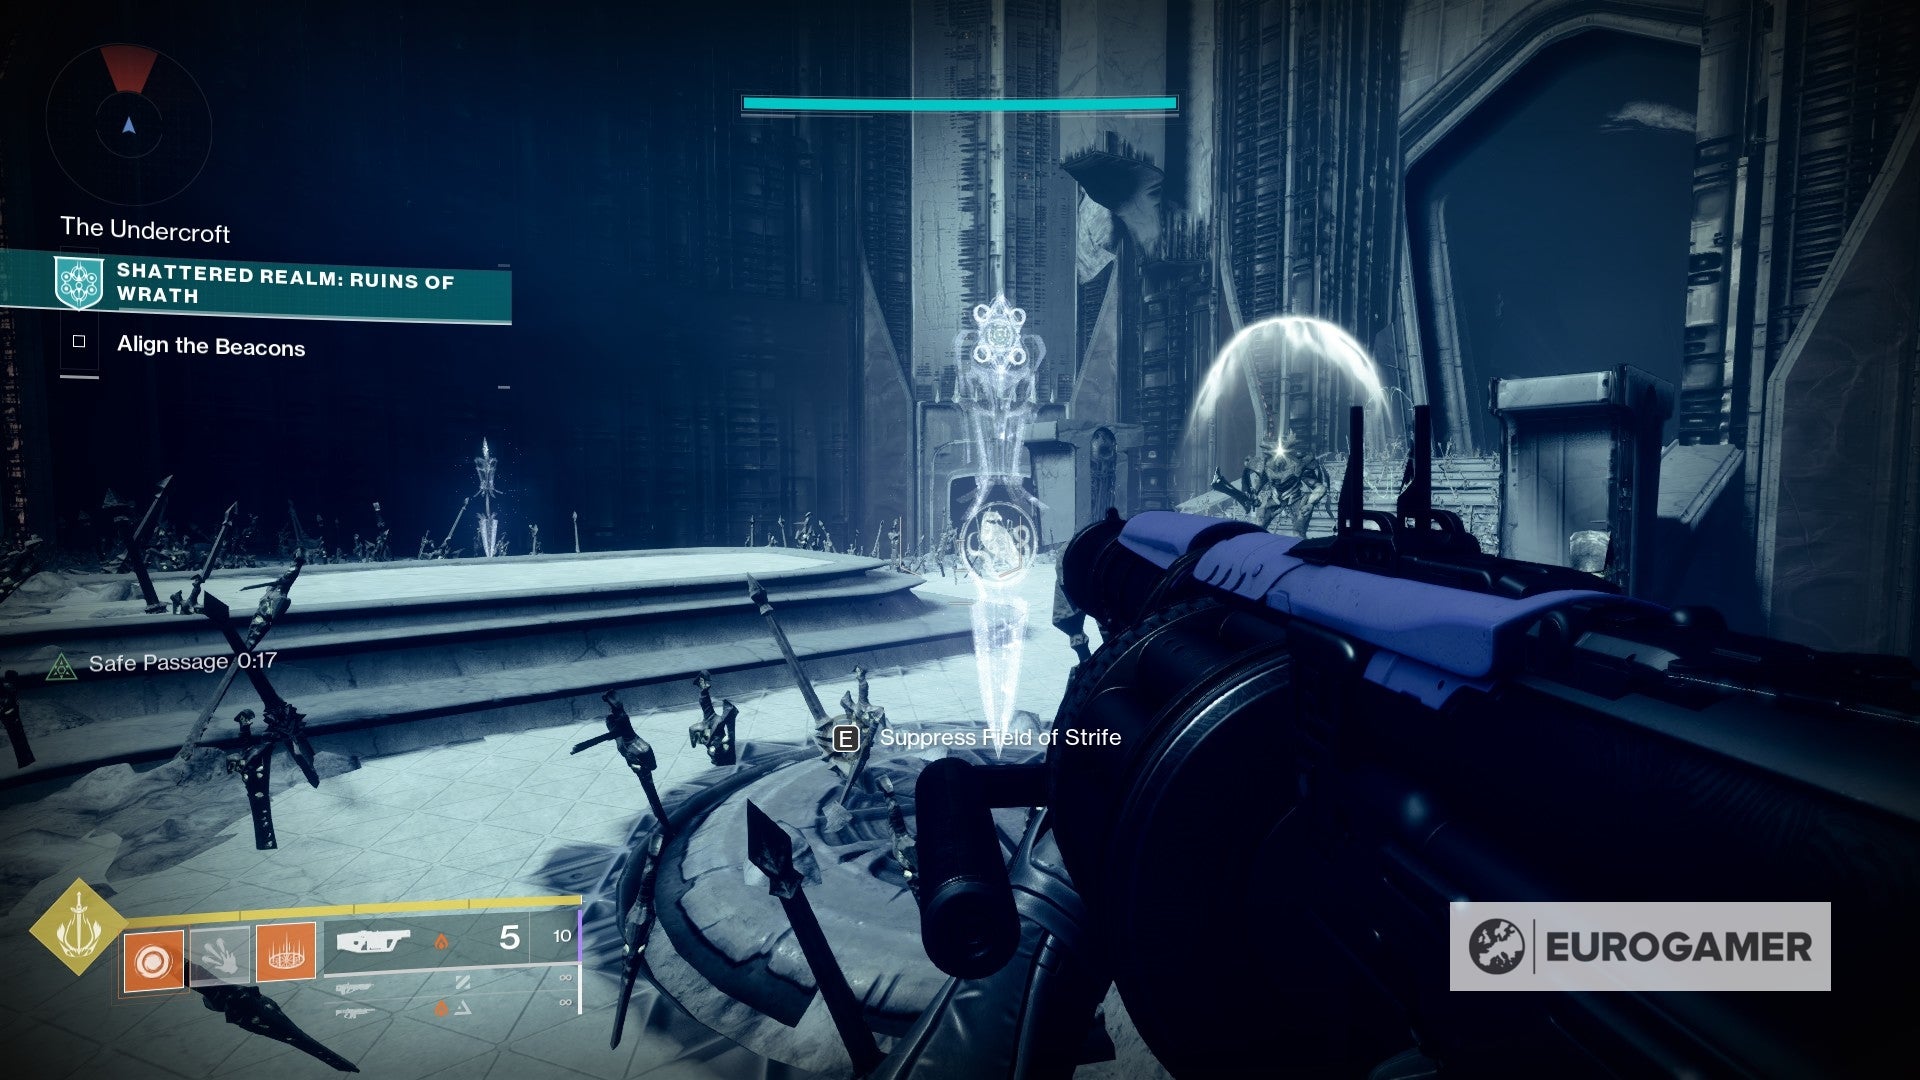
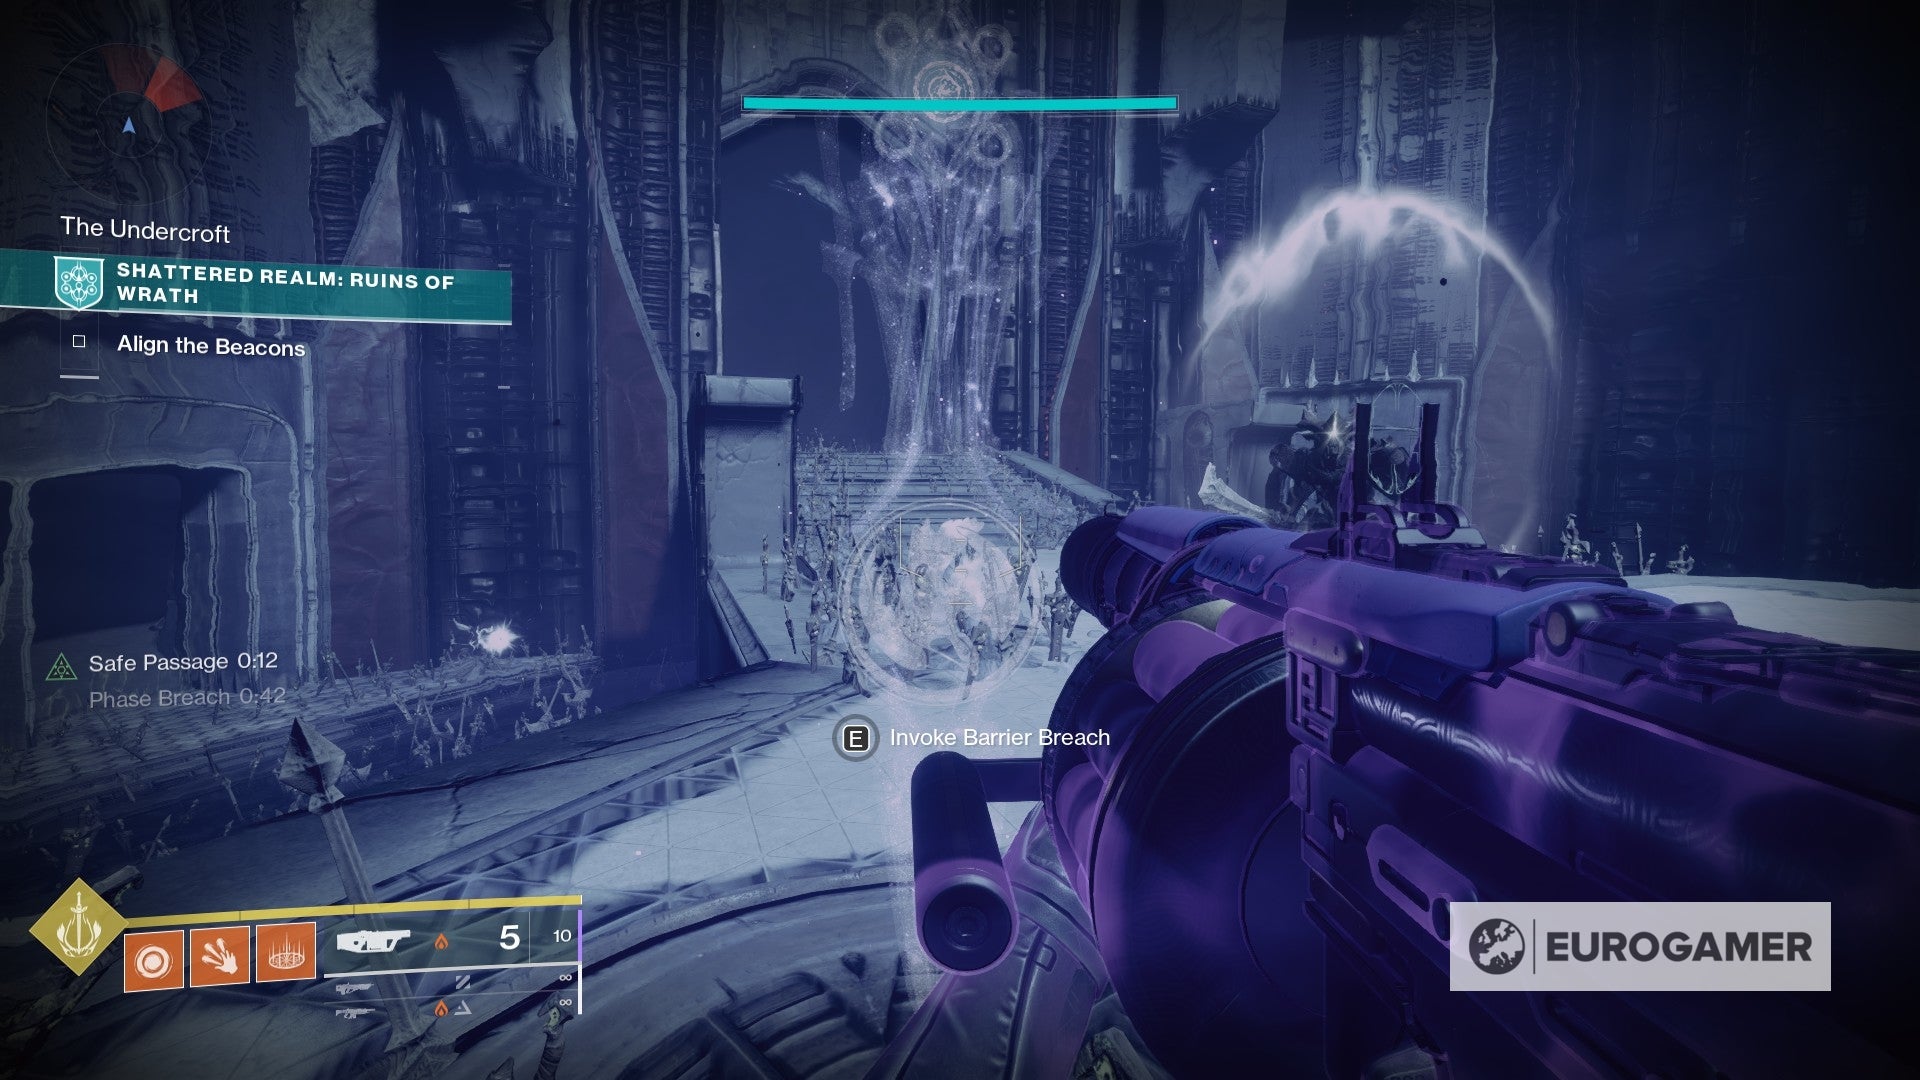
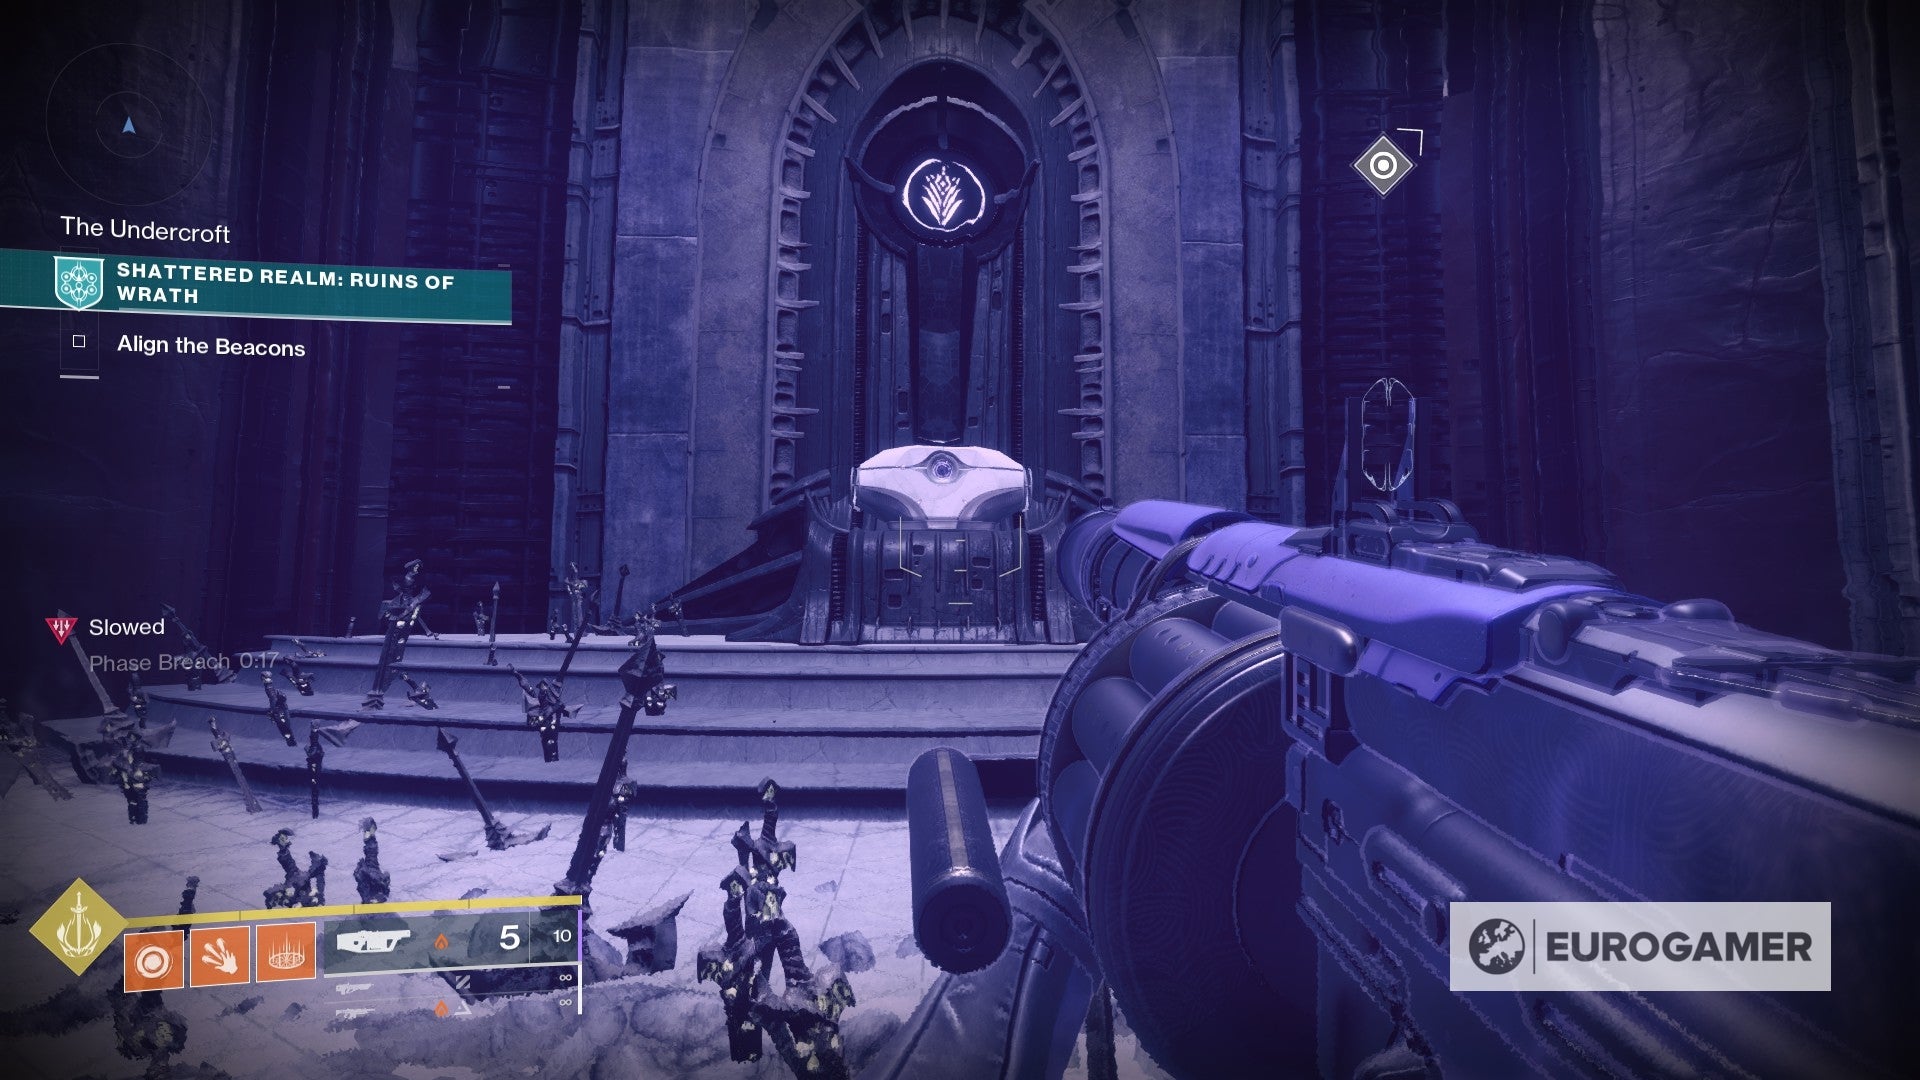
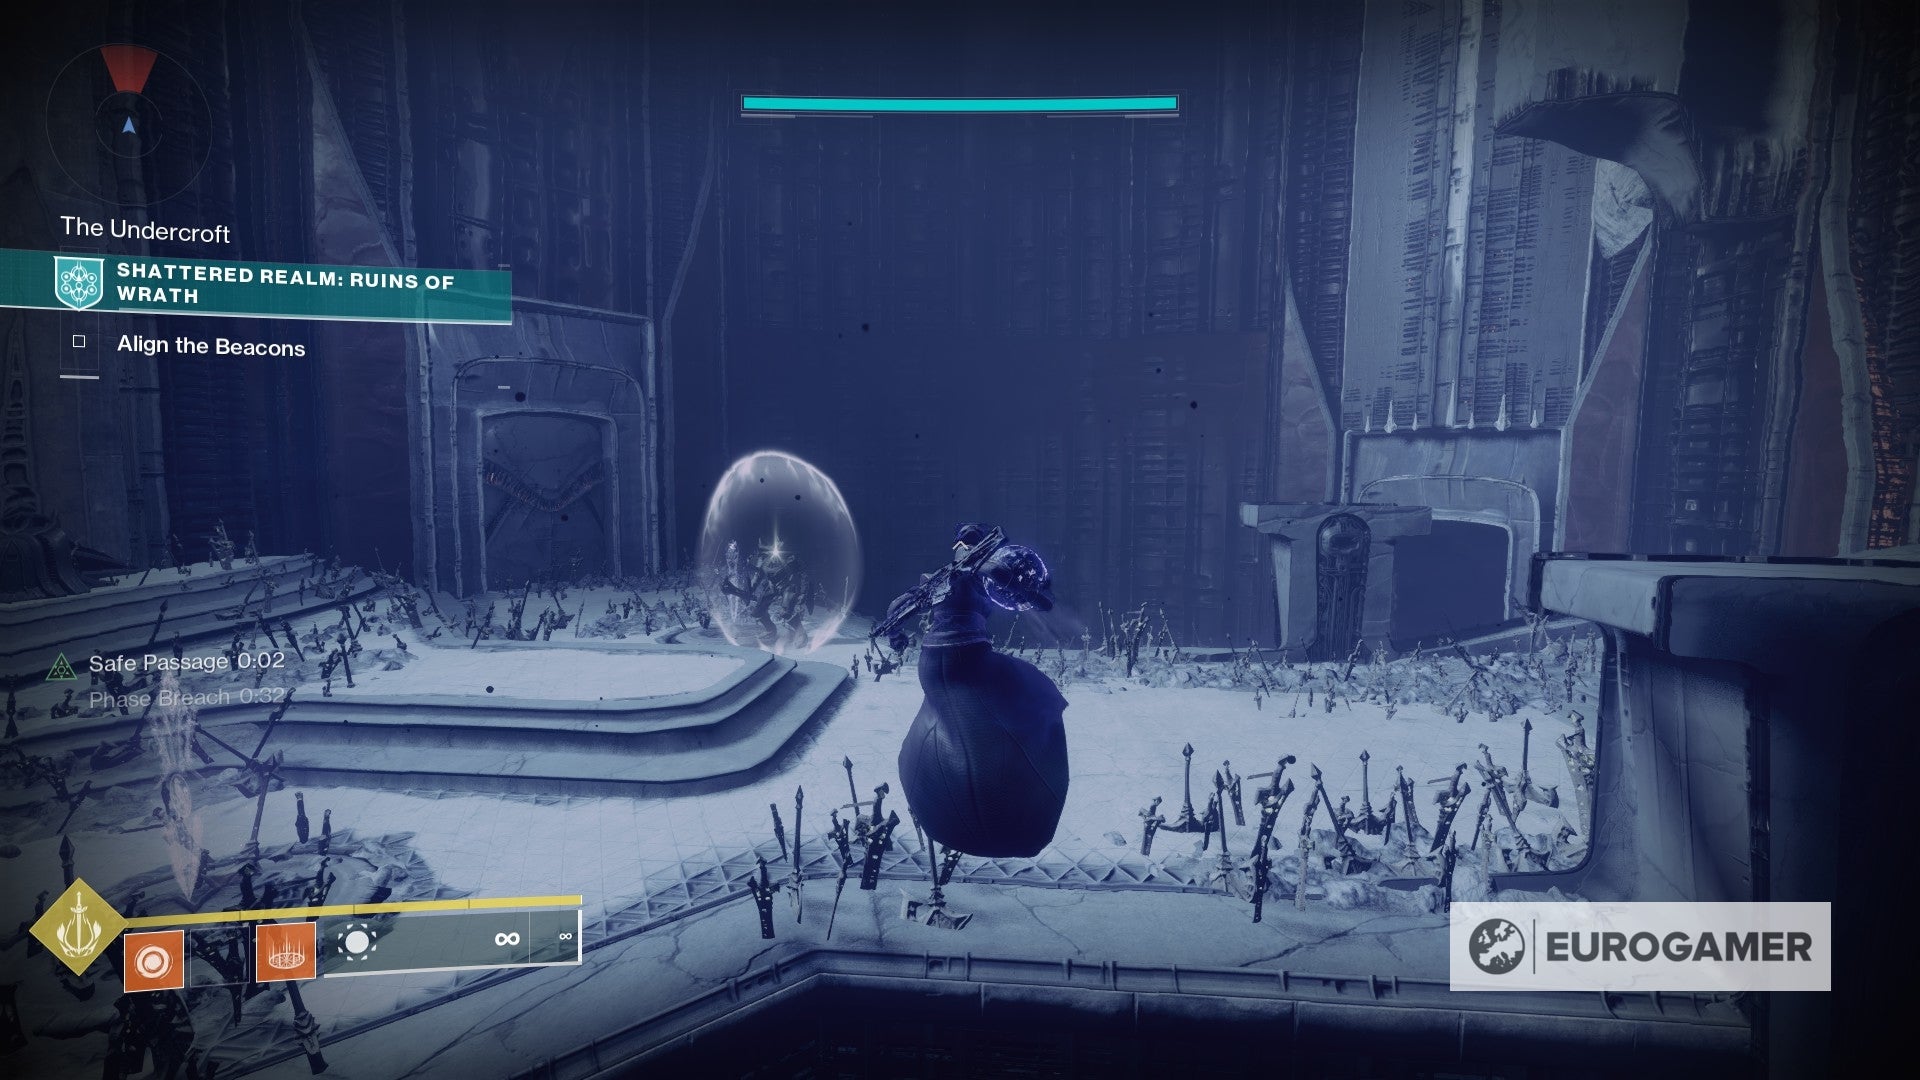
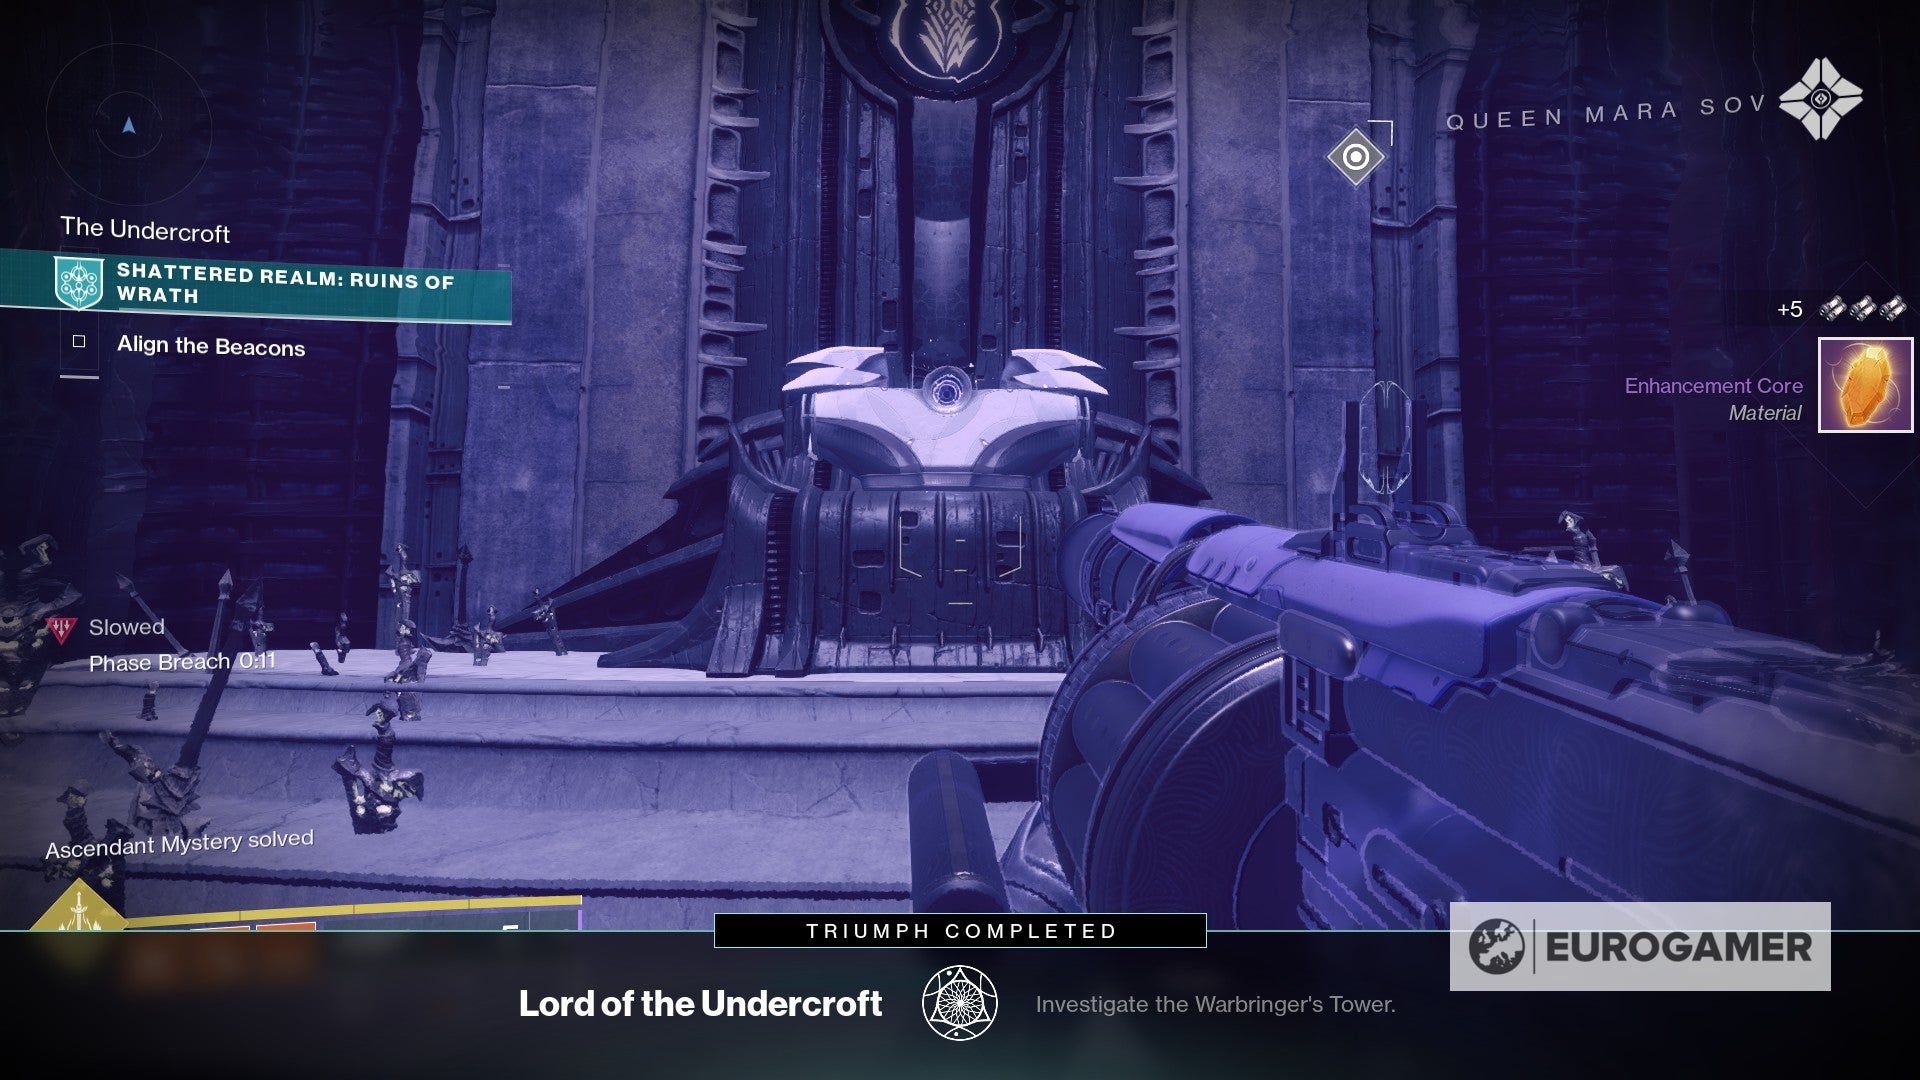
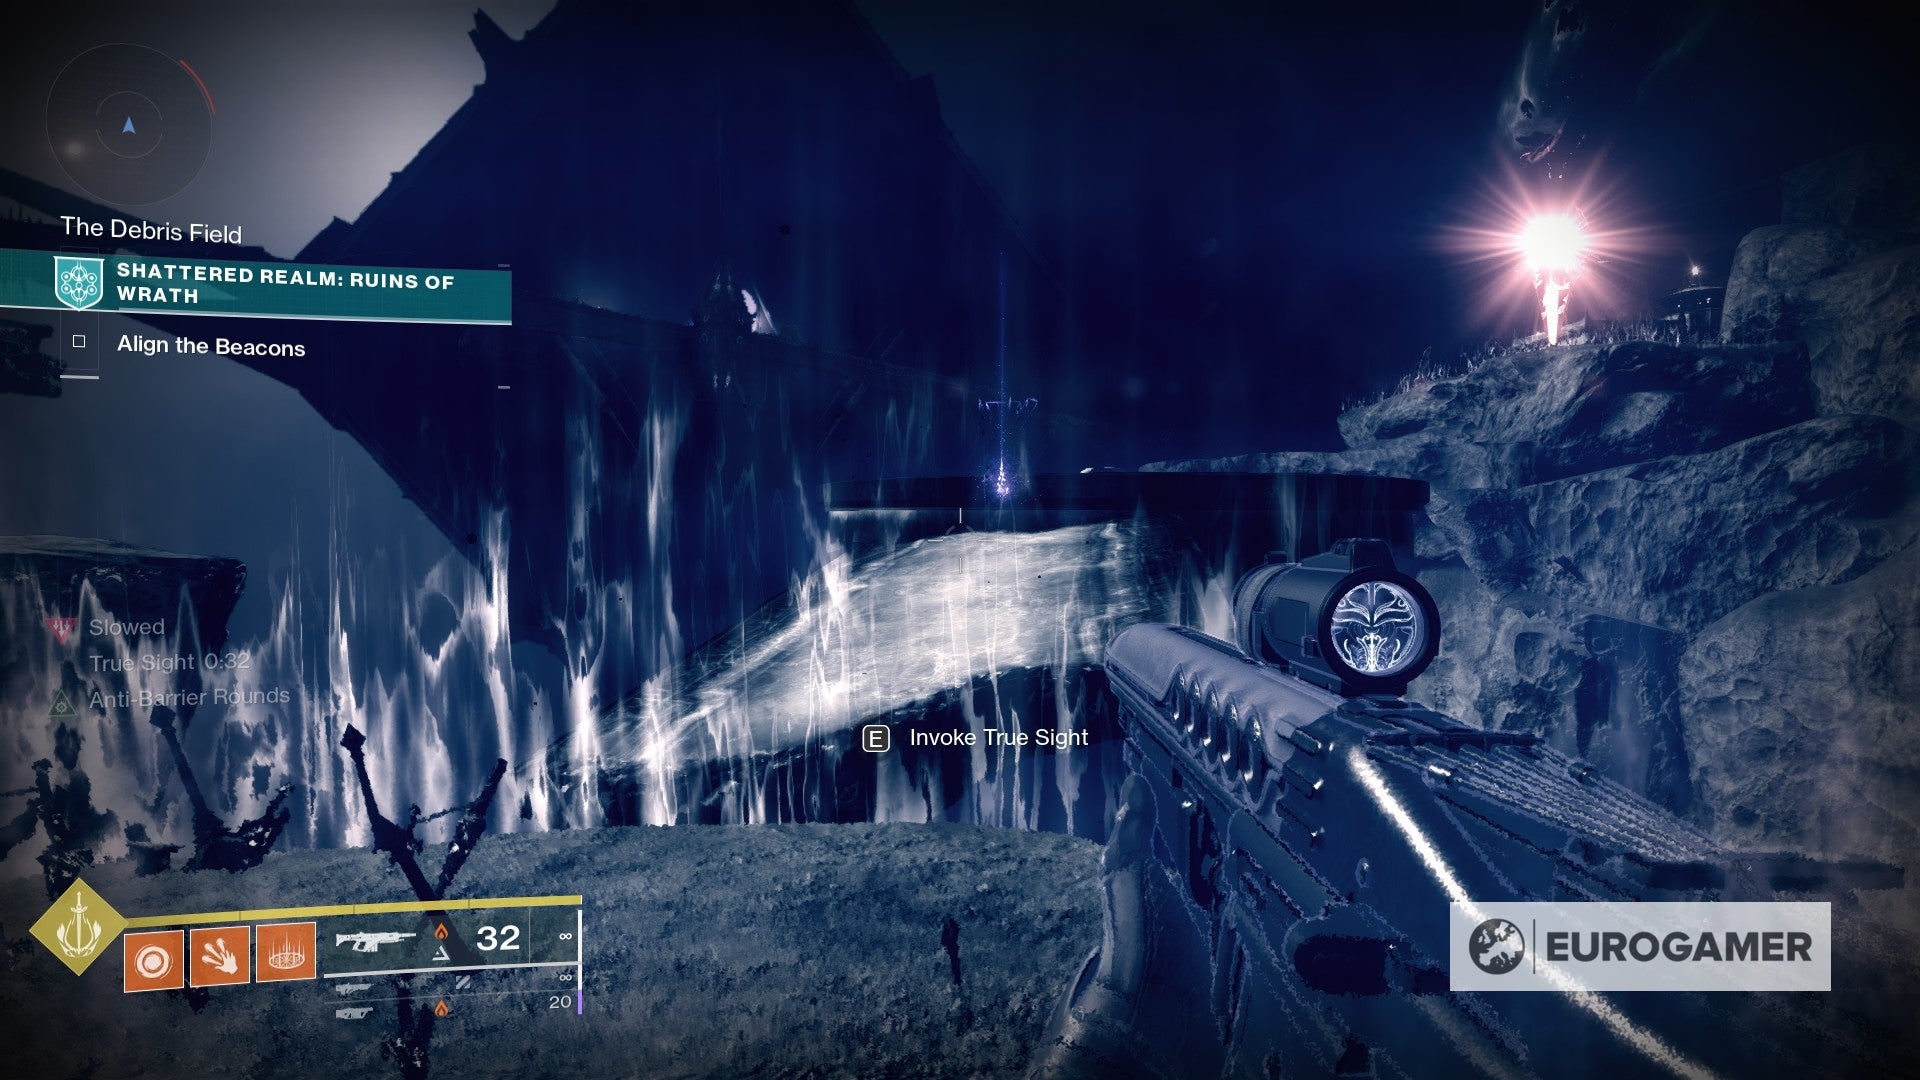
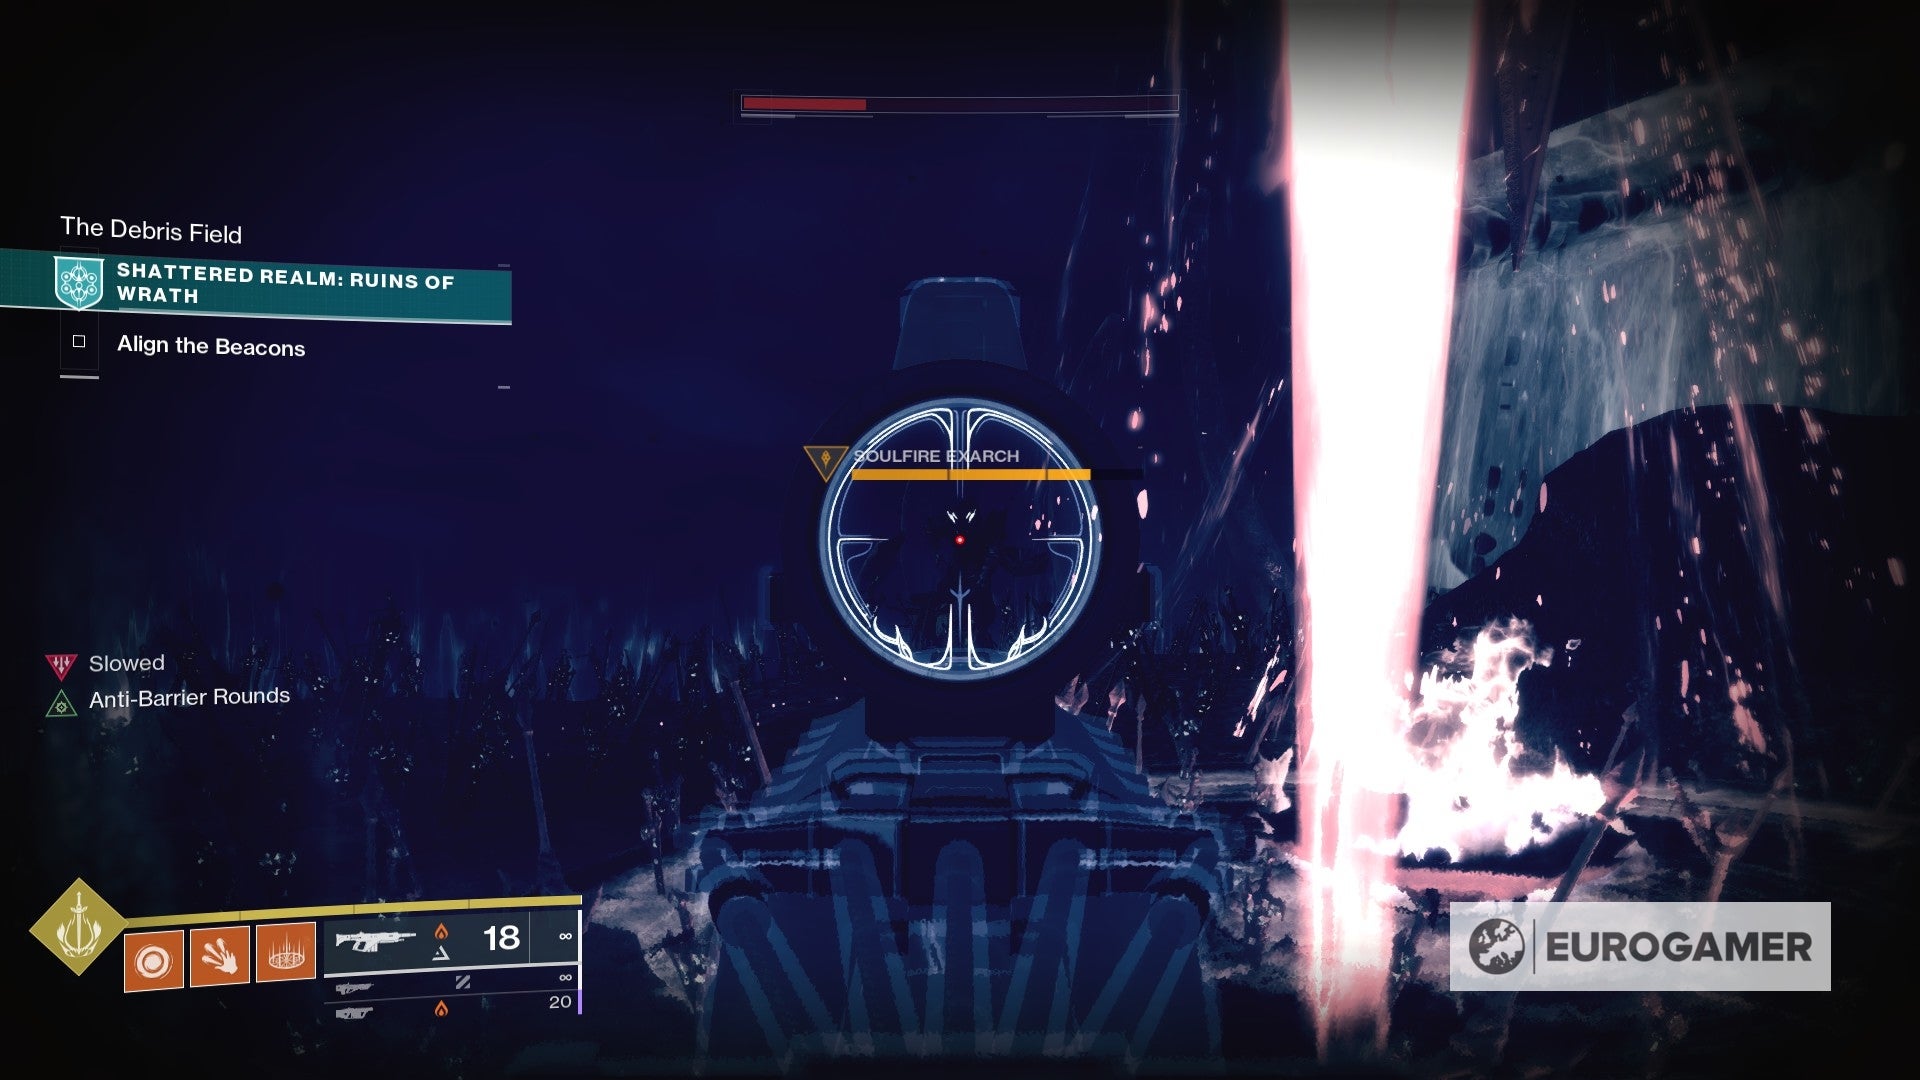
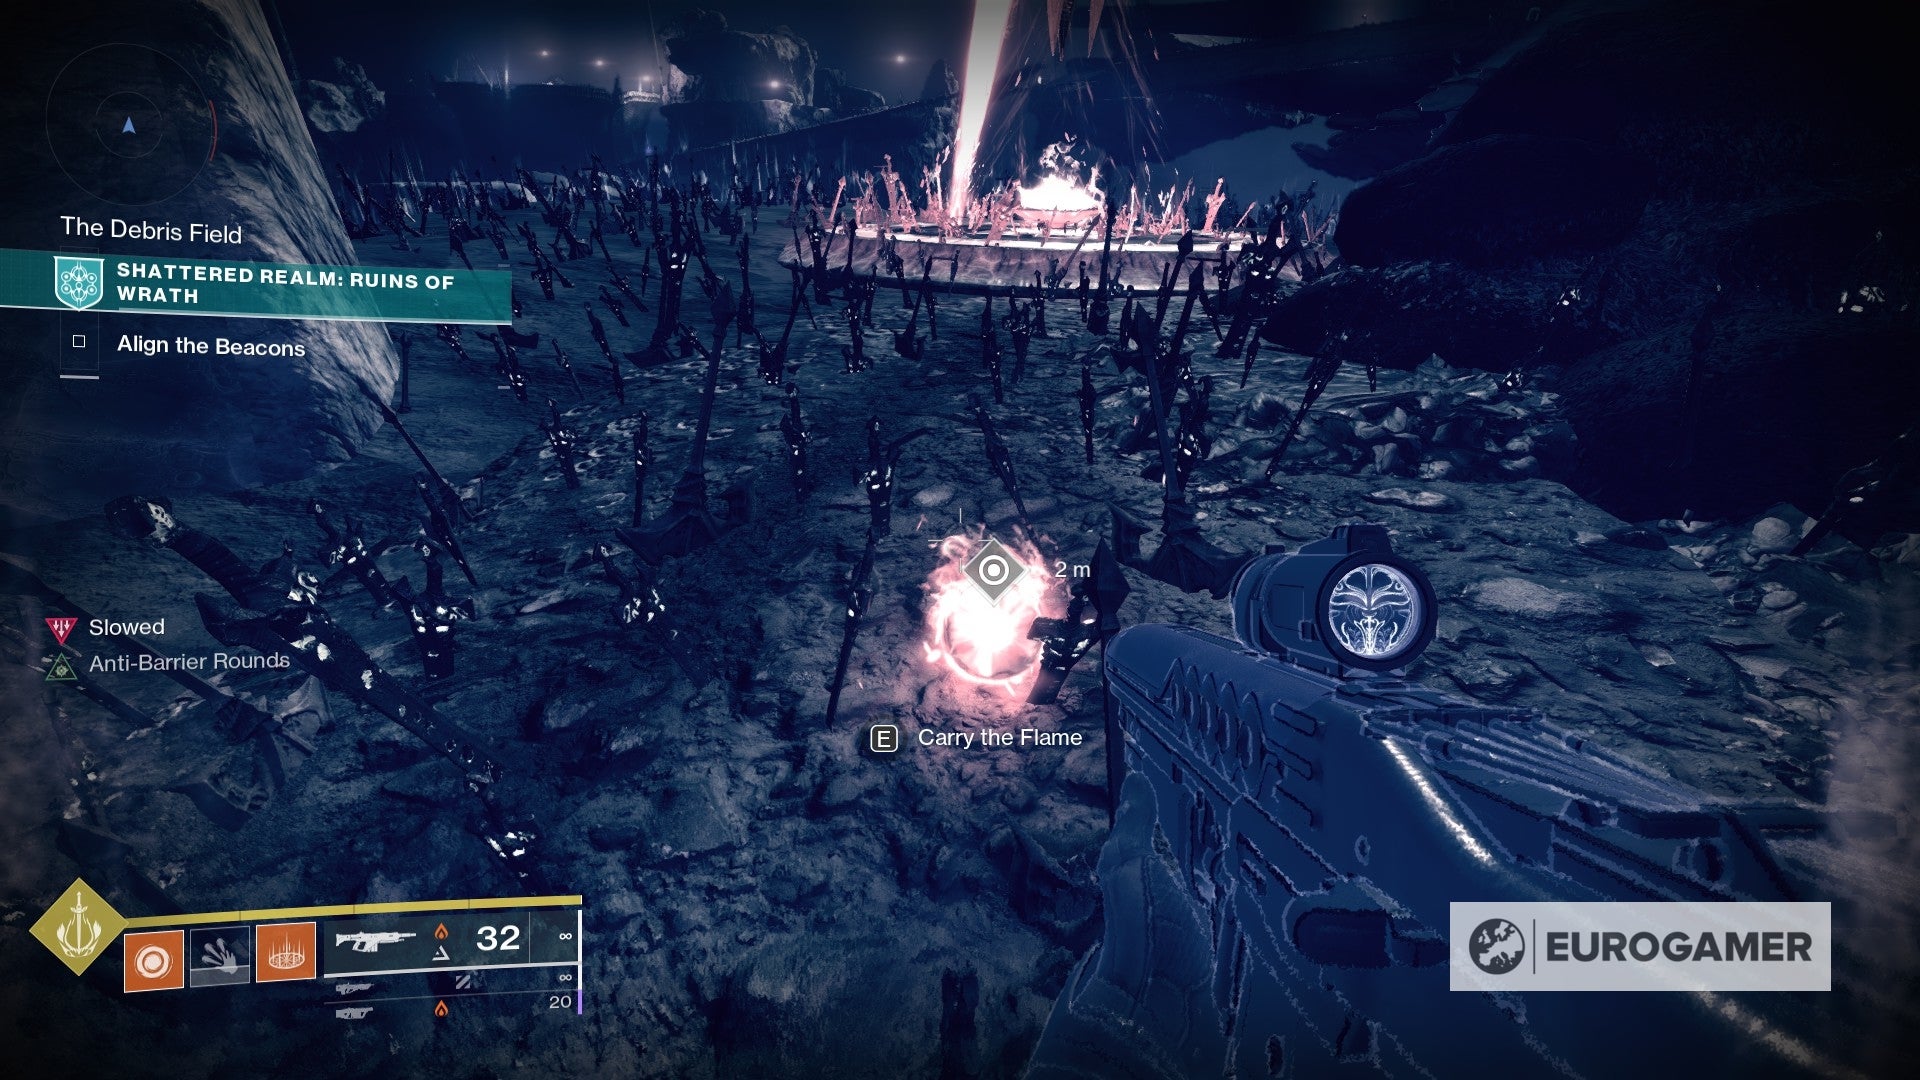
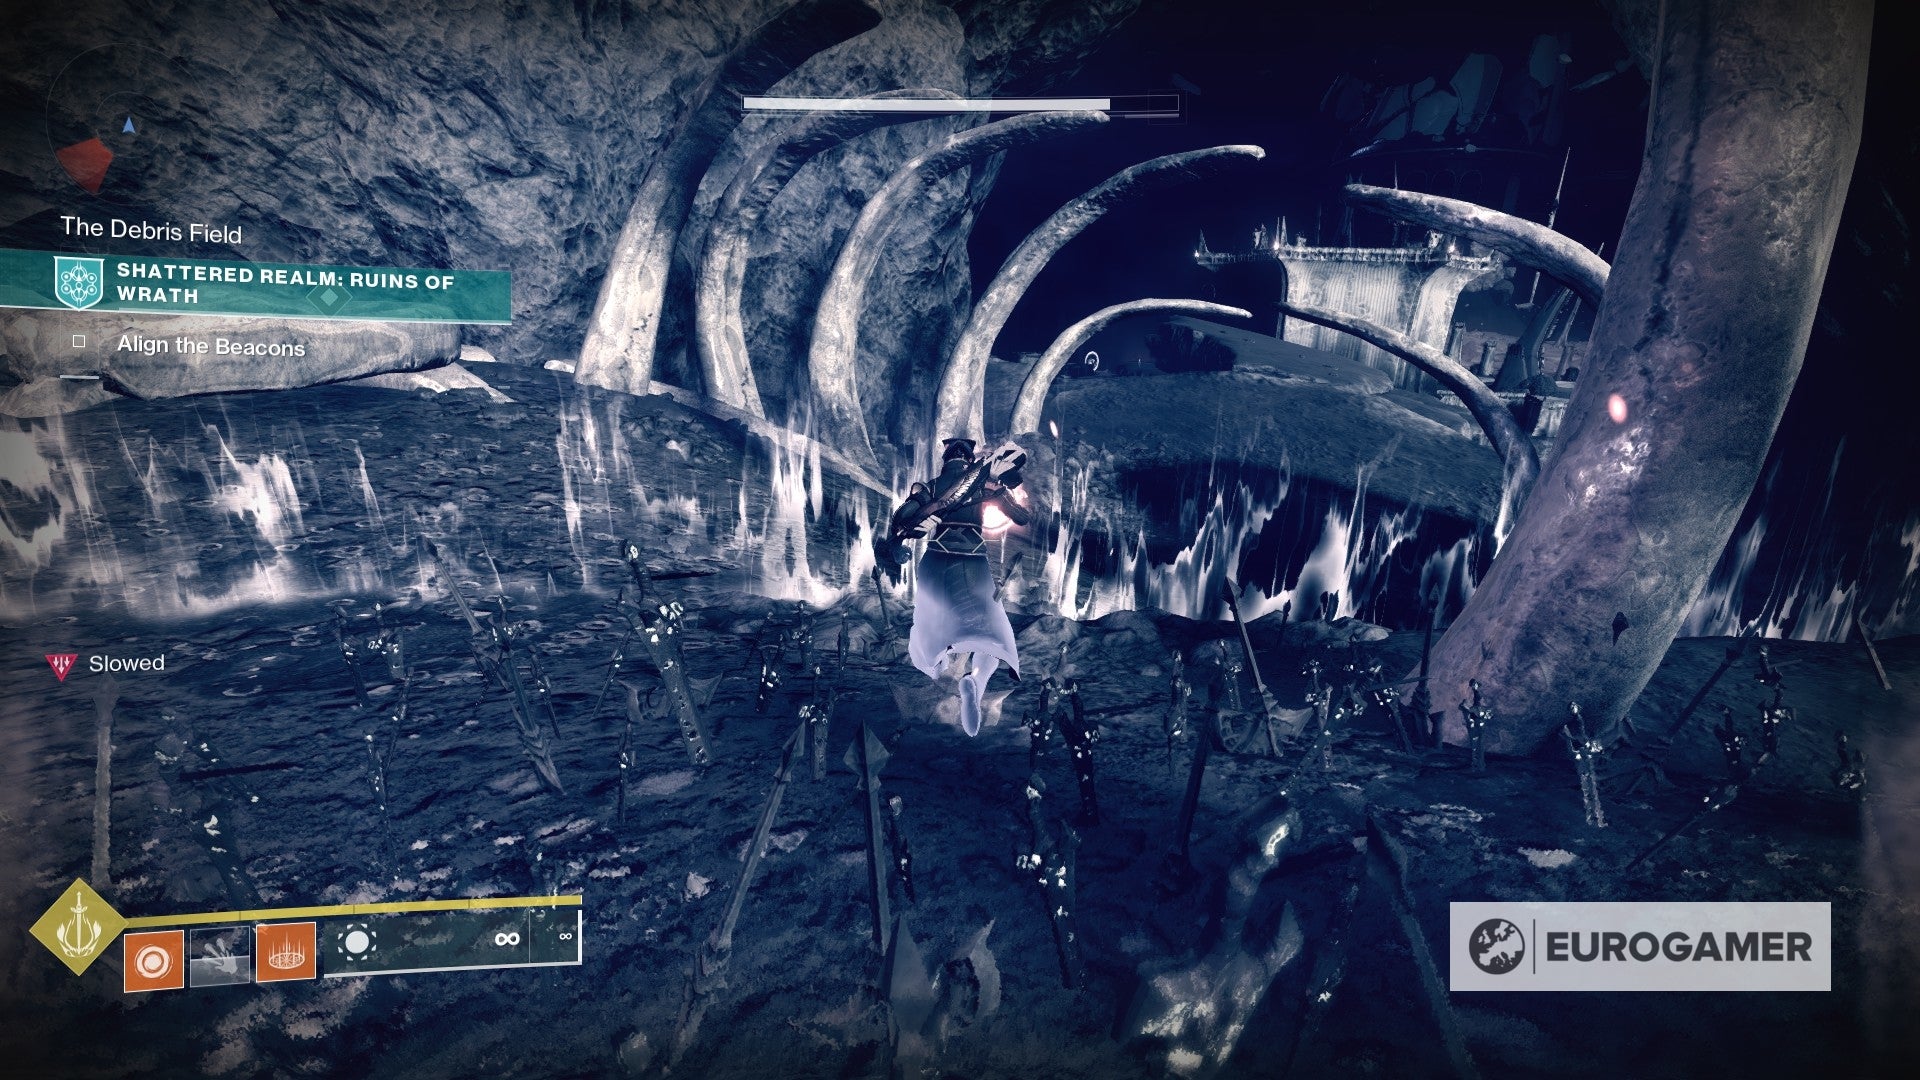
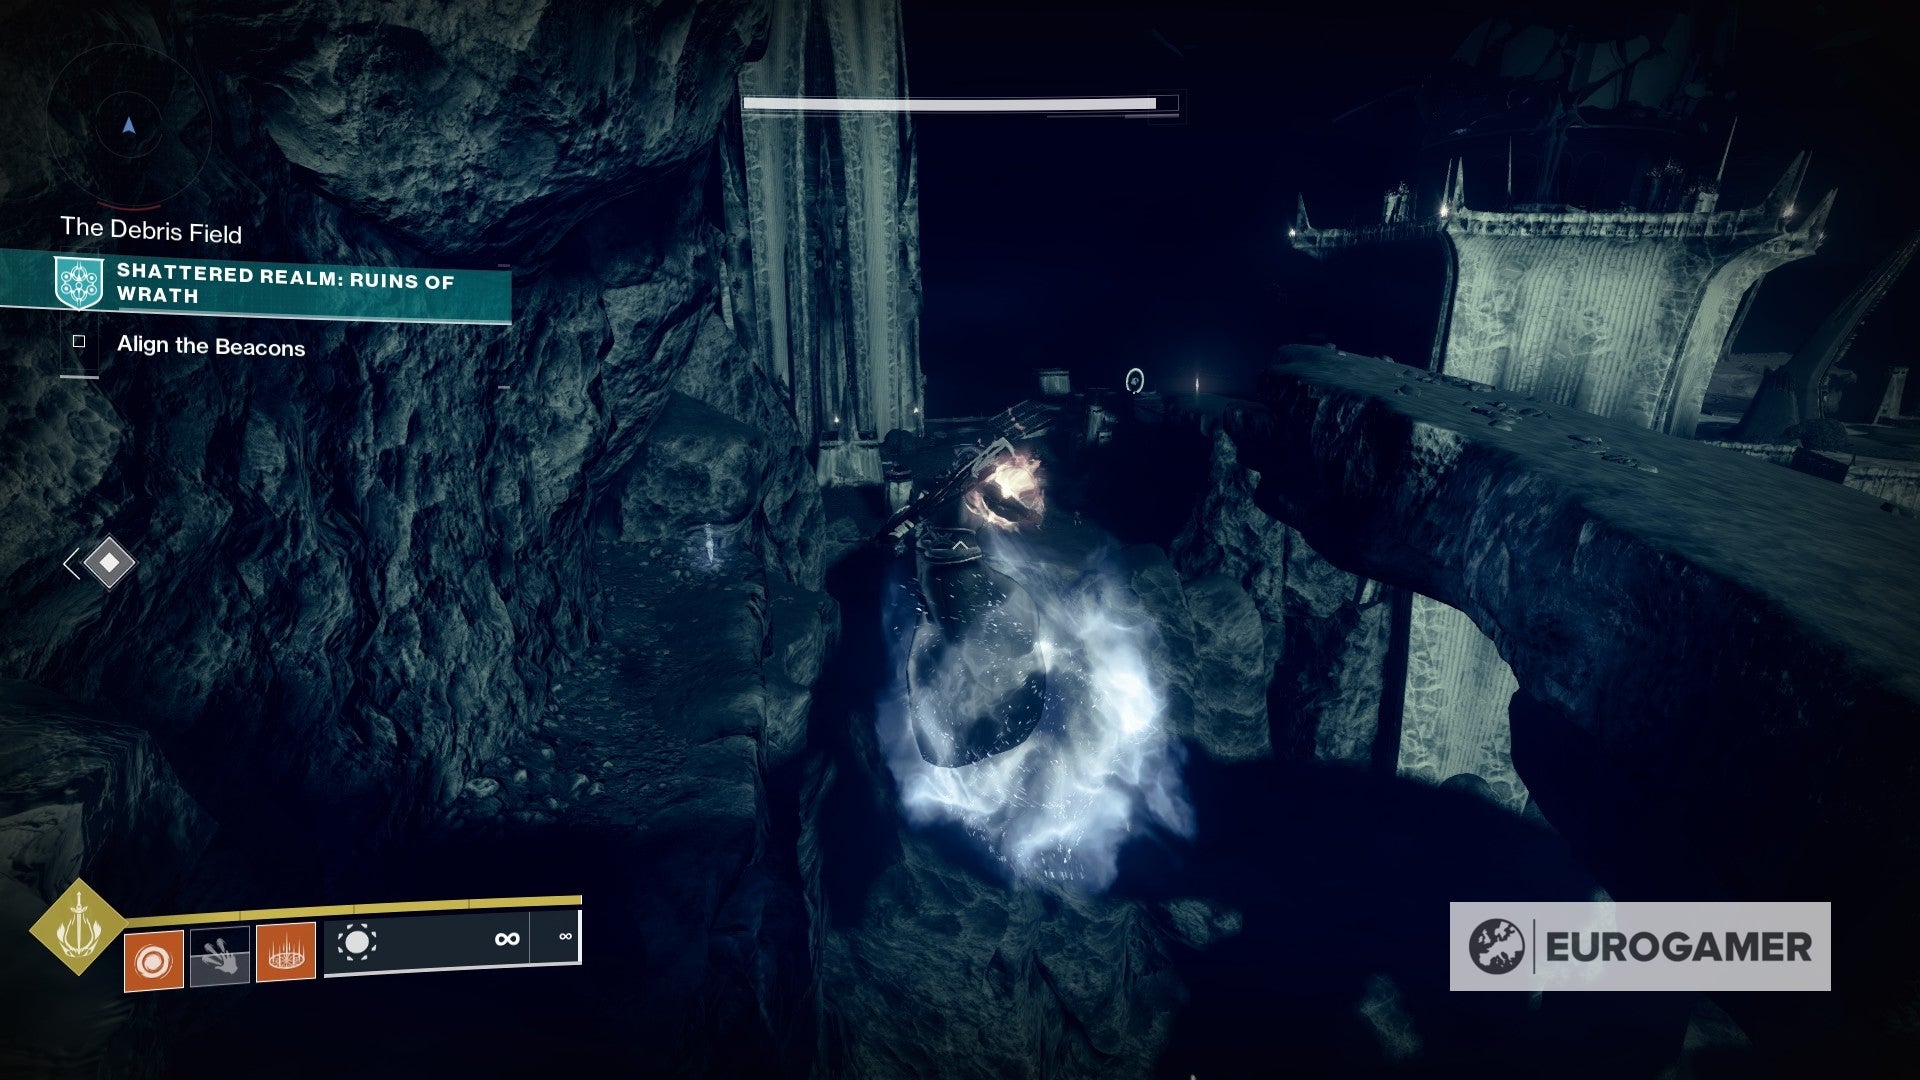
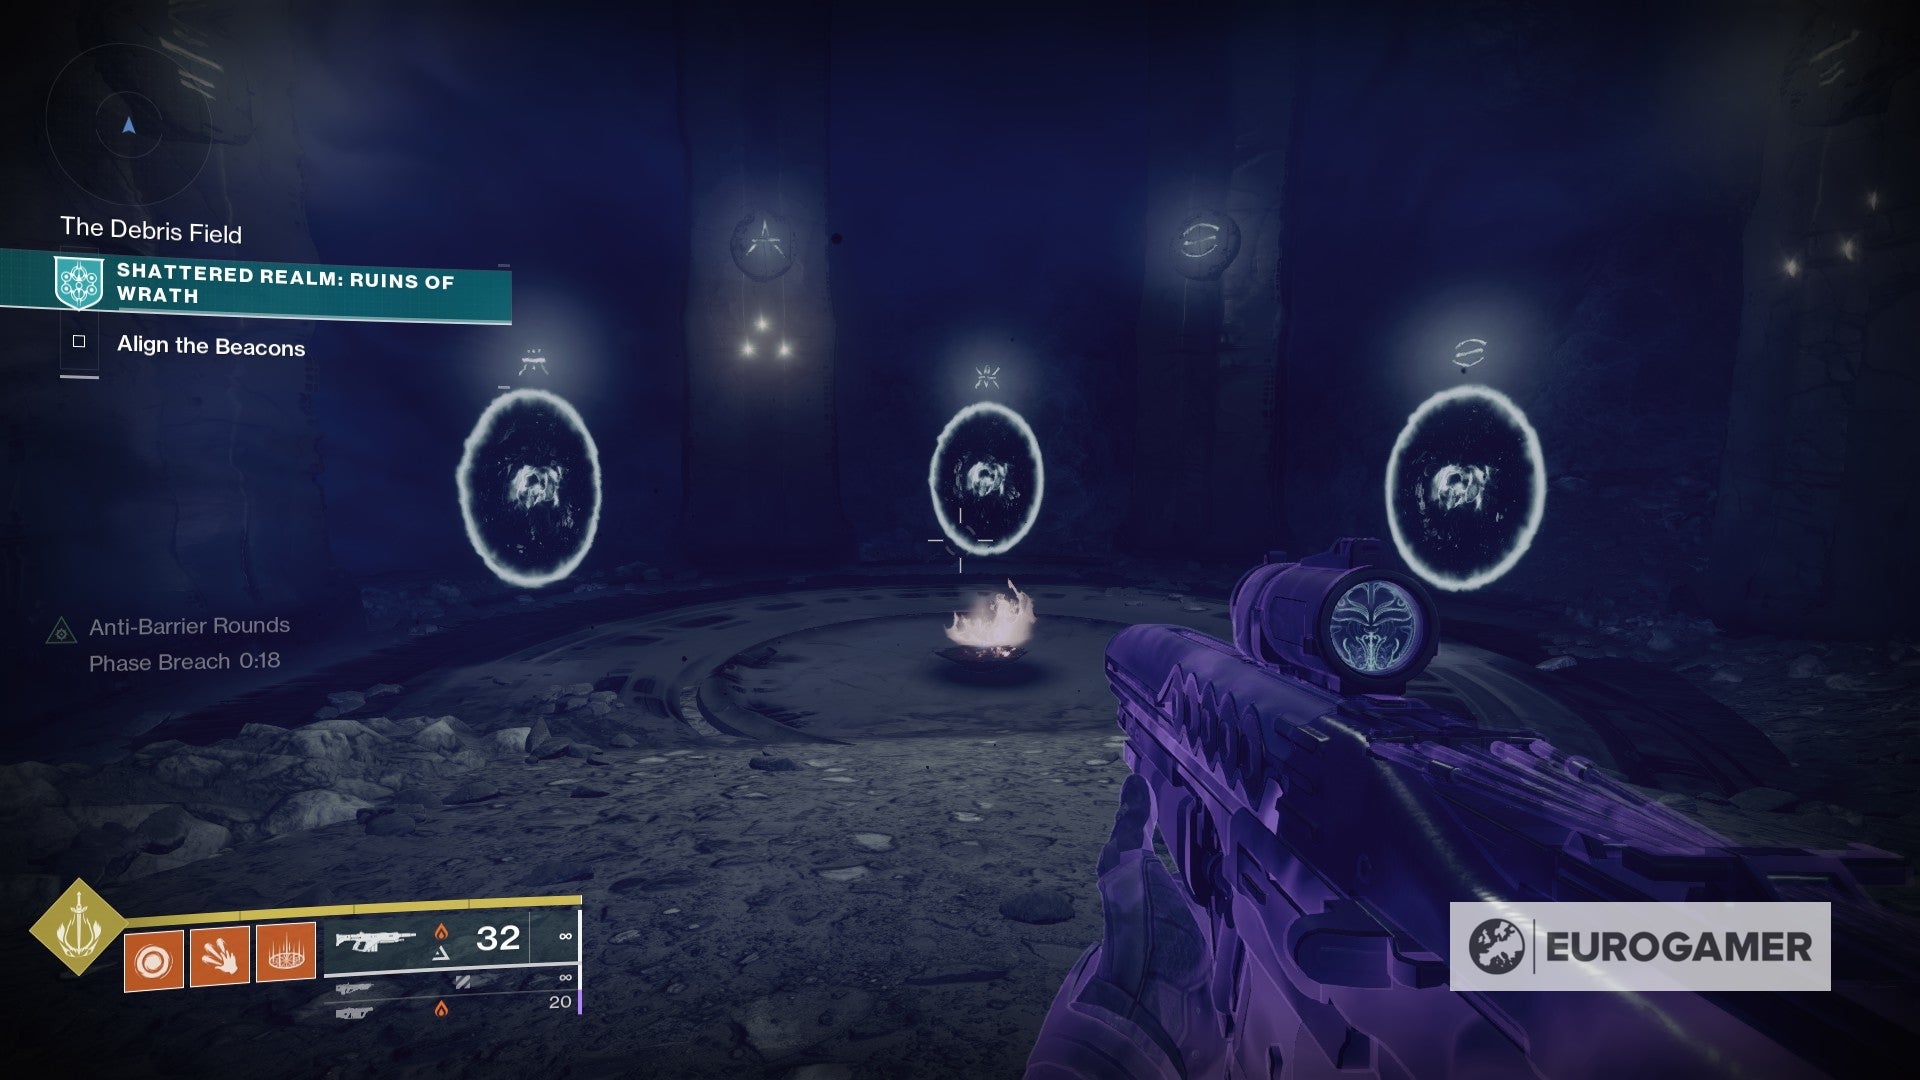
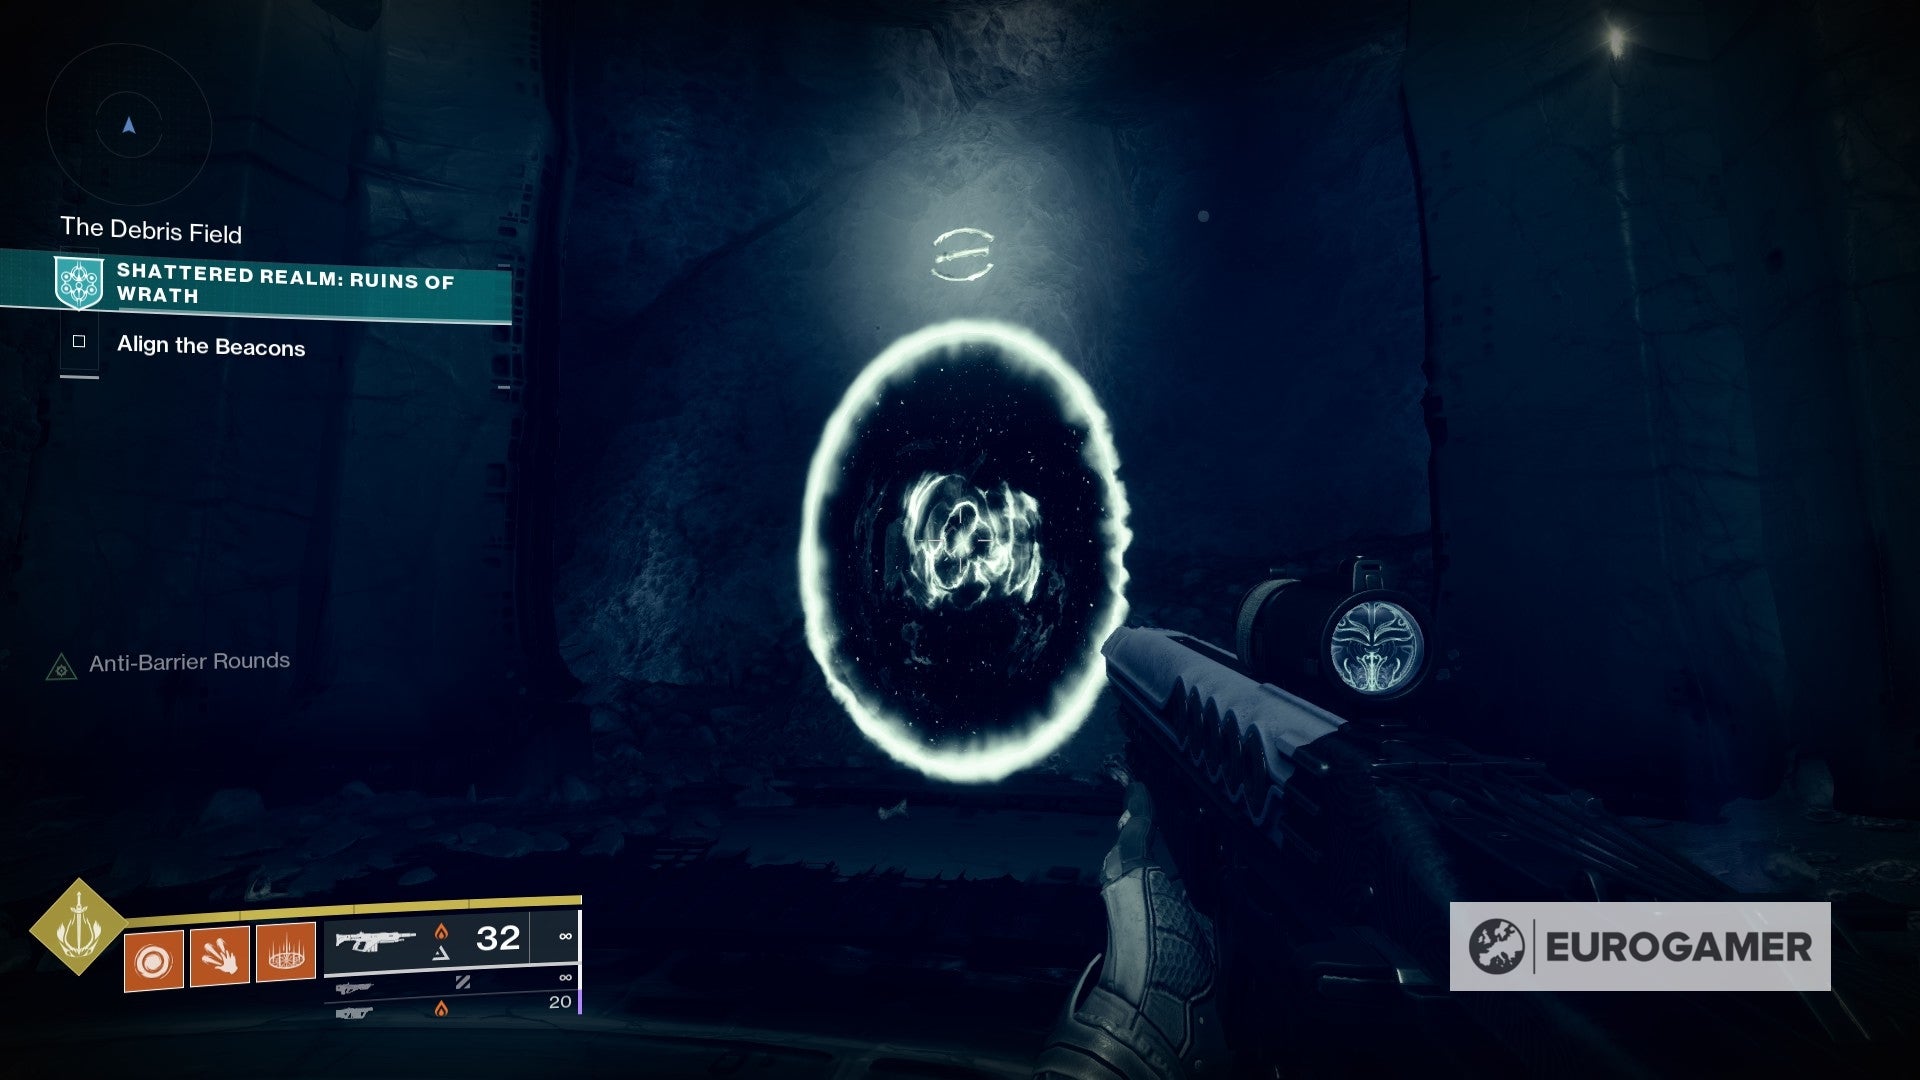
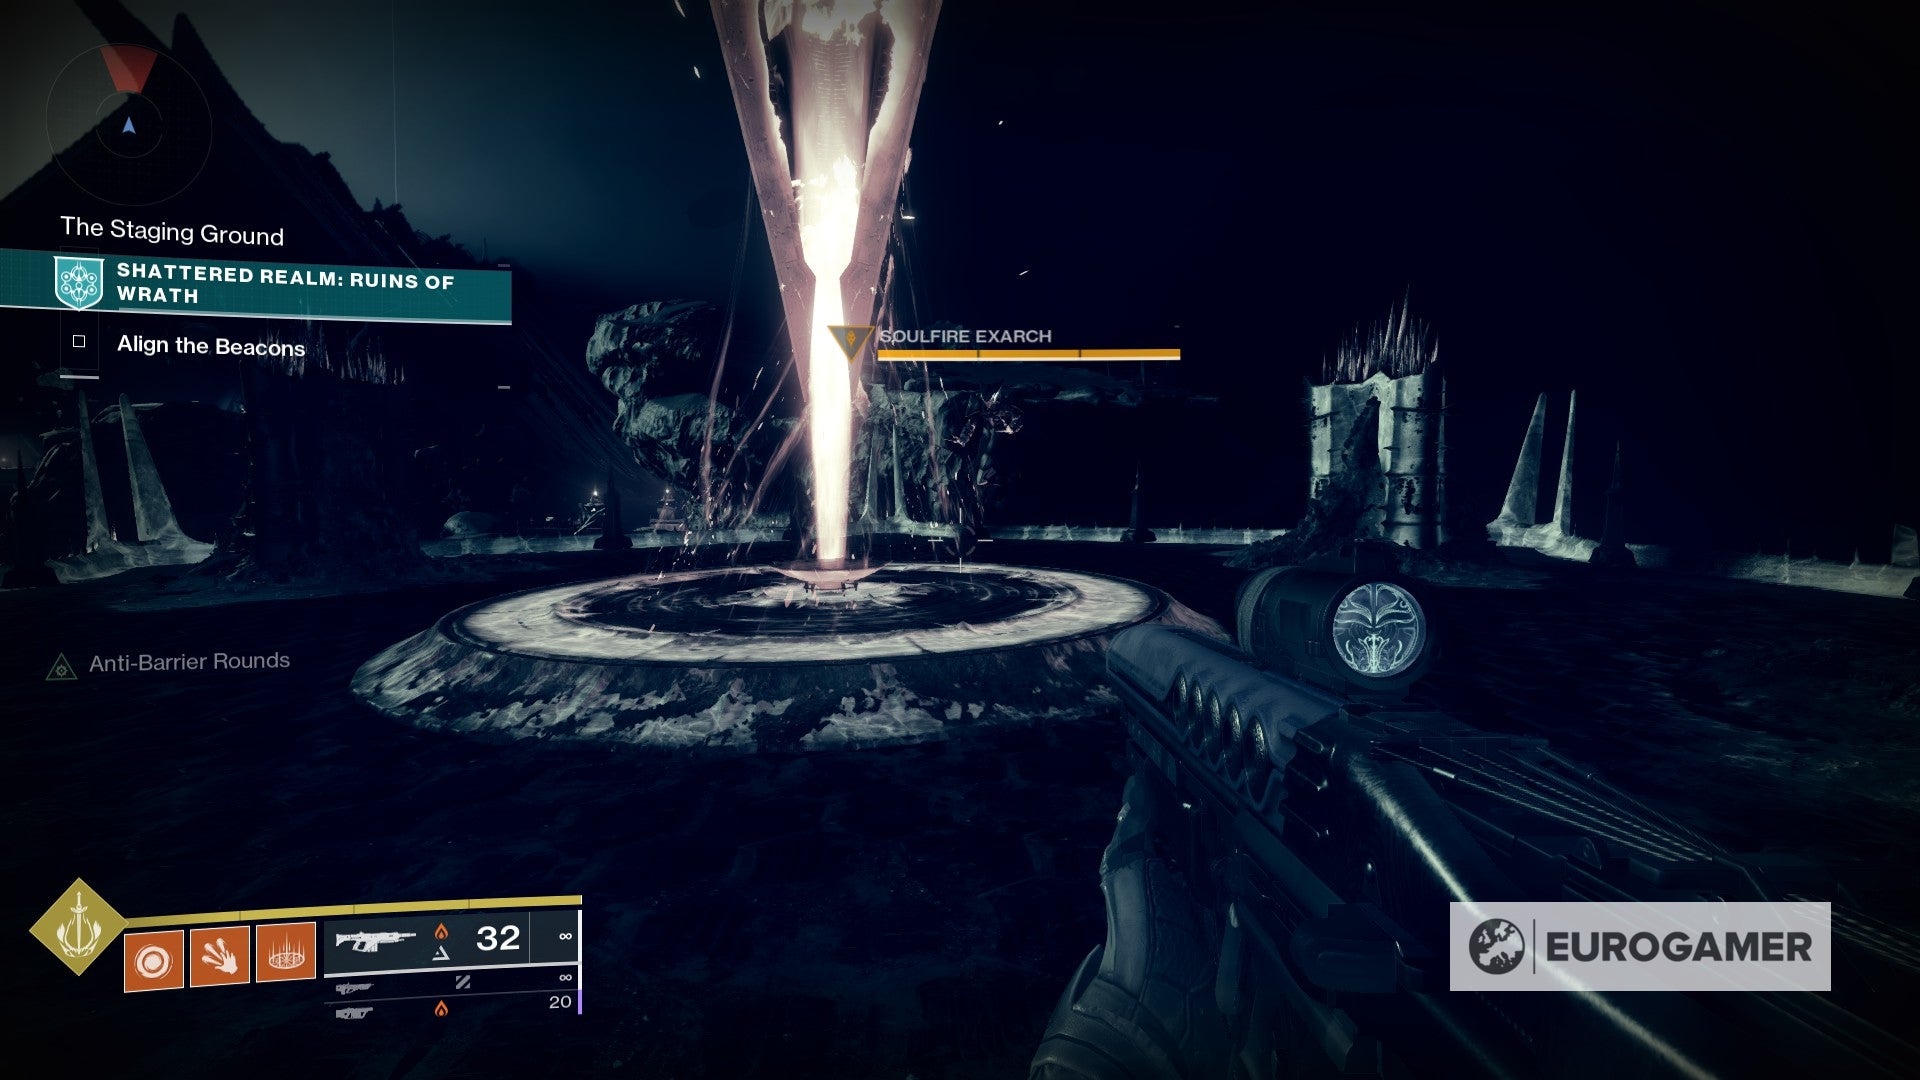
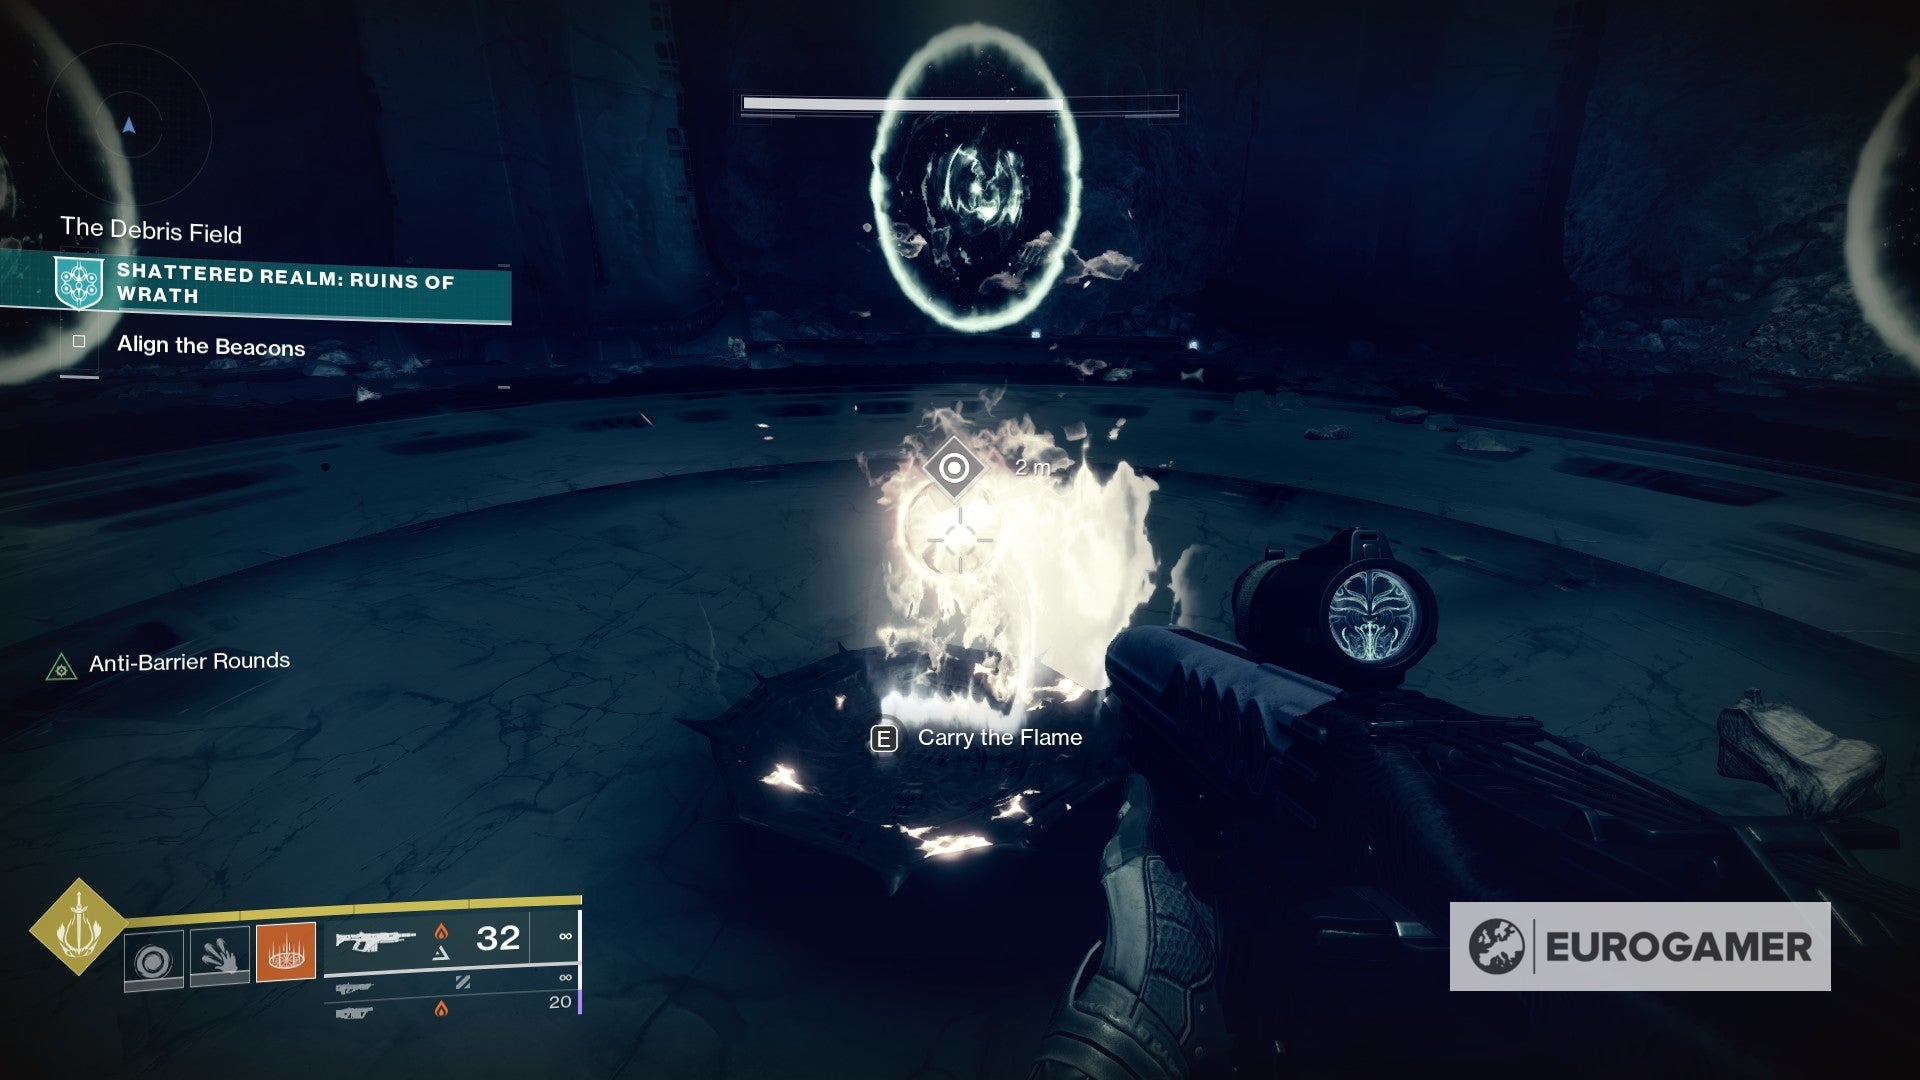
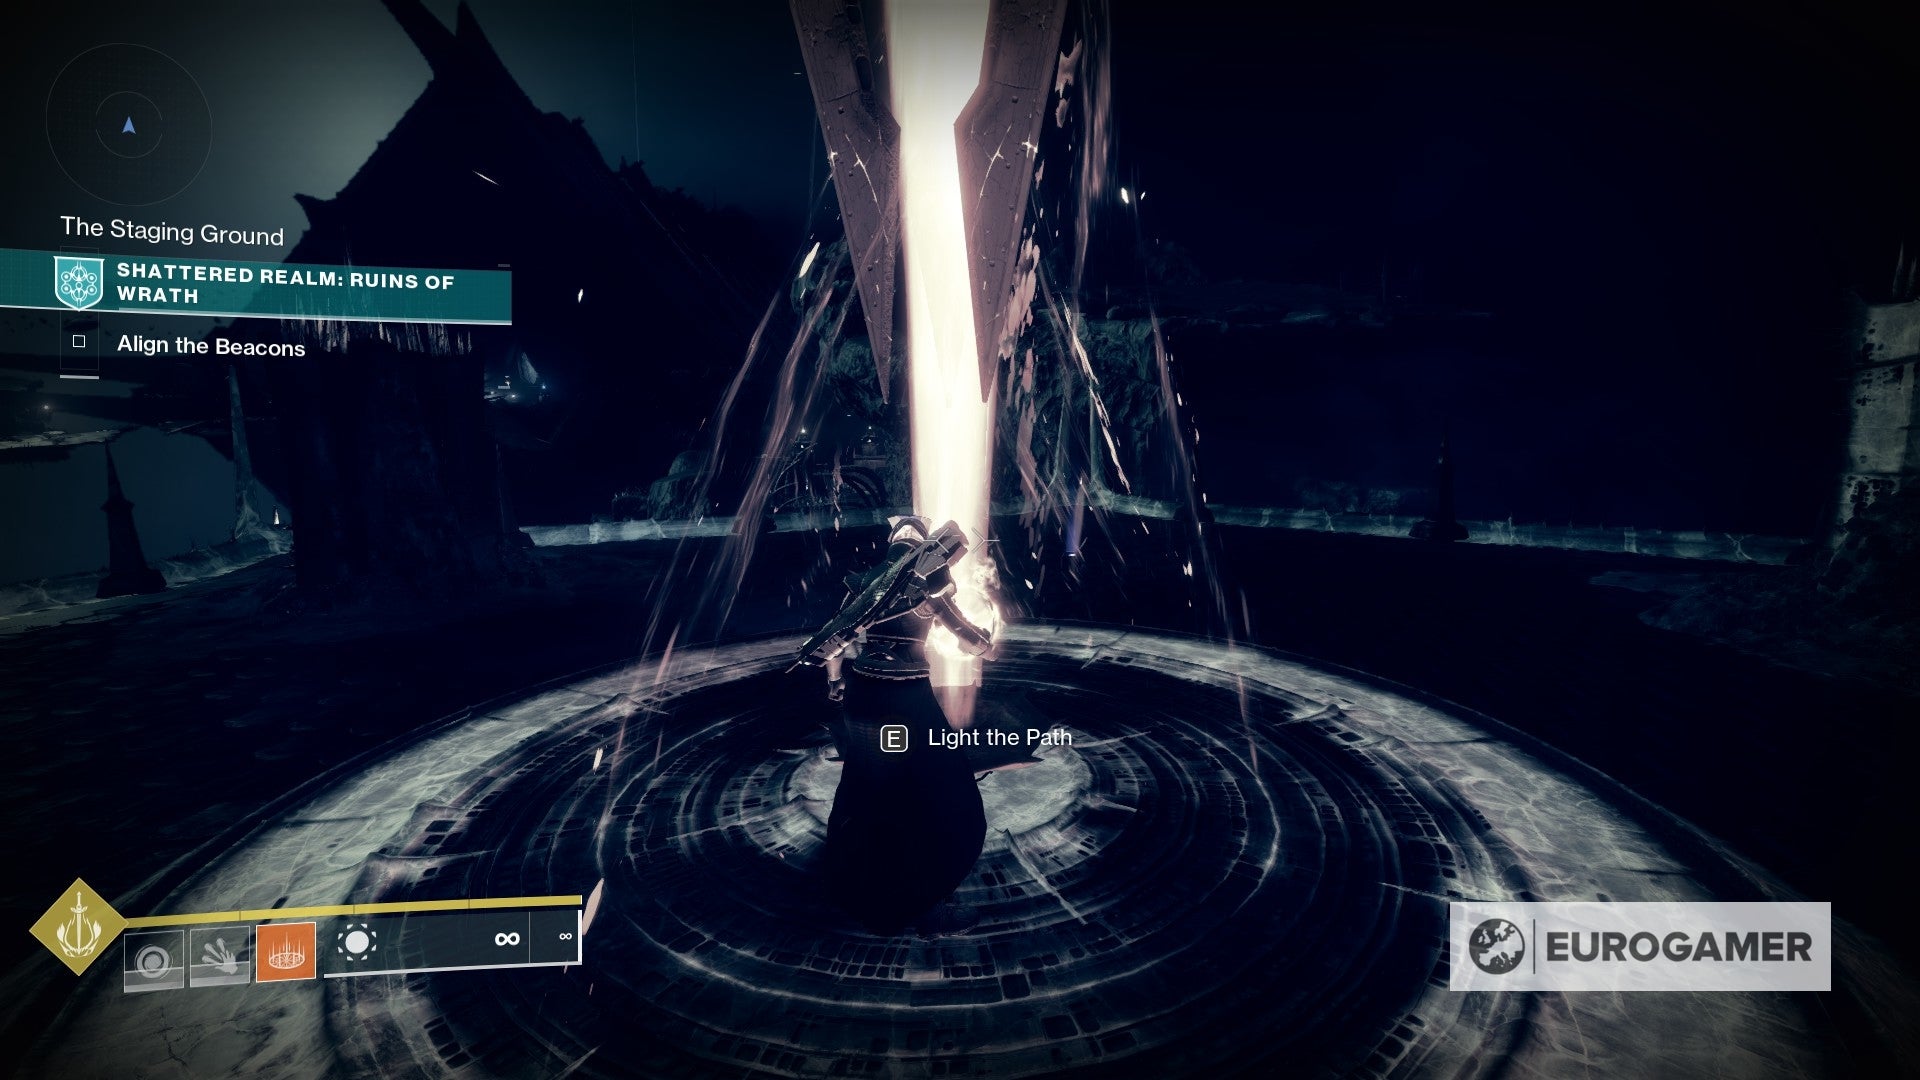
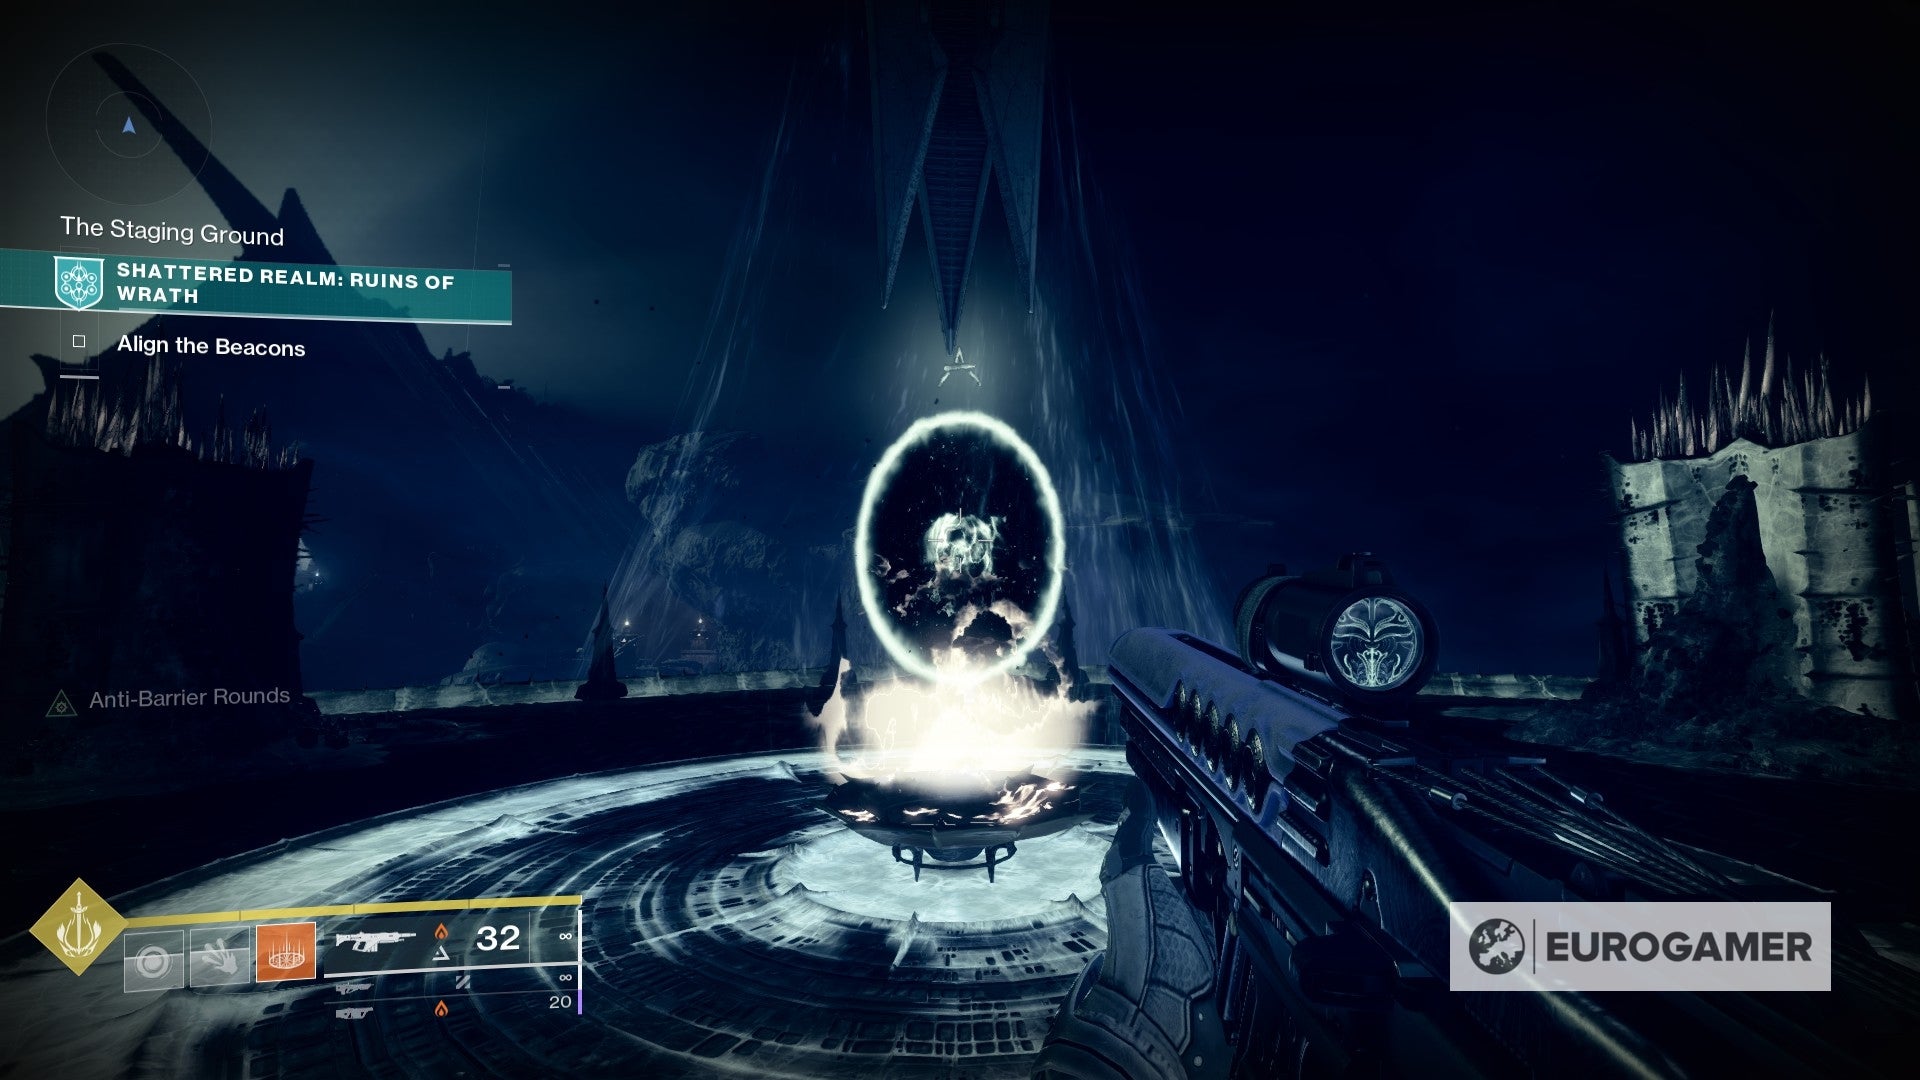
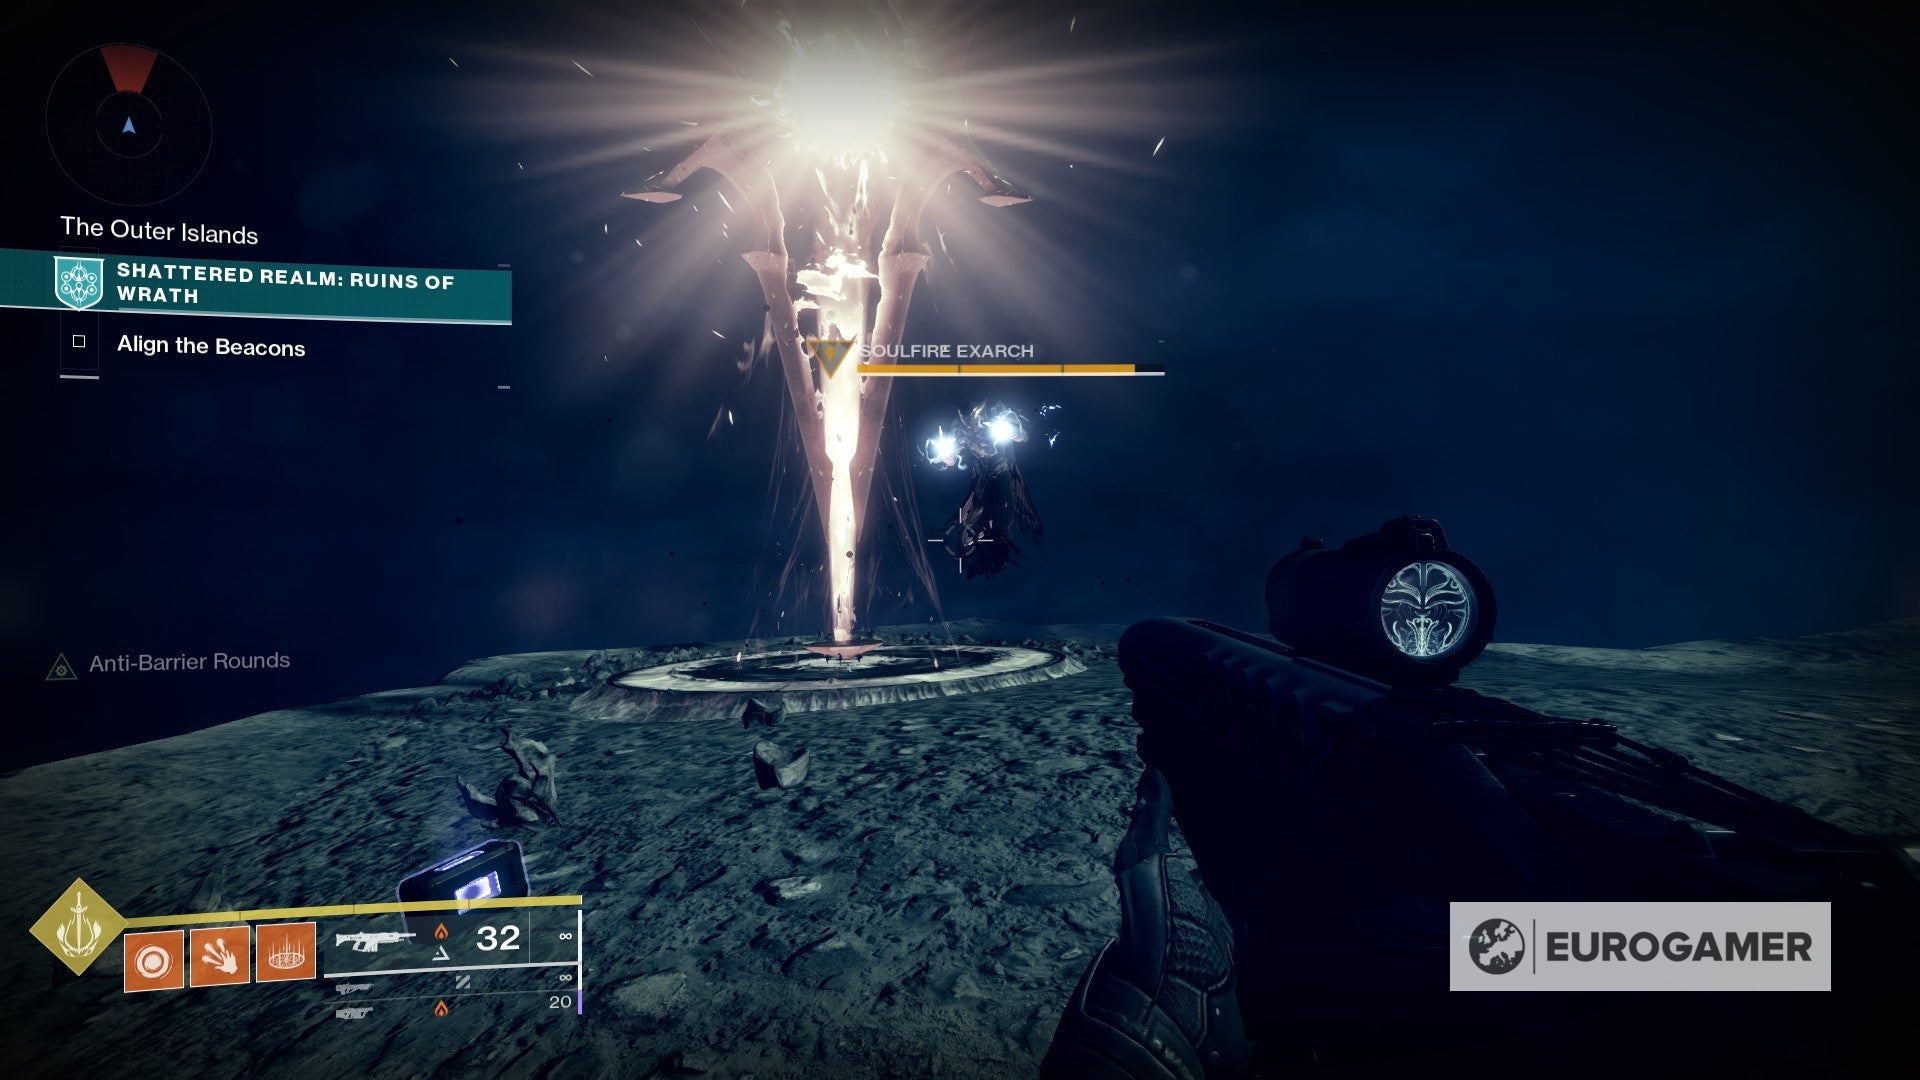
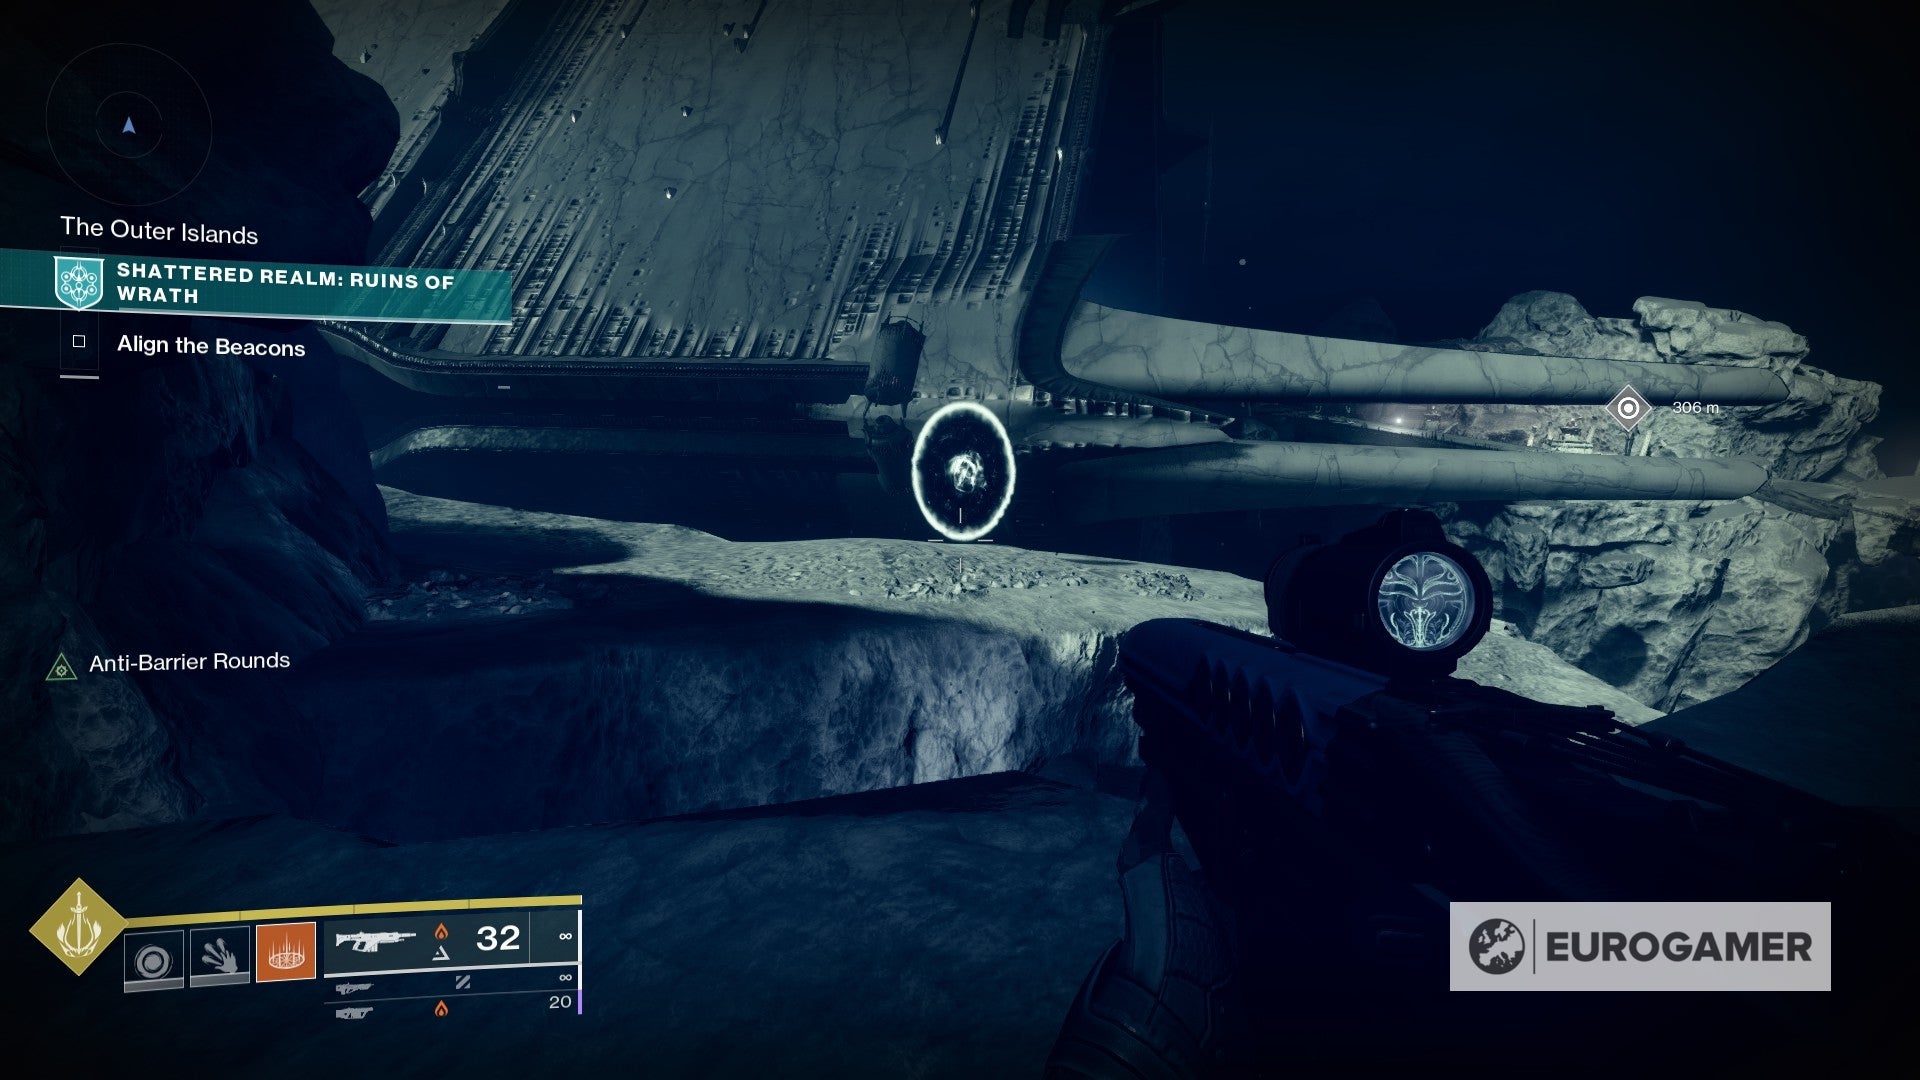
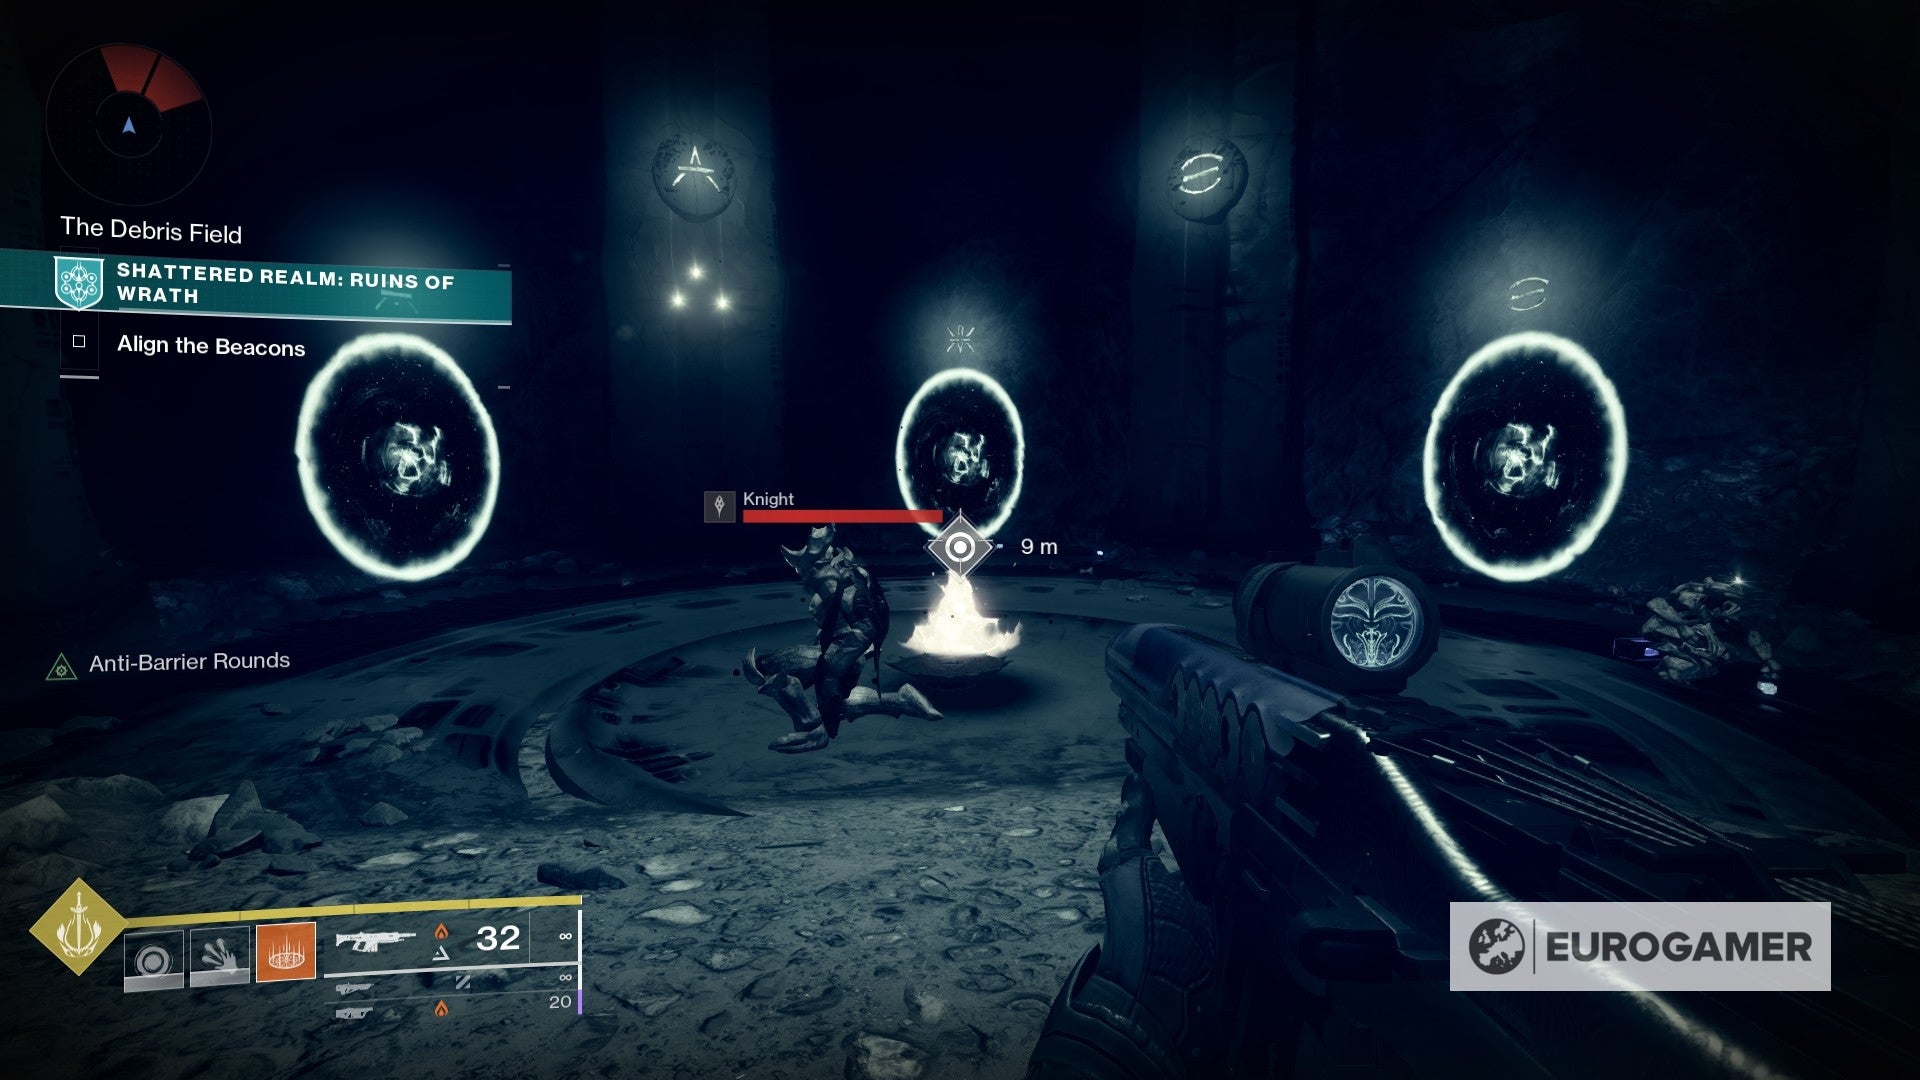
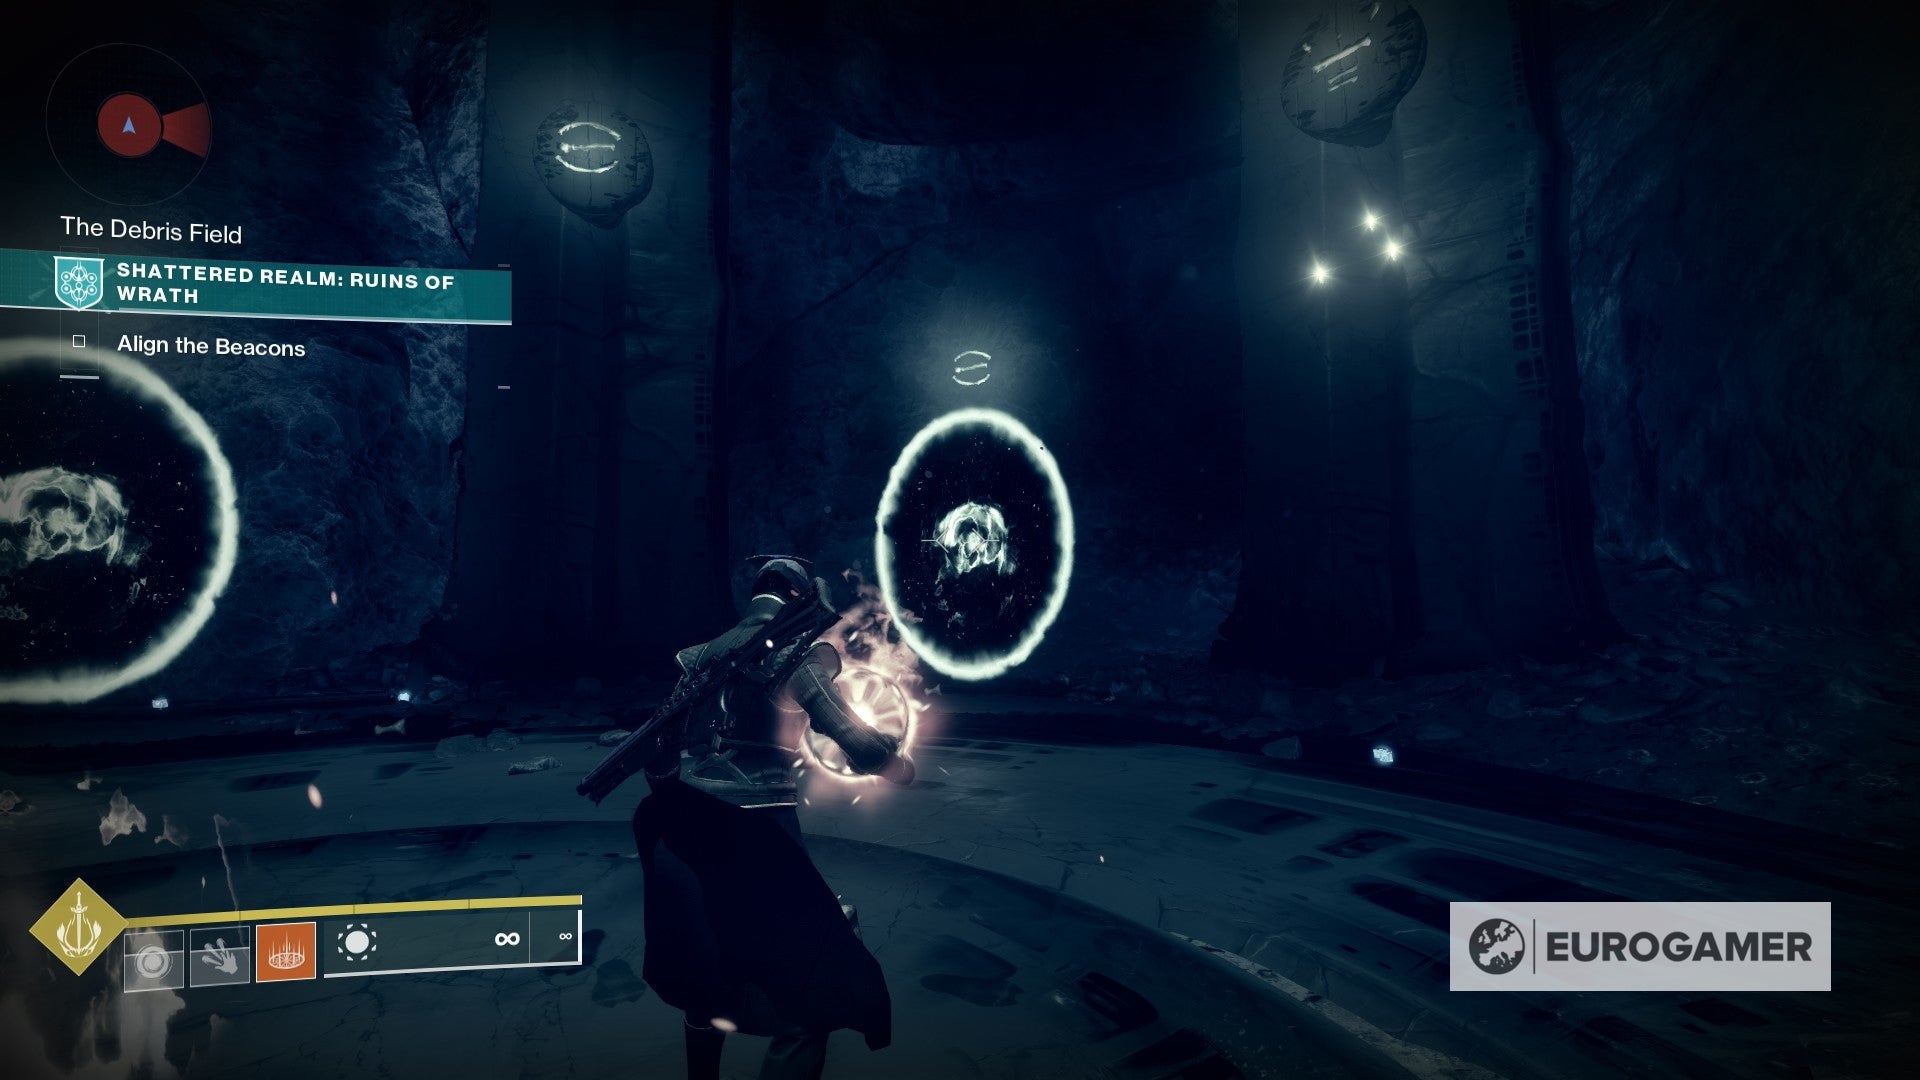
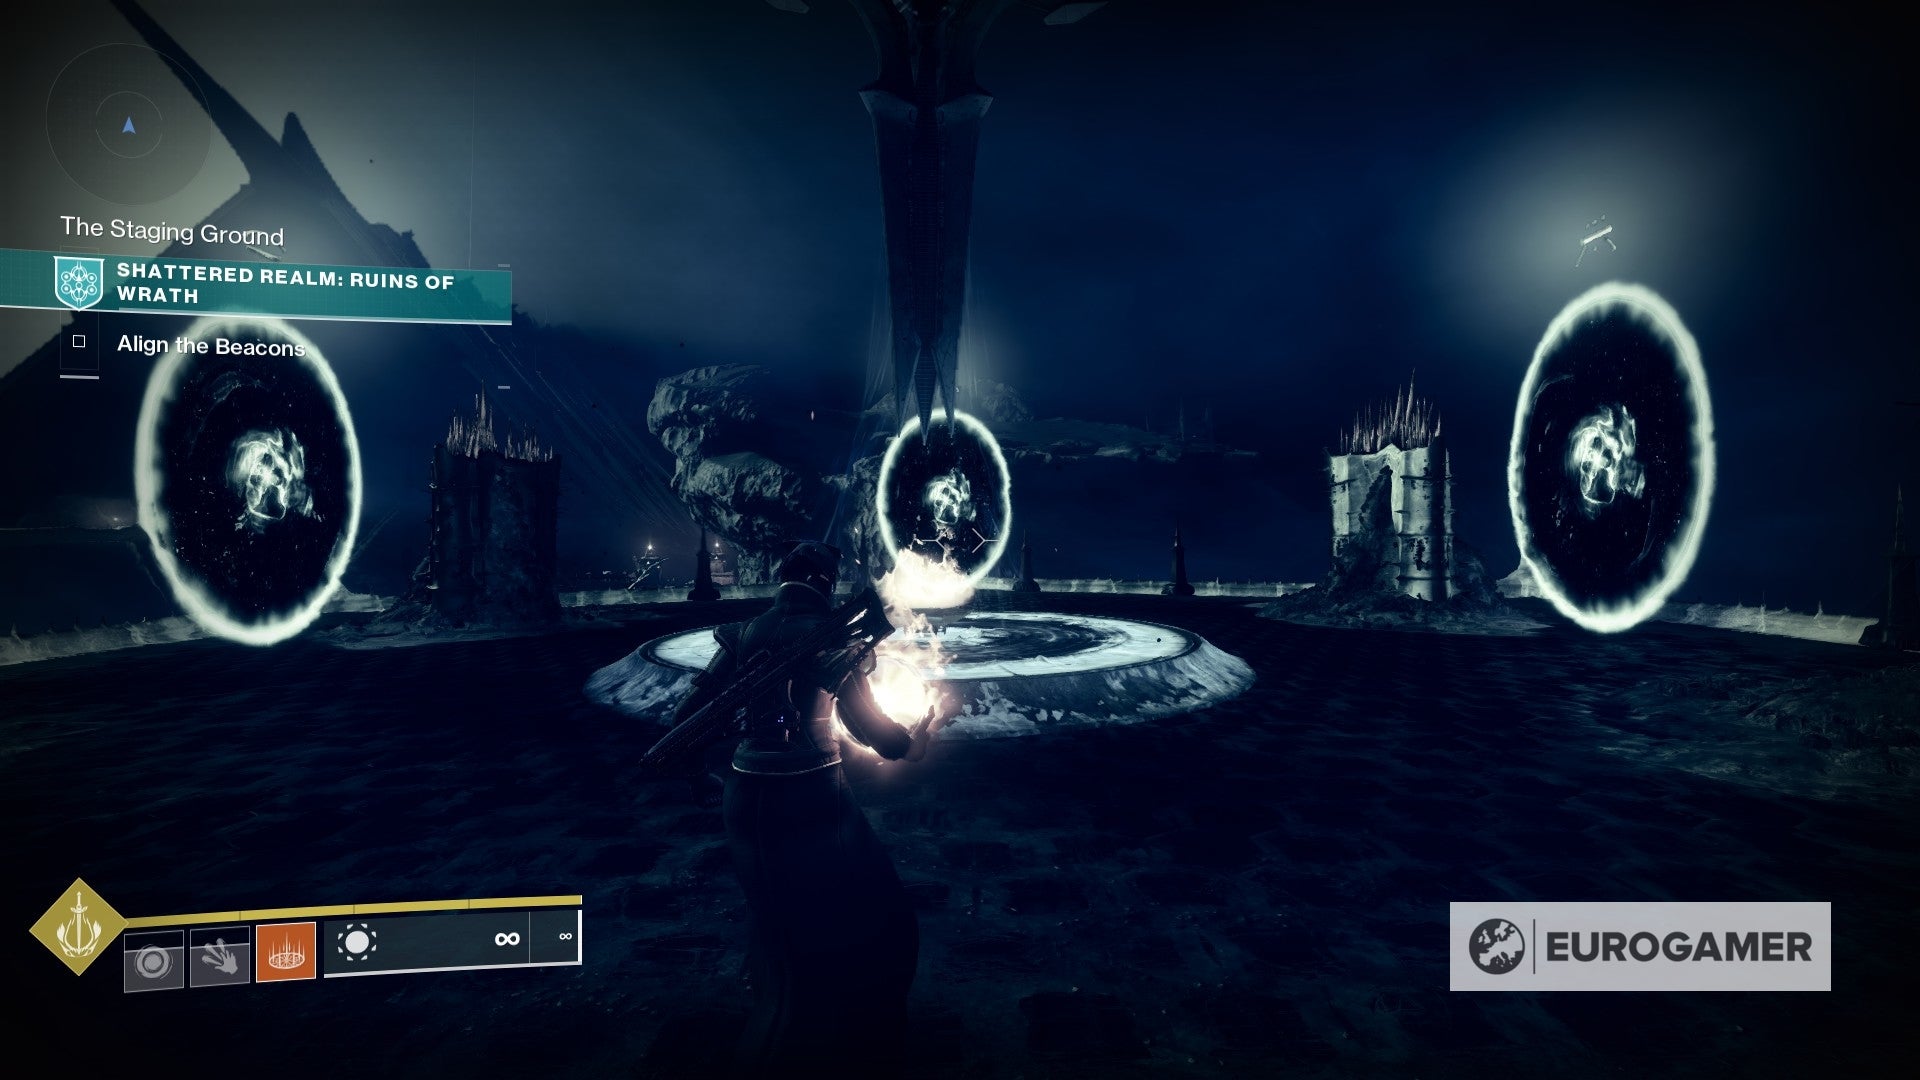
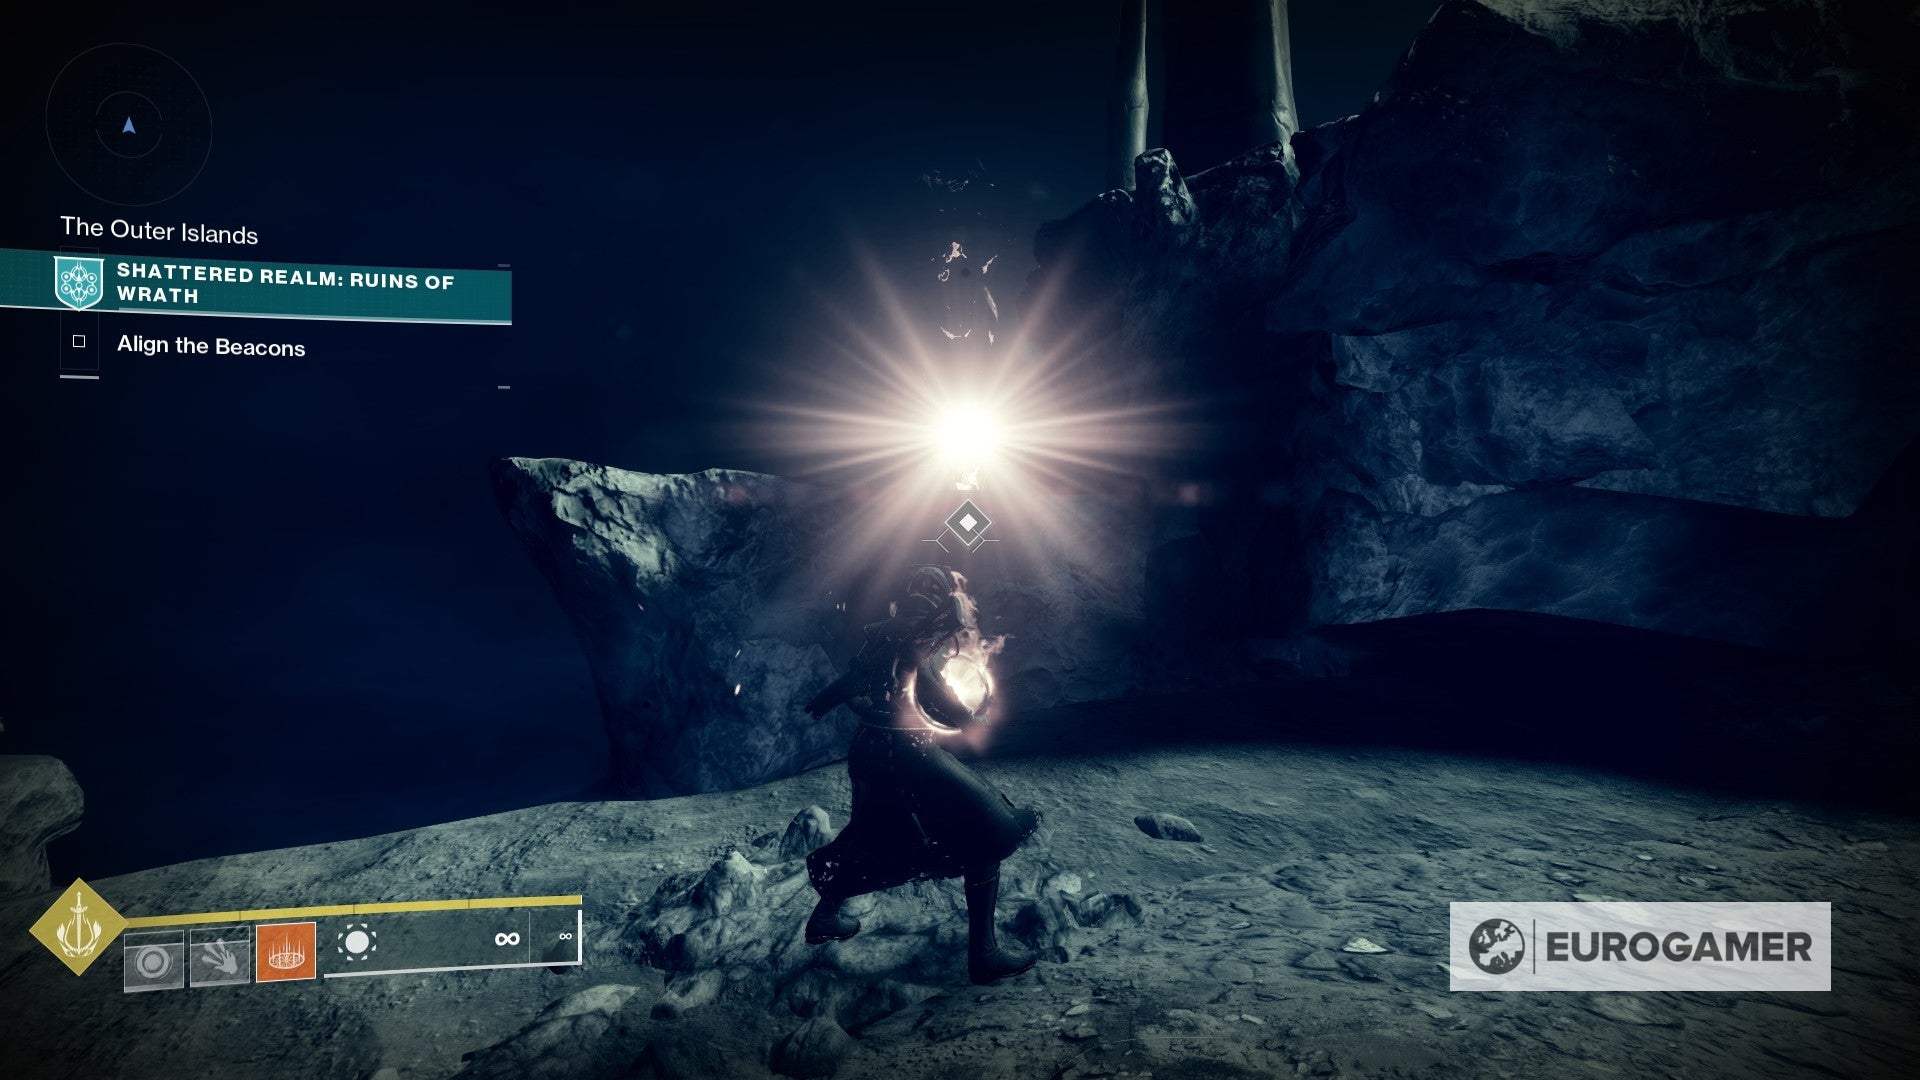
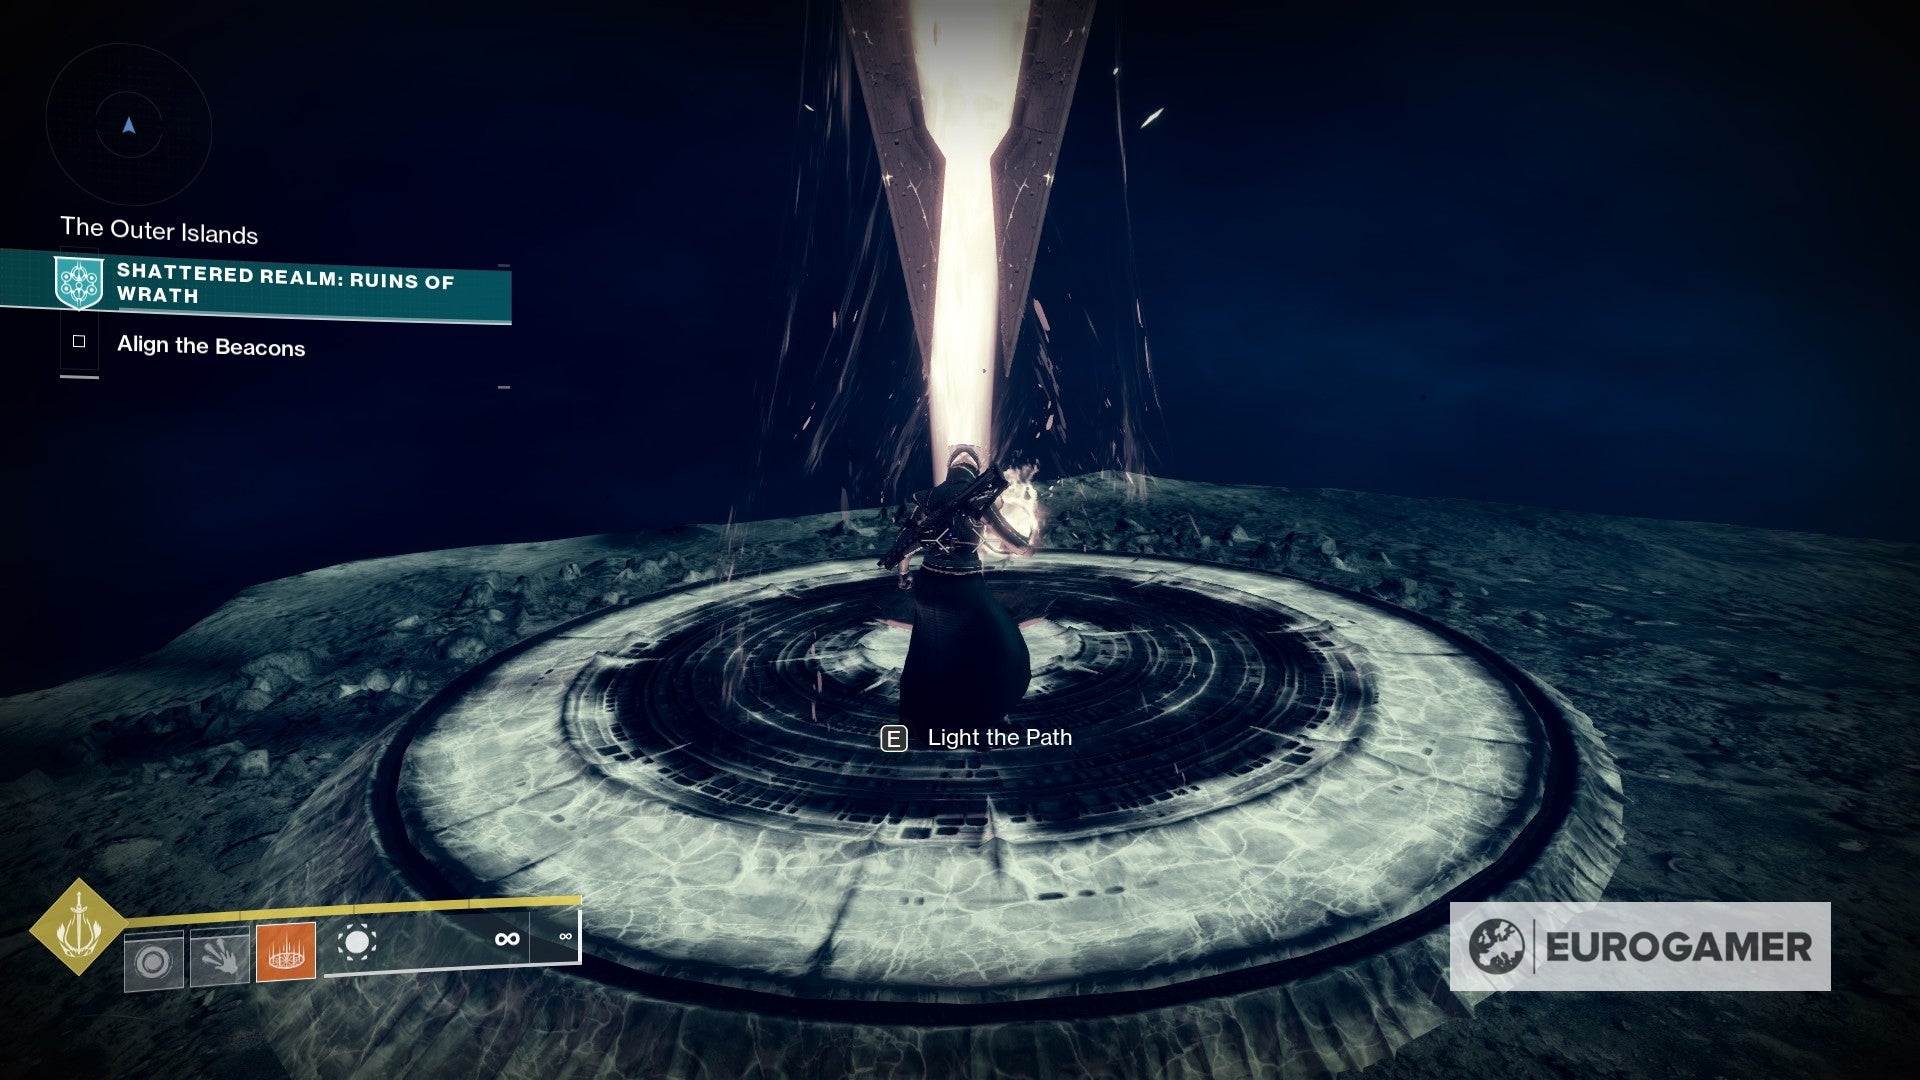
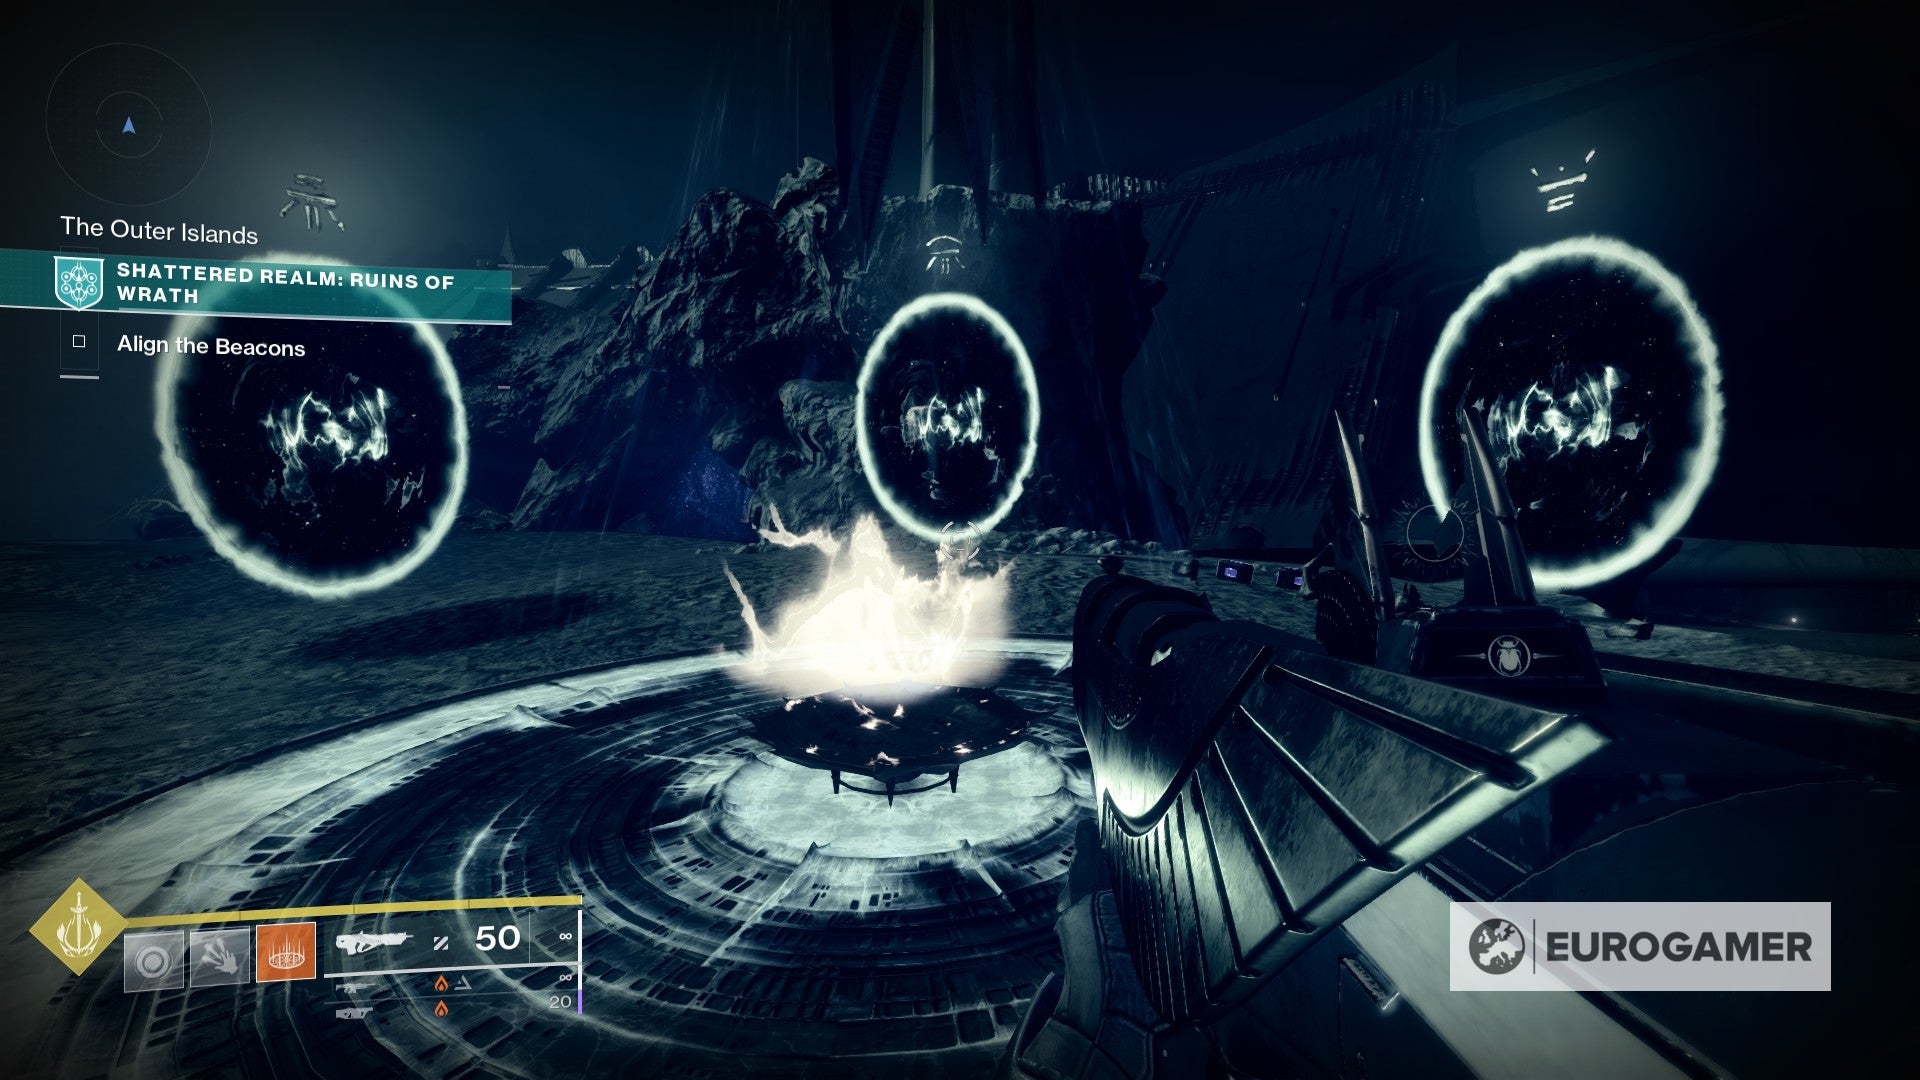
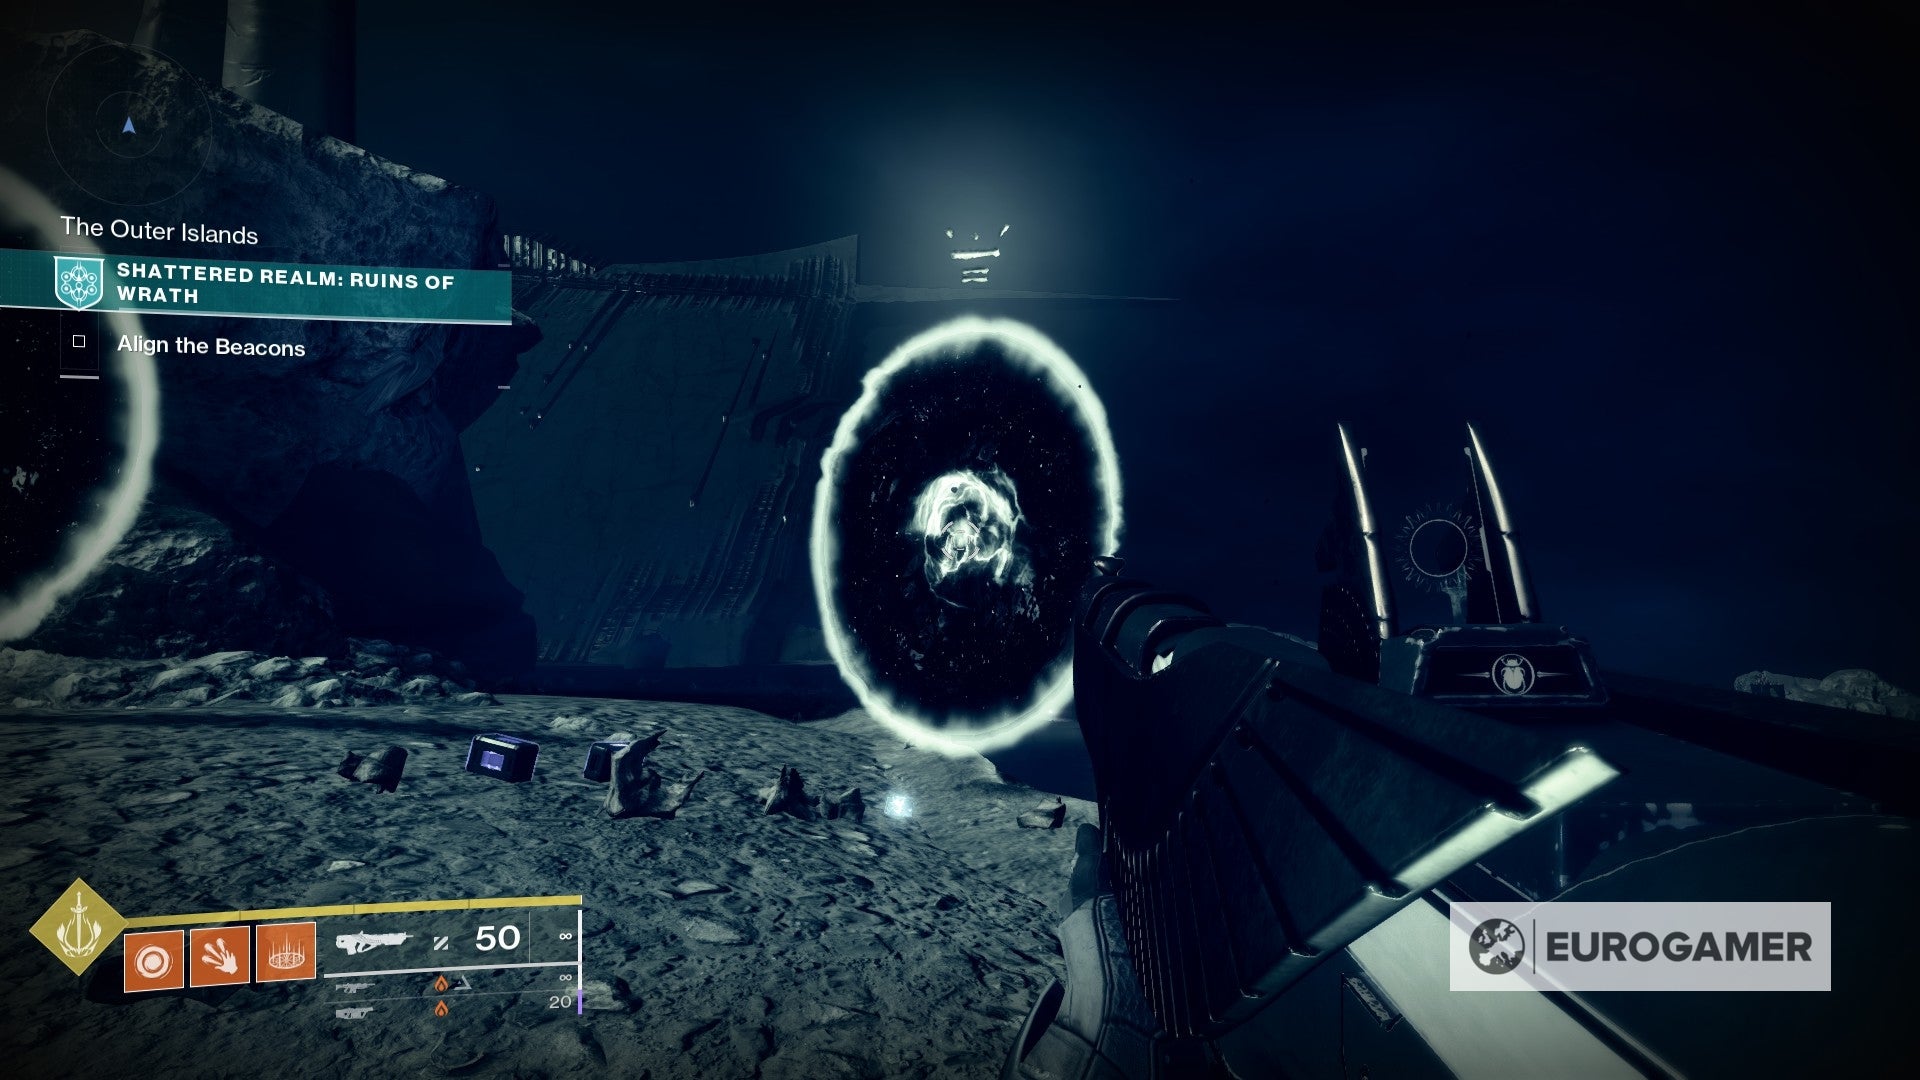
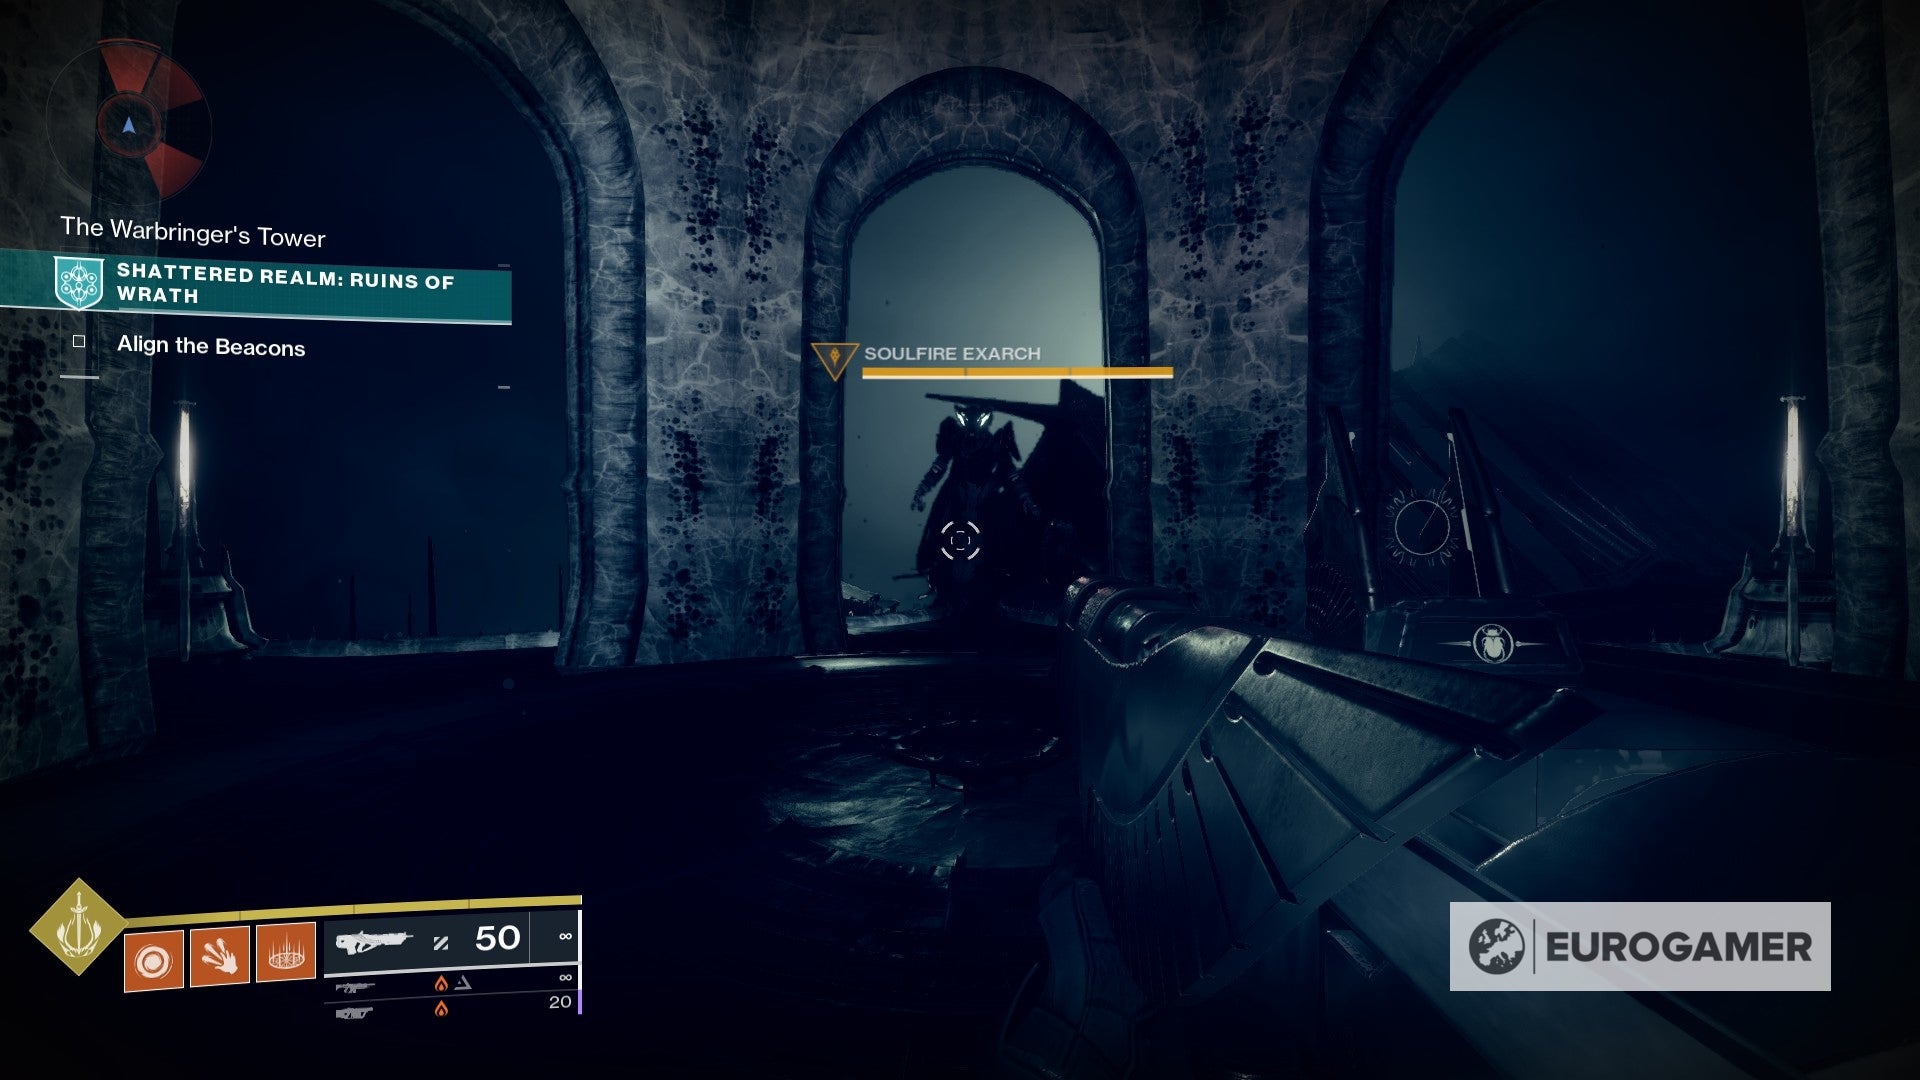
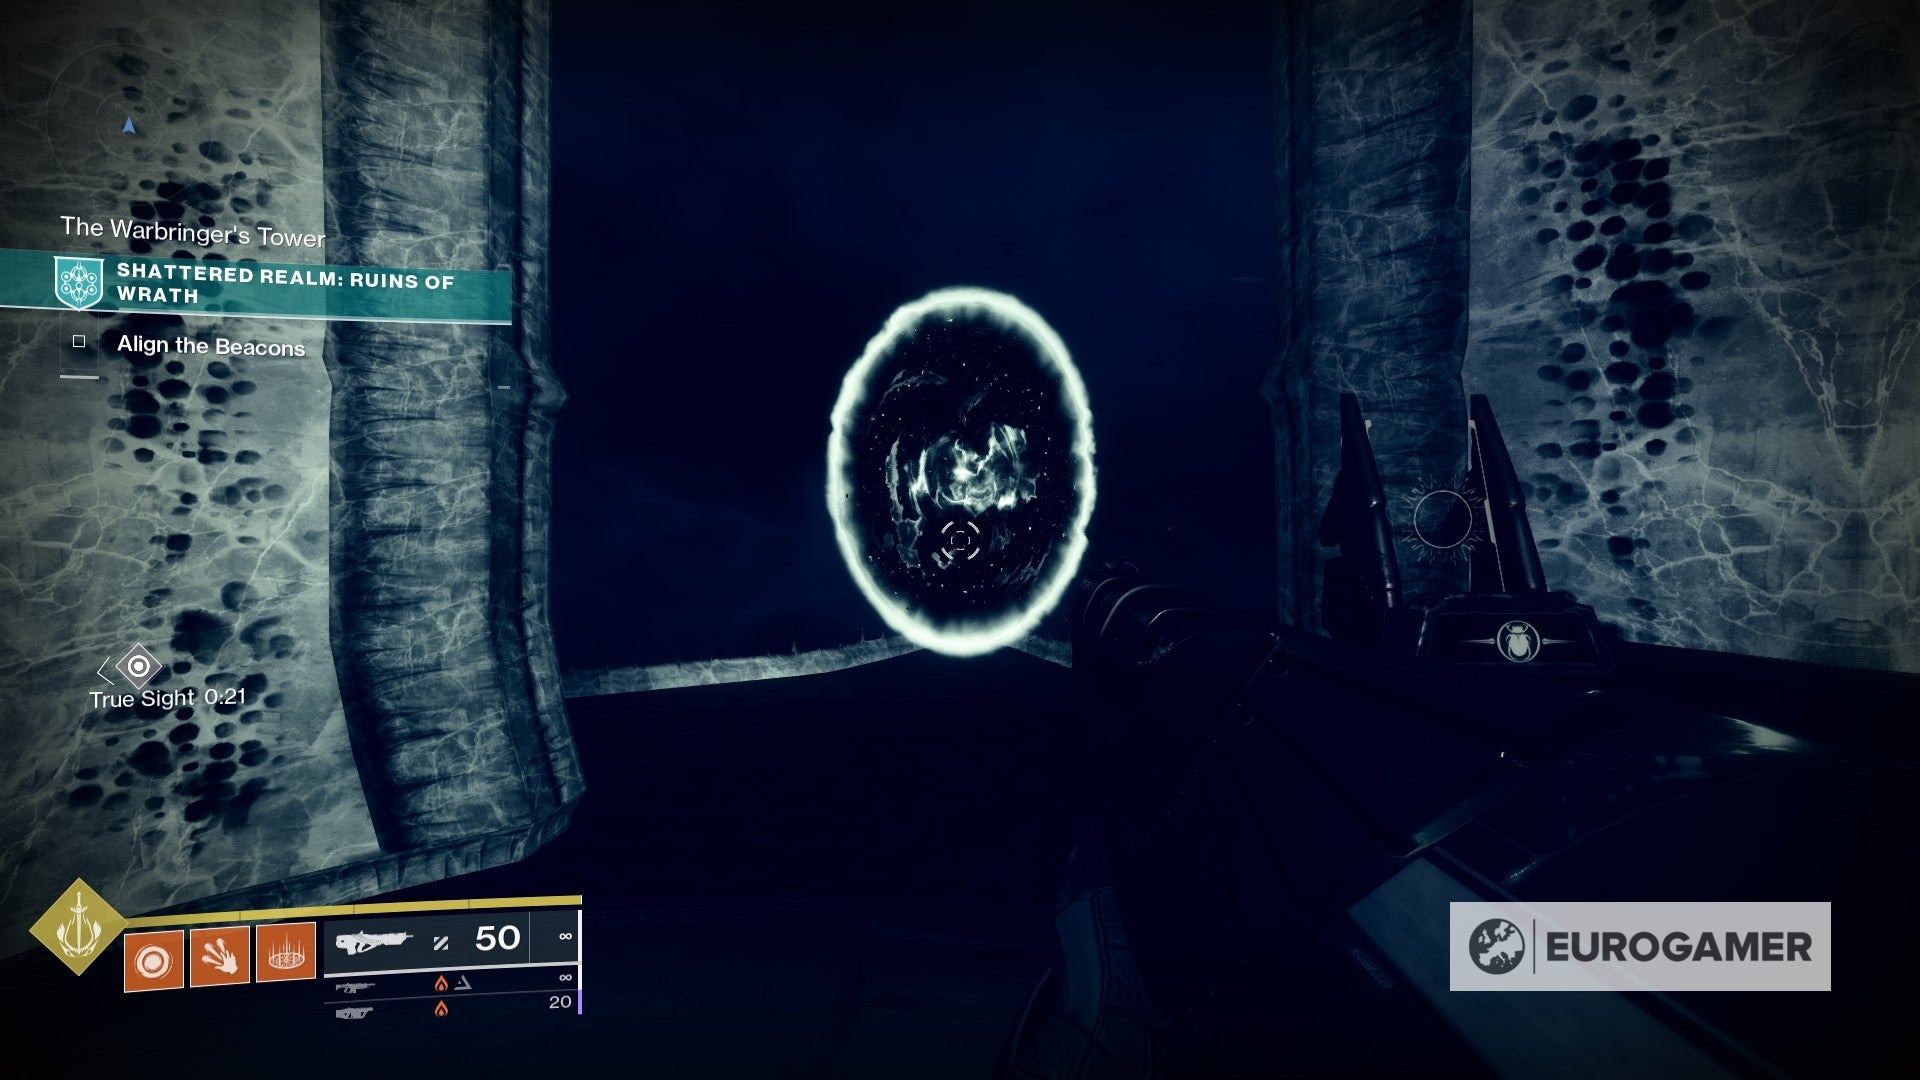
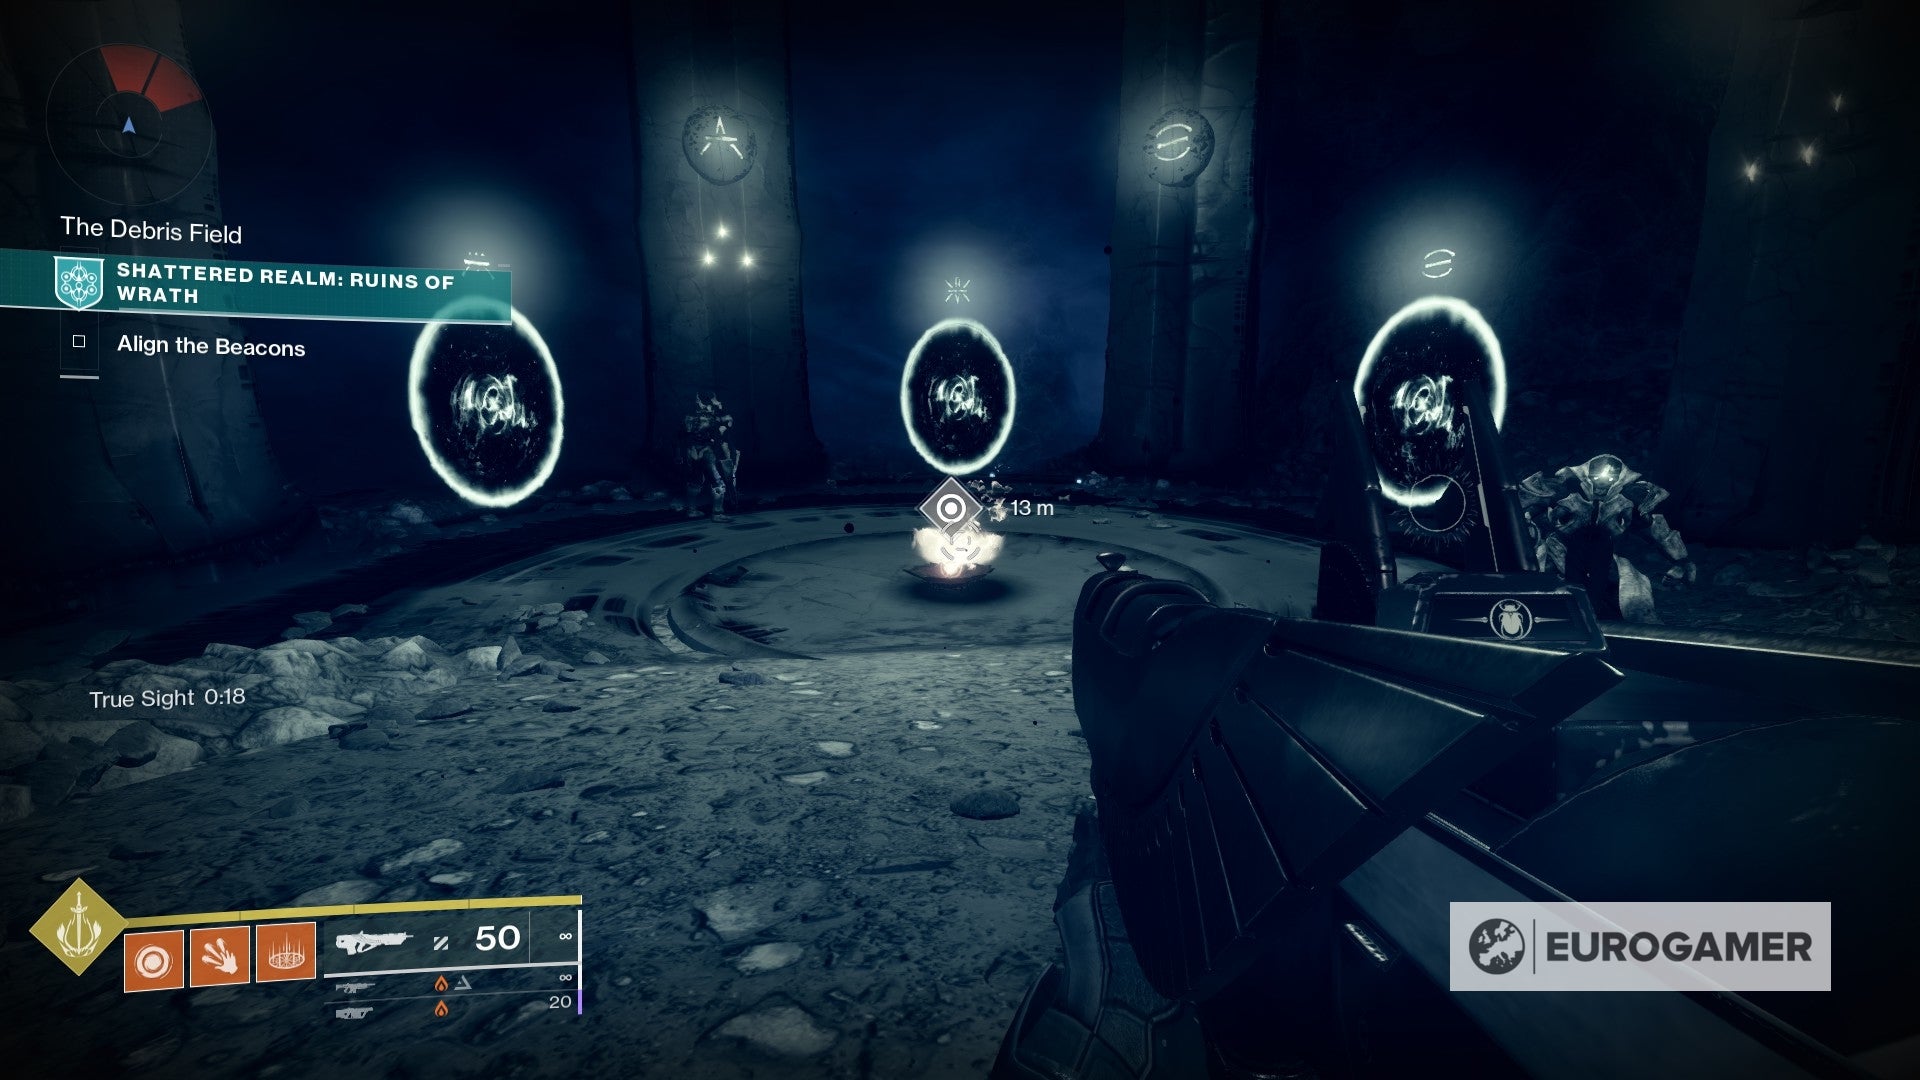
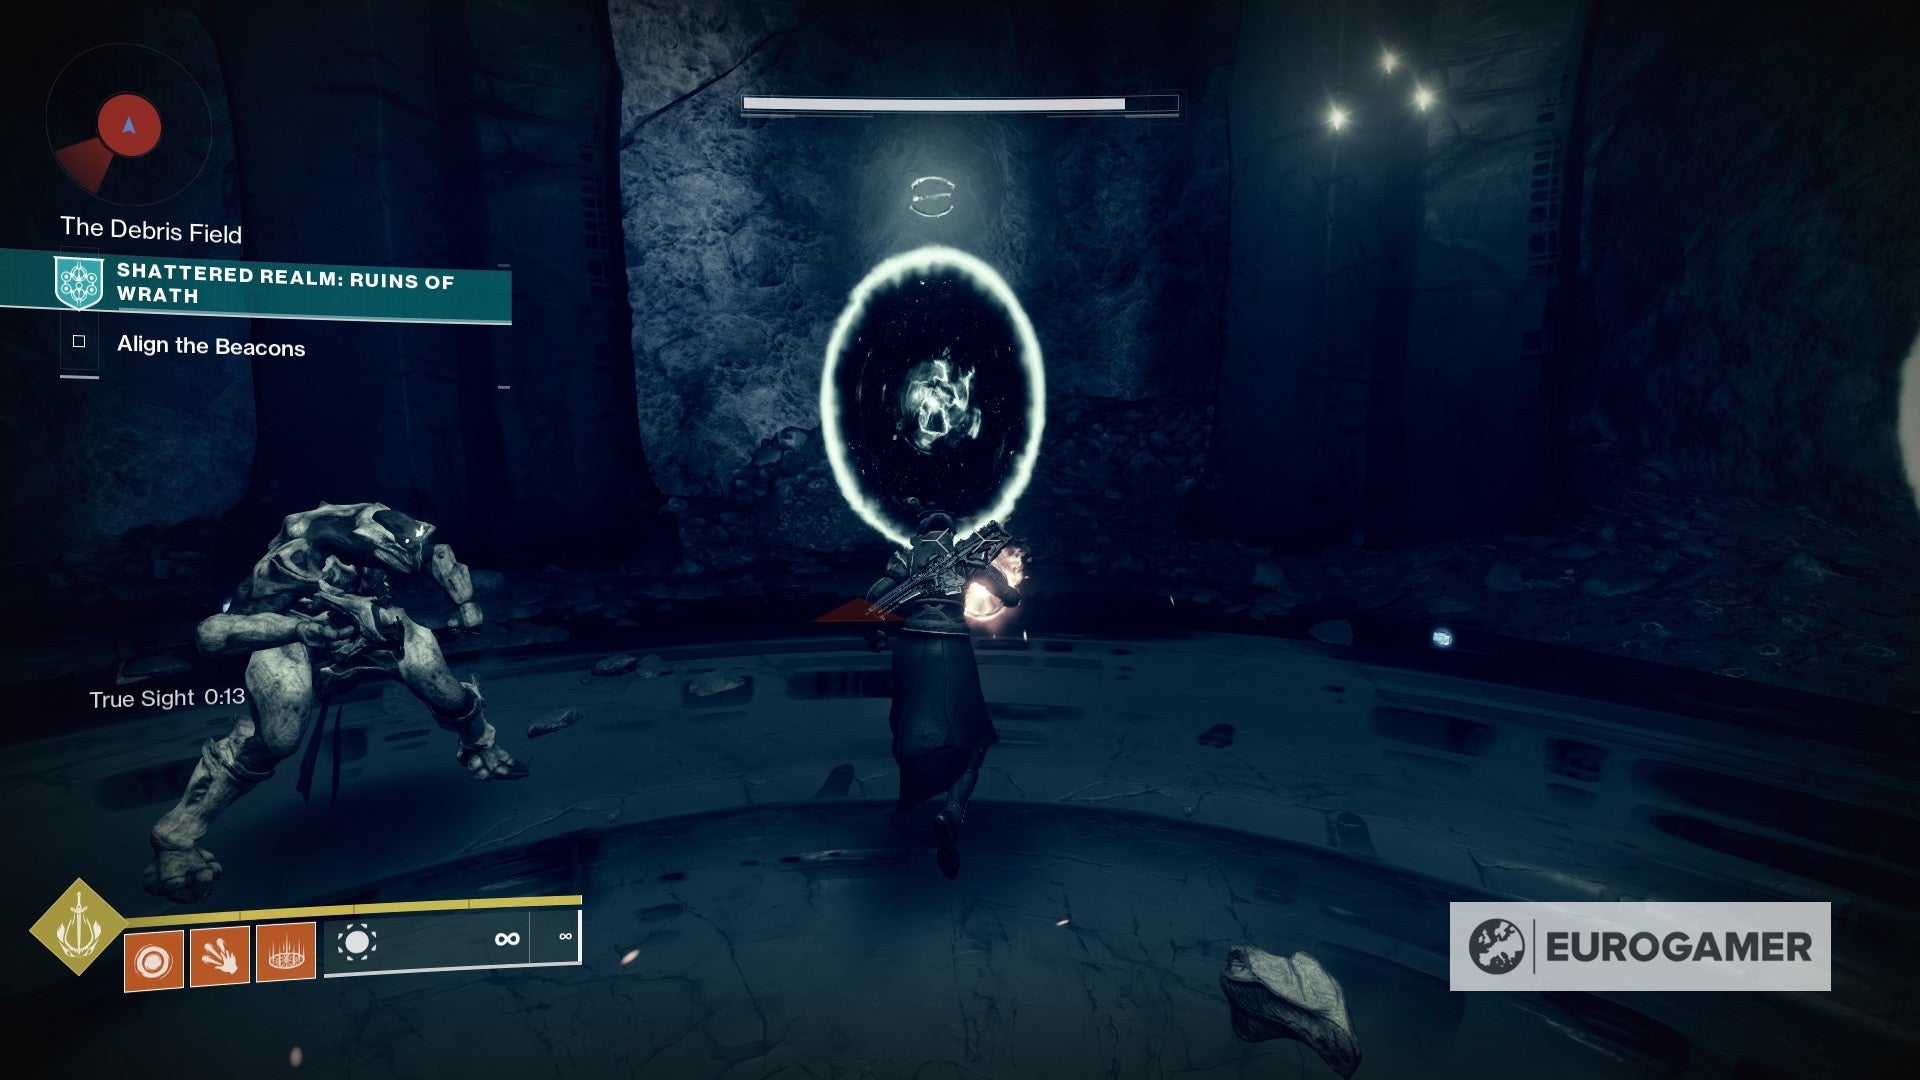
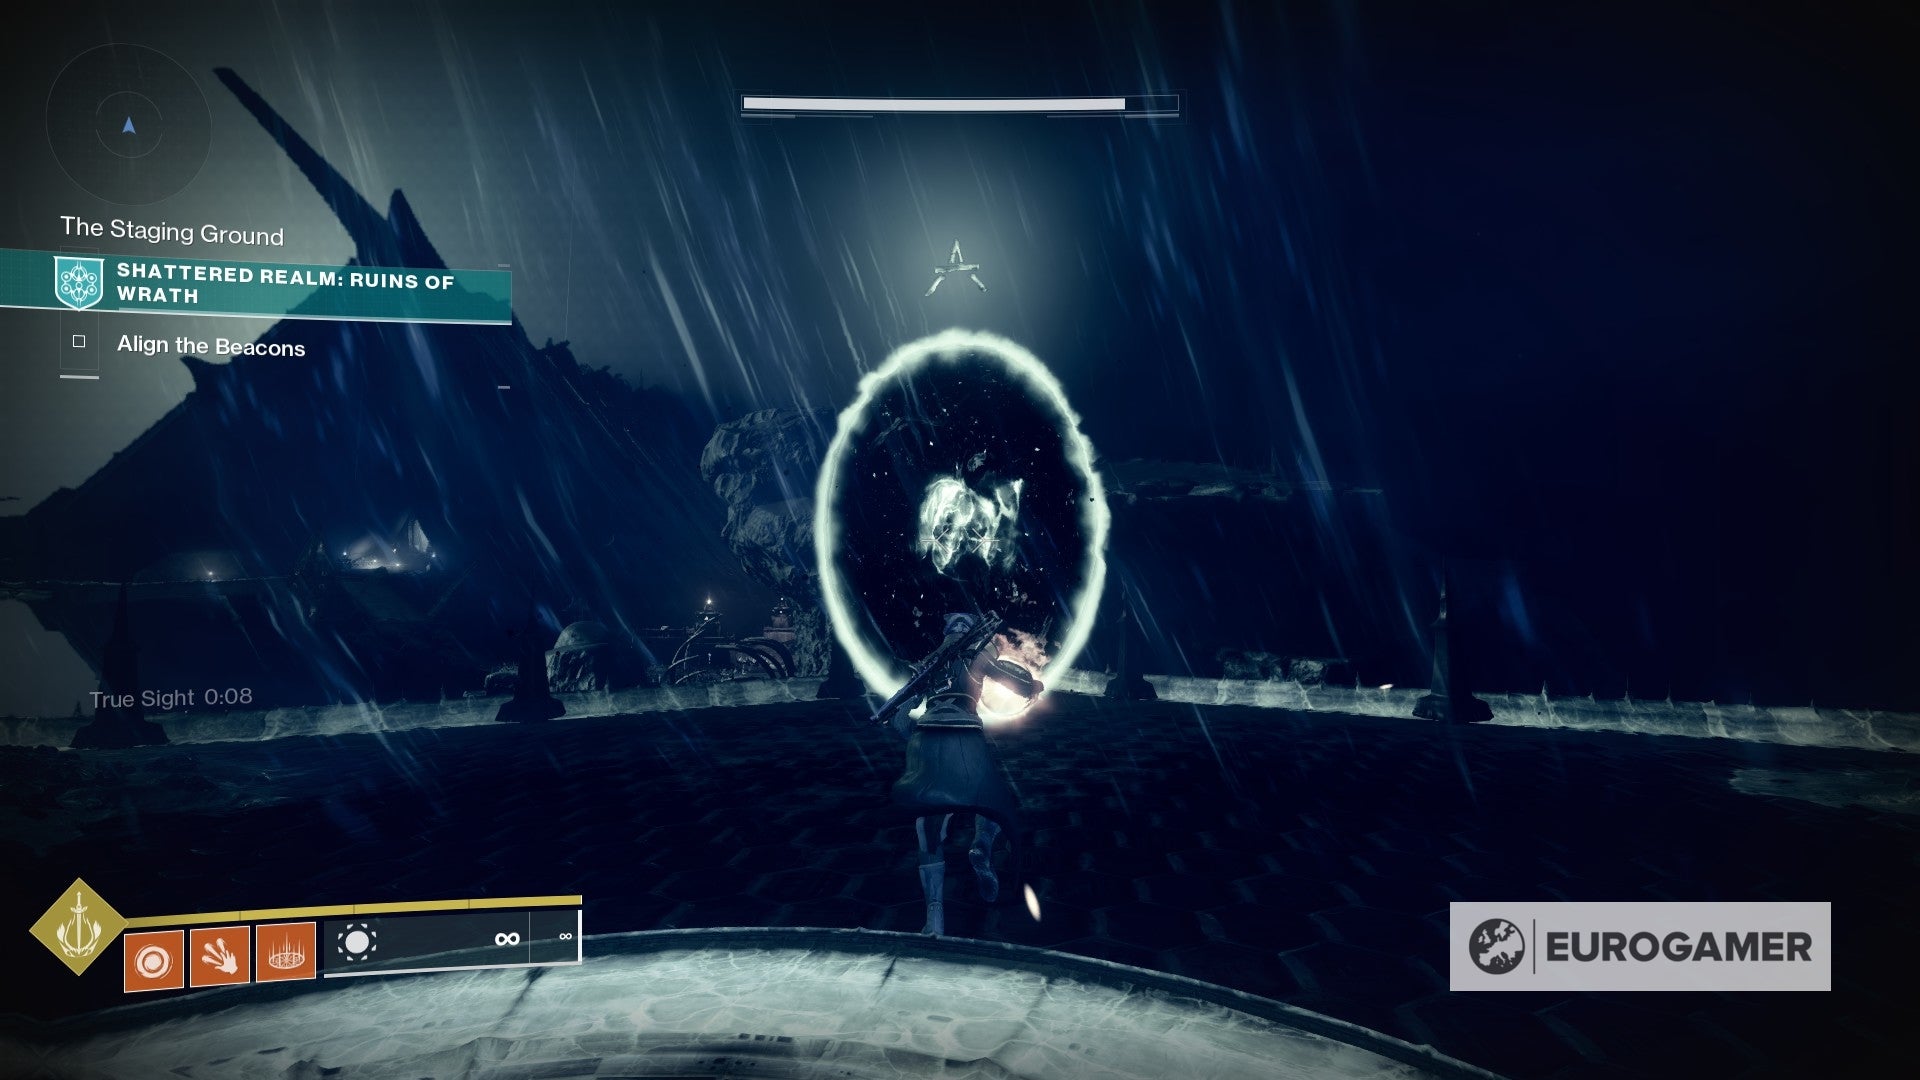
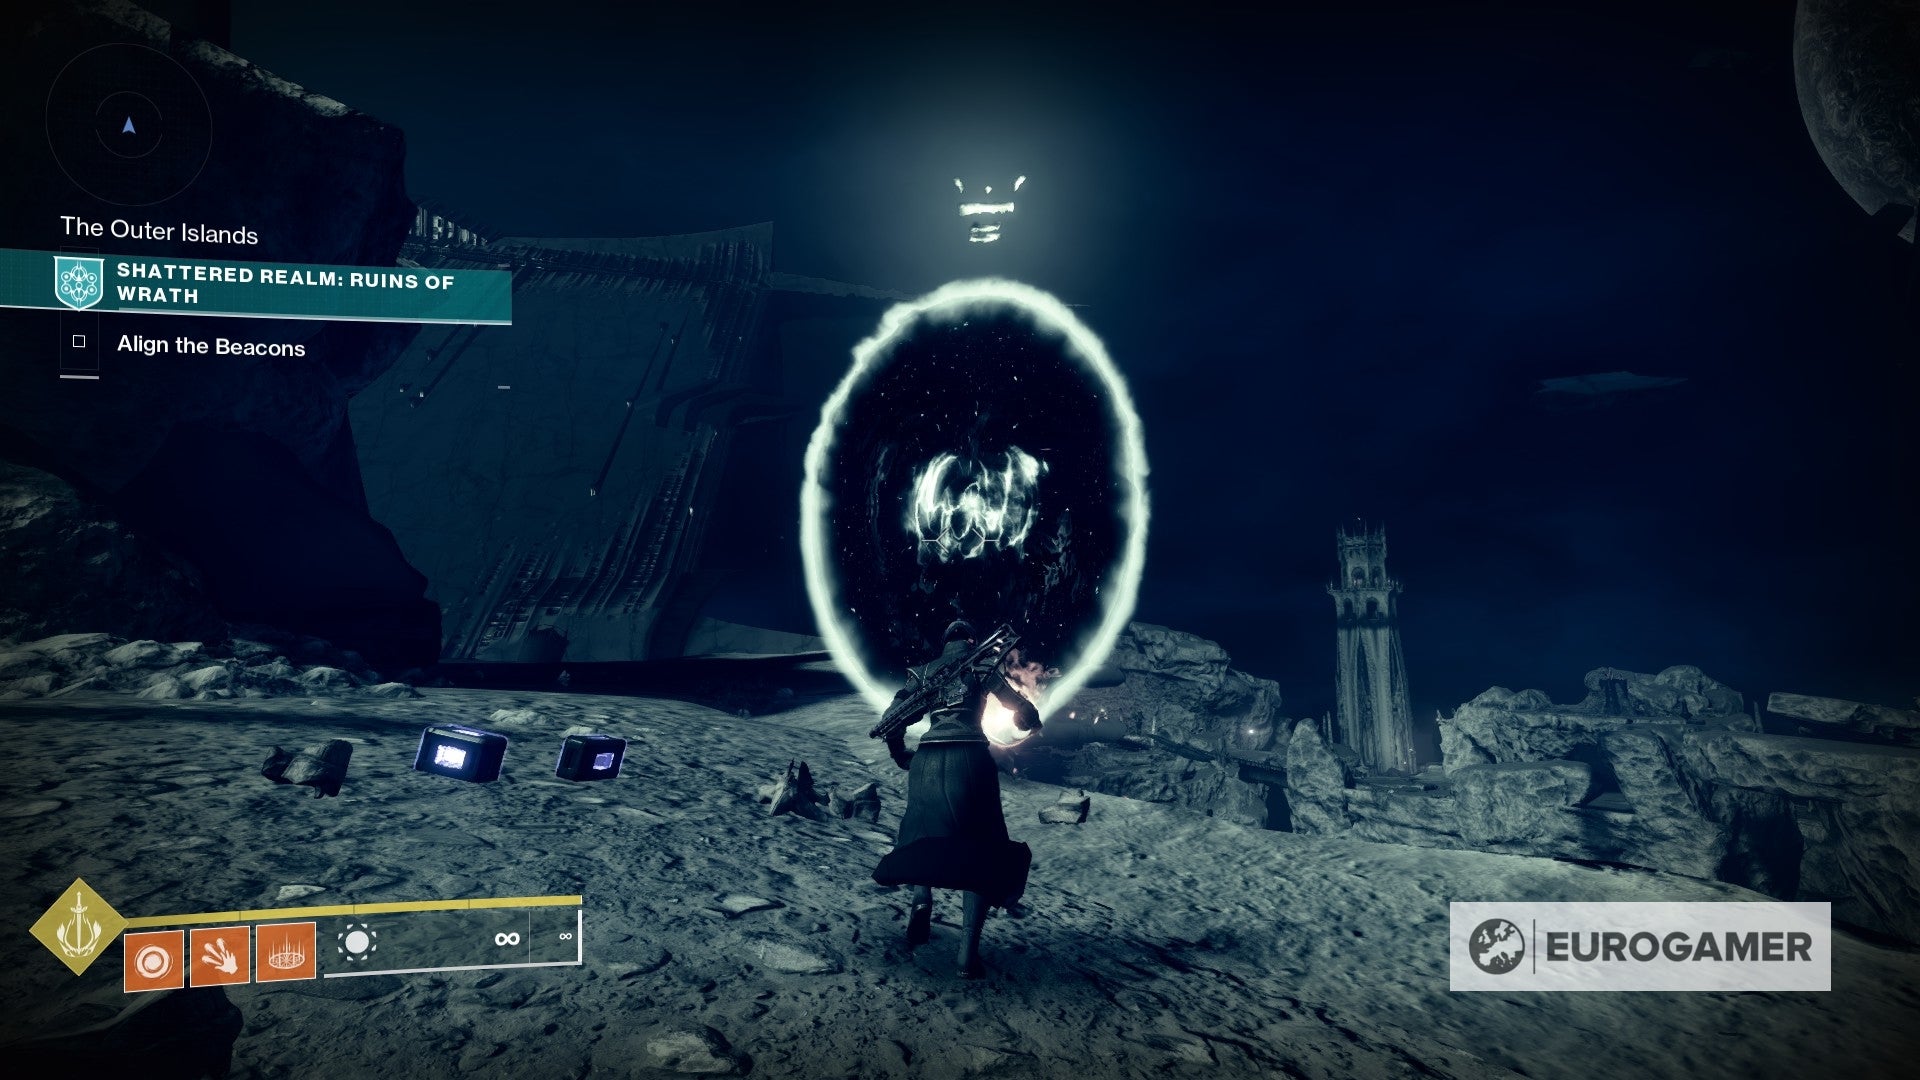
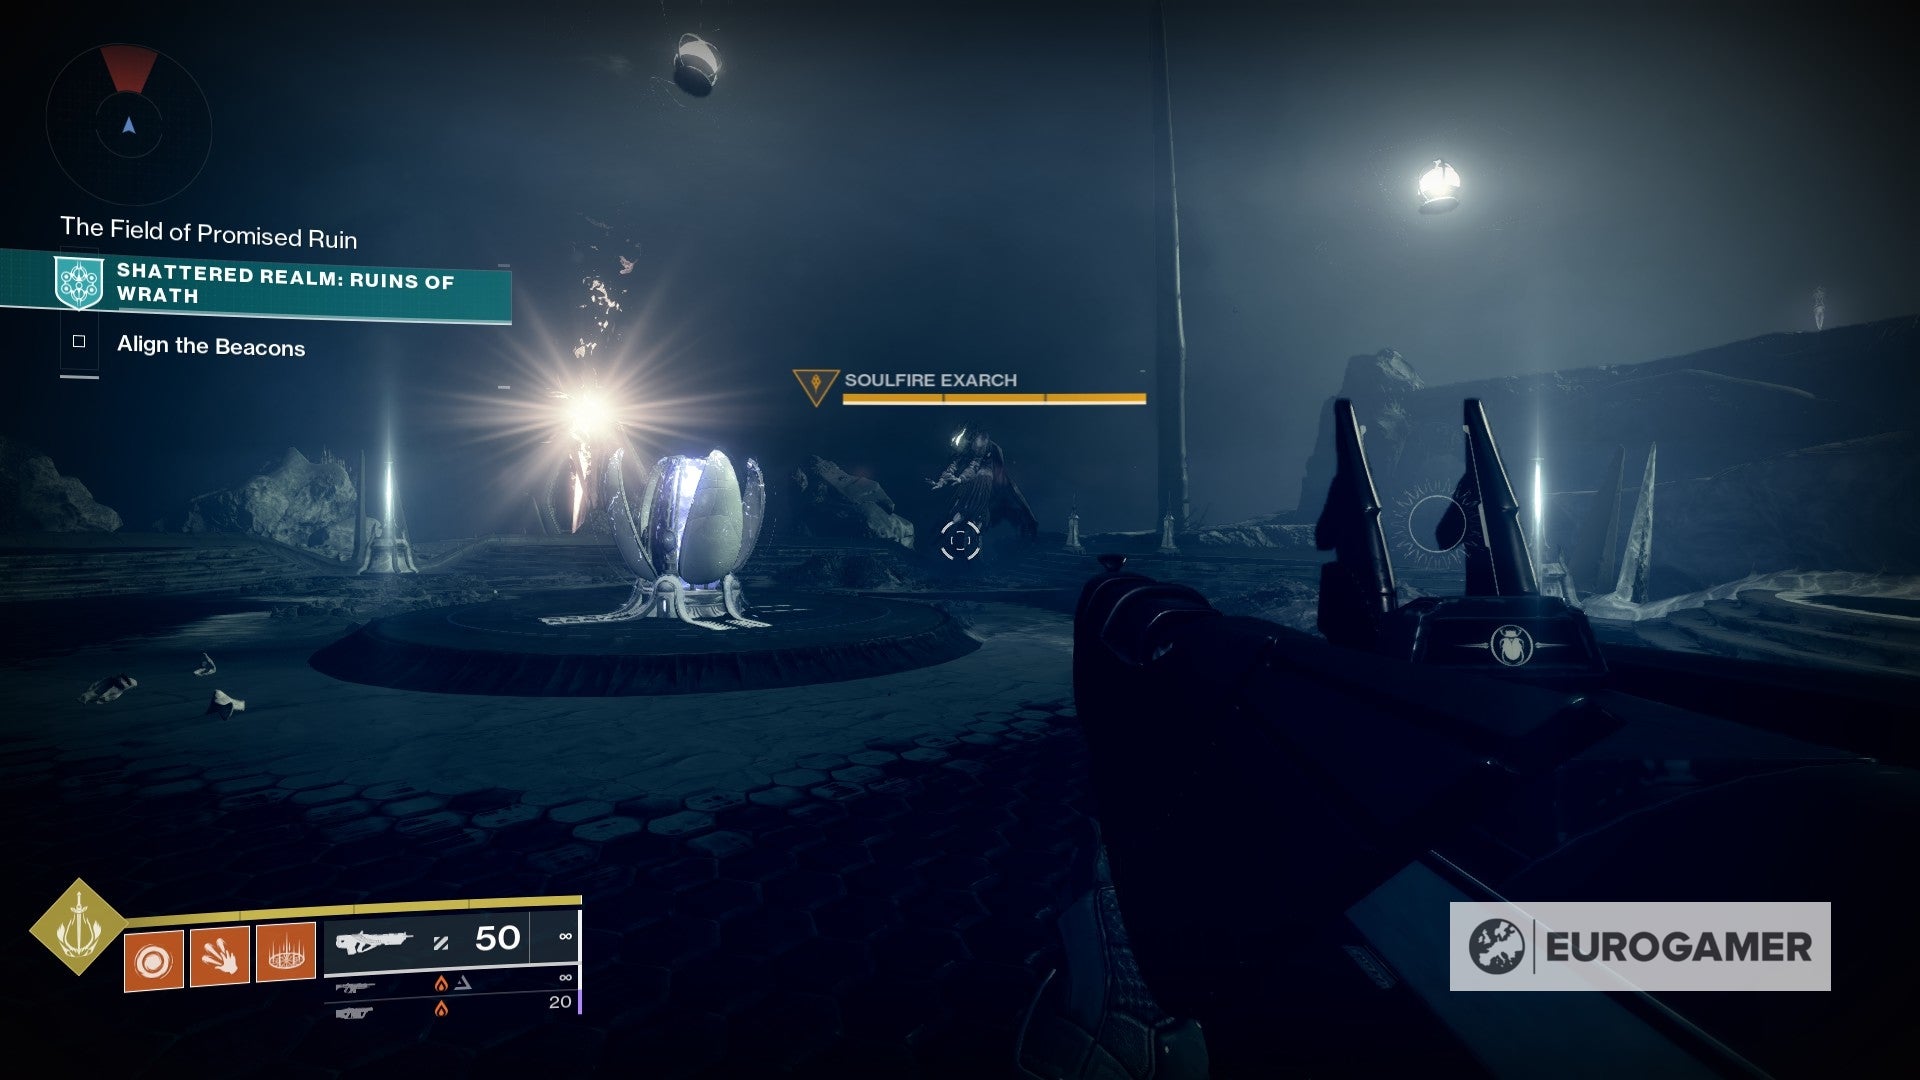
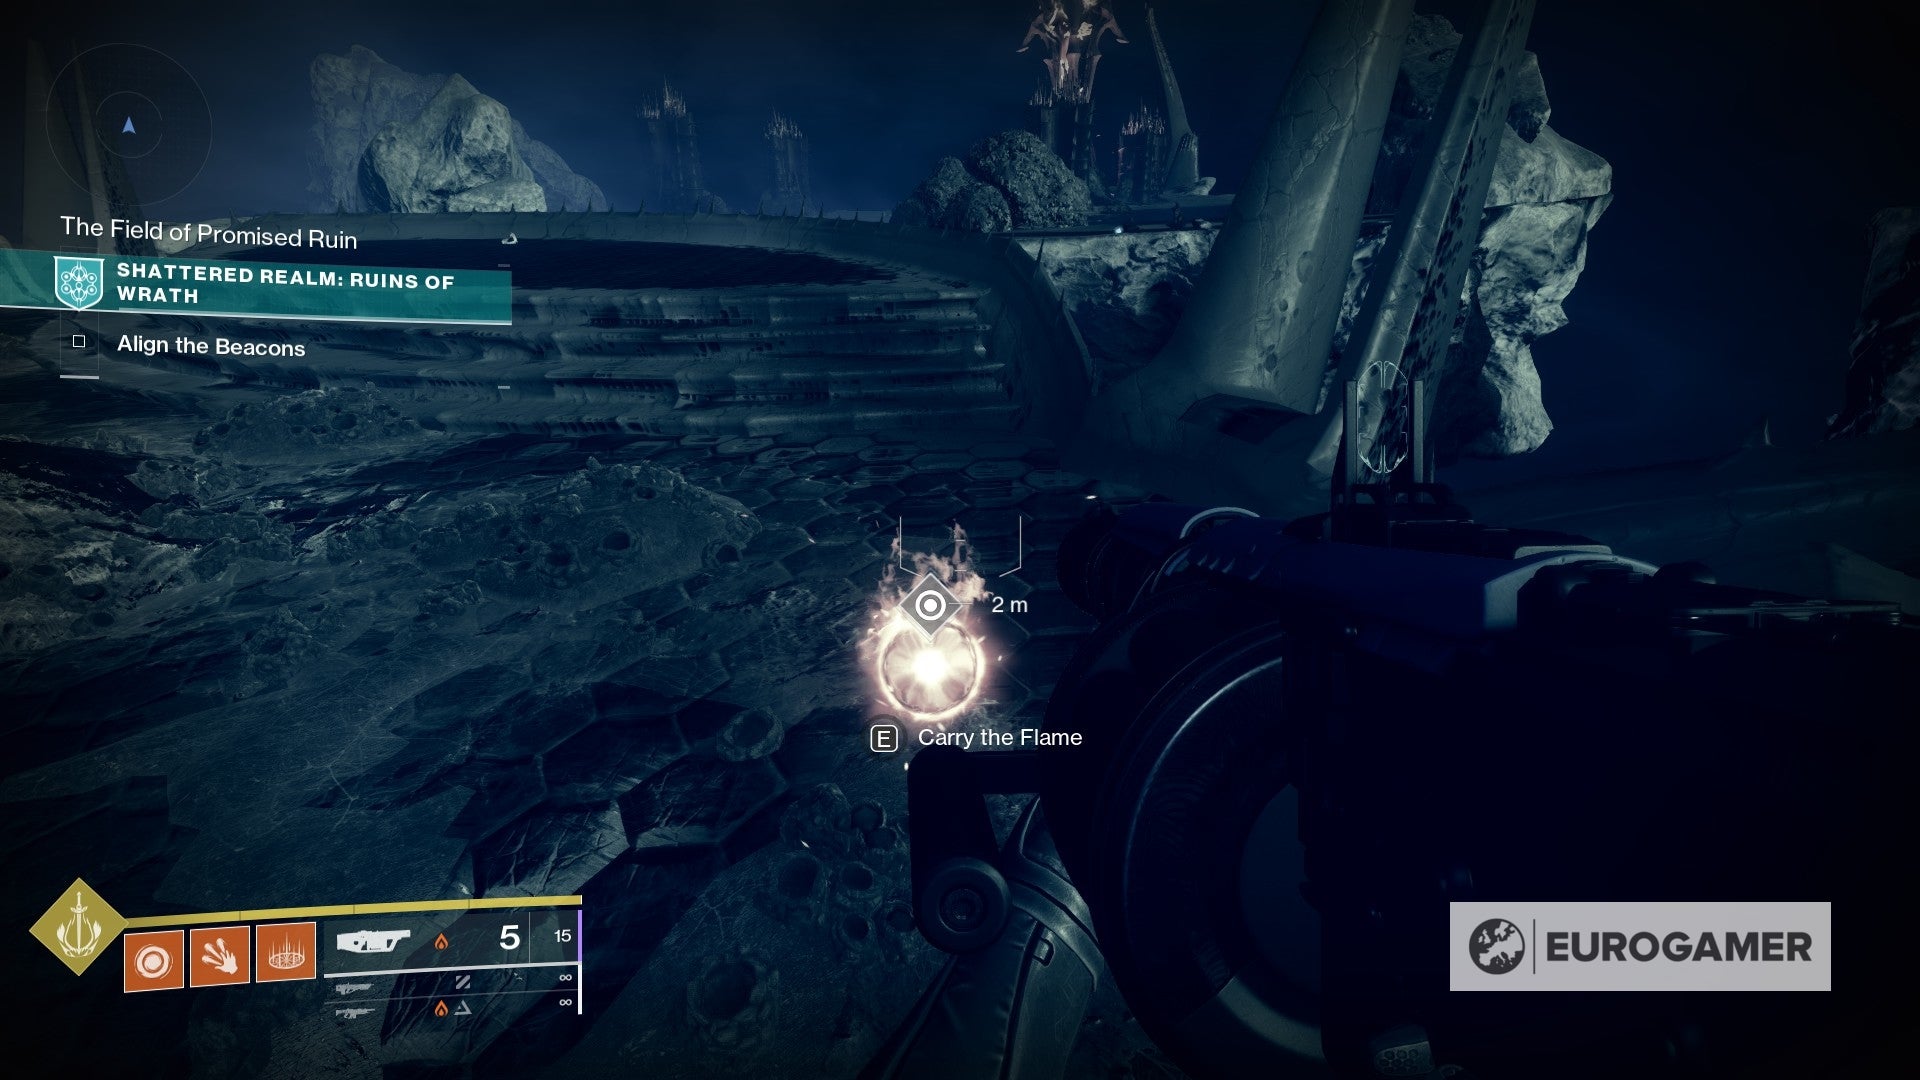
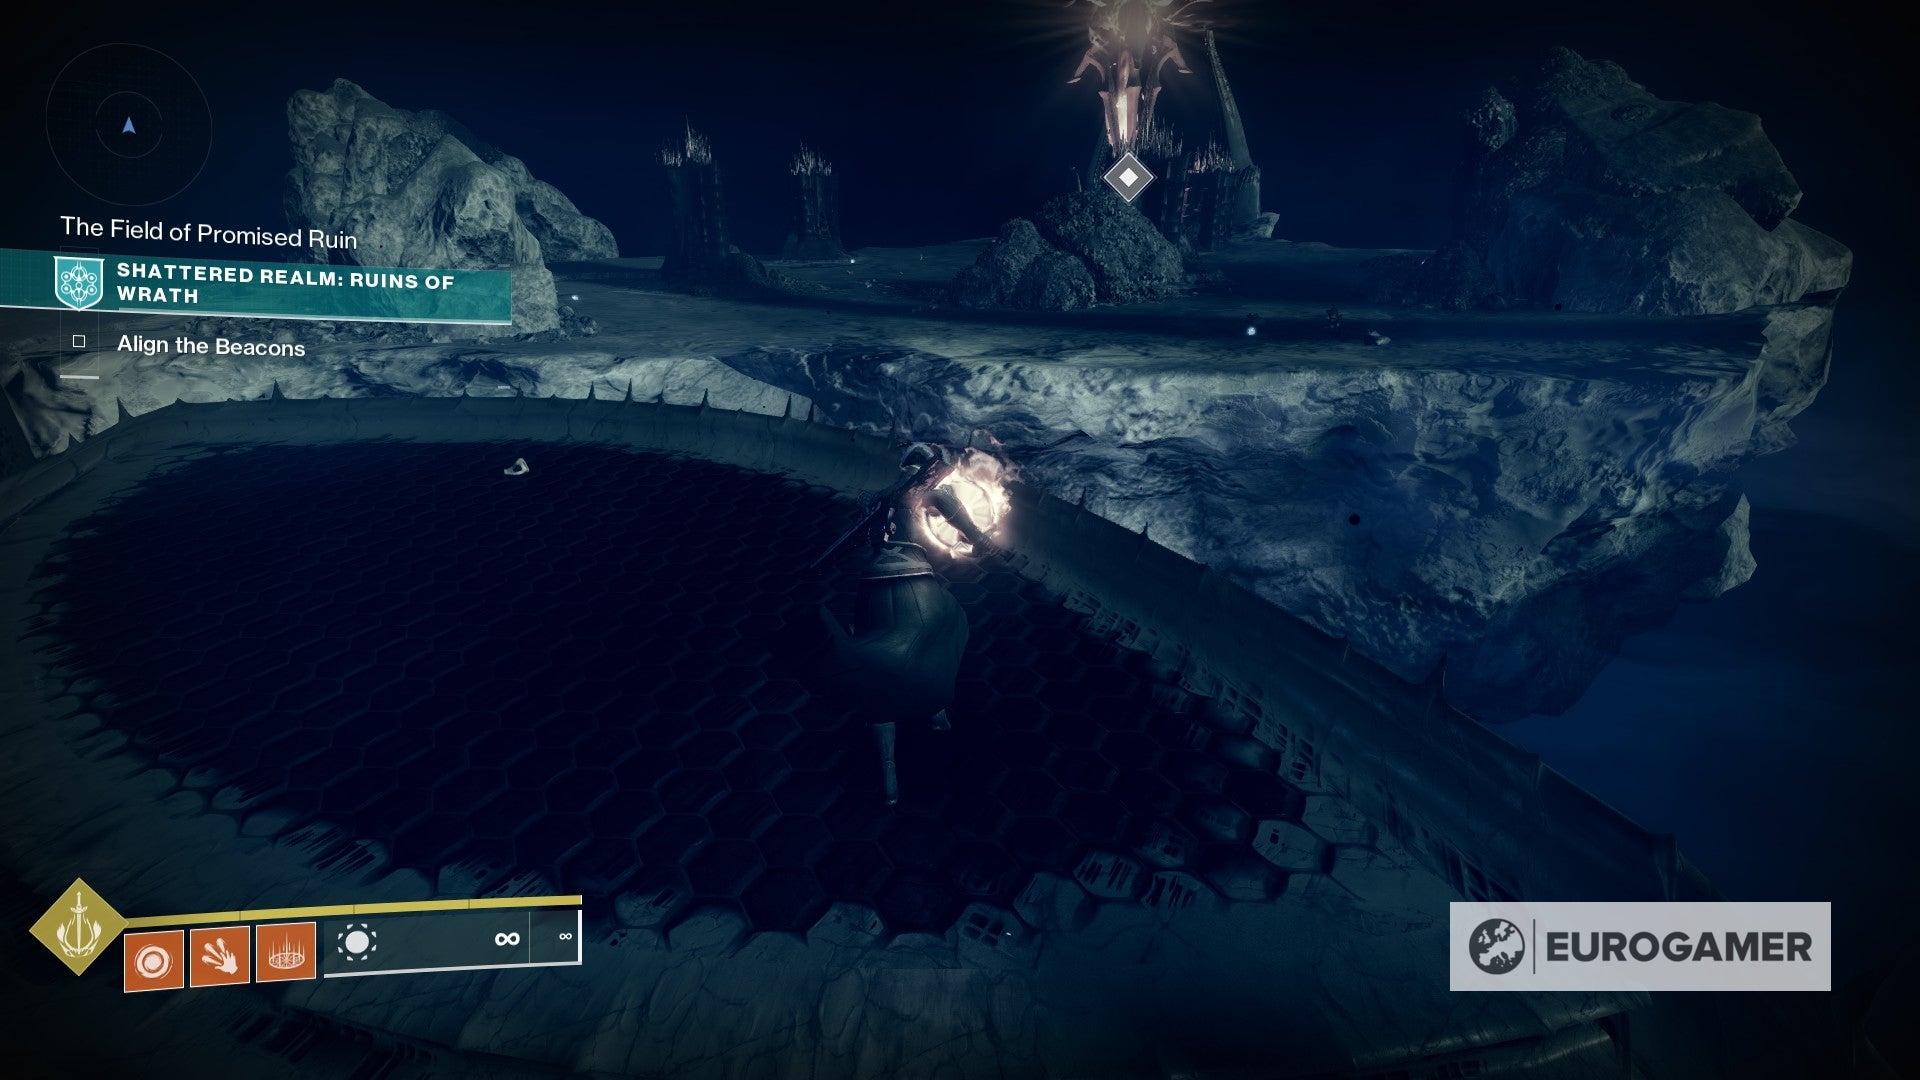
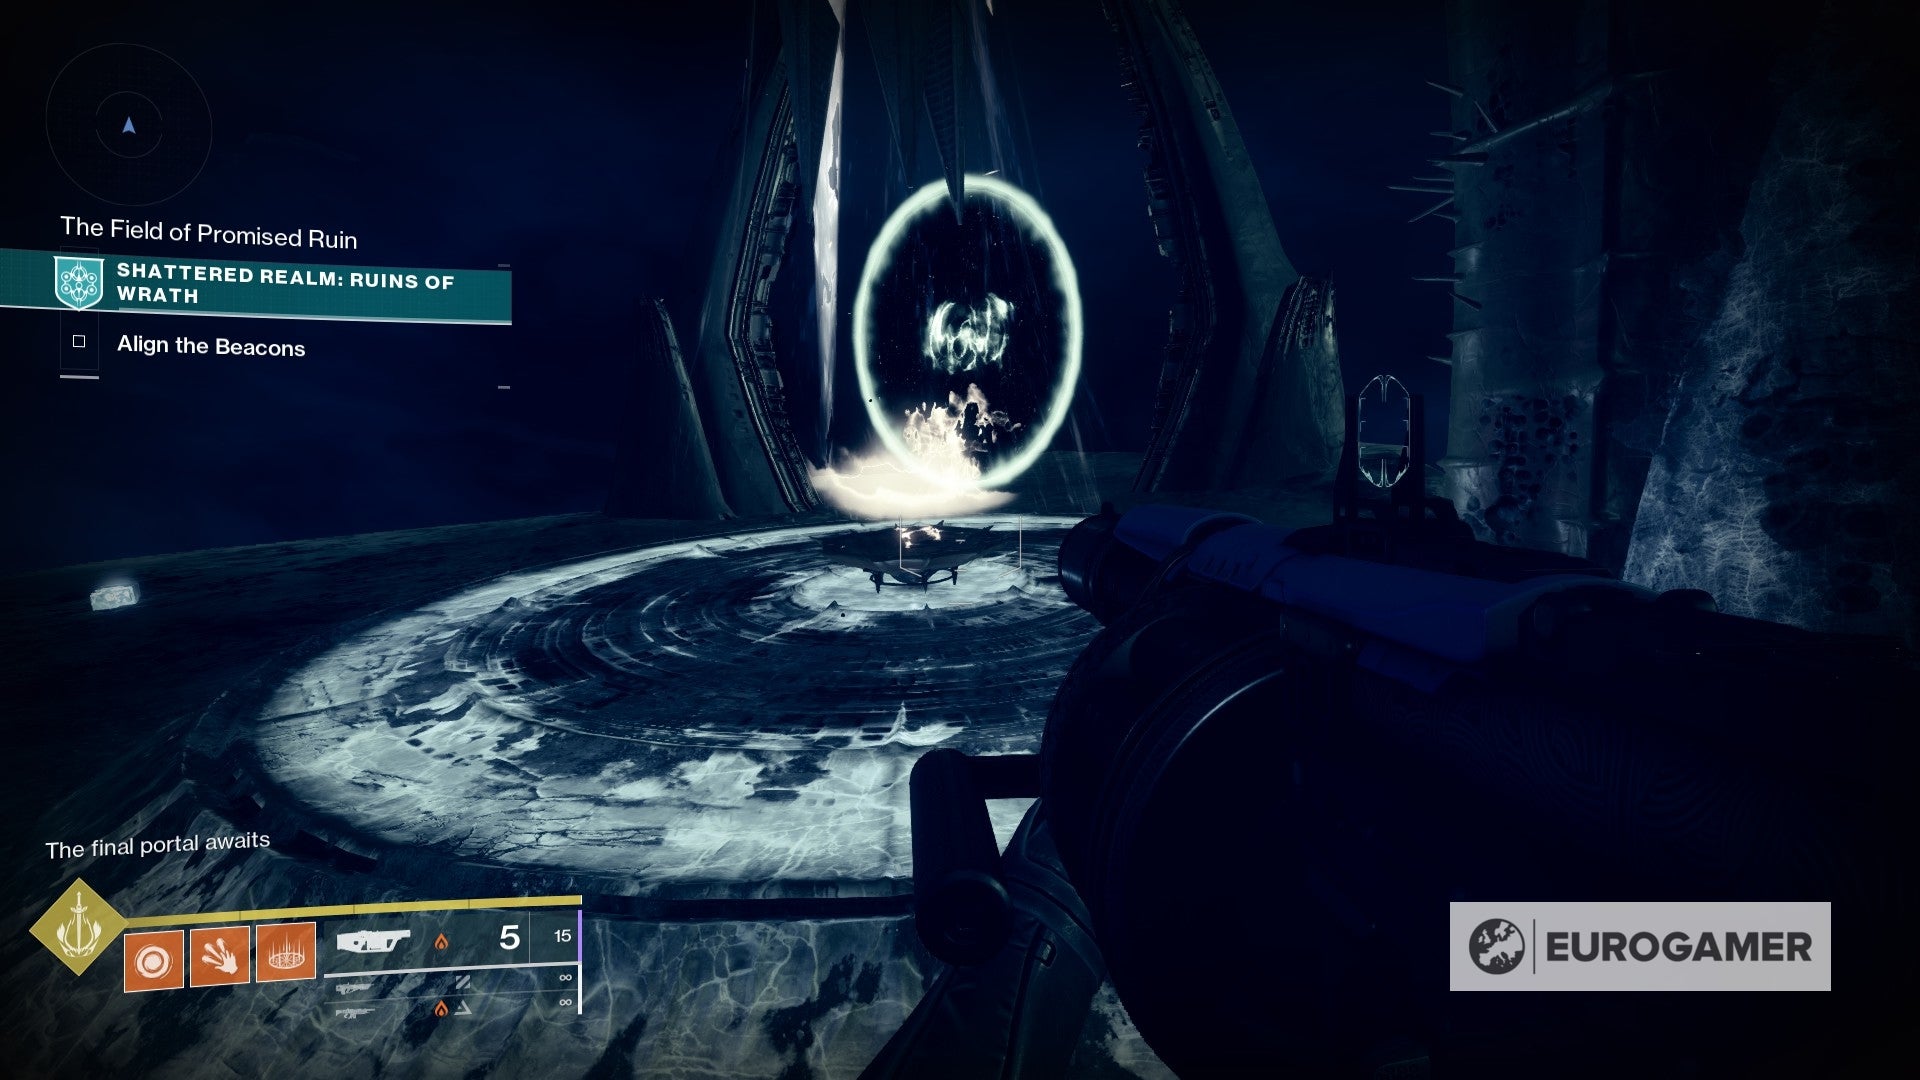
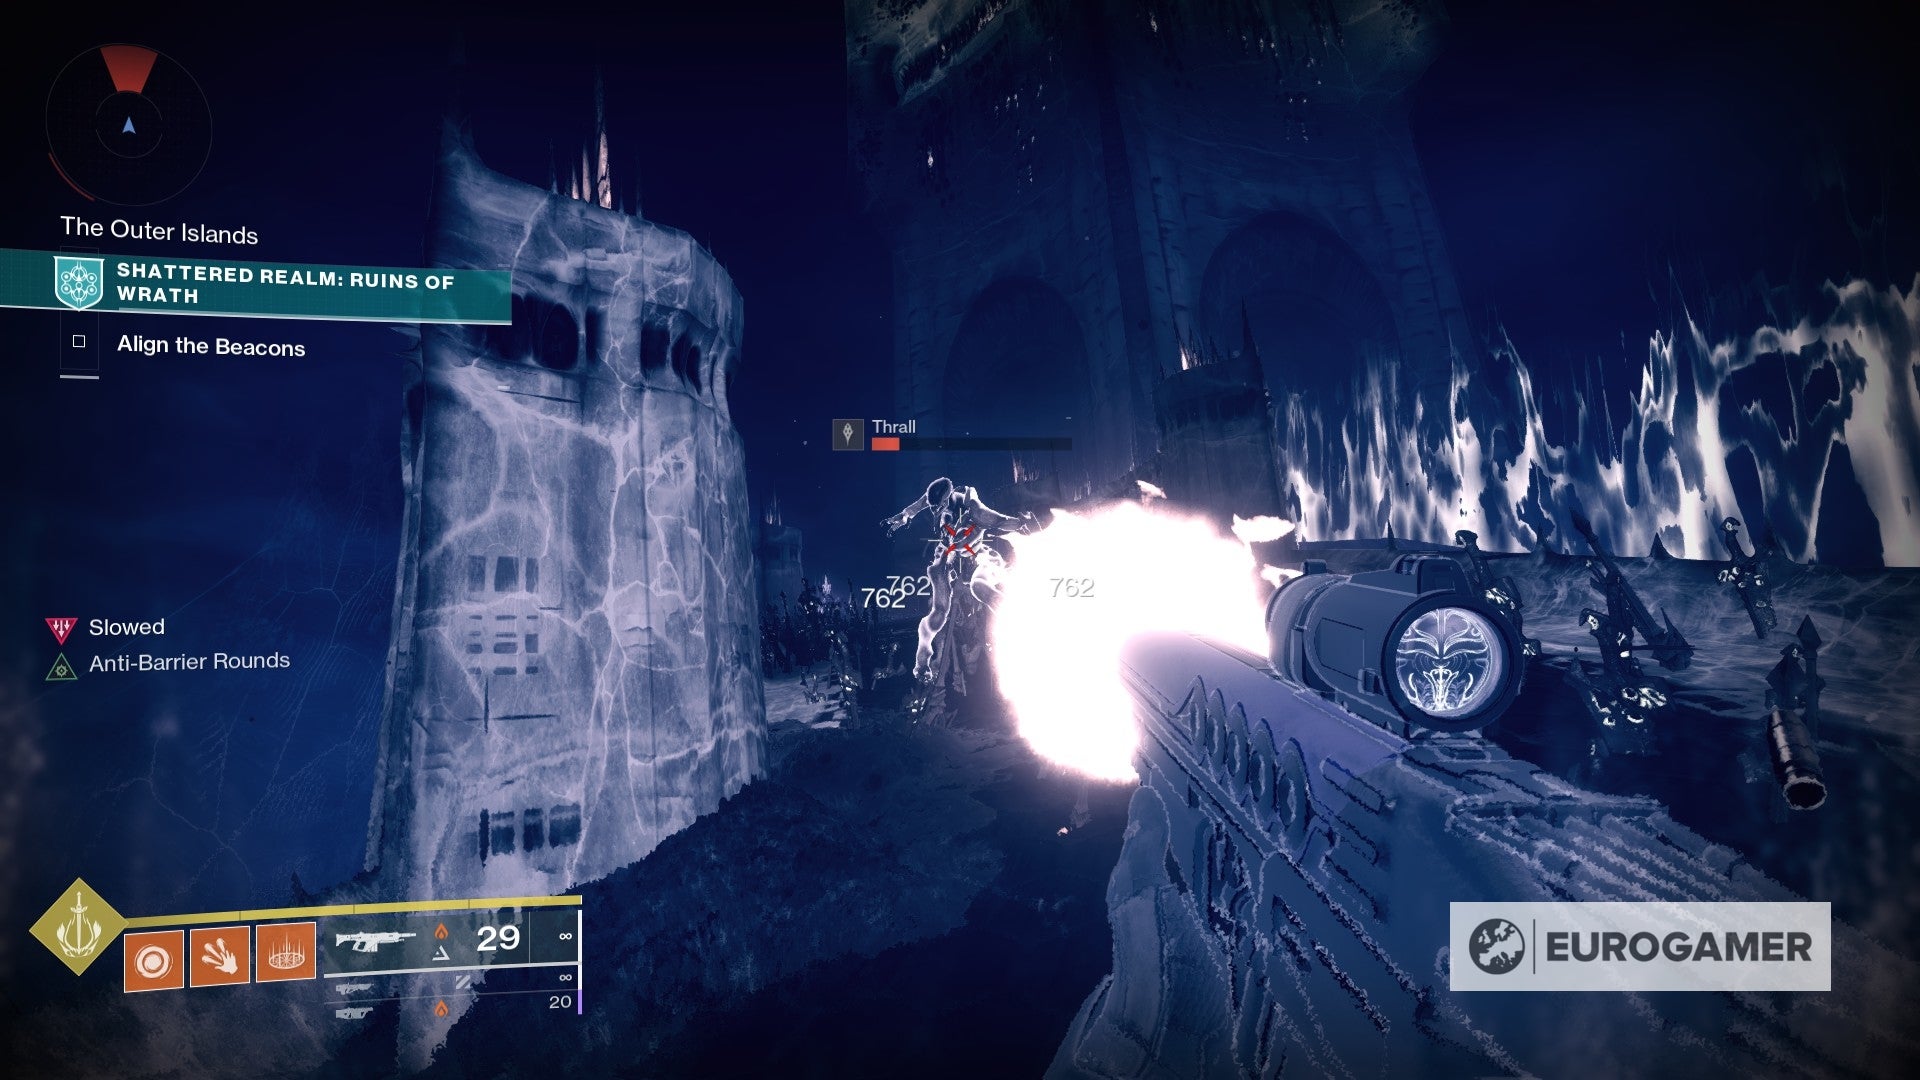
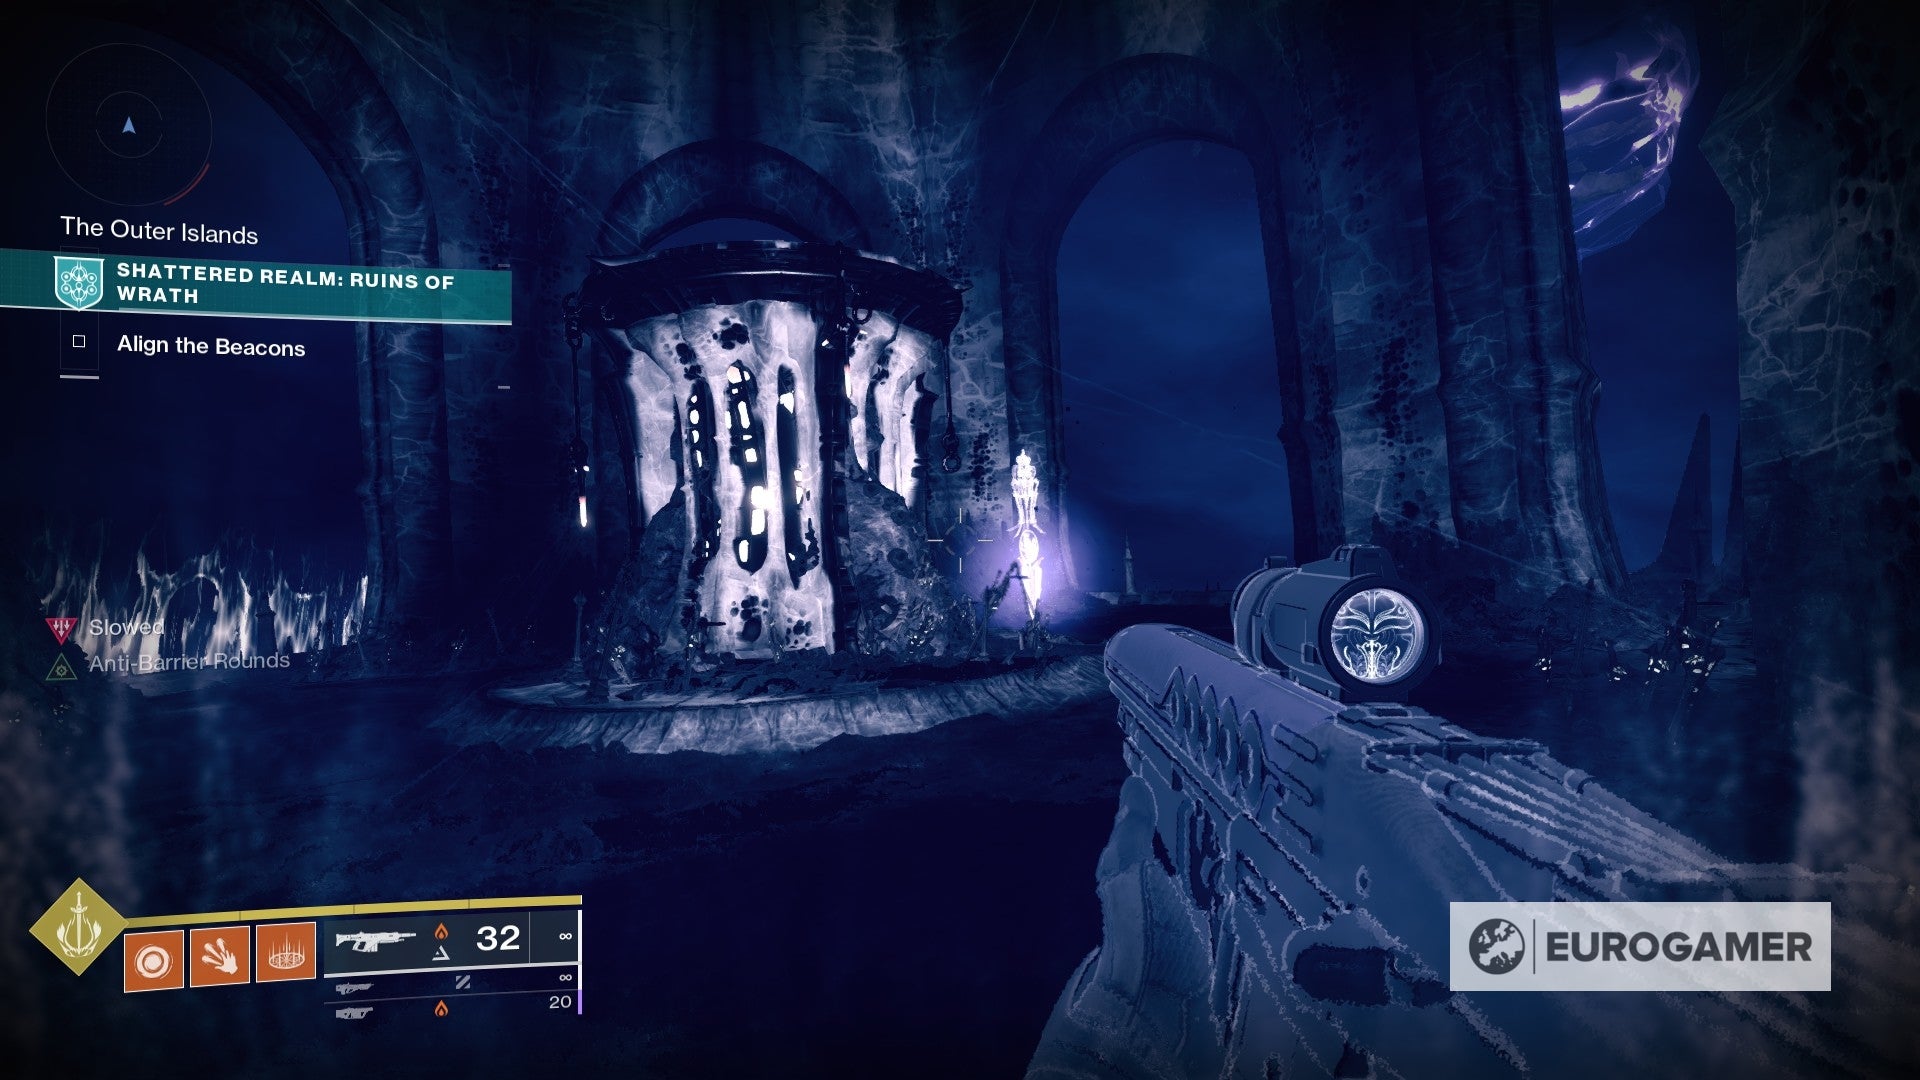
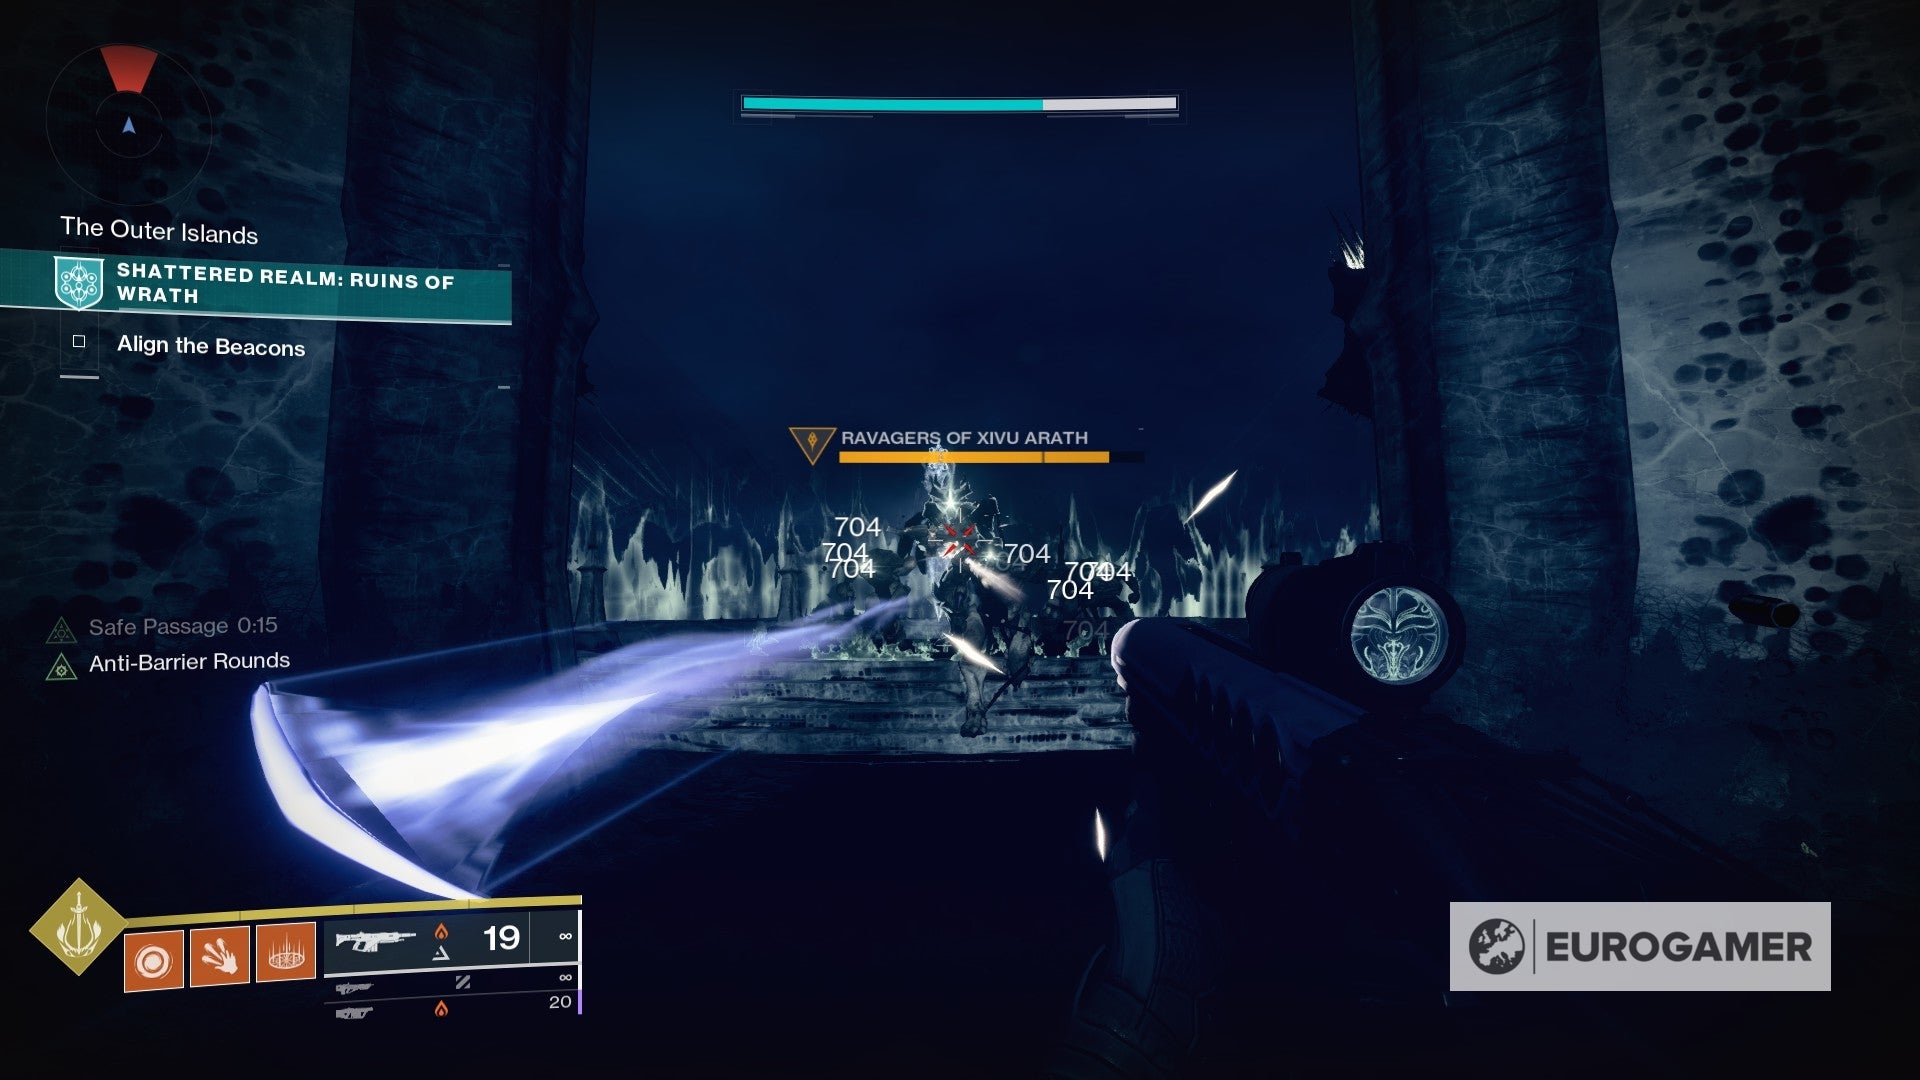
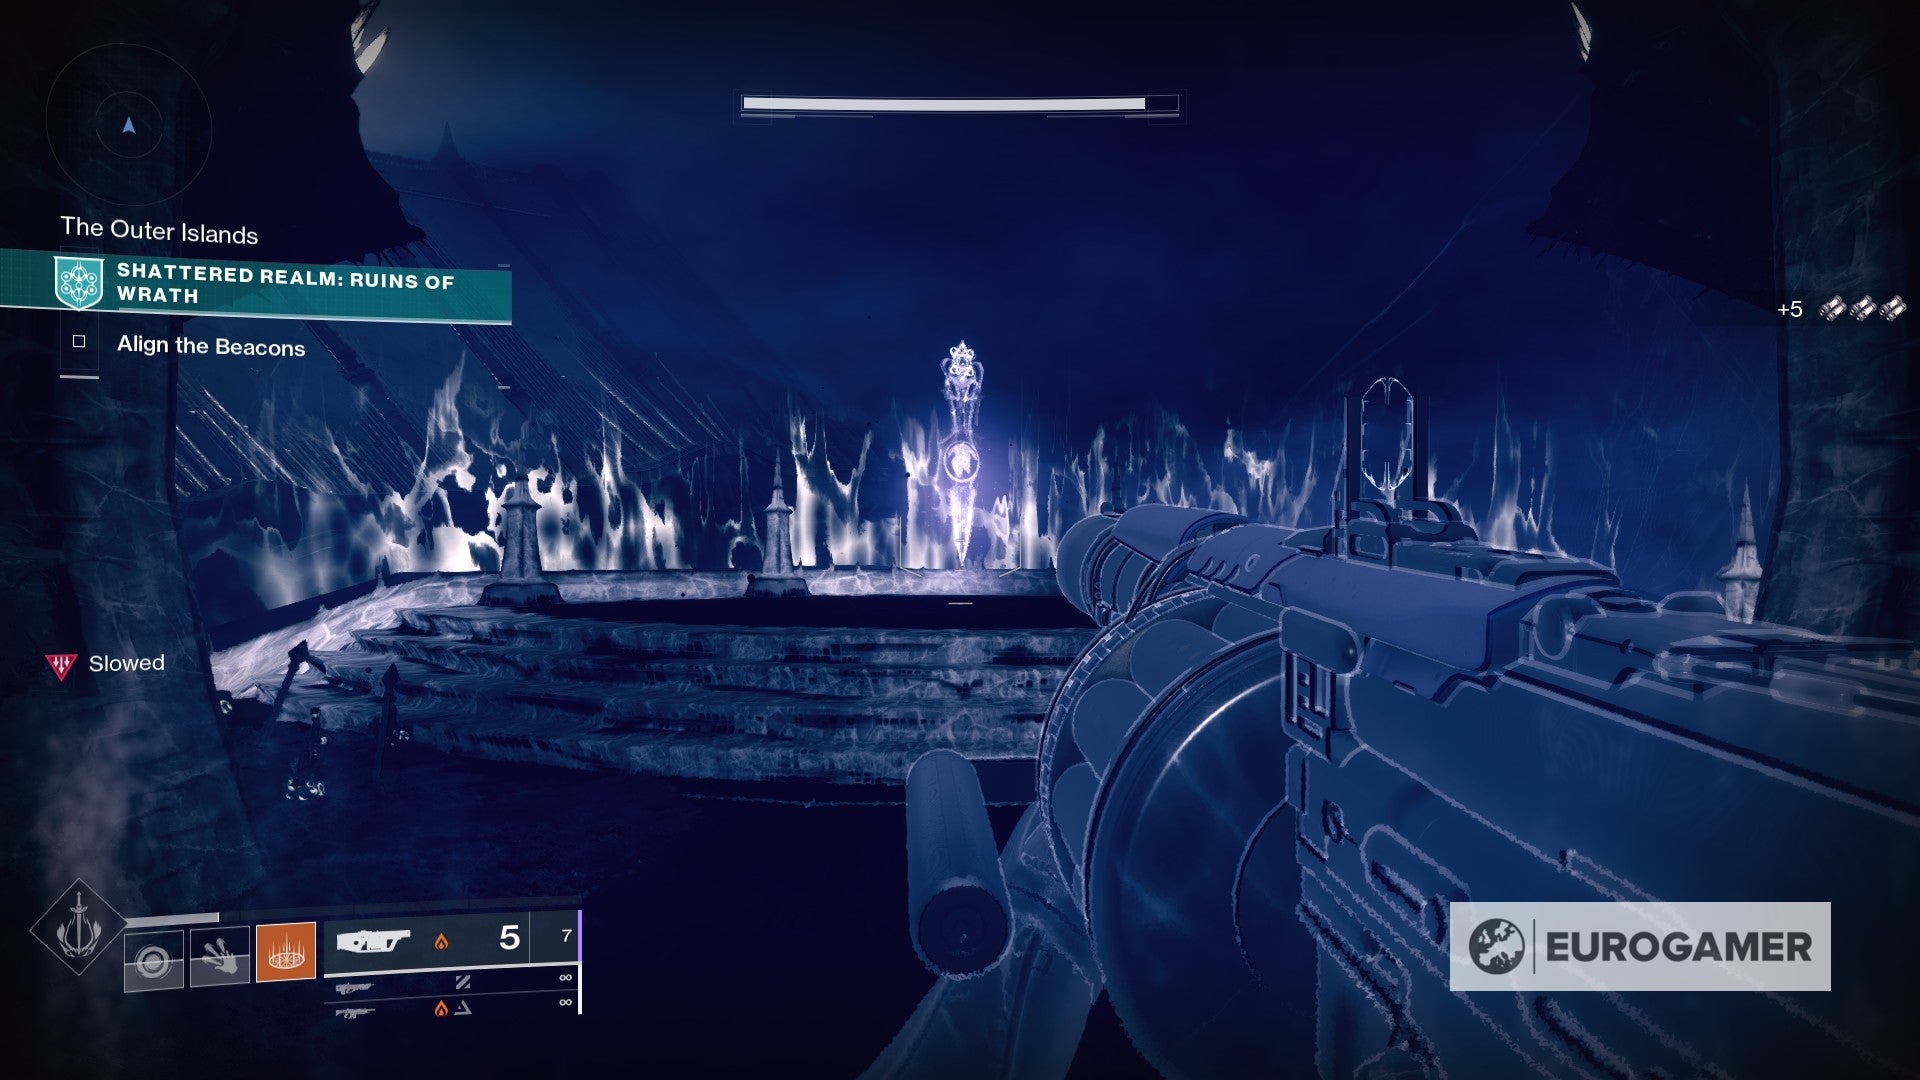
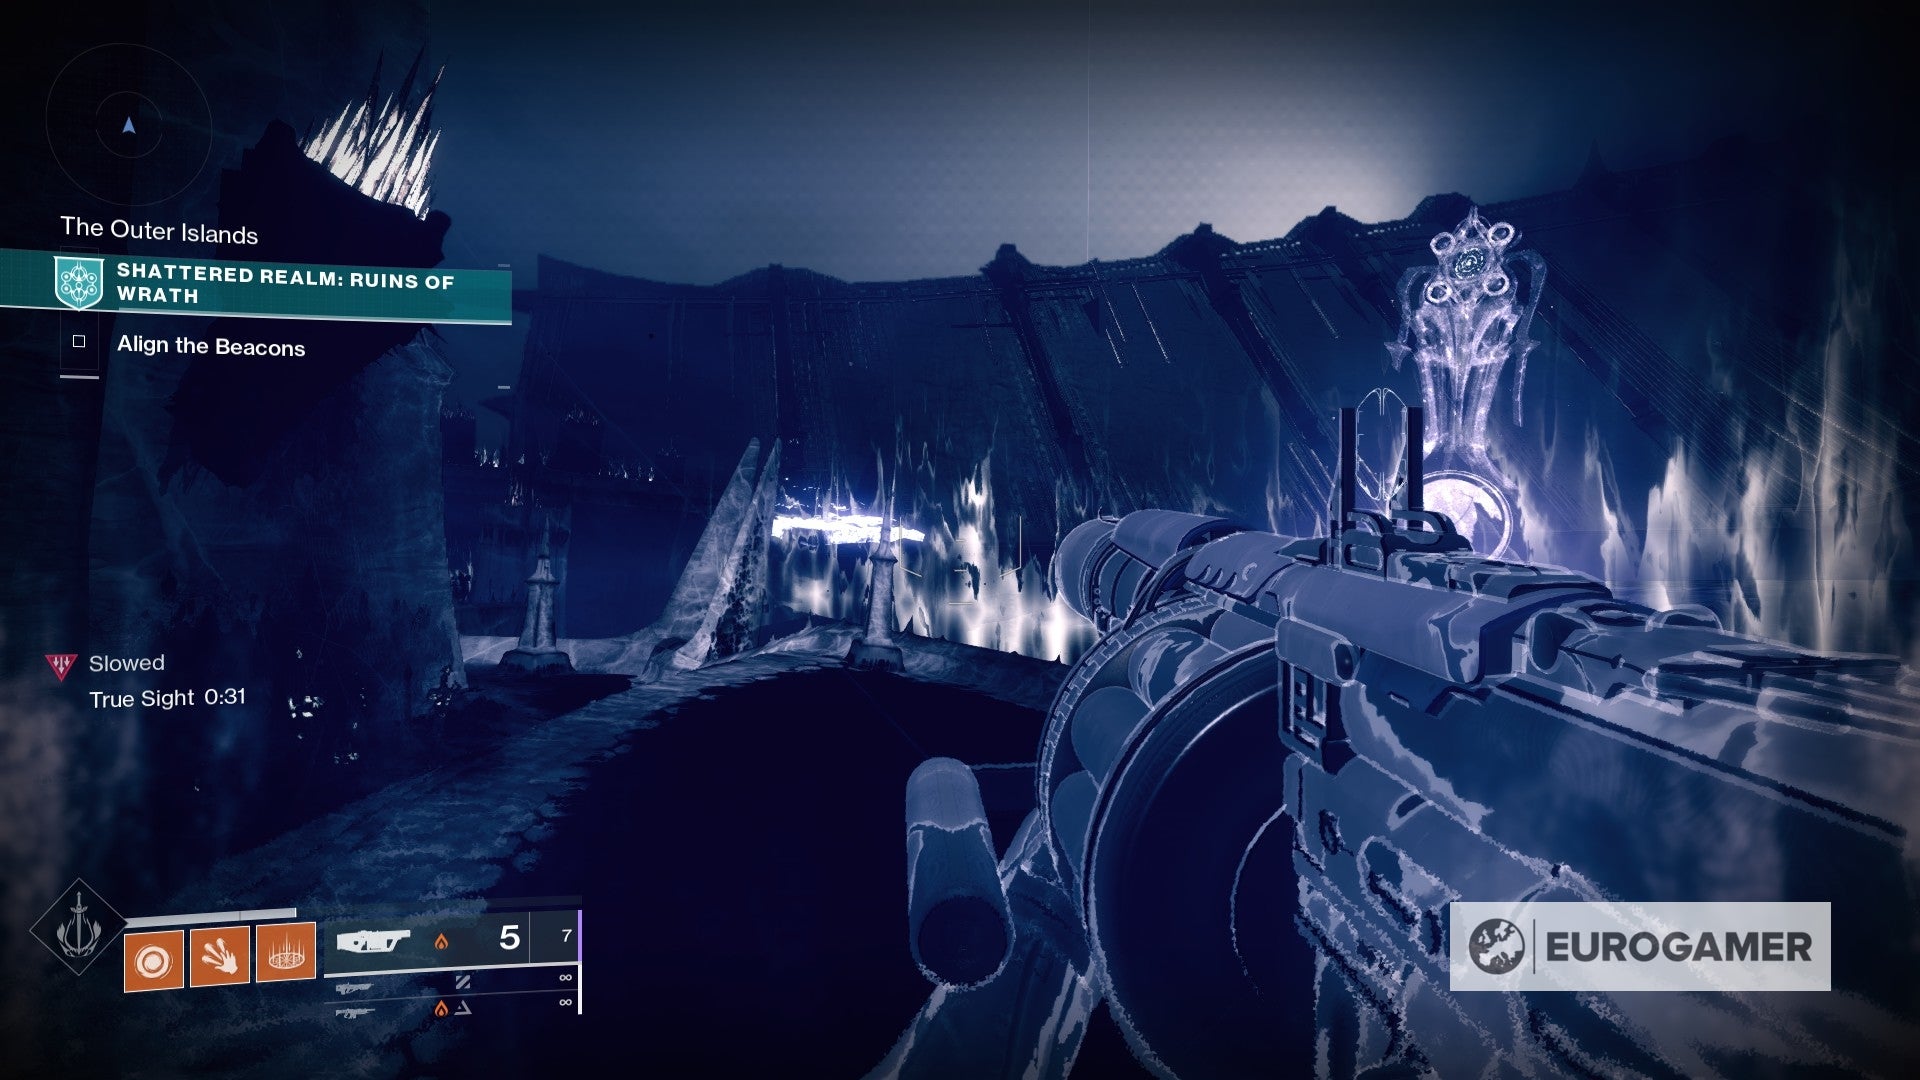
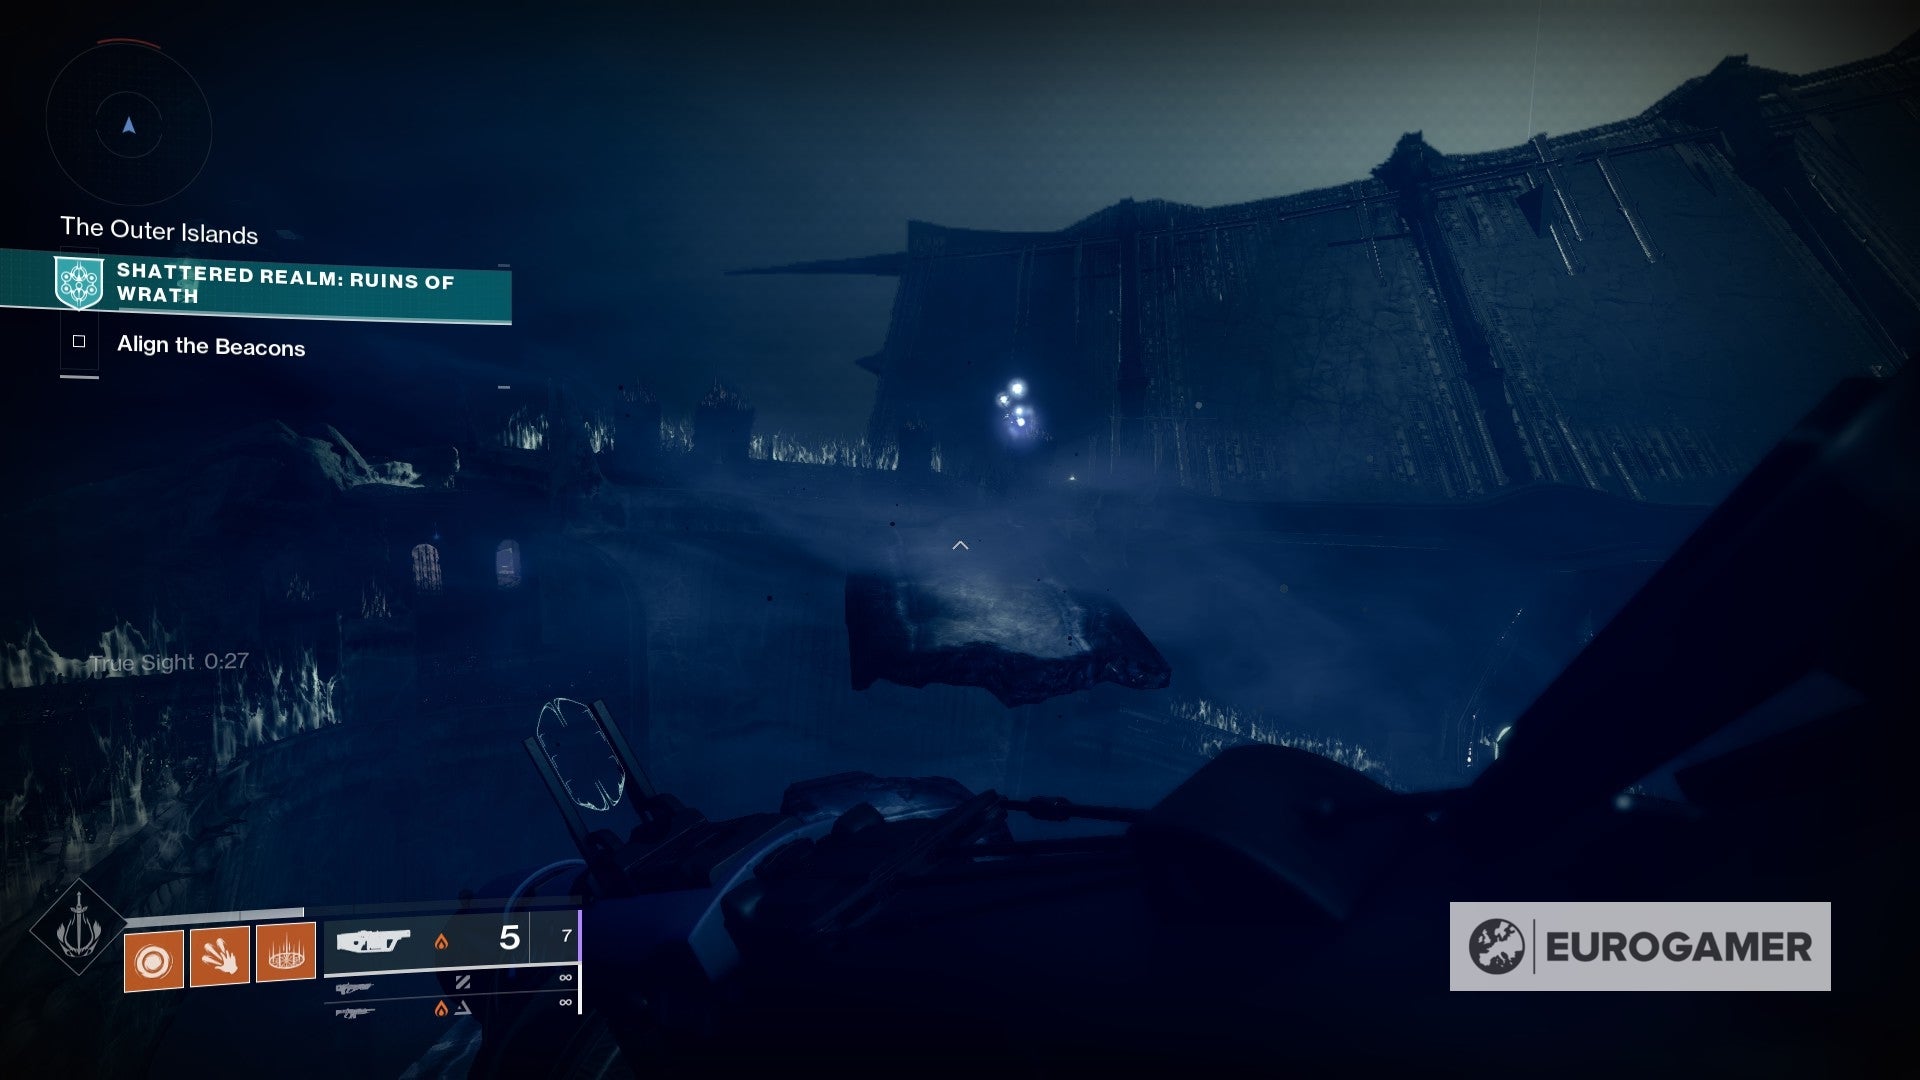
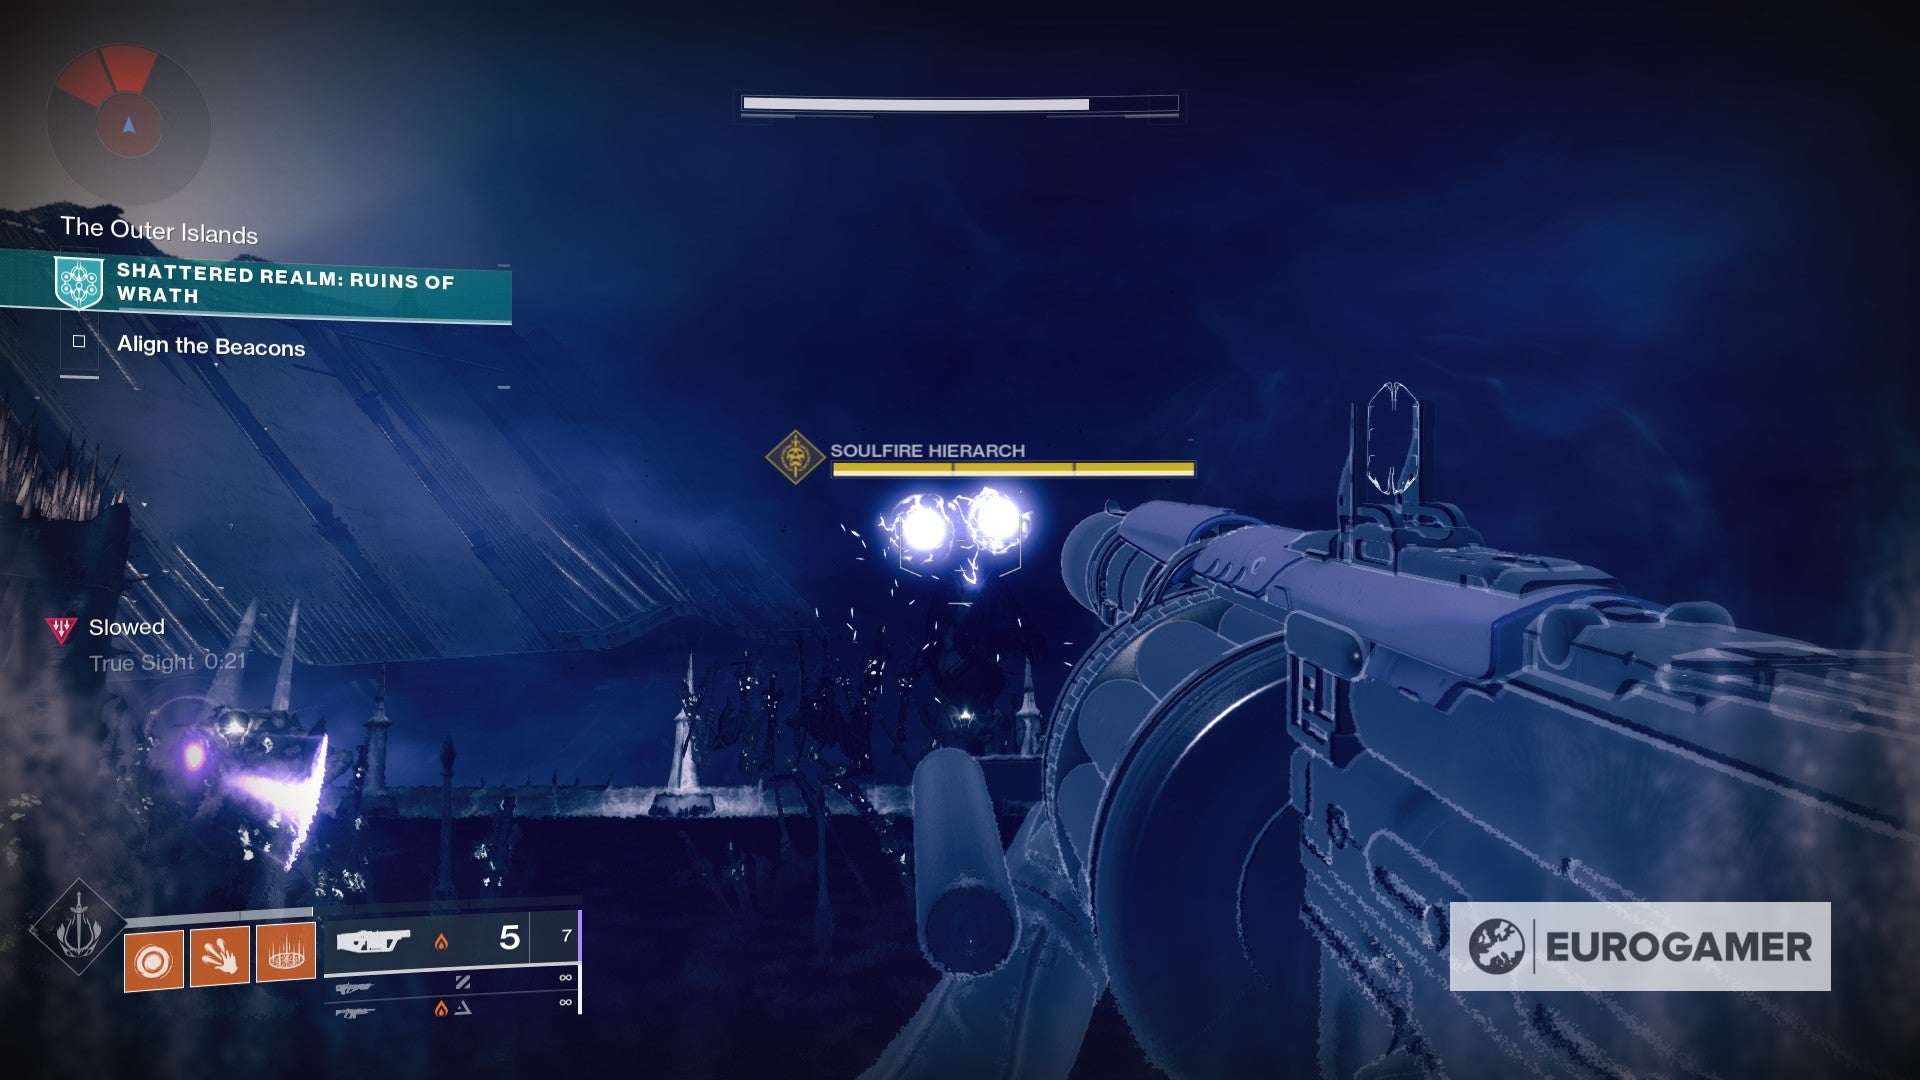
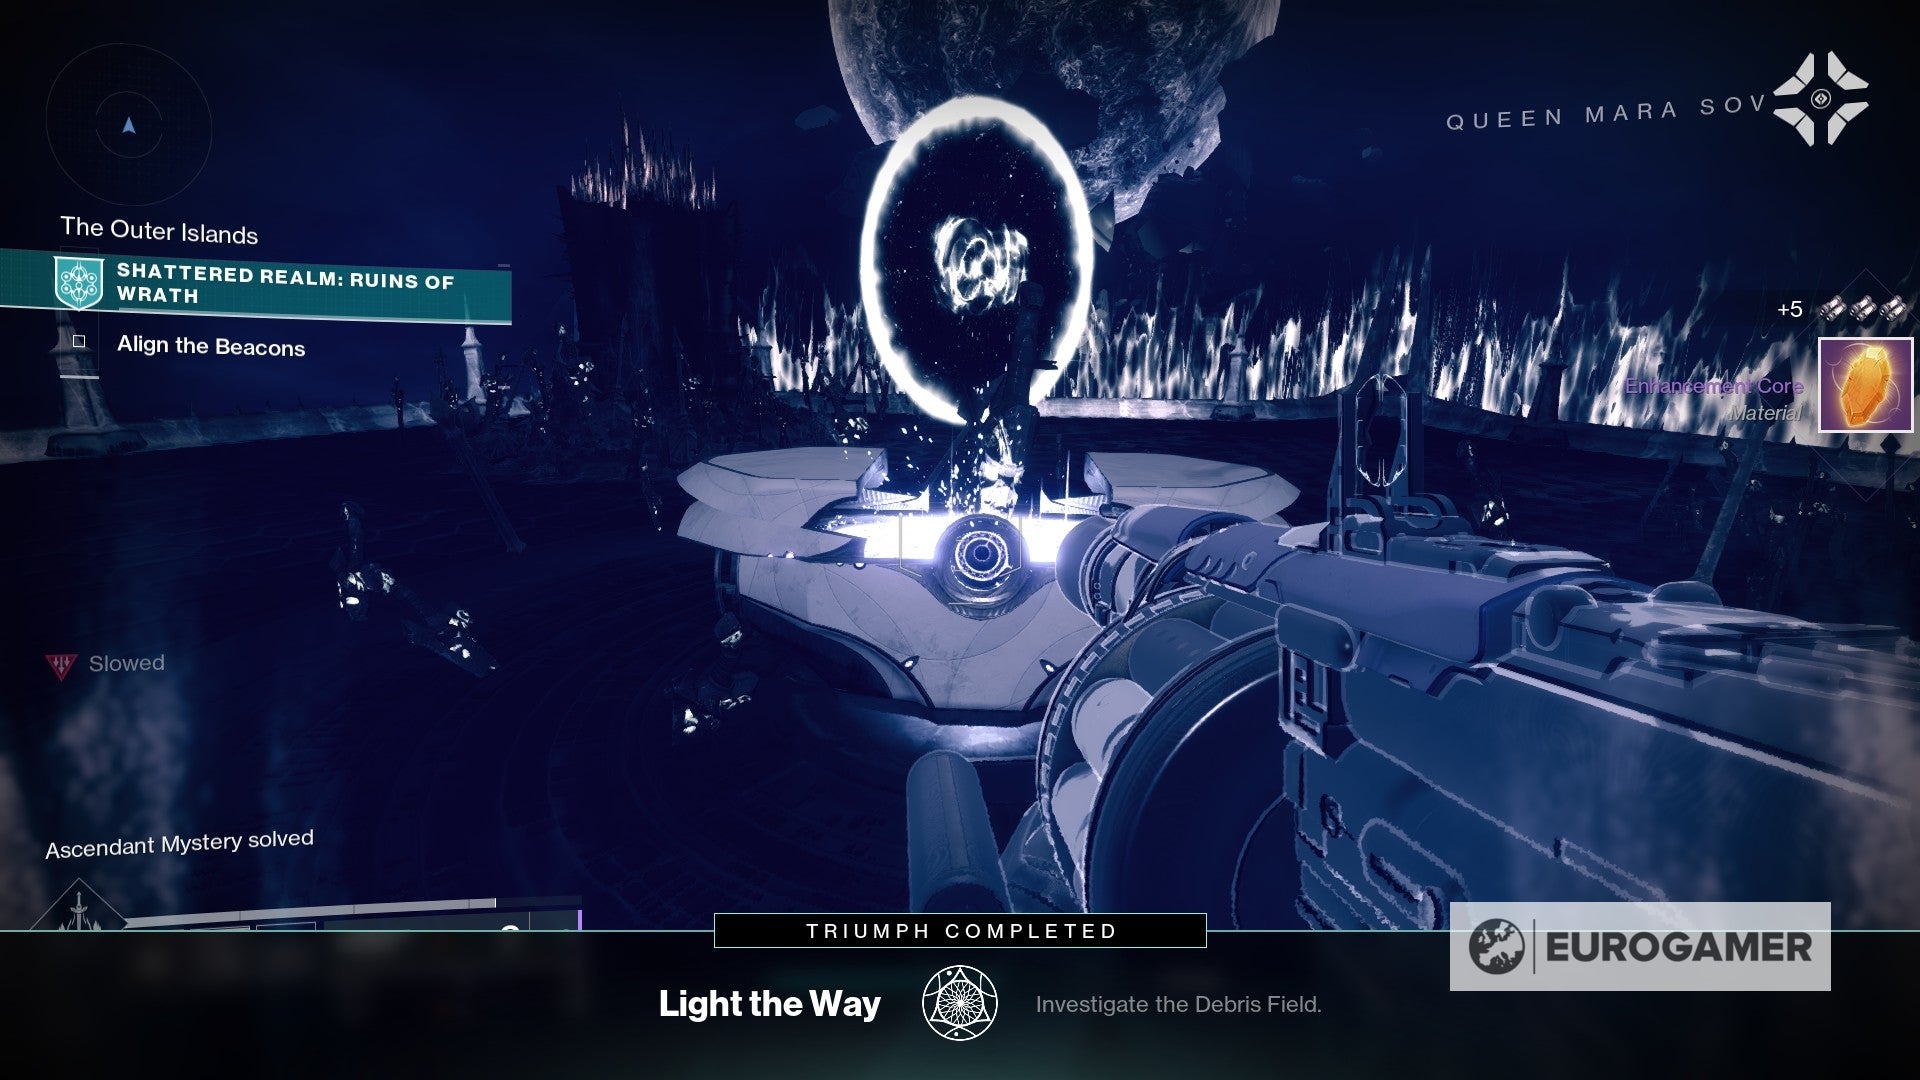
Seeing a debut during Season of the Lost, and working in a similar way to Atlas Skews, they are part of a seasonal activity. This page explains where to find Ascendant Mysteries in the Shattered Realm to complete both seasonal challenges and secret triumphs for your collection. Explainers: Shattered Realms: Forest of Echoes locations: Shattered Realms: Debris of Dreams locations: Shattered Realms: Ruins of Wrath locations: Now we’re repeating the same steps as before. In particular, they require for you to have all Wayfinder’s Compass abilities unlocked, including Barrier Breach, True Sight, Safe Passage and Barrier: Enhanced Breach. All of these can be obtained by following the Wayfinder’s Voyage storyline. Meaning you won’t have to worry about missing any until you’re caught up with the seasonal questline up to week 4. Each seasonal challenge involving Ascendant Mysteries requires finding a certain number of them to complete; once again it doesn’t matter which area of the Shattered Realm you find them from, so feel free to collect any as you go from week-to-week. Now, let’s see where those Ascendant Mystery locations are. The Dark Ritual Enigmatic Mystery can be found around the Abbey of Whispers area. To access it, it’s best if you first complete both beacons. The first half of this mystery follows the same path as the Enshrined Trivial Mystery. From the second half, we’ll be following the same steps as the Laid to Rest Trivial Mystery, so you can do both of these simultaneously if you’d like. After aligning the second beacon, head all the way back towards the entrance of Forest of Echoes. Once you’re overlooking the church, you will notice a True Sight device on the left side, next to a tree. Activate it to spawn a floating path ahead of you. Brace yourself for a group of enemies once you arrive to the plateau with the shrine. You need to kill all of the enemies here, so take your time. Once that’s settled, an artefact will appear near the shrine - from here, we’ll be taking it all the way from point A to B to trigger the Ascendant Mystery encounter. Just get near enough and interact with it to hold it. Then, use the True Sight device that is just before the cliff, overlooking the church, and use that path down below to get to ground level again. It’s a straightforward path from here. You’re going to follow the whole path until you’re next to the church, and then, start moving towards the crypt on the other end. Once close, use the Barrier Breach device that is just before the entrance, and trek downstairs through the hole inside the crypt. We’re getting closer. From here just ignore all enemies and start moving through the corridors. At one point you will find yourself facing a dead end with two devices (one True Sight and one Barrier Breach) as well as a barrier in the outer wall. Activate both to gain True Sight and Barrier Breach, and head outside. Now, get past the Barrier Breach device, let yourself fall onto the plateau below and start heading towards the right side. You will immediately notice the floating path, so we’re using that to get to the other side and into a cave entrance. Once inside you will see a group of enemies expecting you - ignore them for a hot minute and instead head to the statue on the other side of the room. As soon as you’re close to it, deposit the artefact. This will trigger a fight against an elite enemy - it’s not really tough and can be quite slow, so don’t worry to much about it and keep on moving around the area to dodge any upcoming attacks. After the enemy is taken down, all you have to do is return to the shrine where you deposit the artefact and open the chest. That’s all for The Dark Ritual! The Born of Darkness Enigmatic Mystery can be found around the Well area. To access it, it’s best if you first complete both beacons. After you’re done aligning the second beacon, you may notice a huge Blight sphere in one of the hills above. The main task to unlock this mystery is to track these down and destroy them. Climb the hills by double jumping your way to the sphere, and as per usual with these, go inside the Blight field and destroy the core. As soon as the deed is done, two more spheres will appear in both sides of the second beacon - take both of them down as well as the surrounding enemies. From here, we’re going to head backwards from where we came (so, the path you’ve taken to get to the second beacon). It’s likely that you will soon notice that a new sphere has appeared, alongside enemies everywhere. After you destroy that one, we’ll now head towards The Ruins. Again, you’ve already crossed paths with this location on your way here - it’s the spot with the destroyed buildings. Expect a swarm of enemies here, as well as two separate Blight fields to get inside and destroy. Take your time to destroy them, and afterwards, the final step of the mystery will kick off. Another big Blight sphere will appear up in the sky - curiously enough, it’s floating right above the open well in the area. As you may have guessed already, that’s where we’re heading. After you’ve entered the hole and landed inside the well, you will see the following message: ‘The blighted heart births an abomination in the Well.’ - in other words, a tough enemy is coming. Aside from the enemy’s hefty health pool, this isn’t a boss fight by any means, so take it down with everything that is on your disposal. At long last, once you’ve taken care of it, the chest will appear right below the Blight sphere in the room. That’s all for Forest of Echoes for the time being! This one is a bit tricky to follow - in case it helps, here’s a step-by-step video: The Refined Power Enigmatic Mystery can be found around The Industrial Facility area. To access it, it’s best if you complete the first beacon. After you complete the first beacon, you will see a message on the bottom left corner of the screen that mentions “Scorn drilling operations commence.” As eerie as it sounds, that will be the starting point for this mystery. The drill area can be spotted by the light in the sky, which is located towards the start of Debris of Dreams. Upon your arrival, a swarm of enemies will be waiting for you. You’ll have to take all of them down, so take your time until the area is clear. Afterwards, go ahead and take the Unrefined Ascendant Energy with you. A new objective marker will appear, signaling The Industrial Facility. This is pretty much on a straight line from the drill, so let’s get on moving while carrying the ascendant energy. As you get close you will notice the big gap in between The Ruined Outpost and The Industrial Facility. Make sure to double jump to the rocks to gain some elevation, and then hop on the hanging platform. You can double jump and levitate your way towards the other side from there. Once on the other side, you will need to get inside the tower with the barrier breach - the device to open it is right next to the door, so you can’t miss it. Inside the room, hop on the glowing platform - this works as a teleporter that will take you to The Overlook. Enemies will be waiting for you, but try your best to ignore them for a minute. Your focus here is to deposit the ascendant energy. Get close to the terminal signalised by the quest marker and deposit it. Afterwards, you’re free to take down the enemies. Once you’re done, you’ll have to enter the large cylinder on your back that looks like an elevator up close. Hop inside and wait for a couple seconds. The terminal will modify the ascendant energy you’ve just deposited. Once it’s over, go ahead and pick it up again. We’re returning to The Industrial Facility. For this, activate the True Sight device ahead of where you just picked up the ascendant energy. From there, just follow the path to the other side, always with the objective marker as reference, and hop inside the room. It’s time to make a final deposit. Ignore the enemies once more and deposit the energy in the machine at the centre of the room. Now, all you have to do is follow the quest marker - hop down below from where you’re standing now, towards the left side of the room, and interact with the panel that has just appeared. Get close enough to see the ‘Toggle’ prompt and go forth. At long last, once you’ve taken care of it, the chest will appear right next to it. That’s all for Refined Power. The First Rule Enigmatic Mystery can be found around The Encampment area. To access it, it’s best if you first complete the second beacon. After you’re done aligning the second beacon, you will notice a message at the bottom left corner of the screen which mentions that “something stirs in The Encampment,” which is where we’re heading. From where you’re currently standing, head inside the broken facility and towards the tube-shaped structure in the middle. It has some stairs that don’t function as regular ones, but double jumping your way up will do the trick. As soon as you finish climbing, you will notice two enemies tinkering with the door in front of you. Take both of them down and approach the backpack-like device on the right side of it. This will open the door to the room below, where a gathering of enemies awaits. If you pay attention to the bottom left corner of the screen, you will see mentions of two enemies fleeing the scene. There’s a reason for this: in order to obtain the ascendant mystery, you need to defeat three specific enemies to obtain a passcode. Then, you can use said passcode across three terminals around the chest to open it. One of the targets, Akaskis the Listener, is still in this room. Take him down and approach any of the terminals to use the passcode. From here, there are two possible paths. We’re starting with the one that has the barrier. Use the breach device that is next to the door to get to the other side. Once inside the room, beware of some traps that are signalised with lasers - just shoot at the point of origin against the wall to destroy them. Continue making your way through these rooms going upwards whenever possible. Make sure to grab the Safe Passage device on your way to make it easier to navigate. Go up the stairs, defeat the group of enemies, and prepare to head outside.. The path ahead is rather easy to follow (just don’t fall down!), as all you have to do is follow it to the right side, using the objective marker as a reference point. After you get past the True Sight device (you don’t need to activate it), head towards the breach device in front of it, which is next to a barrier door. Open it and get inside the room to find our second target: Kaaskis the Hungerer. Take him down to gain the second Scorn Cache Passcode. Now, head all the way back to the room with the chest, and use the passcode in any of the two remaining terminals around said chest. Move to the third and final passage. If you recognise this room is because we’re heading back to the exterior for our remaining target. You know the drill - head back down from the stairs, and then double jump your way across towards the door on your left. There, you can use the True Sight device to summon a floating path ahead of you. Follow the path to the other side and you will end up at The Ruined Outpost. Remember that massive fan-liked structure that is spinning on the ground? Our target is hiding beneath it. Fight Siirnak the Deepwalker to obtain his passcode. Then, go all the way back to the chest room (remember, it’s close to where you aligned the second beacon, in case you get lost along the way). All that’s left to do is activate the third terminal around the chest, and you’ll be able to open it. That’s all for Debris of Dreams for the time being! From the location of the first beacon, we’ll be heading towards the tower on the right side. It’s recommended that you first complete both beacon alignments. As you get closer you’ll notice a group of enemies gathering around a circle. You’ll have to take all of them down first. Then, stand on the circle, which will be more illuminated. After a brief moment, it will open up the door ahead of you. Head inside and let yourself fall to ground level, where you will find a Barrier Breach device. Use it and get to the other side of the barrier. You will end up in a massive pit with moving traps. It looks more daunting than it actually is, though. Jump down and slowly levitate when you get close to the obstacles to safely move around them until you get to the bottom. Once there, activate the True Sight device nearby. Then, head to the other side of the room where you’ll see a barrier door. Activate the Barrier Breach device to the right, and head inside. Then, follow the hall to the other side for another barrier. Inside you’ll find a Relic, which is used to fight Xivu Arath in the main room. You won’t be able to kill Xivu Arath, only damage him for now. Drop down to the pit and continue following the light, which will take you to another relic. Use the relic with Xivu again and damage him until he gets his shield back. Then, we’ll be moving towards the illuminated room on the other side of the spot where you landed from the pit. Hop inside the room - time to end this. Activate the Safe Passage device on the left to move more freely, and then grab the Barrier Breach device on the opposite side. From here, let yourself fall down and enter the barrier that is below the staircase where you just came in. Grab the relic, use it with Xivu and finish the job. The chest will appear afterwards. Go ahead and open it to claim the mystery, as well as the related triumph of course. That’s all for Lord of the Undercroft! You can kickstart this at the Debris of Field area after aligning both beacons. You will notice a massive light coming from there, which is where we’ll be heading. Once you arrive, beware of the Soulfire Exarch enemy. You need to take him down to complete the mystery, as it will drop a flame. Go ahead and grab it. Let’s get moving. You’ll be heading downwards following the path with the massive bones surrounding it. Then, stick to the left side and jump to the other end (you can see a Barrier Breach device at a distance). You can activate the Barrier Breach and grab the Kamacite Coffer Trivial Mystery if you haven’t already. If you did, just follow the path down below and light the flame in the pyre. Doing so will open up portals in the room. There is a total of five portals, and we’ll have to follow a certain pattern. From left to right, we’re starting with the fourth one. Once on the other side, you’ll see a Soulfire Exarch enemy. Take him down and return to the portals room. Grab the flame, return to the same portal, and light the path on the pyre. After you’ve lighted the flame, three portals will appear. We’re using the one in the middle. Similar case here - expect another Soulfire Exarch enemy to take down. You can also grab the Howardite Cache Trivial Mystery while you’re in The Outer Islands if you haven’t already. The process remains the same. Defeat him and return through the portal to grab the flame. Now, we have to repeat the same process as before, continuing from the first portal all over again. Light the pyre and three more portals will appear. This time, from left to right, we’re taking the third portal. The portal will take you to The Warbringer’s Tower. Again, expect another Soulfire Exarch enemy to take down. You can also grab the Spire’s Reach Trivial Mystery while you’re here. Head back through the portal and grab the flame. Light the flame in the Warbringer’s Tower, and head through the portal on the right. The portal will take you to the Field of Promised Ruin. There will be another Soulfire Exarch enemy here. Take the enemy down and grab the flame - this time it will be dropped immediately. Go ahead and light the pyre ahead of you to open another portal. Go through the portal and prepare to face some enemies as you walk forward. Then, you will end up in a room with two devices in each side. Grab the Safe Passage one first (right side) and then the True Sight one (left side). A group of enemies may spawn when you approach the True Sight device, so take them down and grab both of them again to reset the timer. Once True Sight is activated, follow the floating path ahead of you to the left side. There you will encounter the Soulfire Hierarch, which is the last enemy for this mystery. Emerge victorious and the chest will appear in the centre of the area. No more portals! Just go ahead and open the chest. That’s all for Light the Way.
